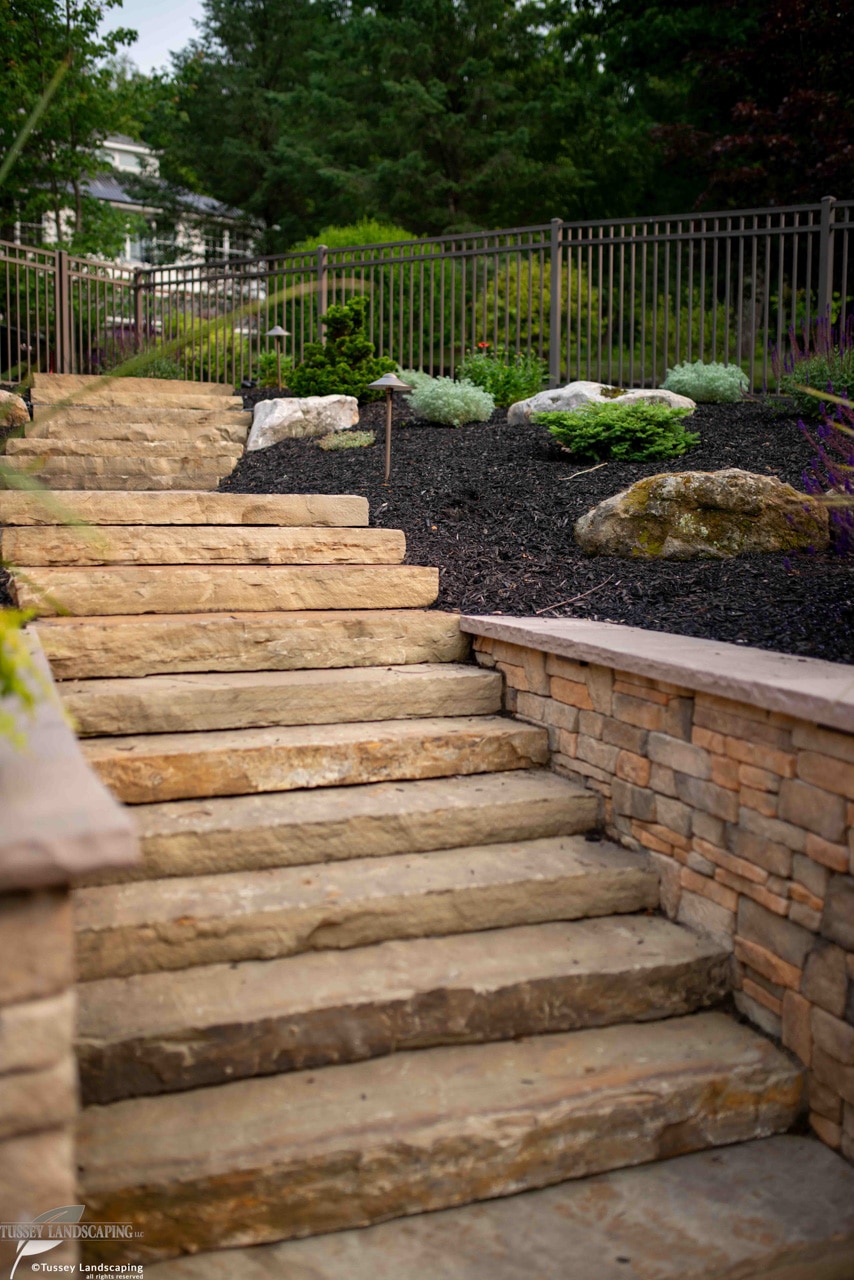
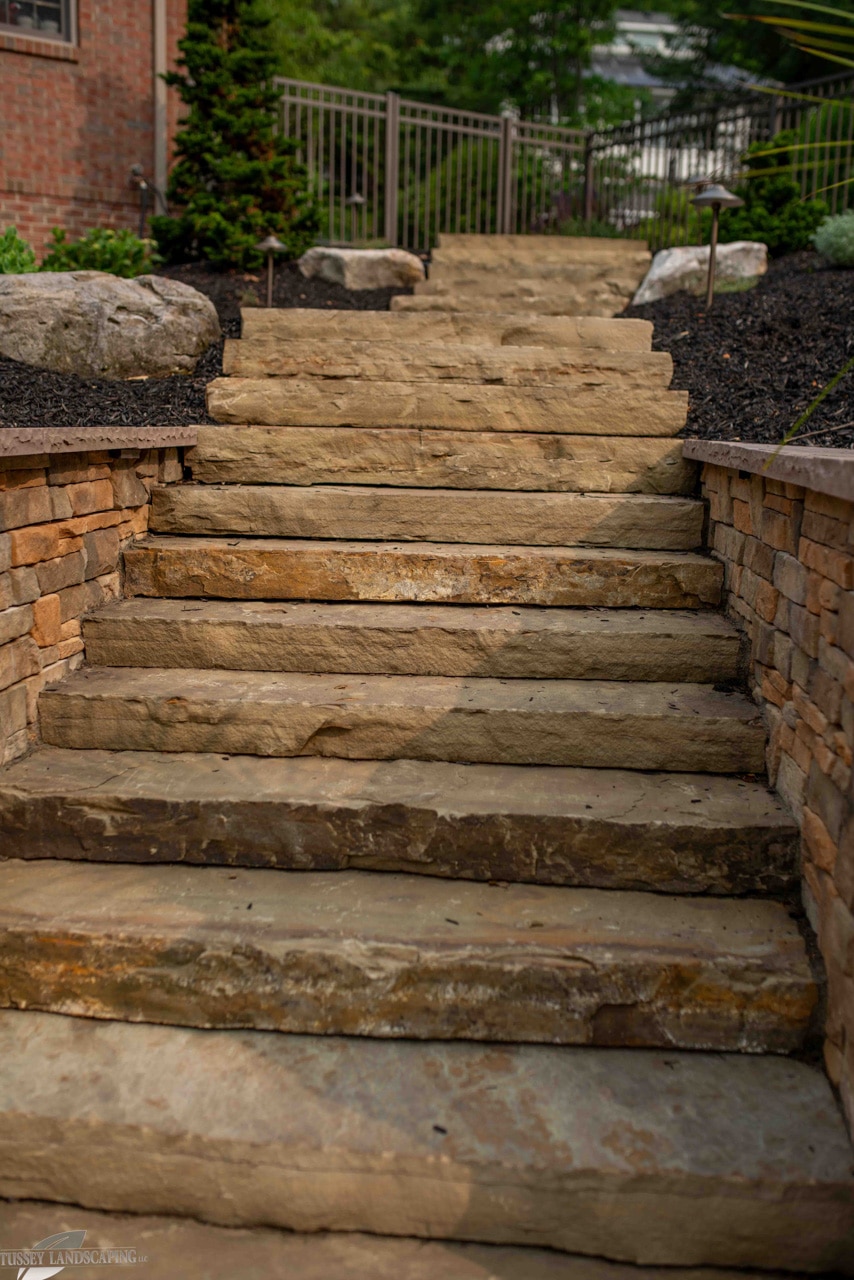
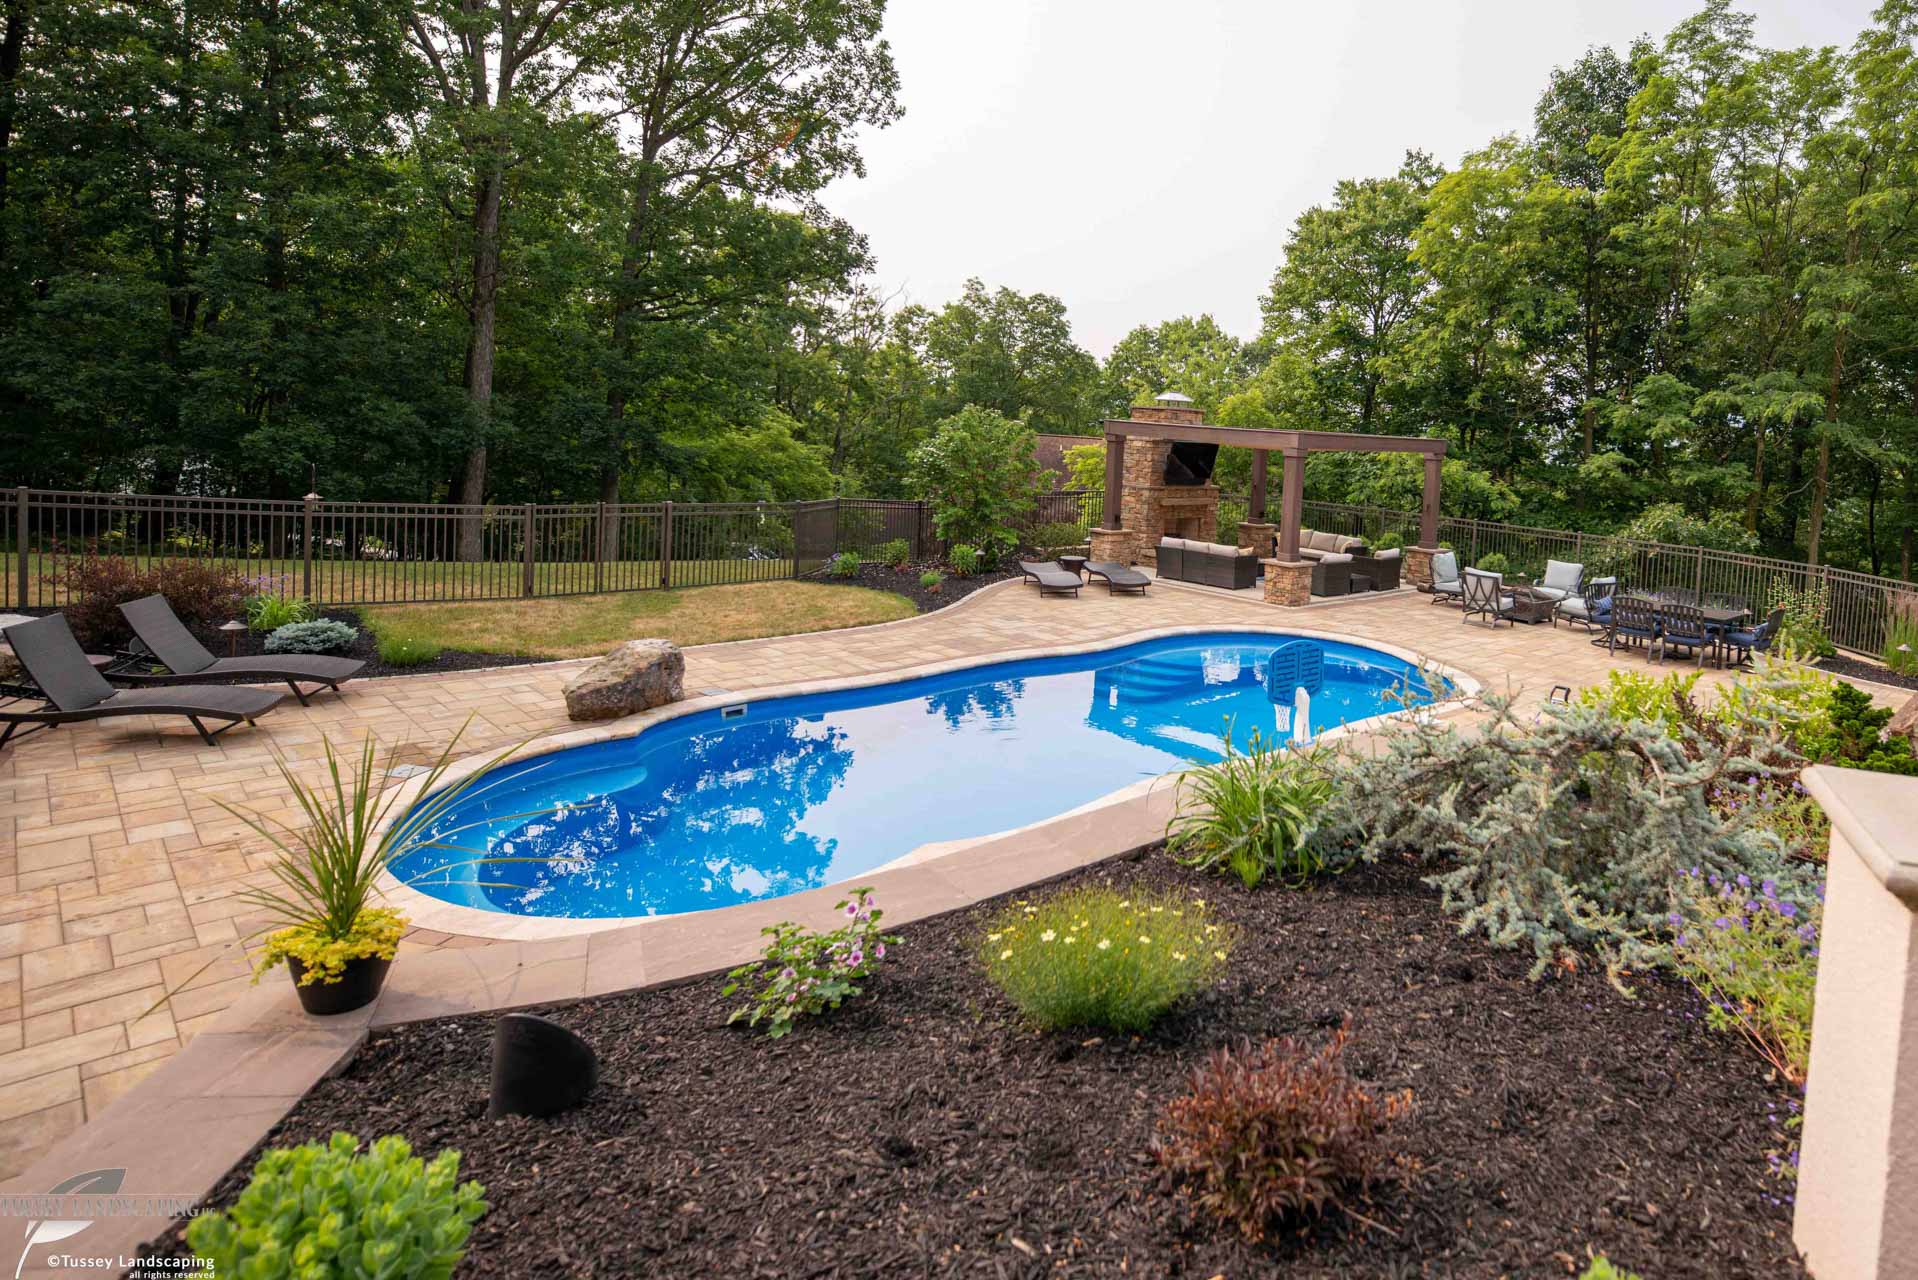
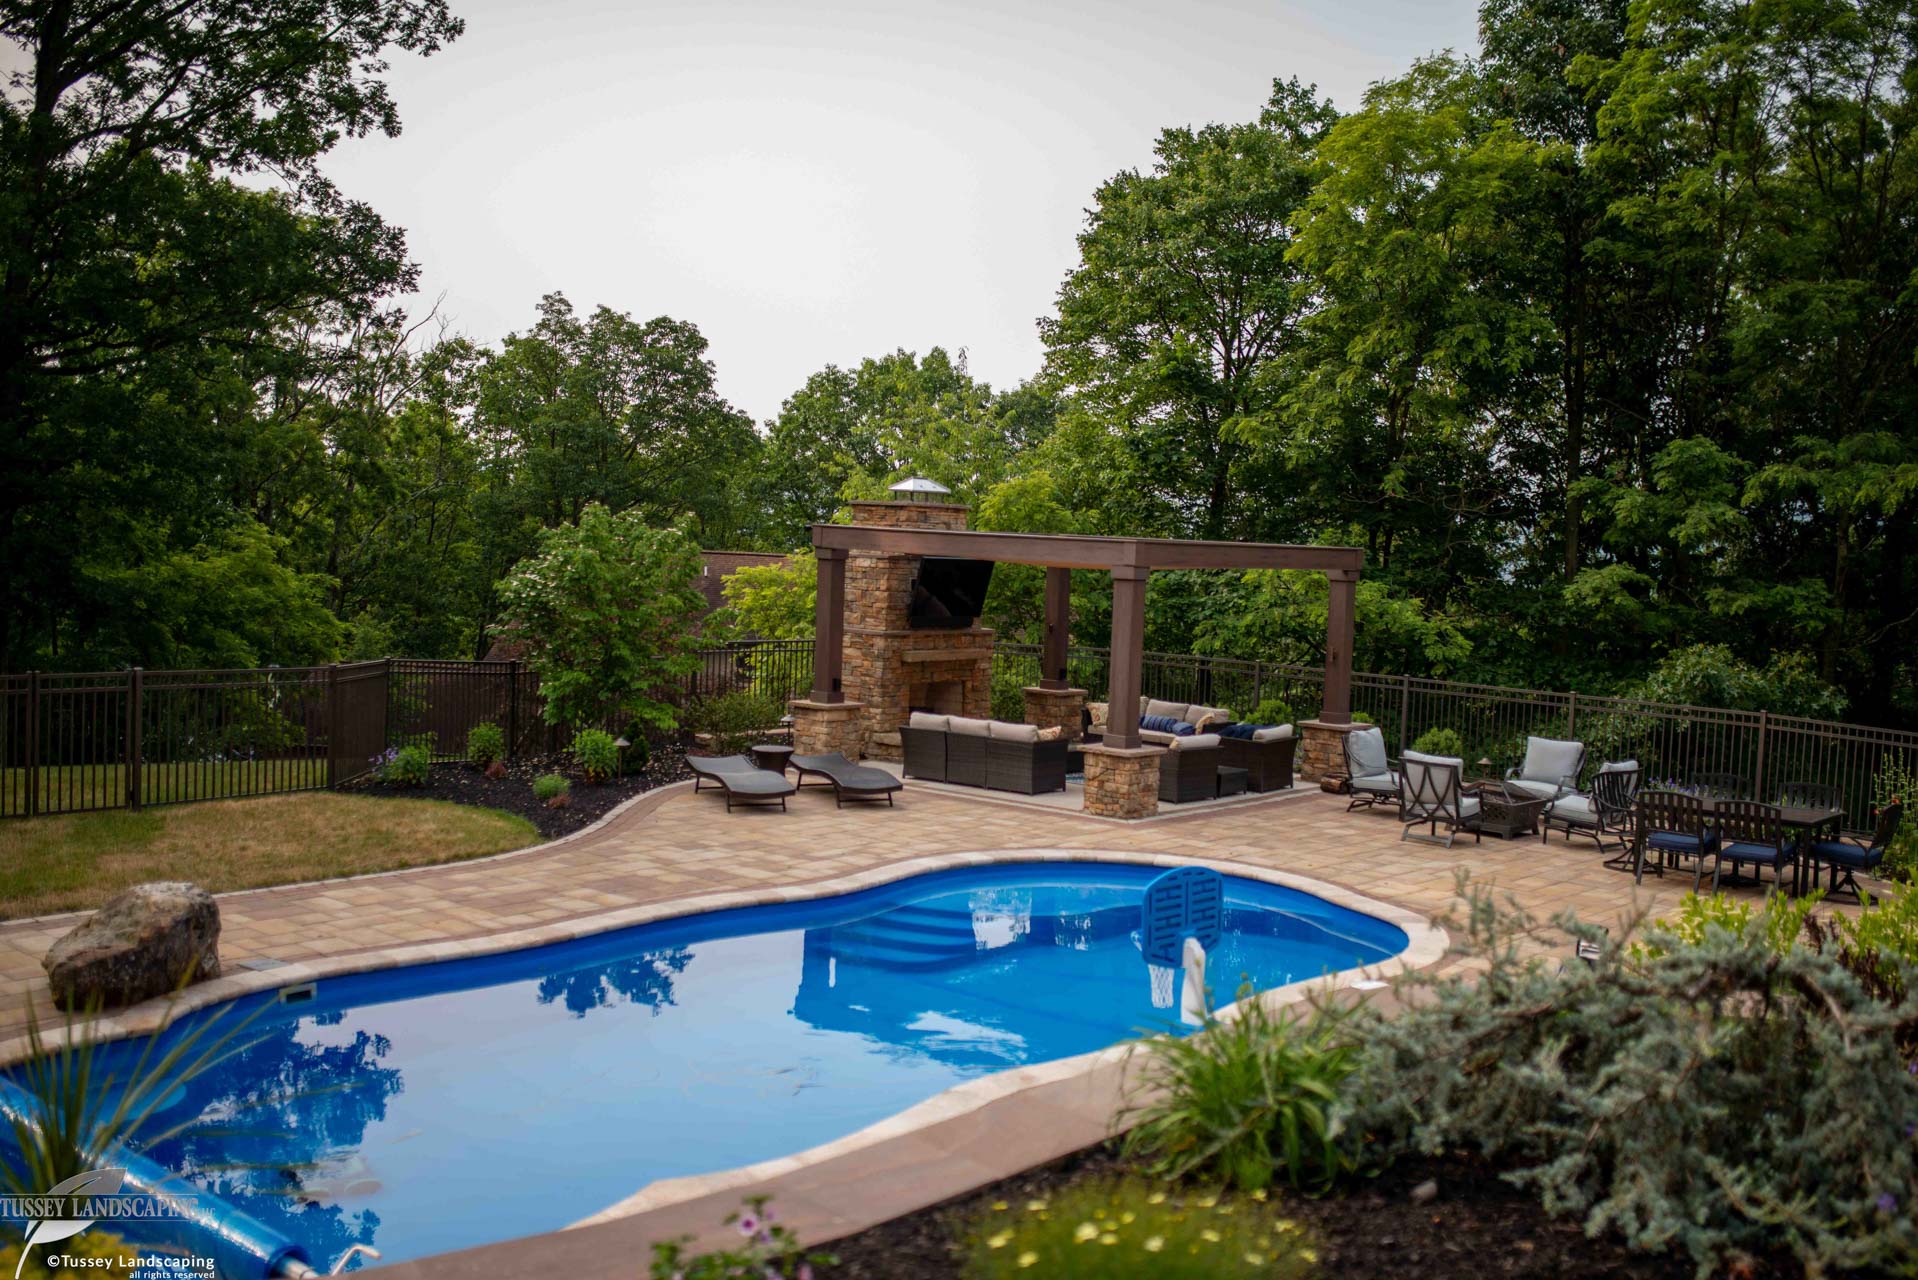
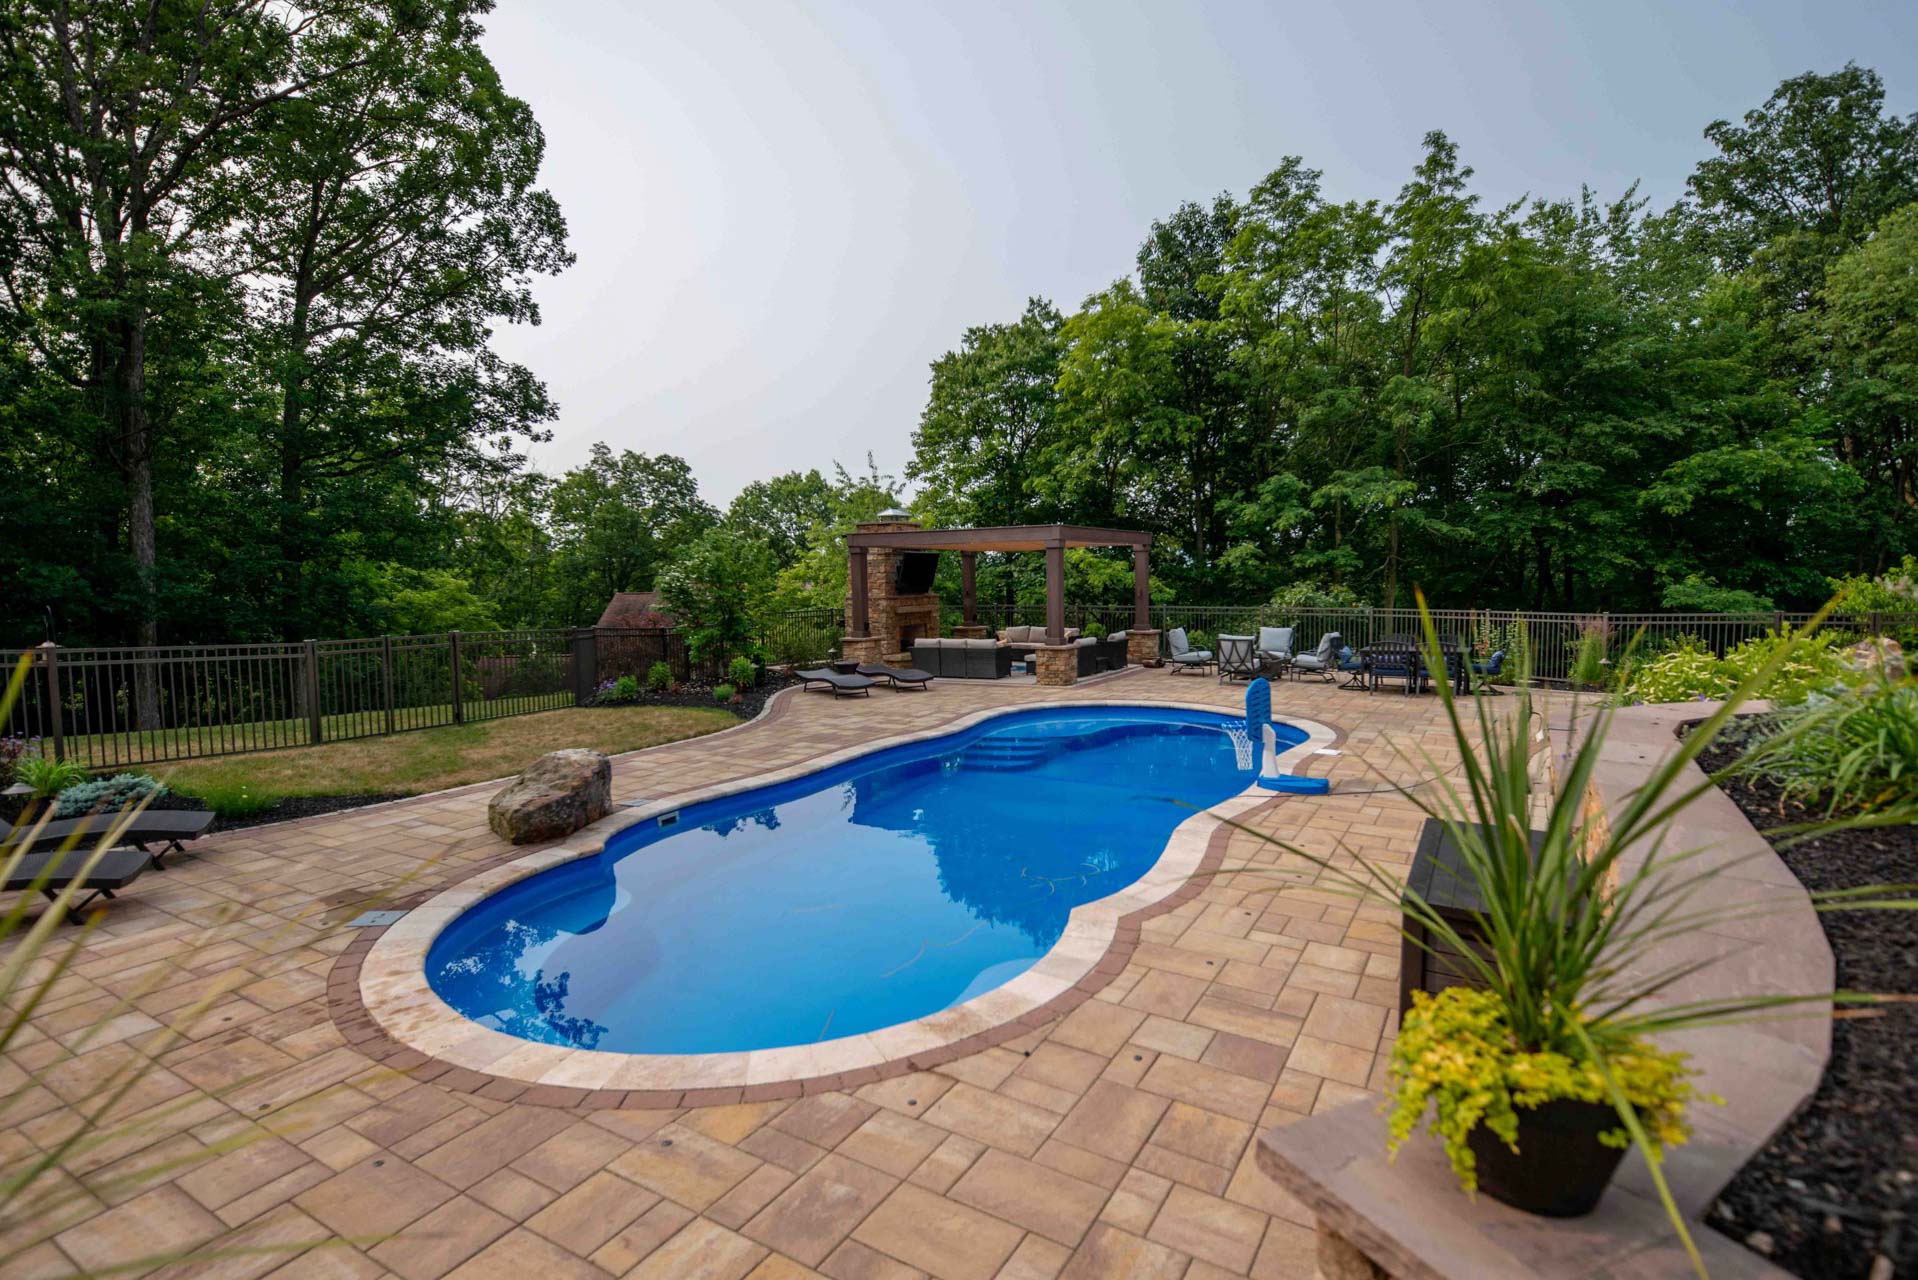
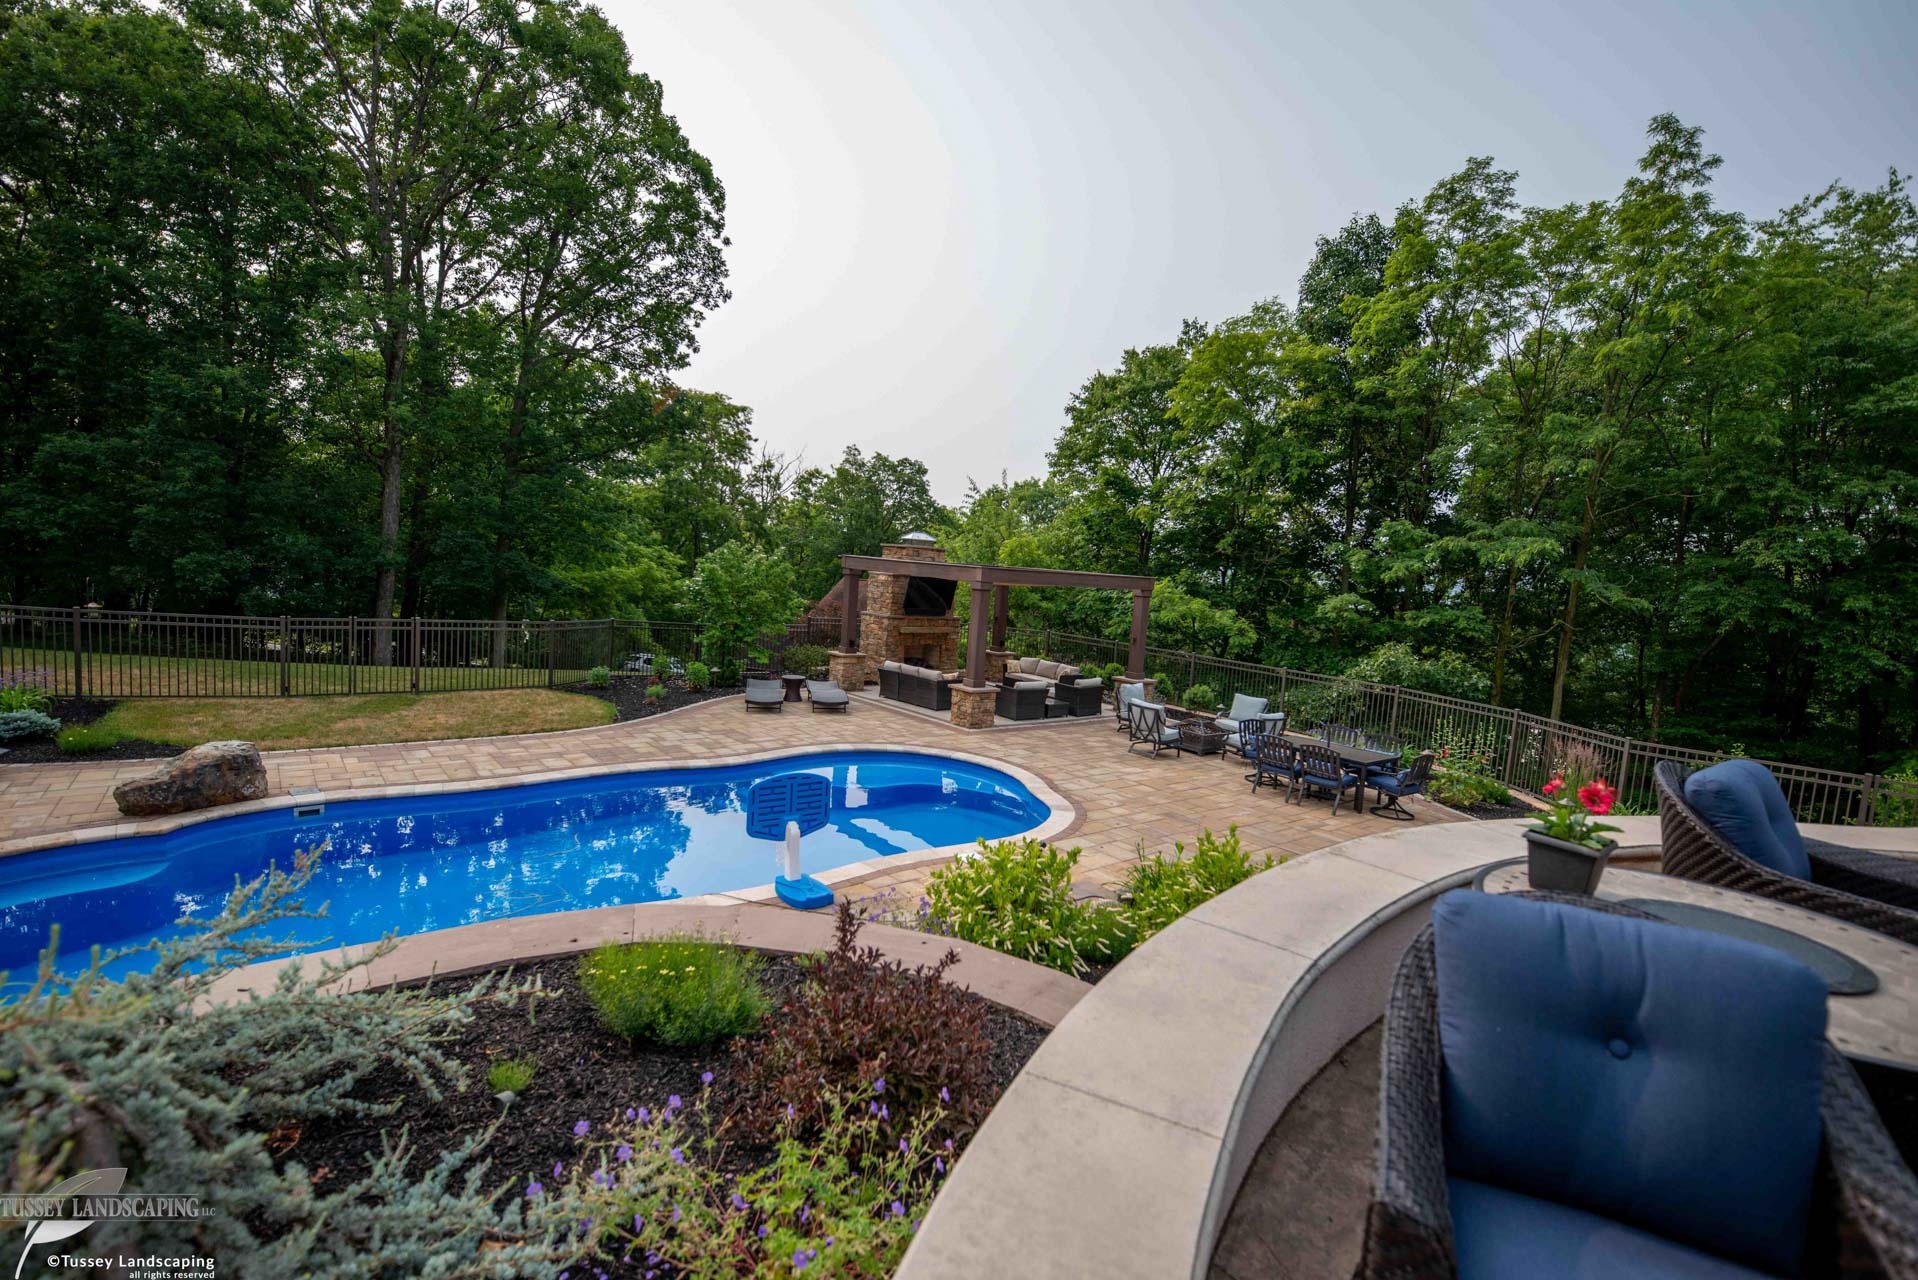
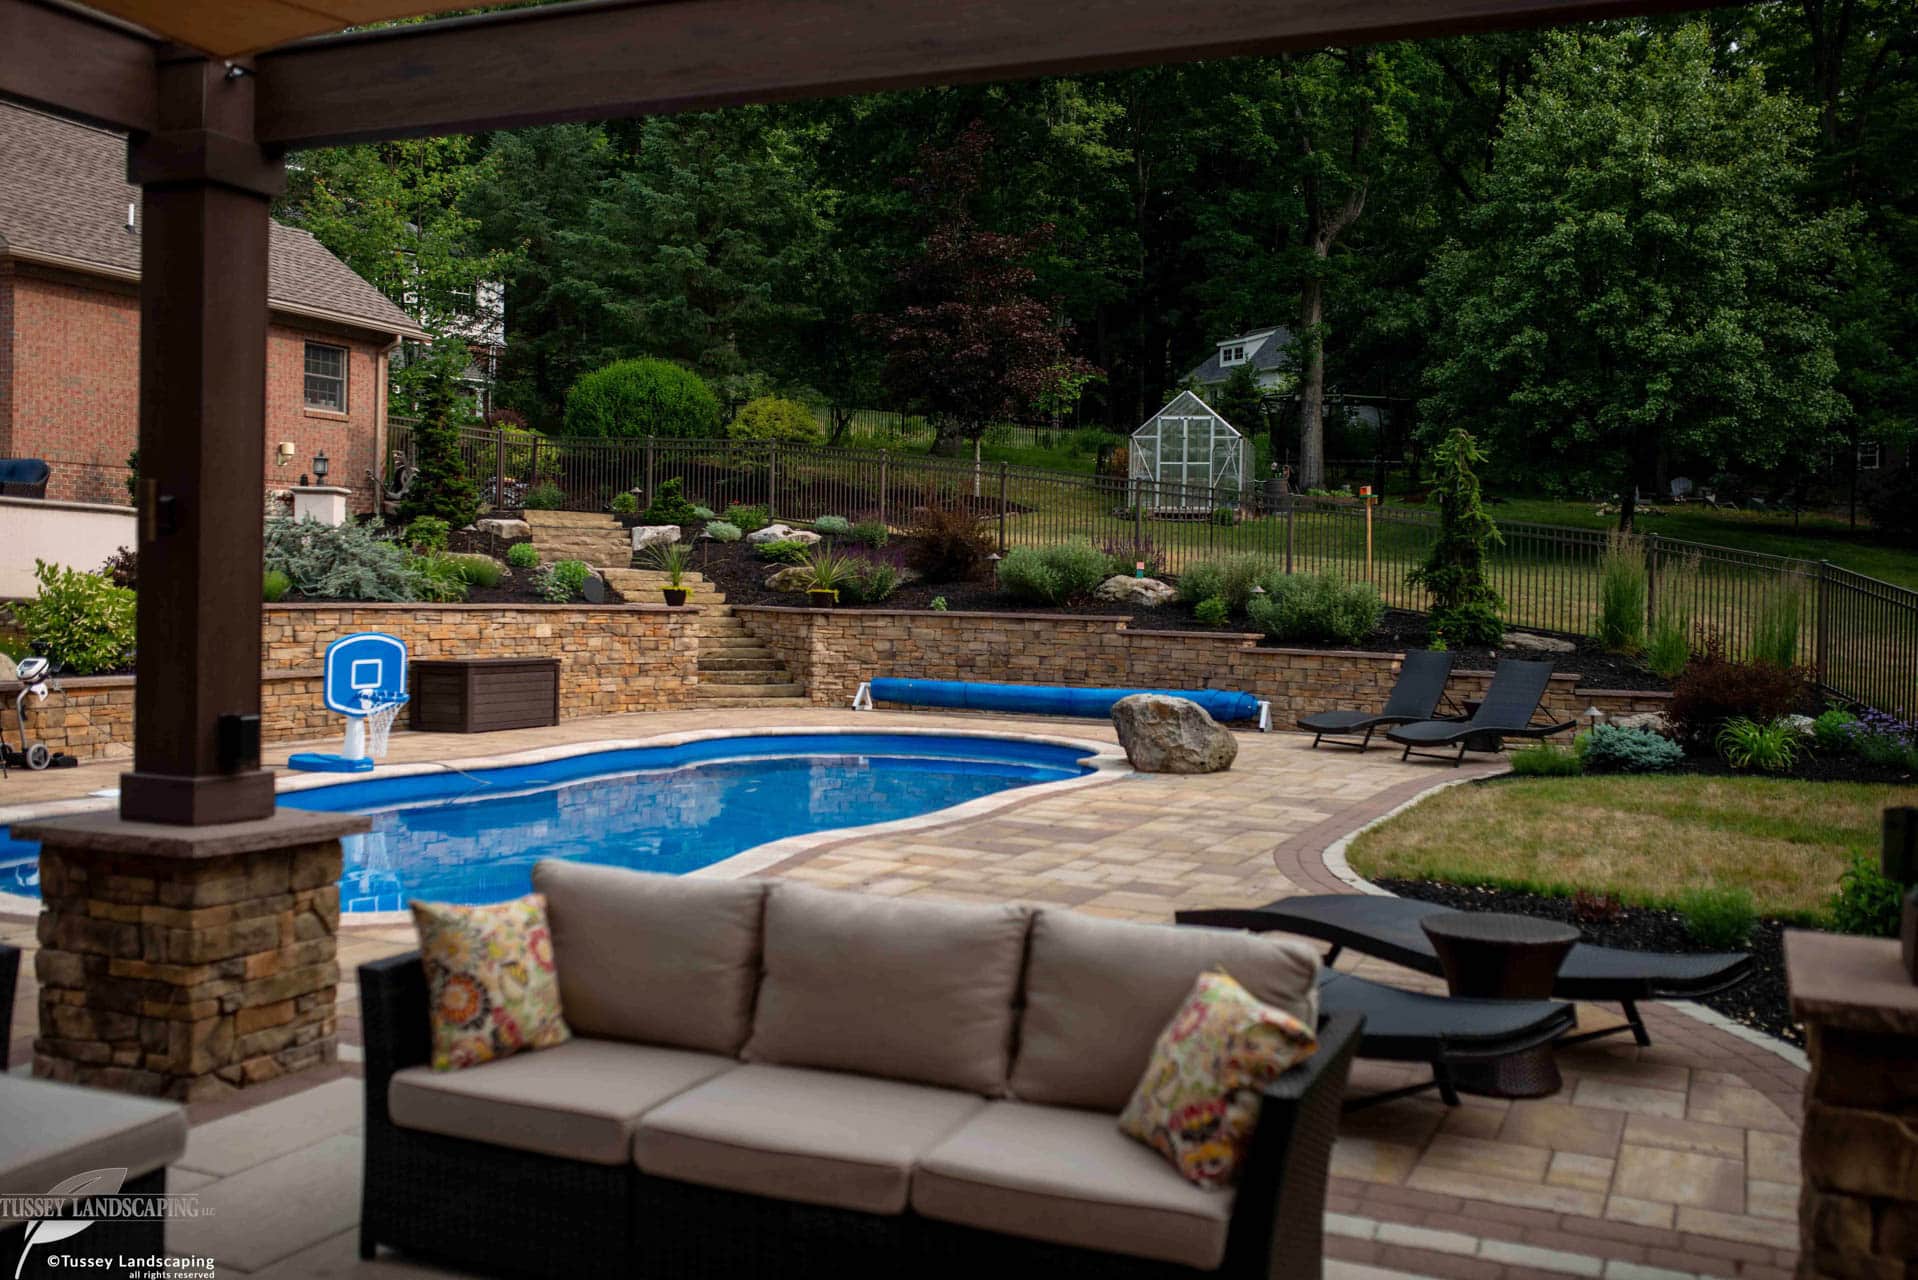
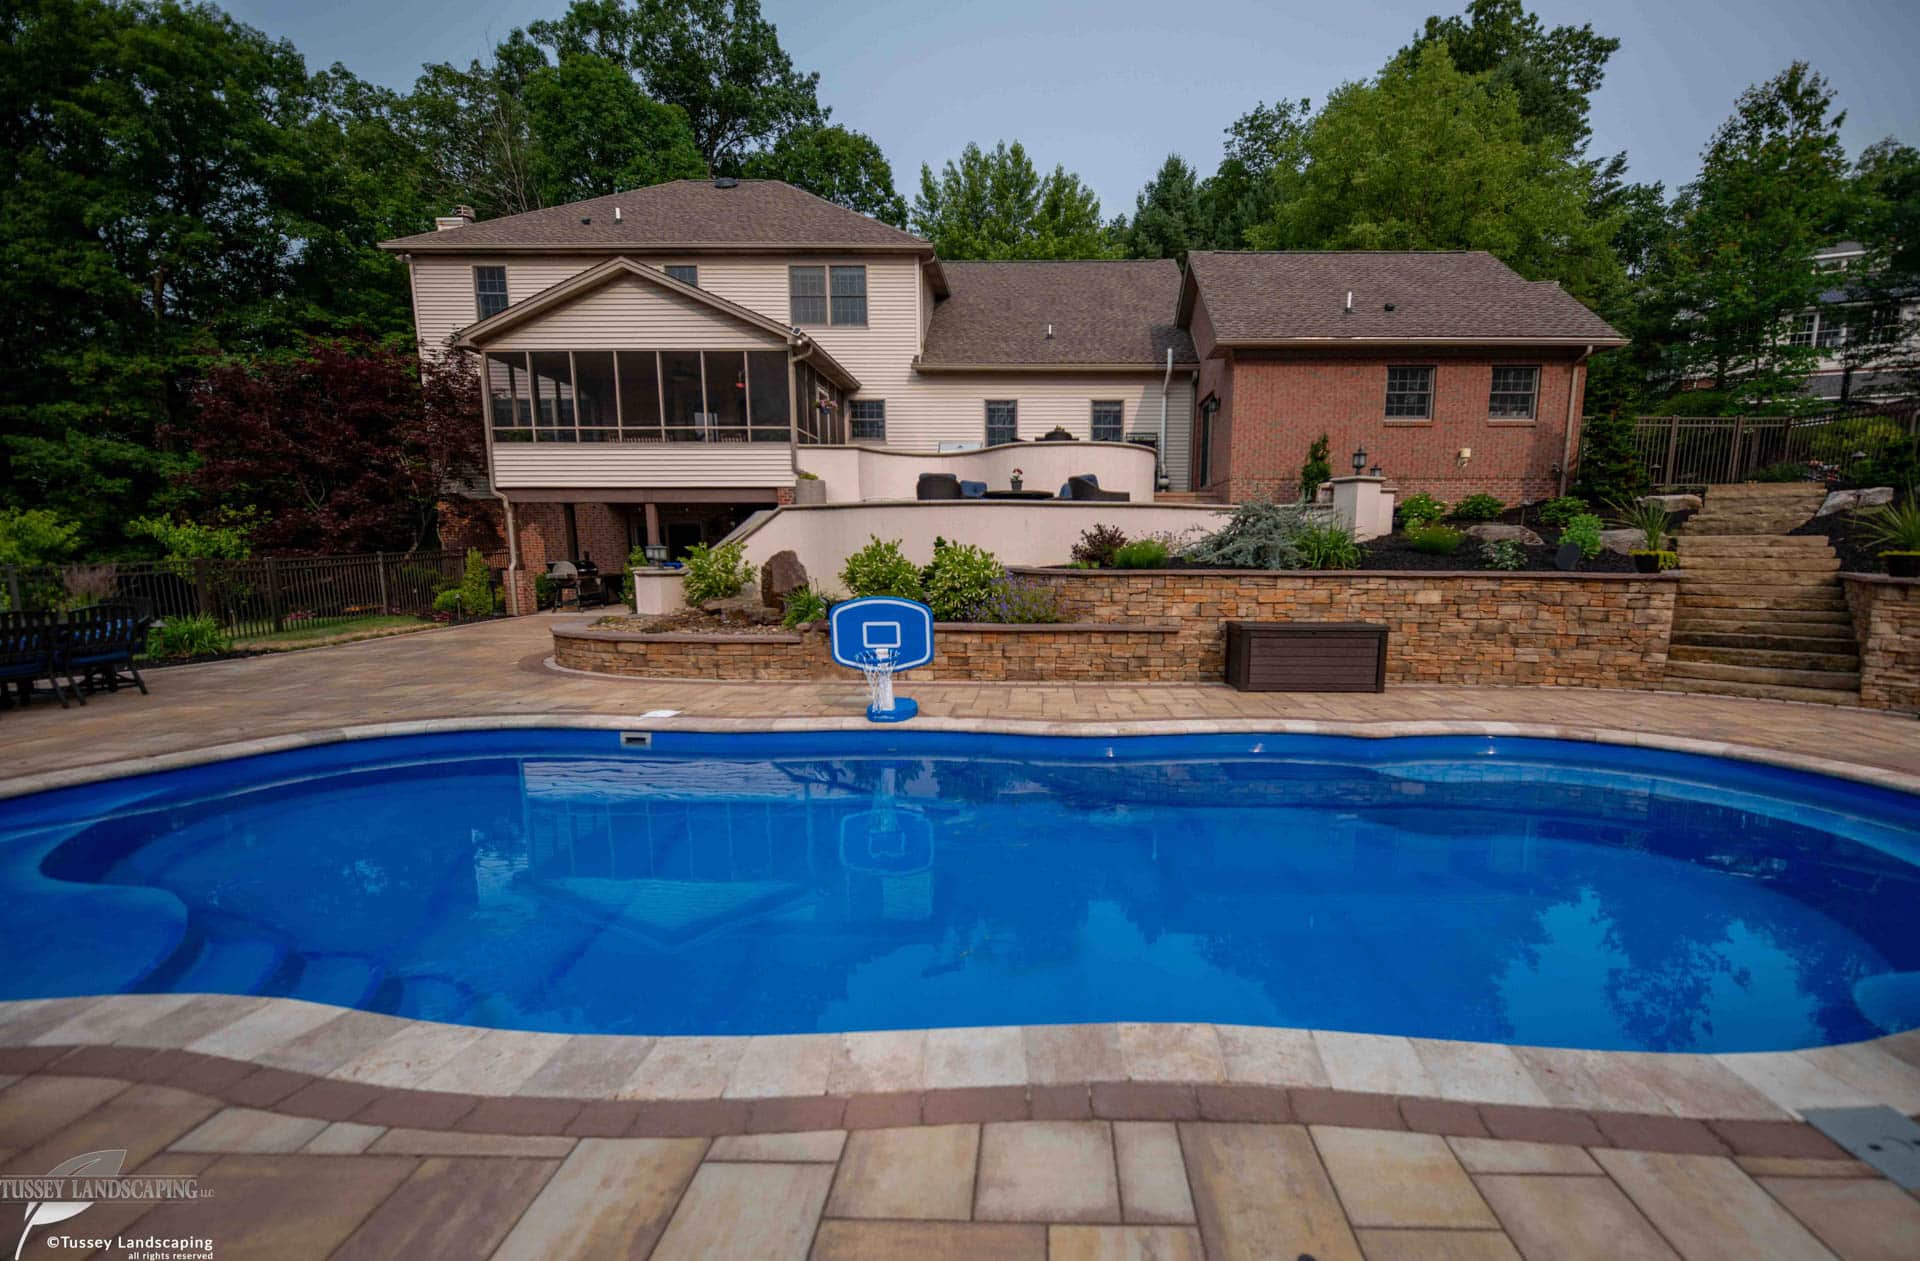
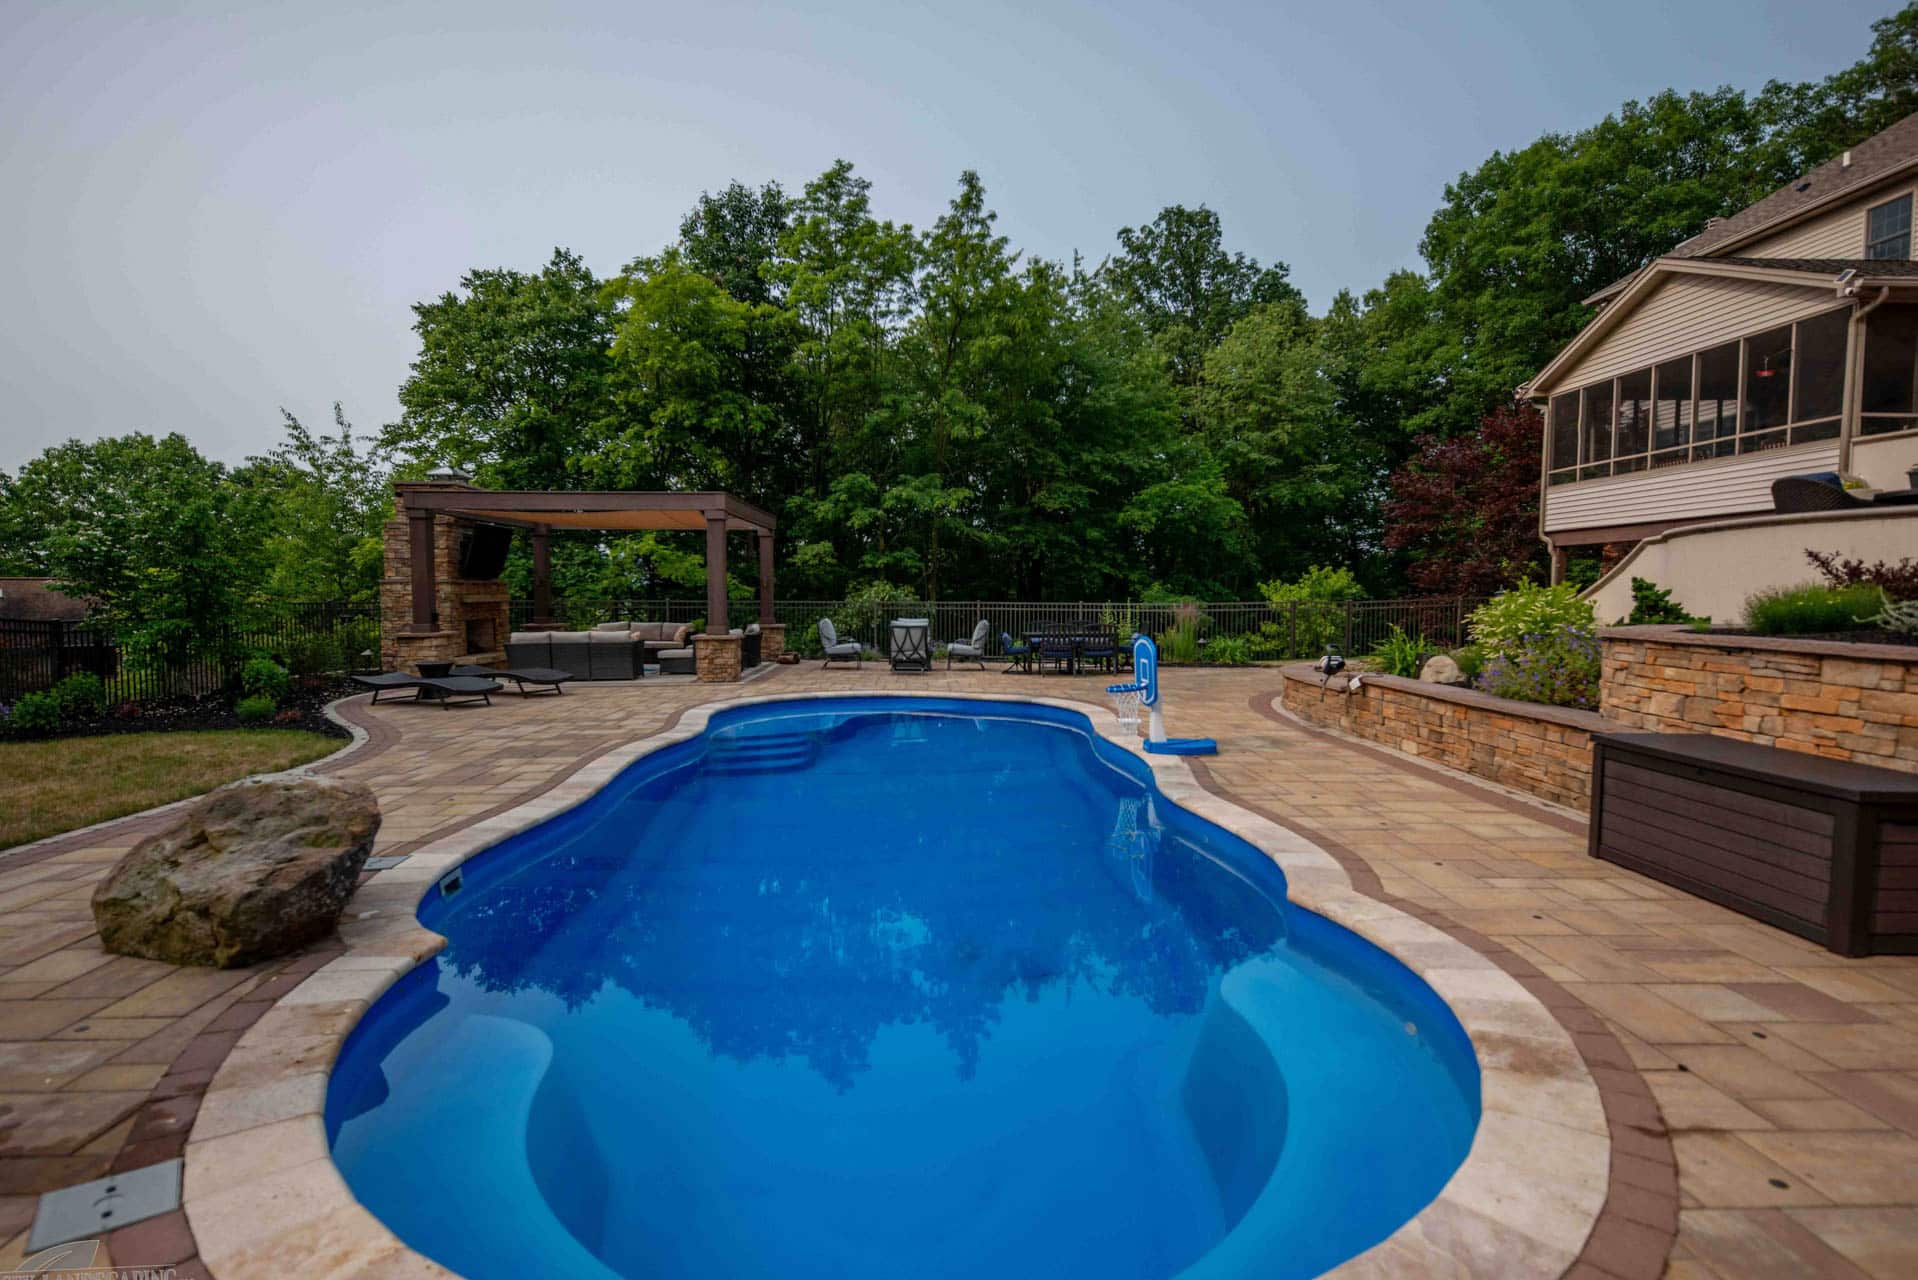
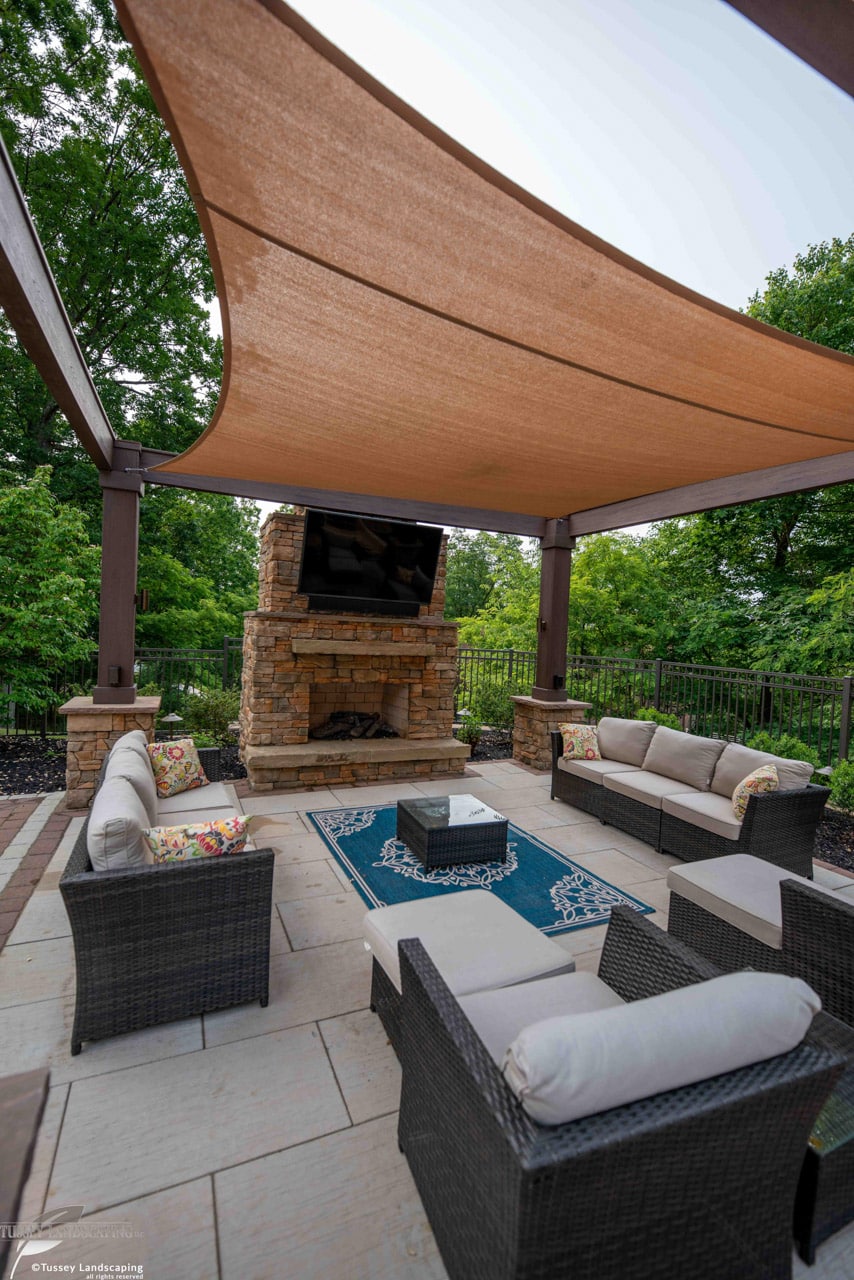
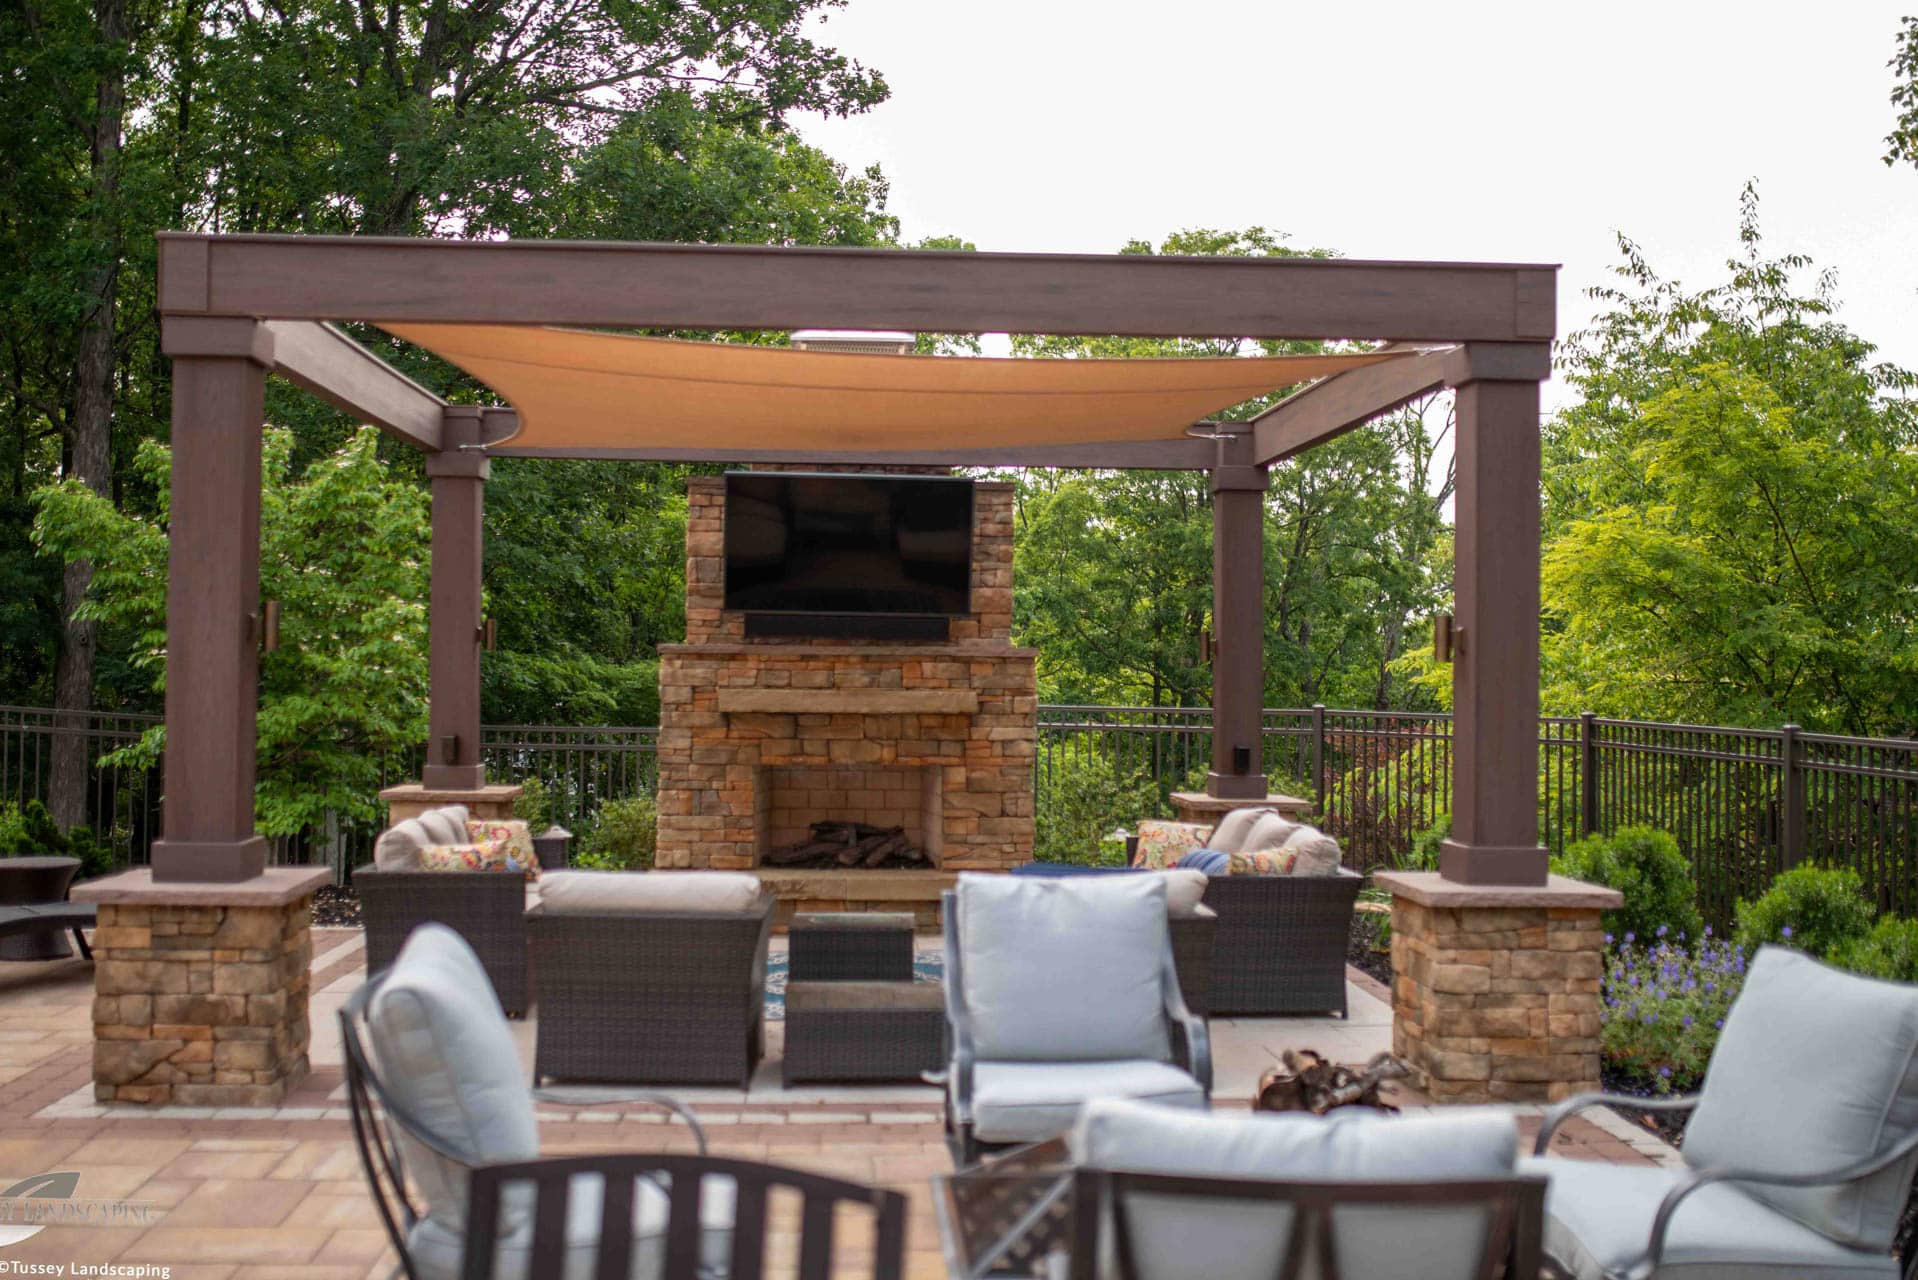
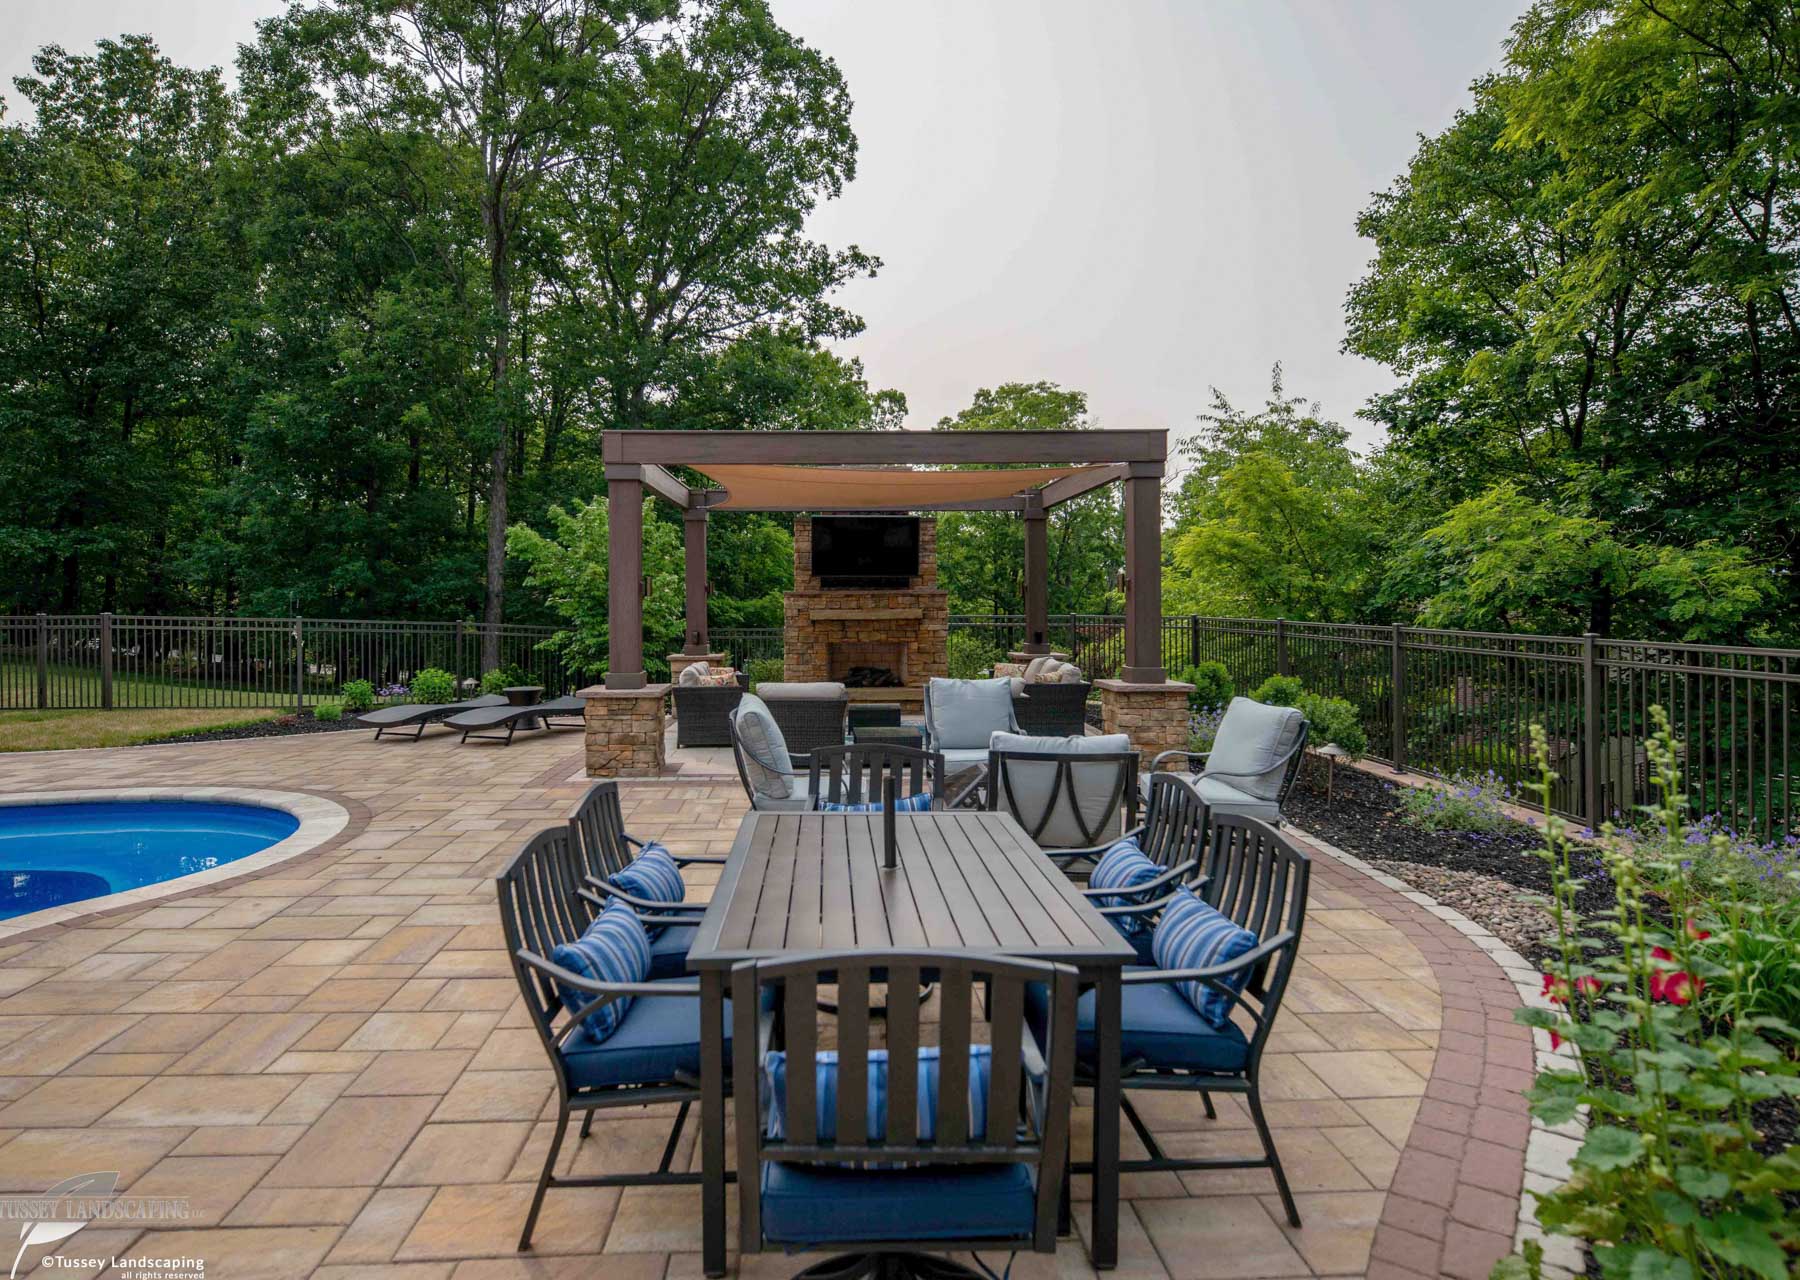
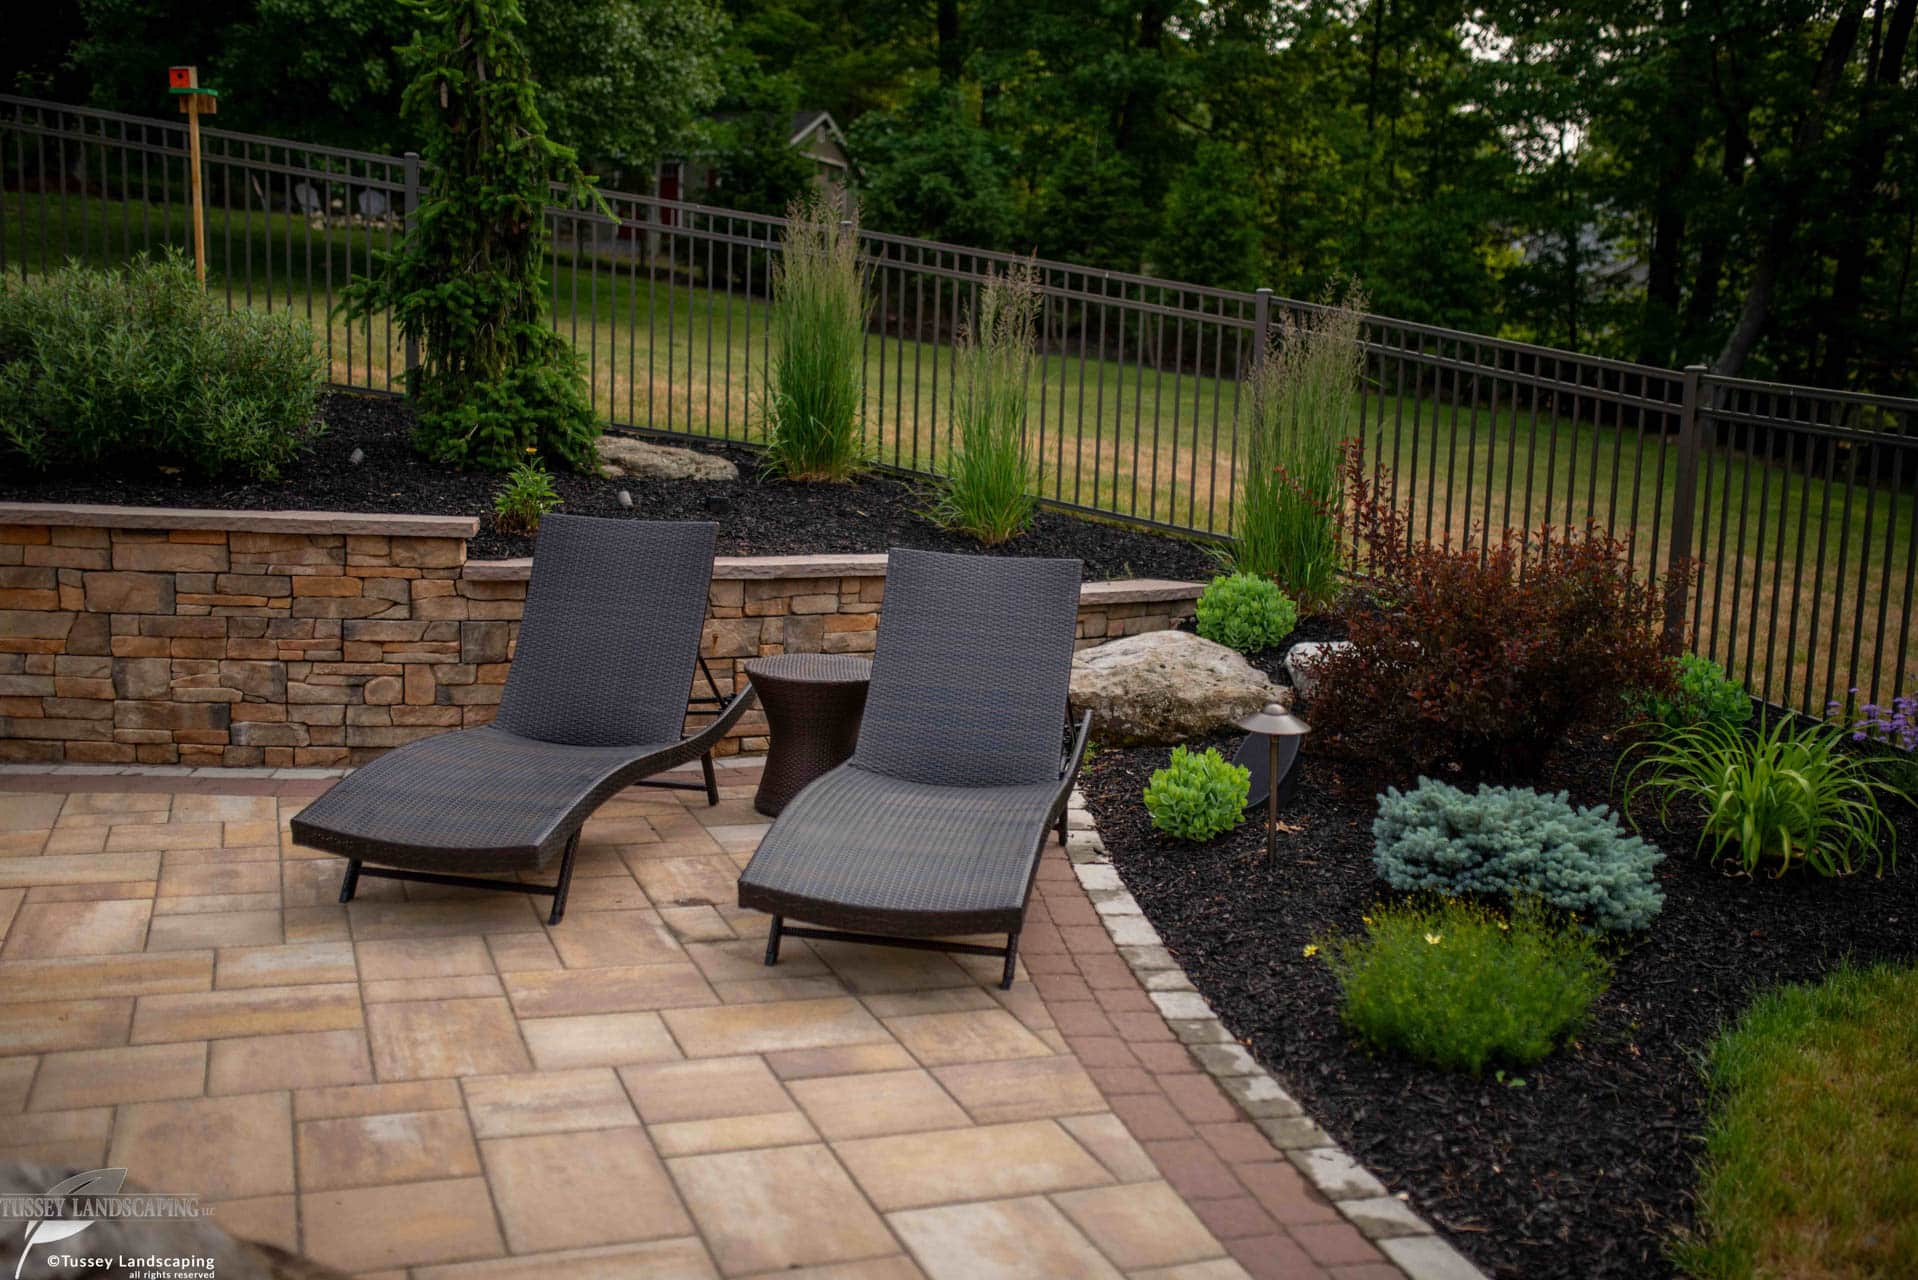
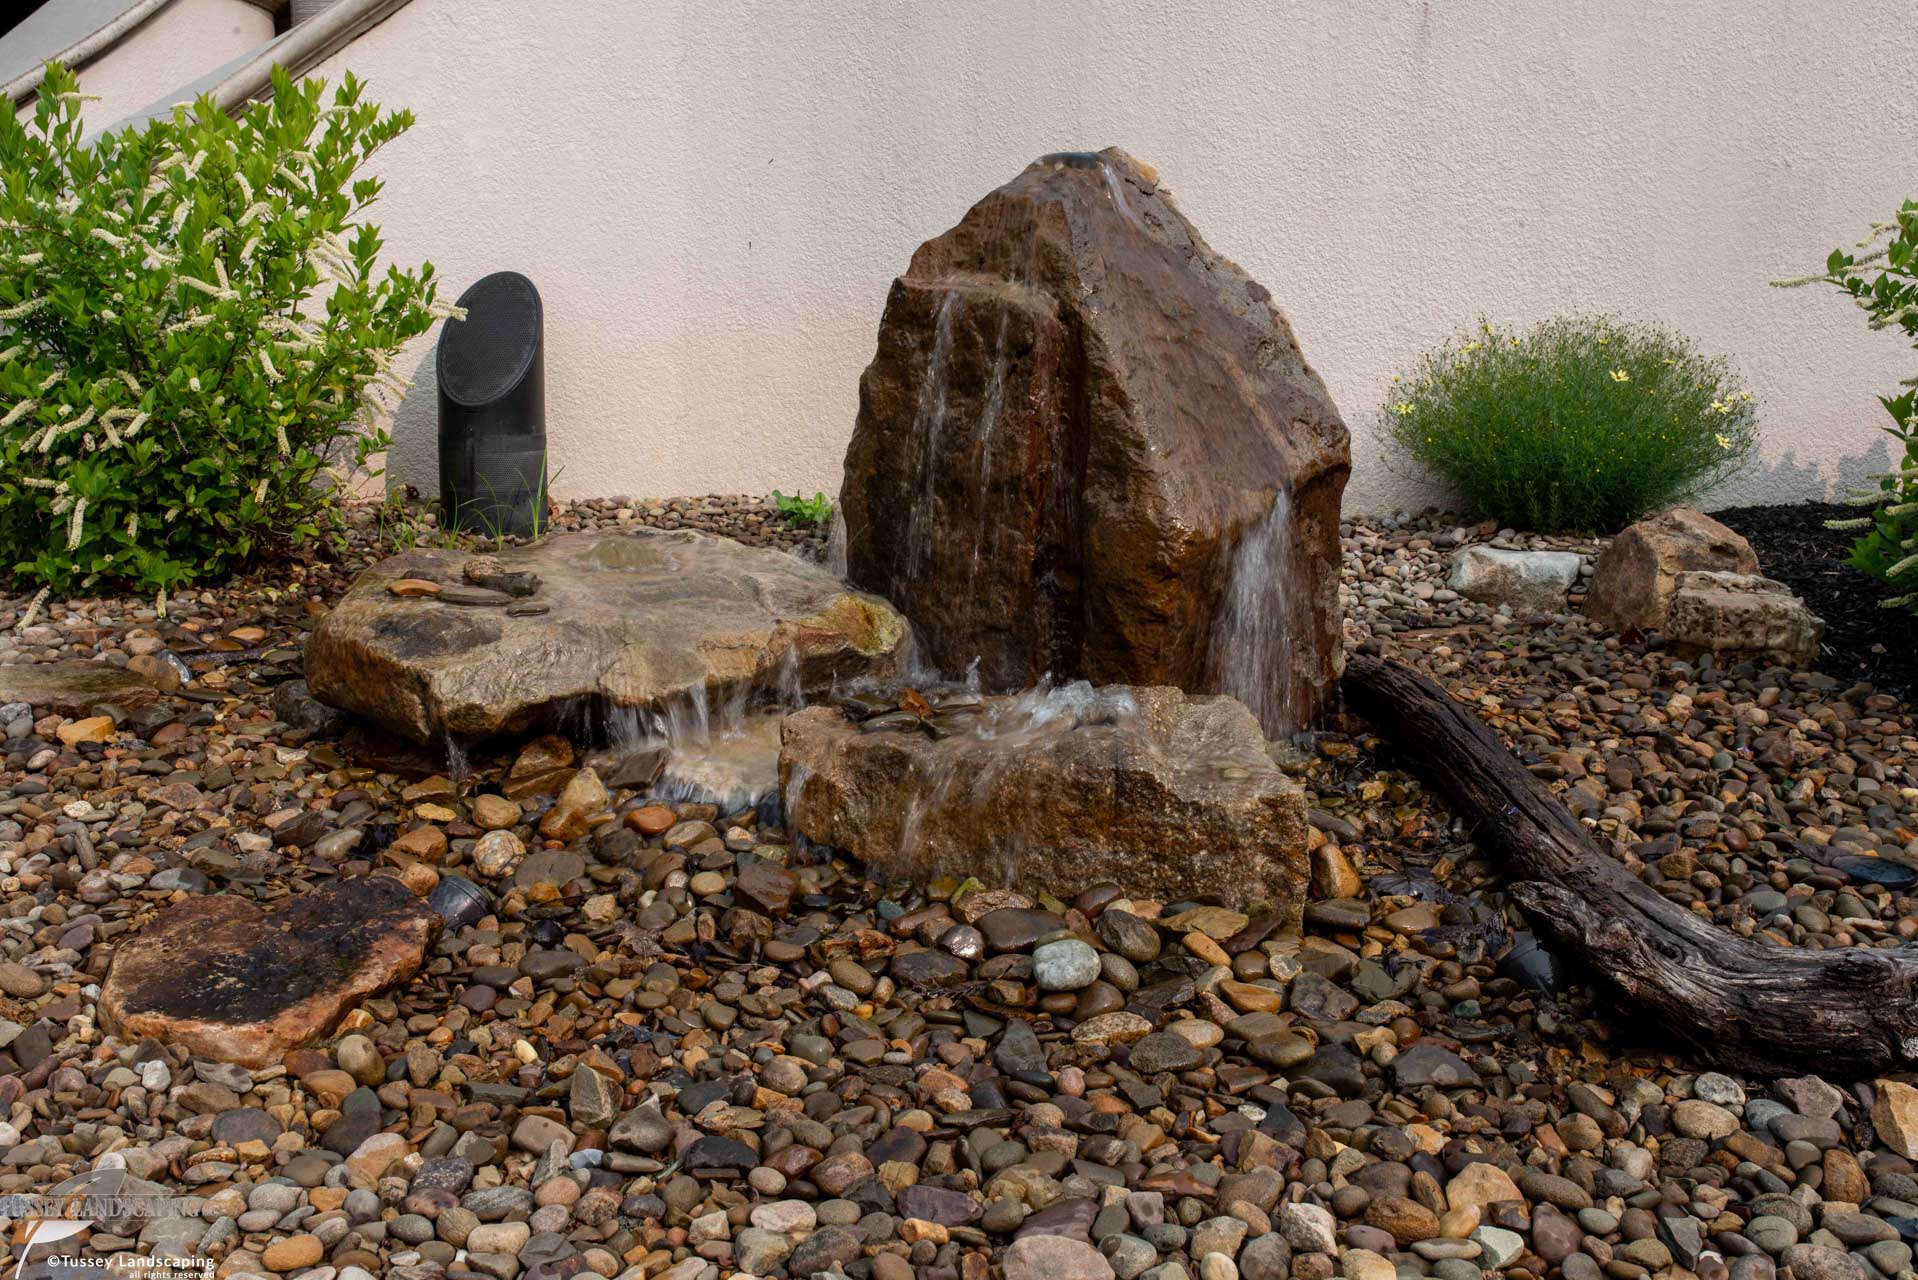
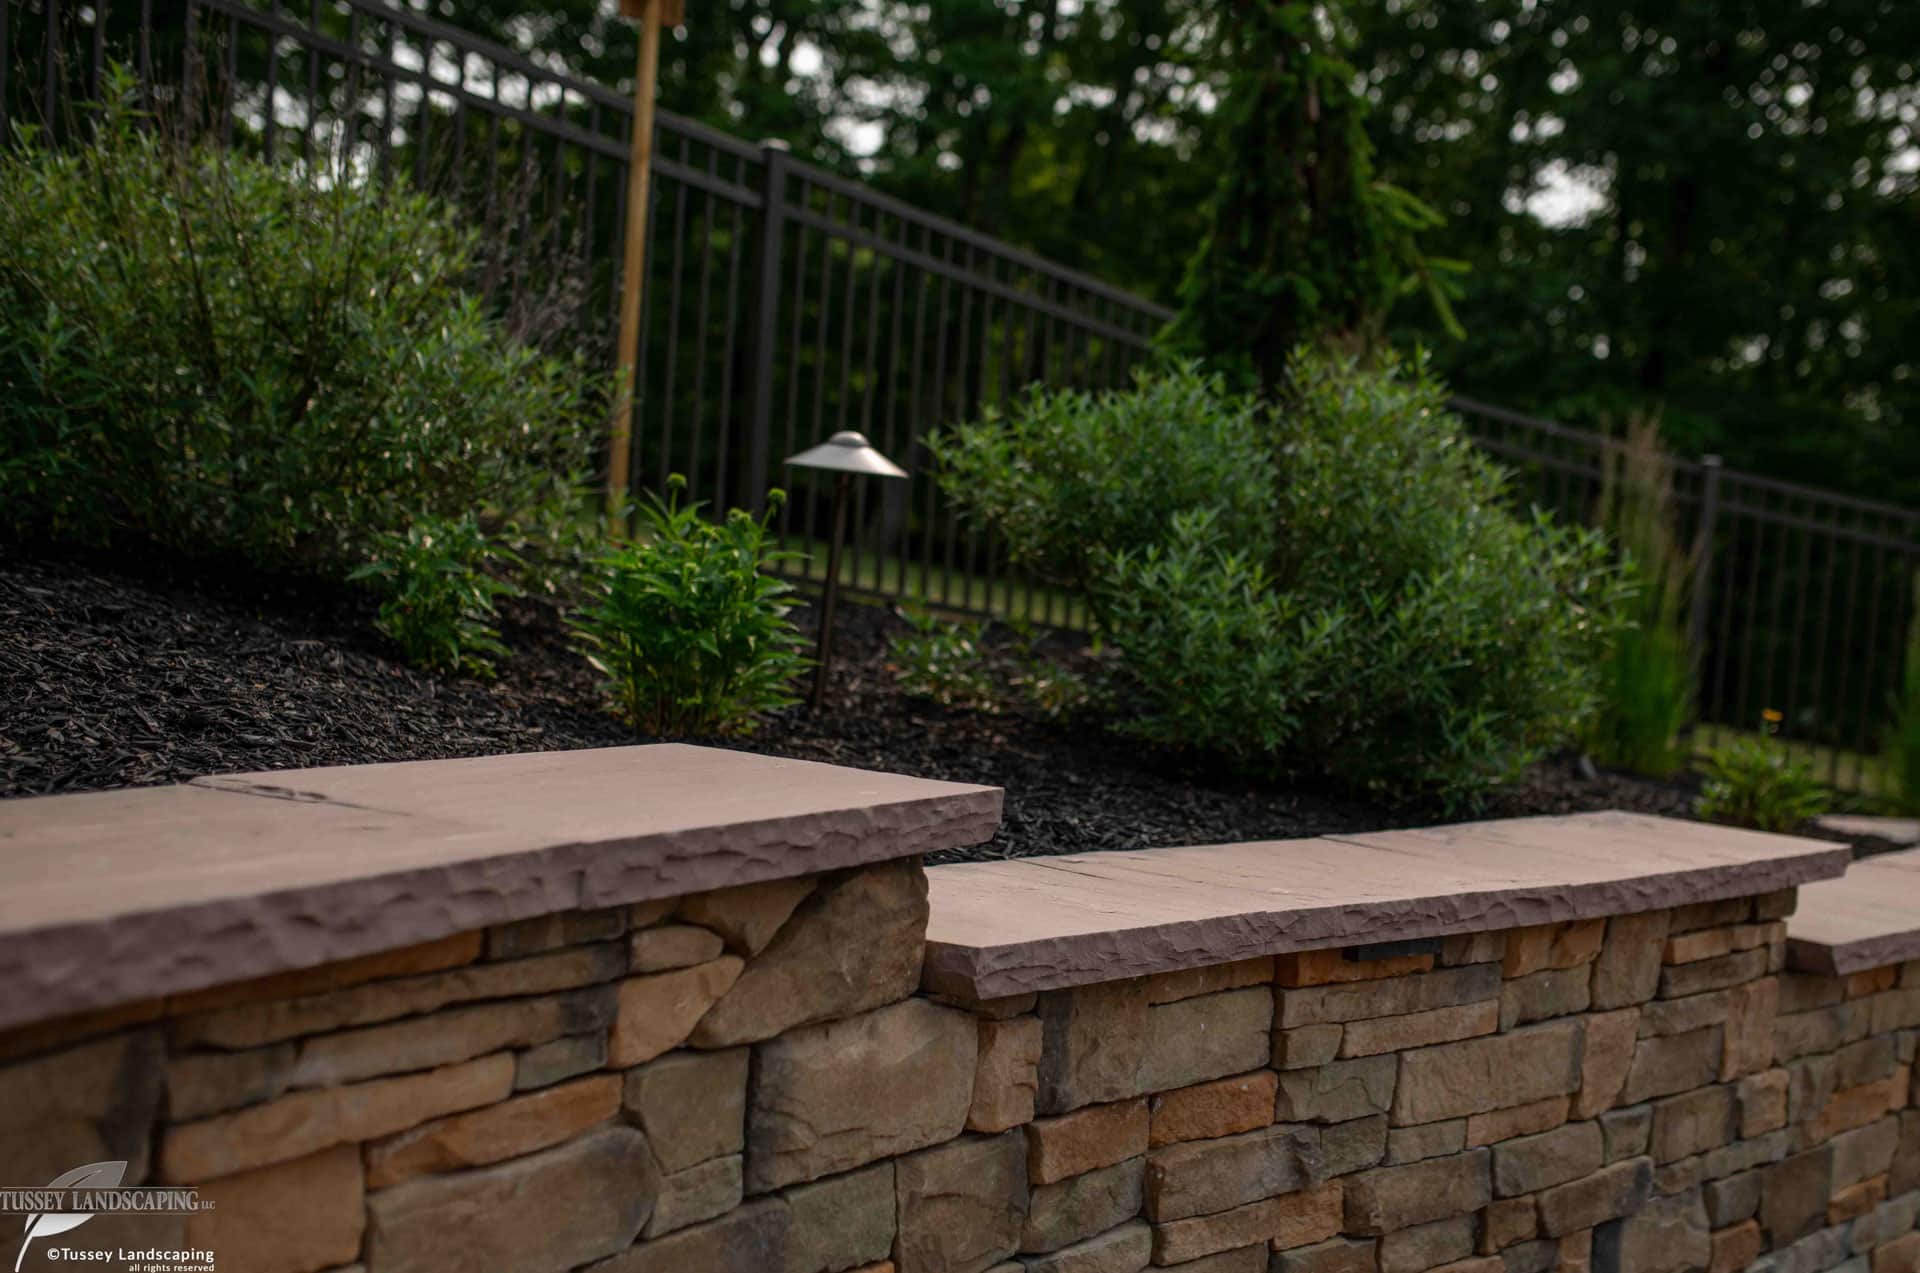
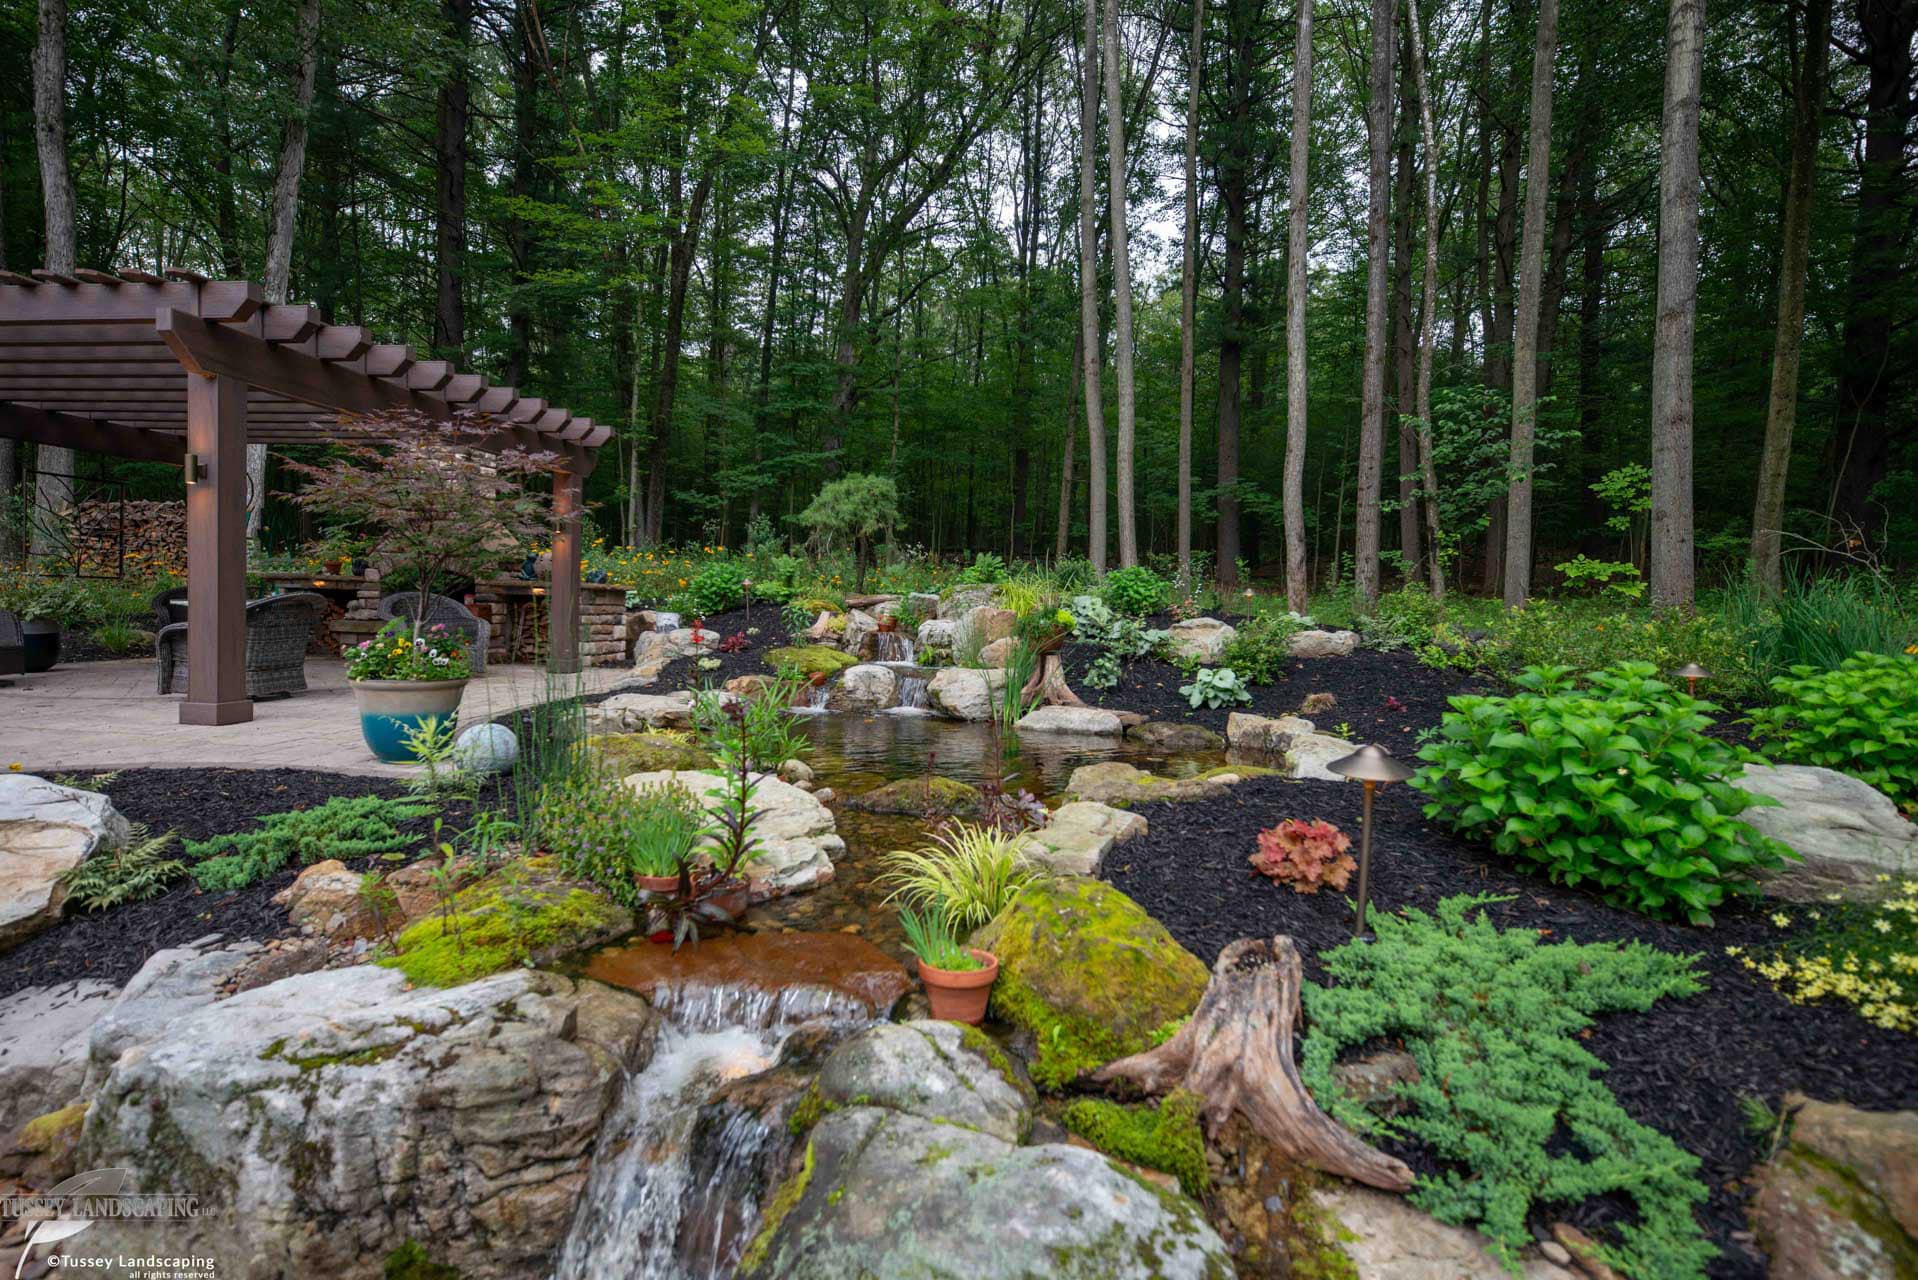
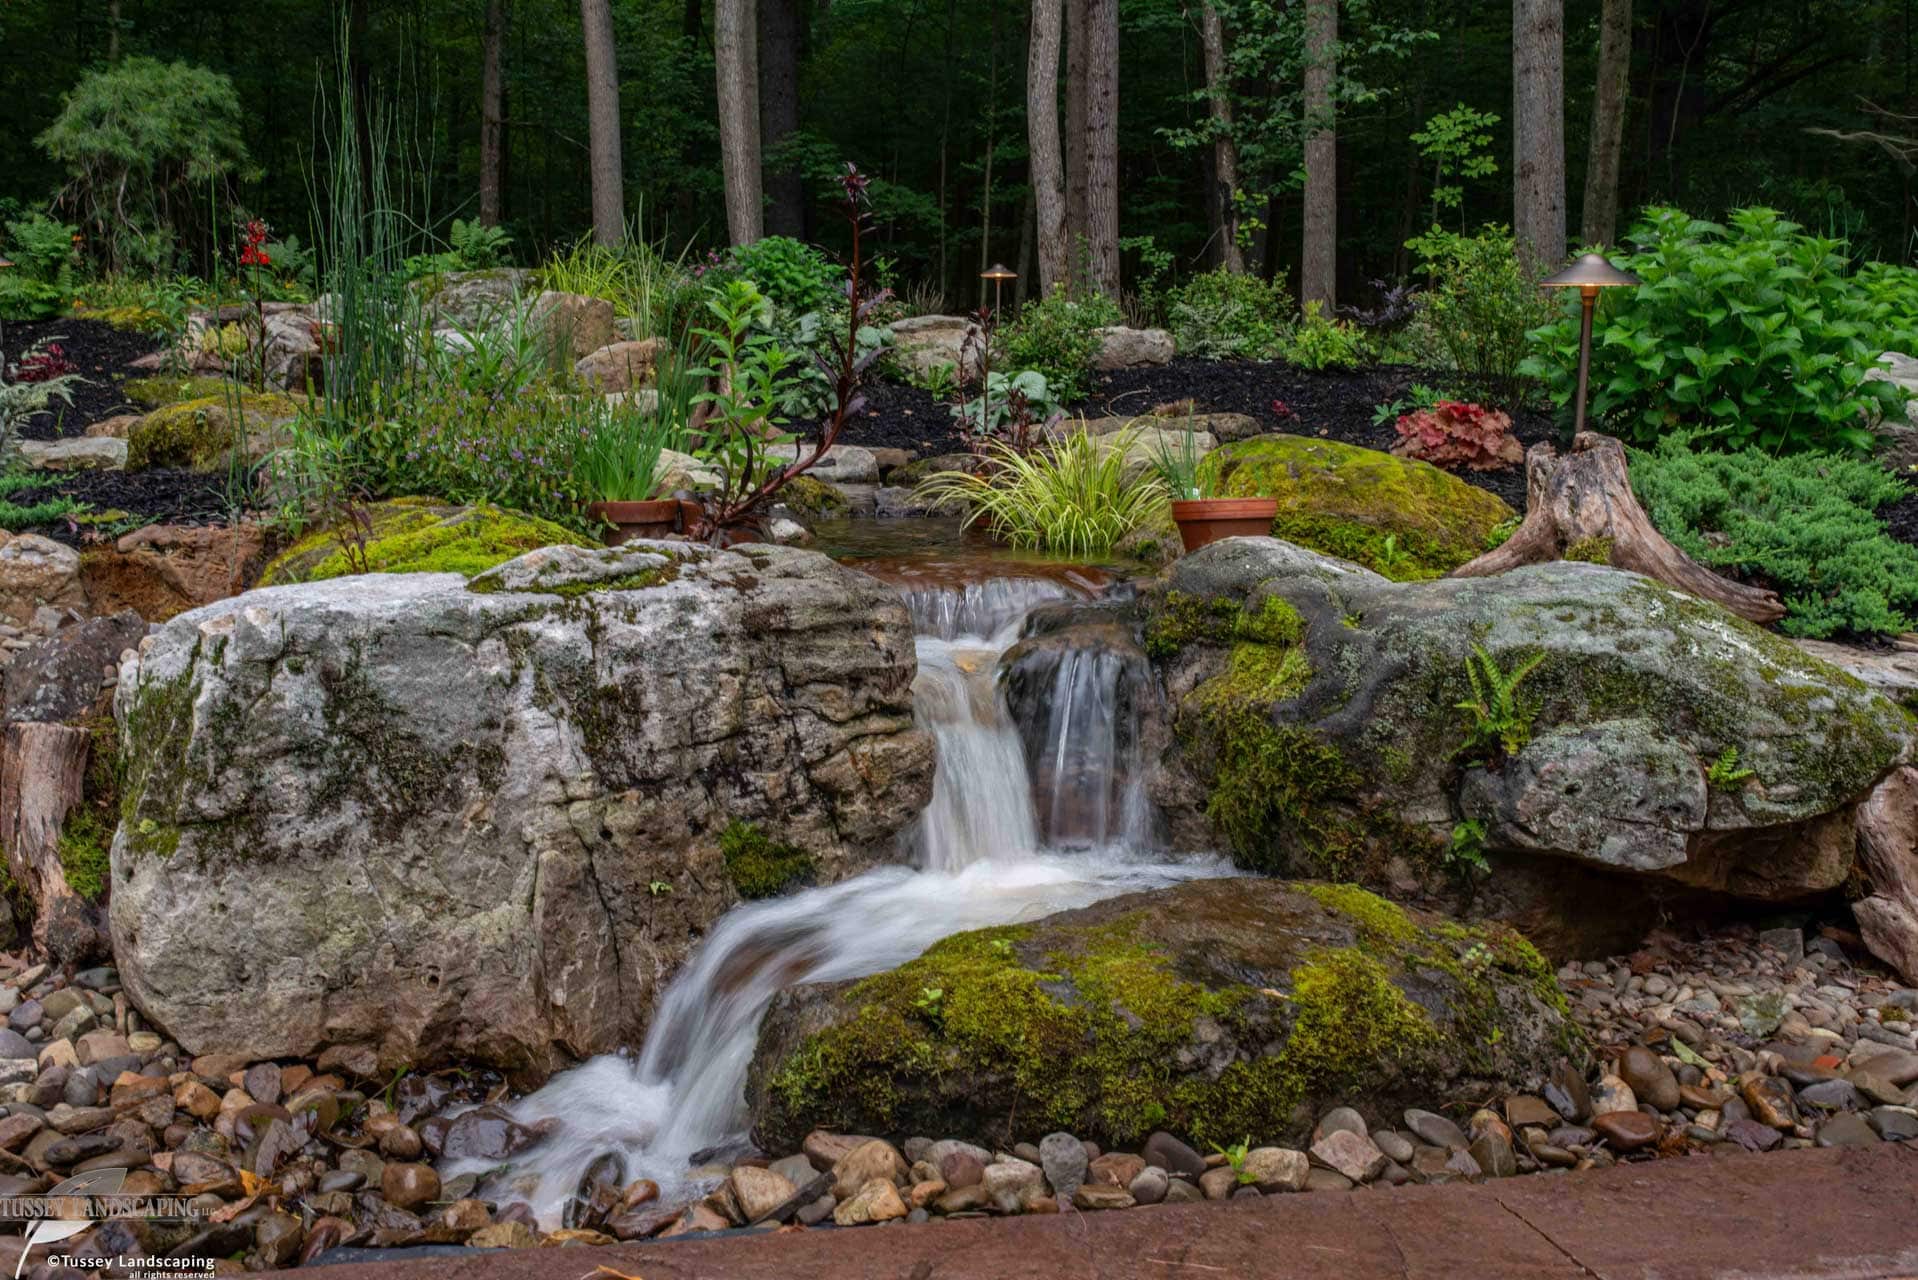
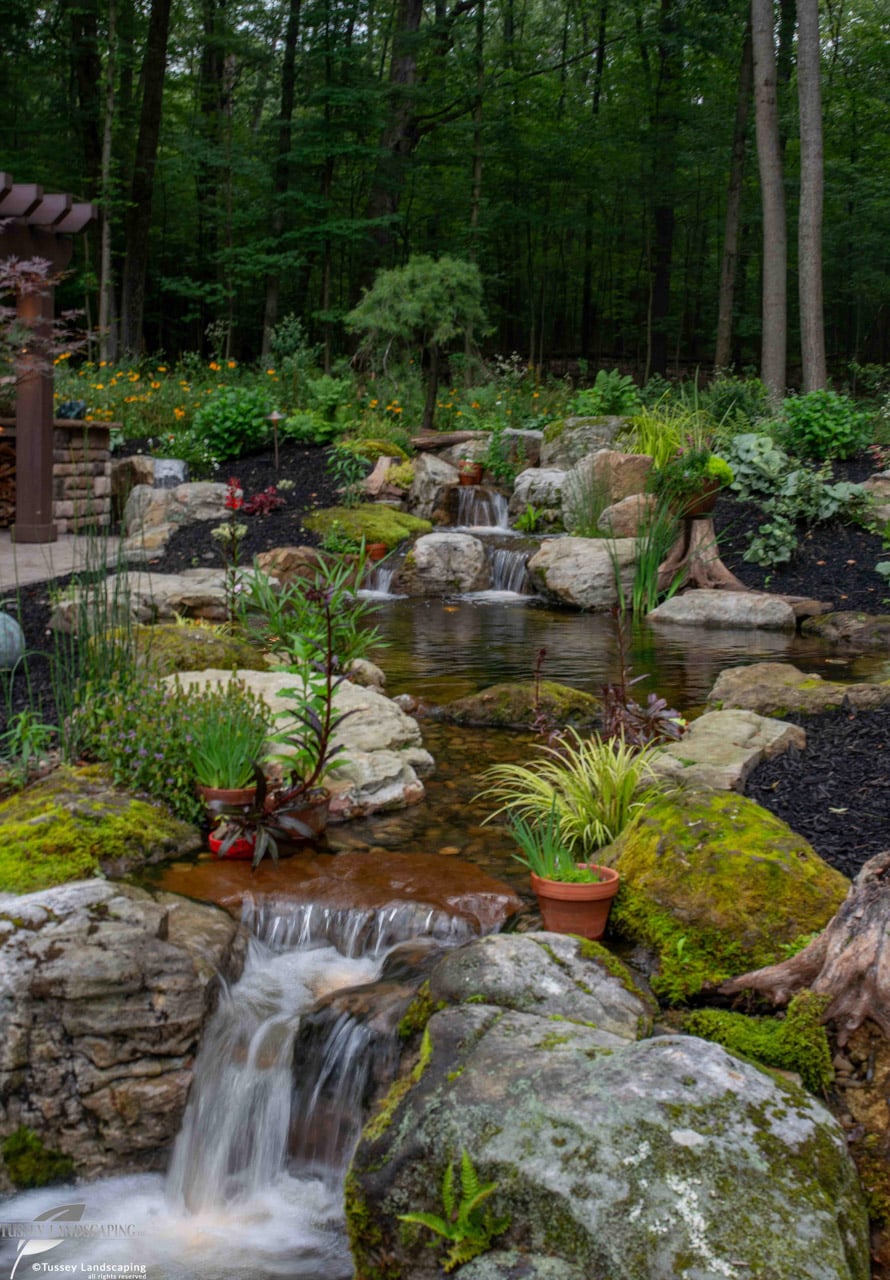
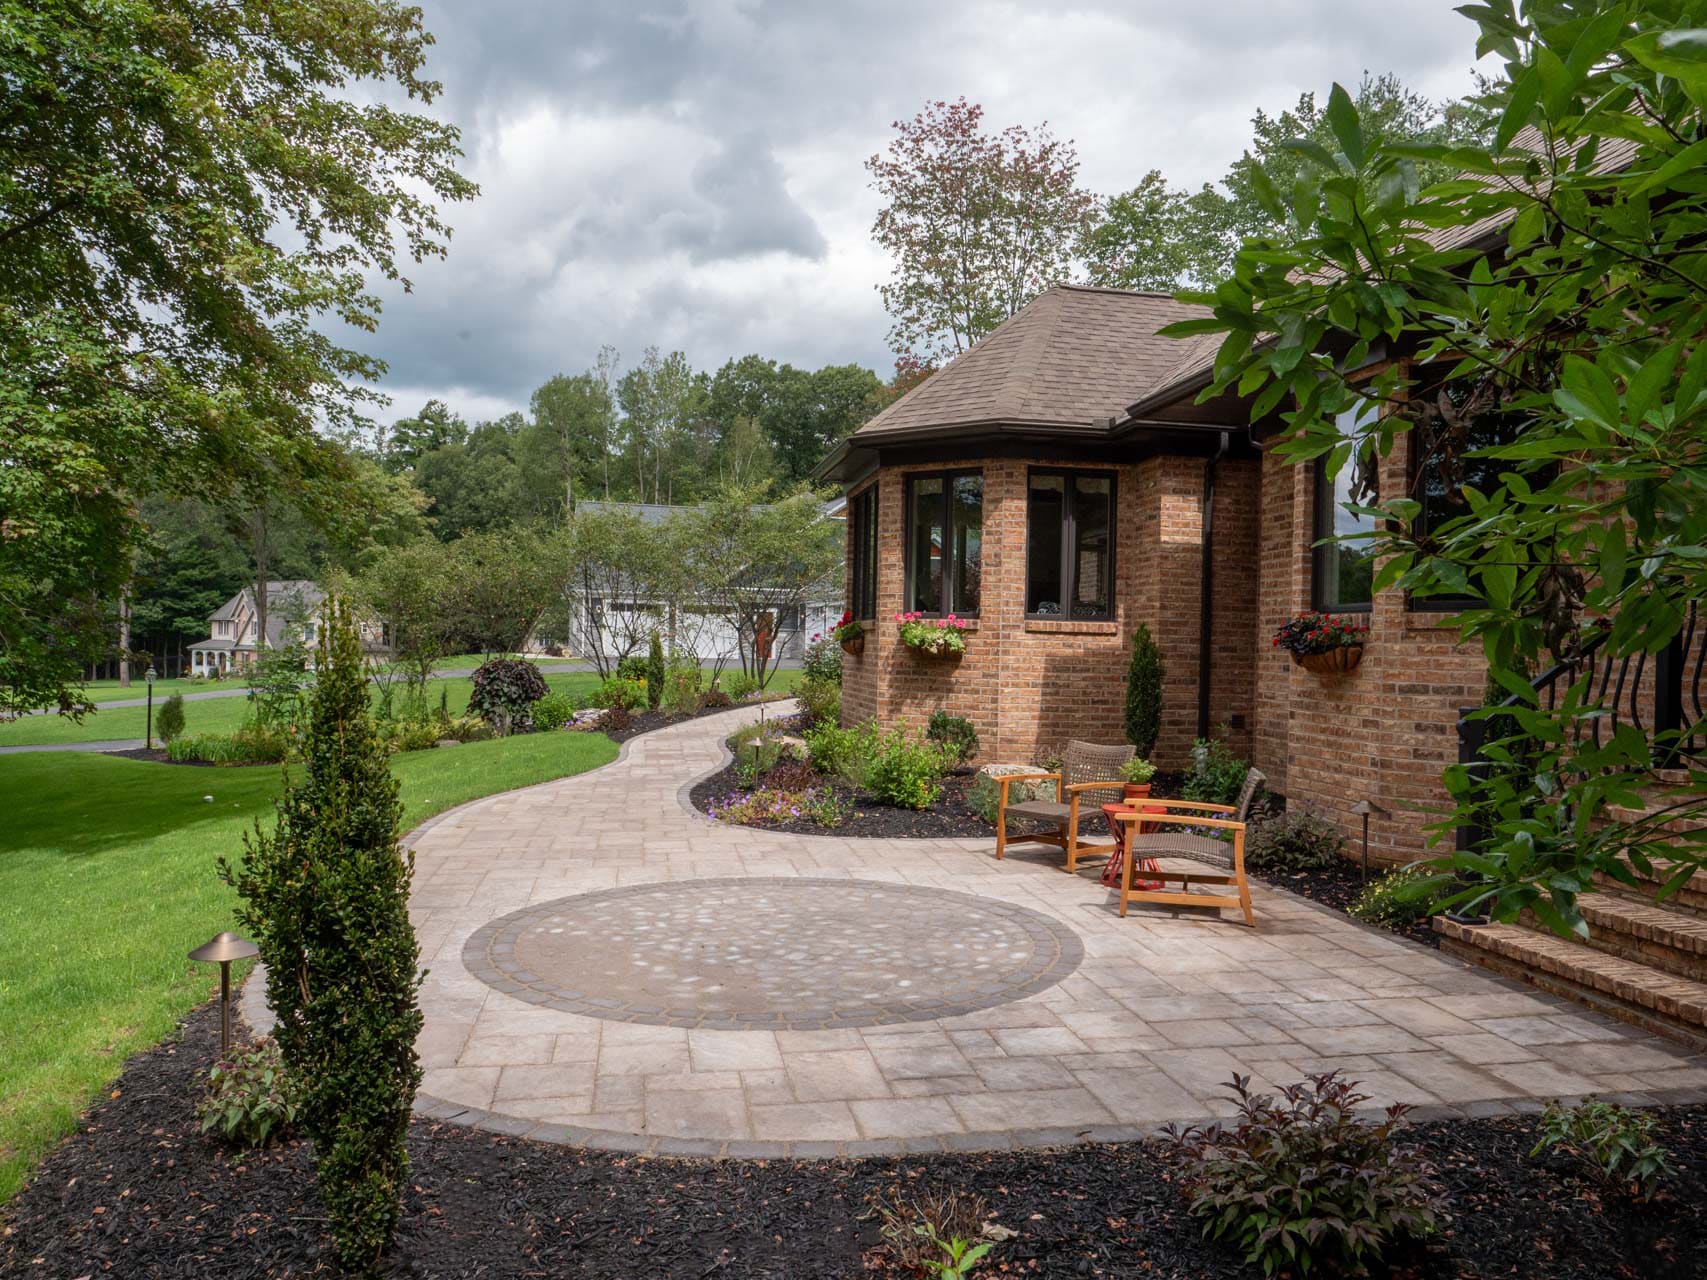
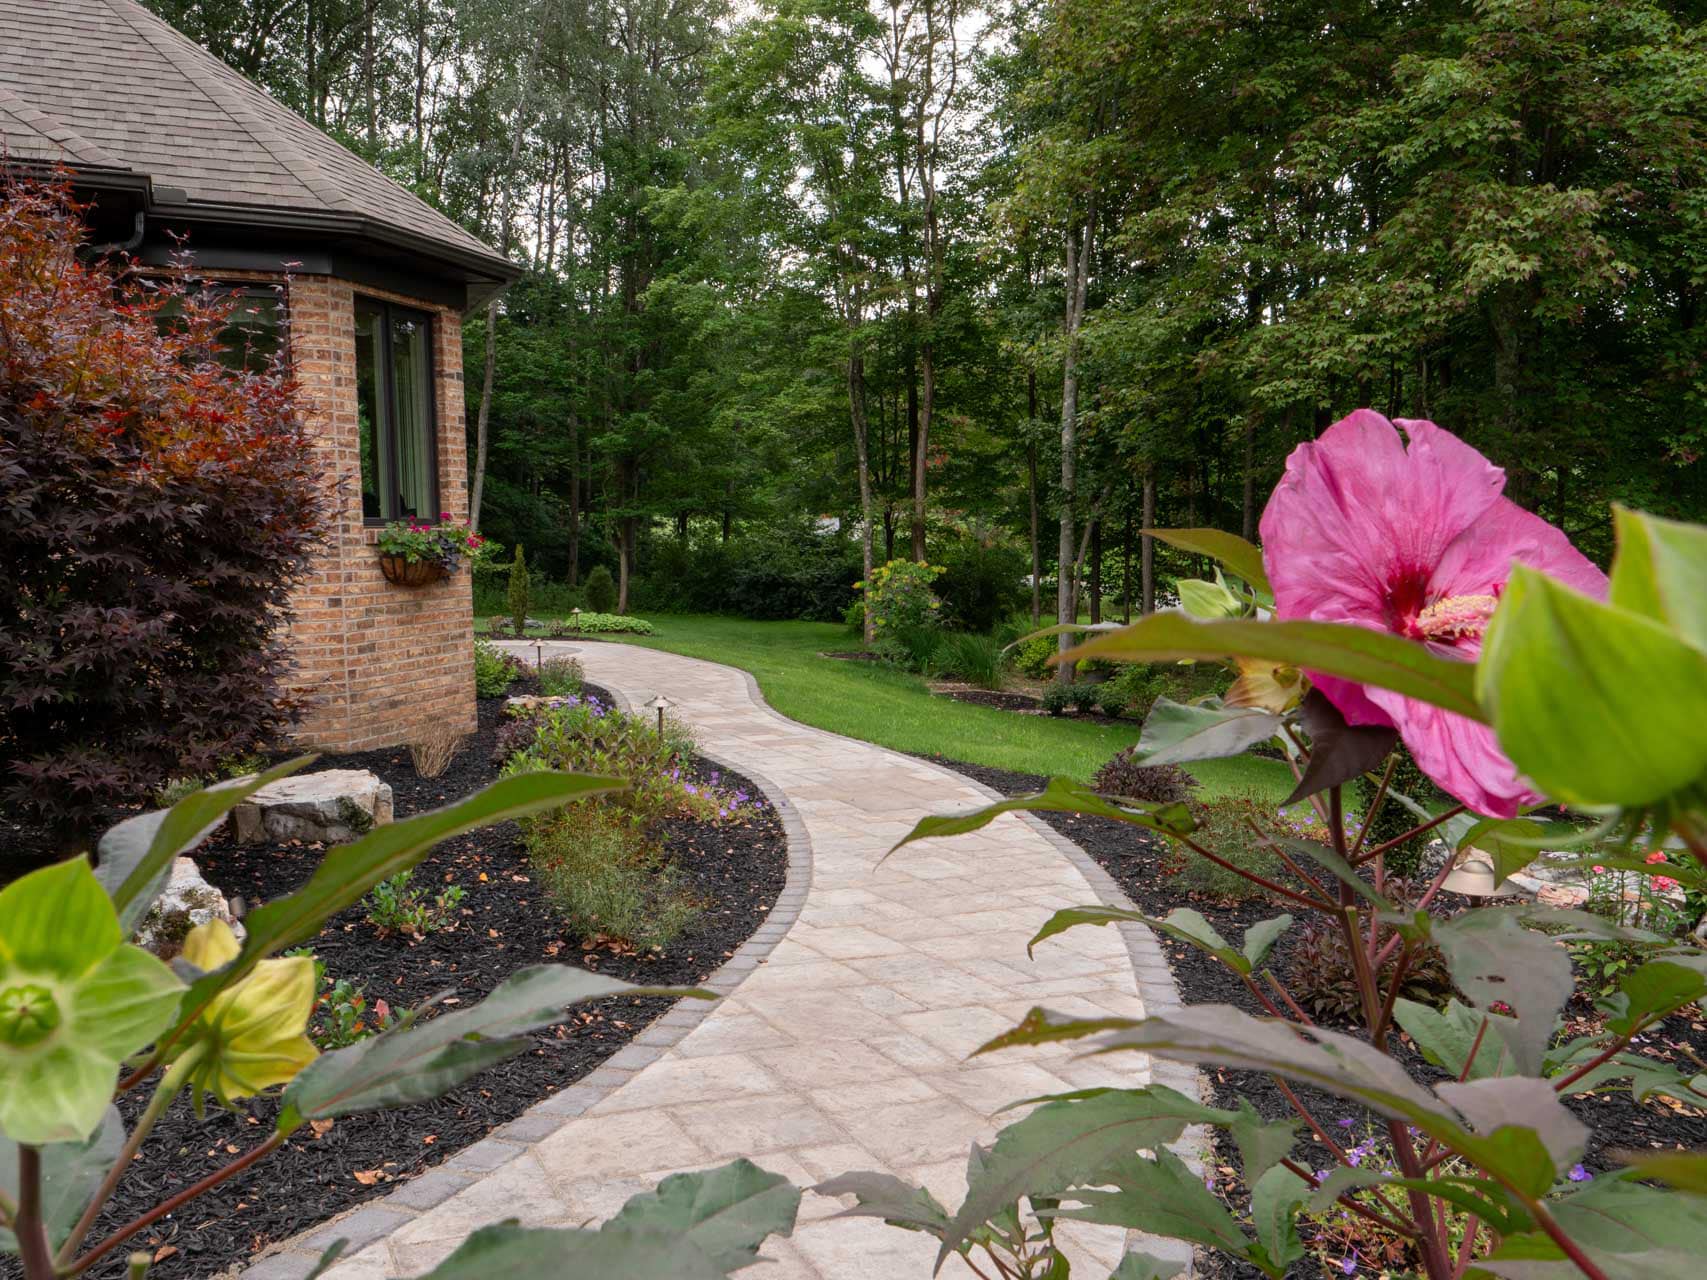
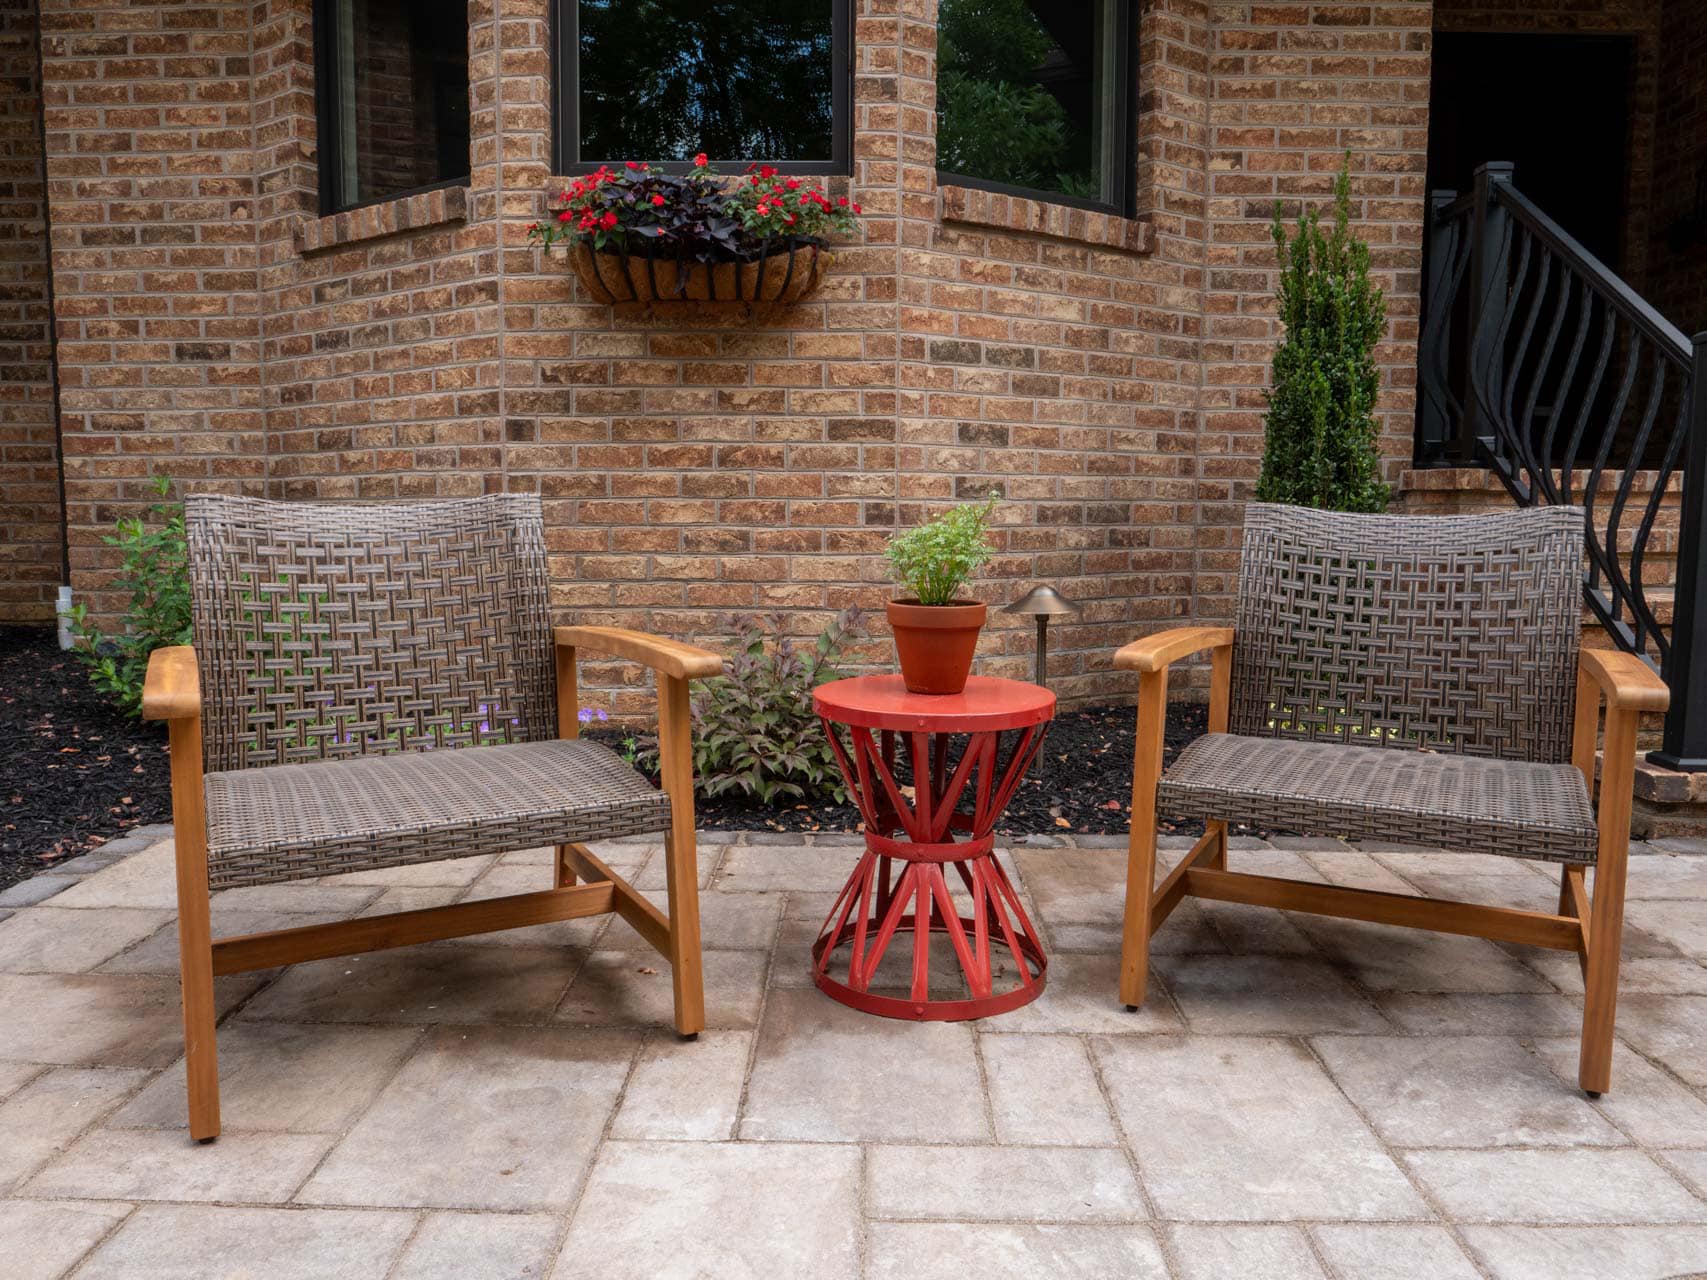
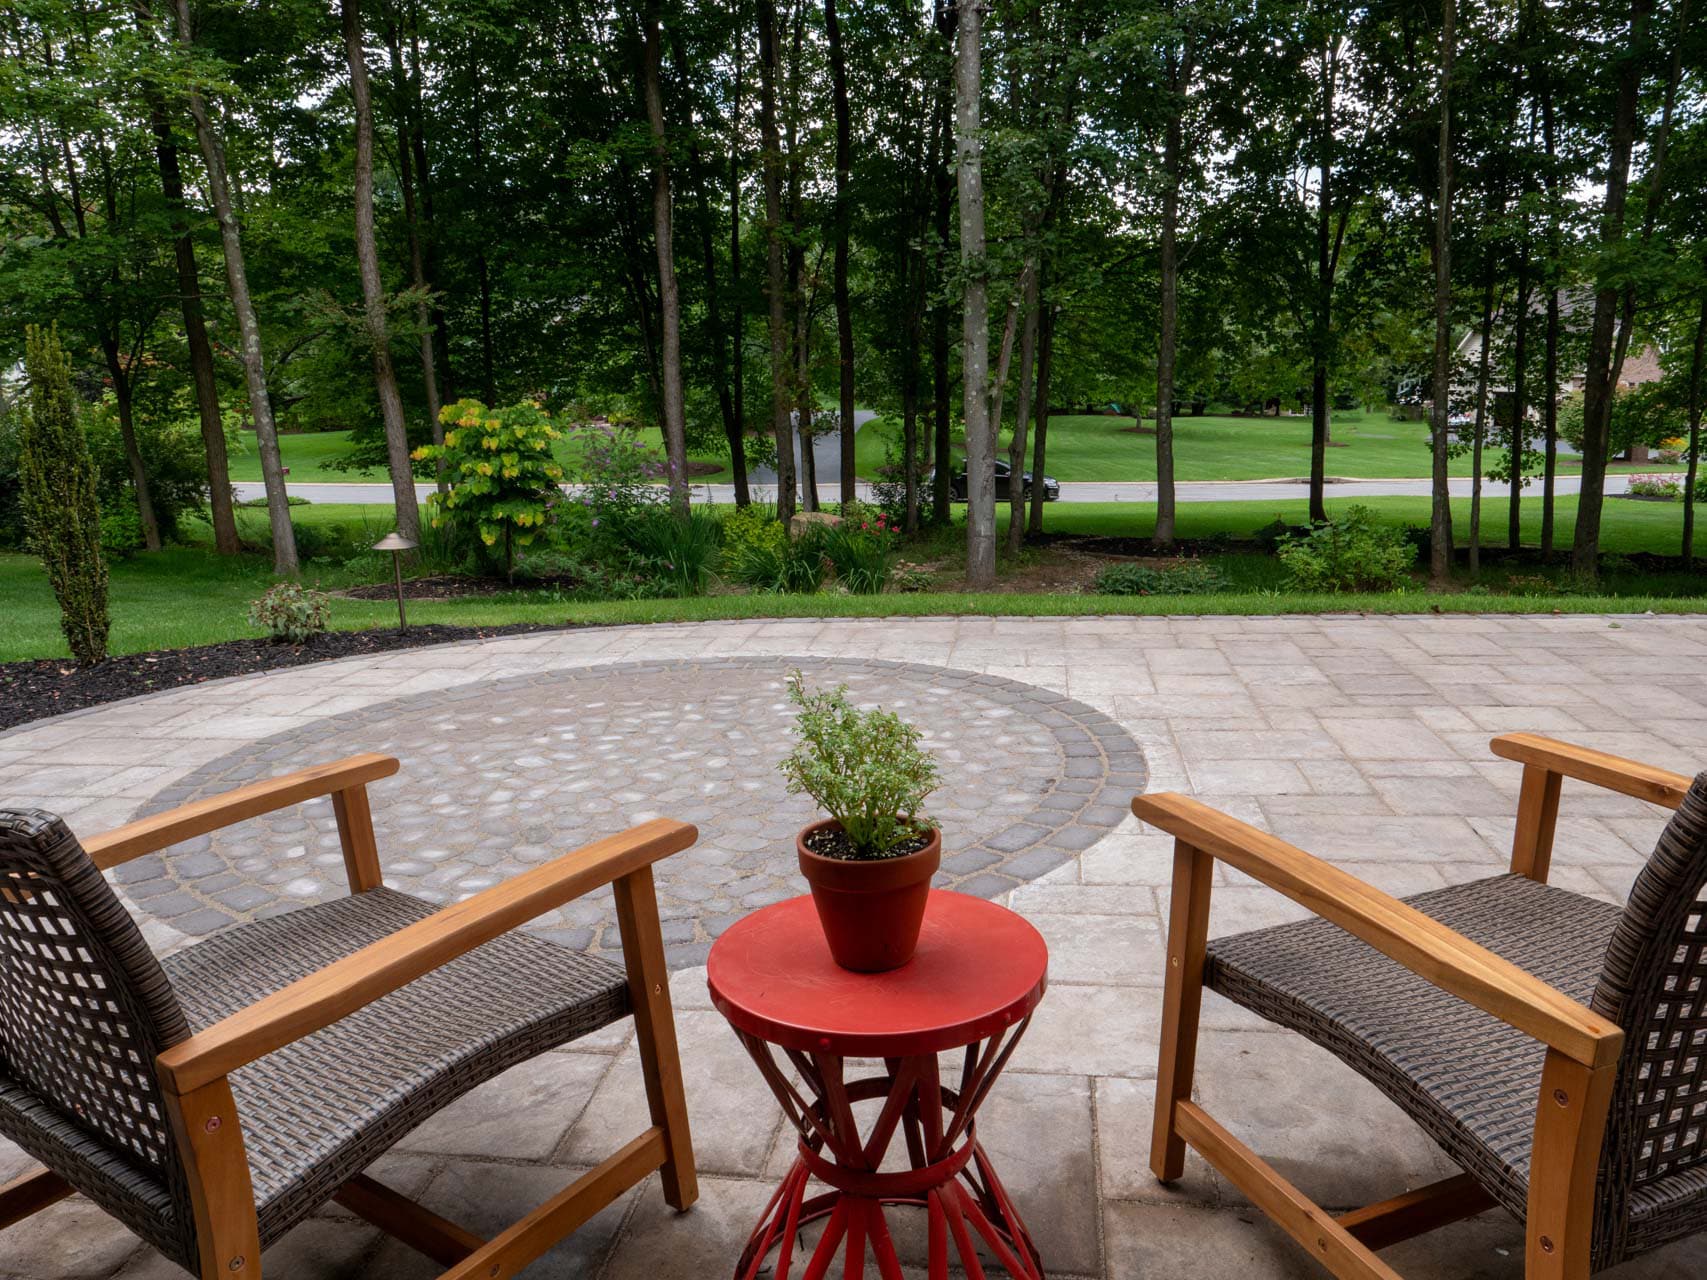
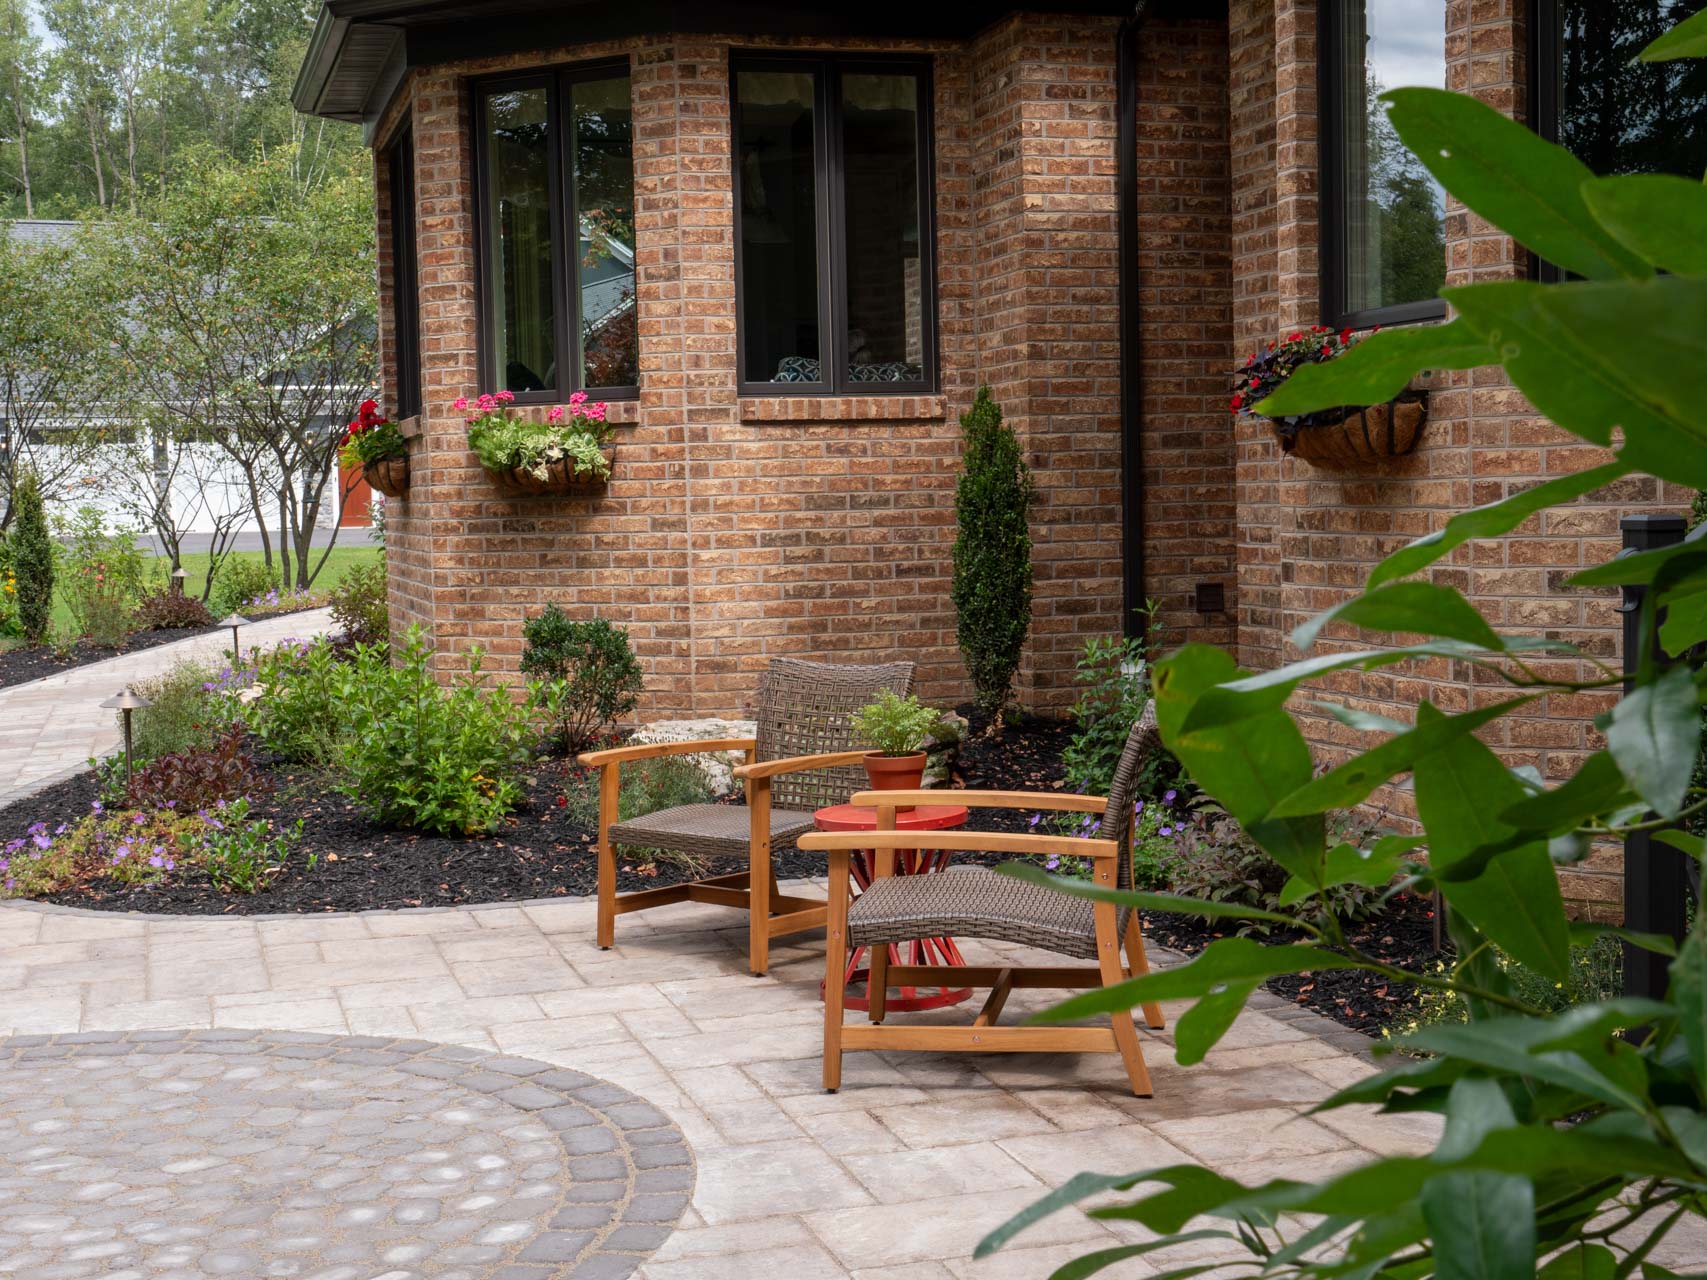
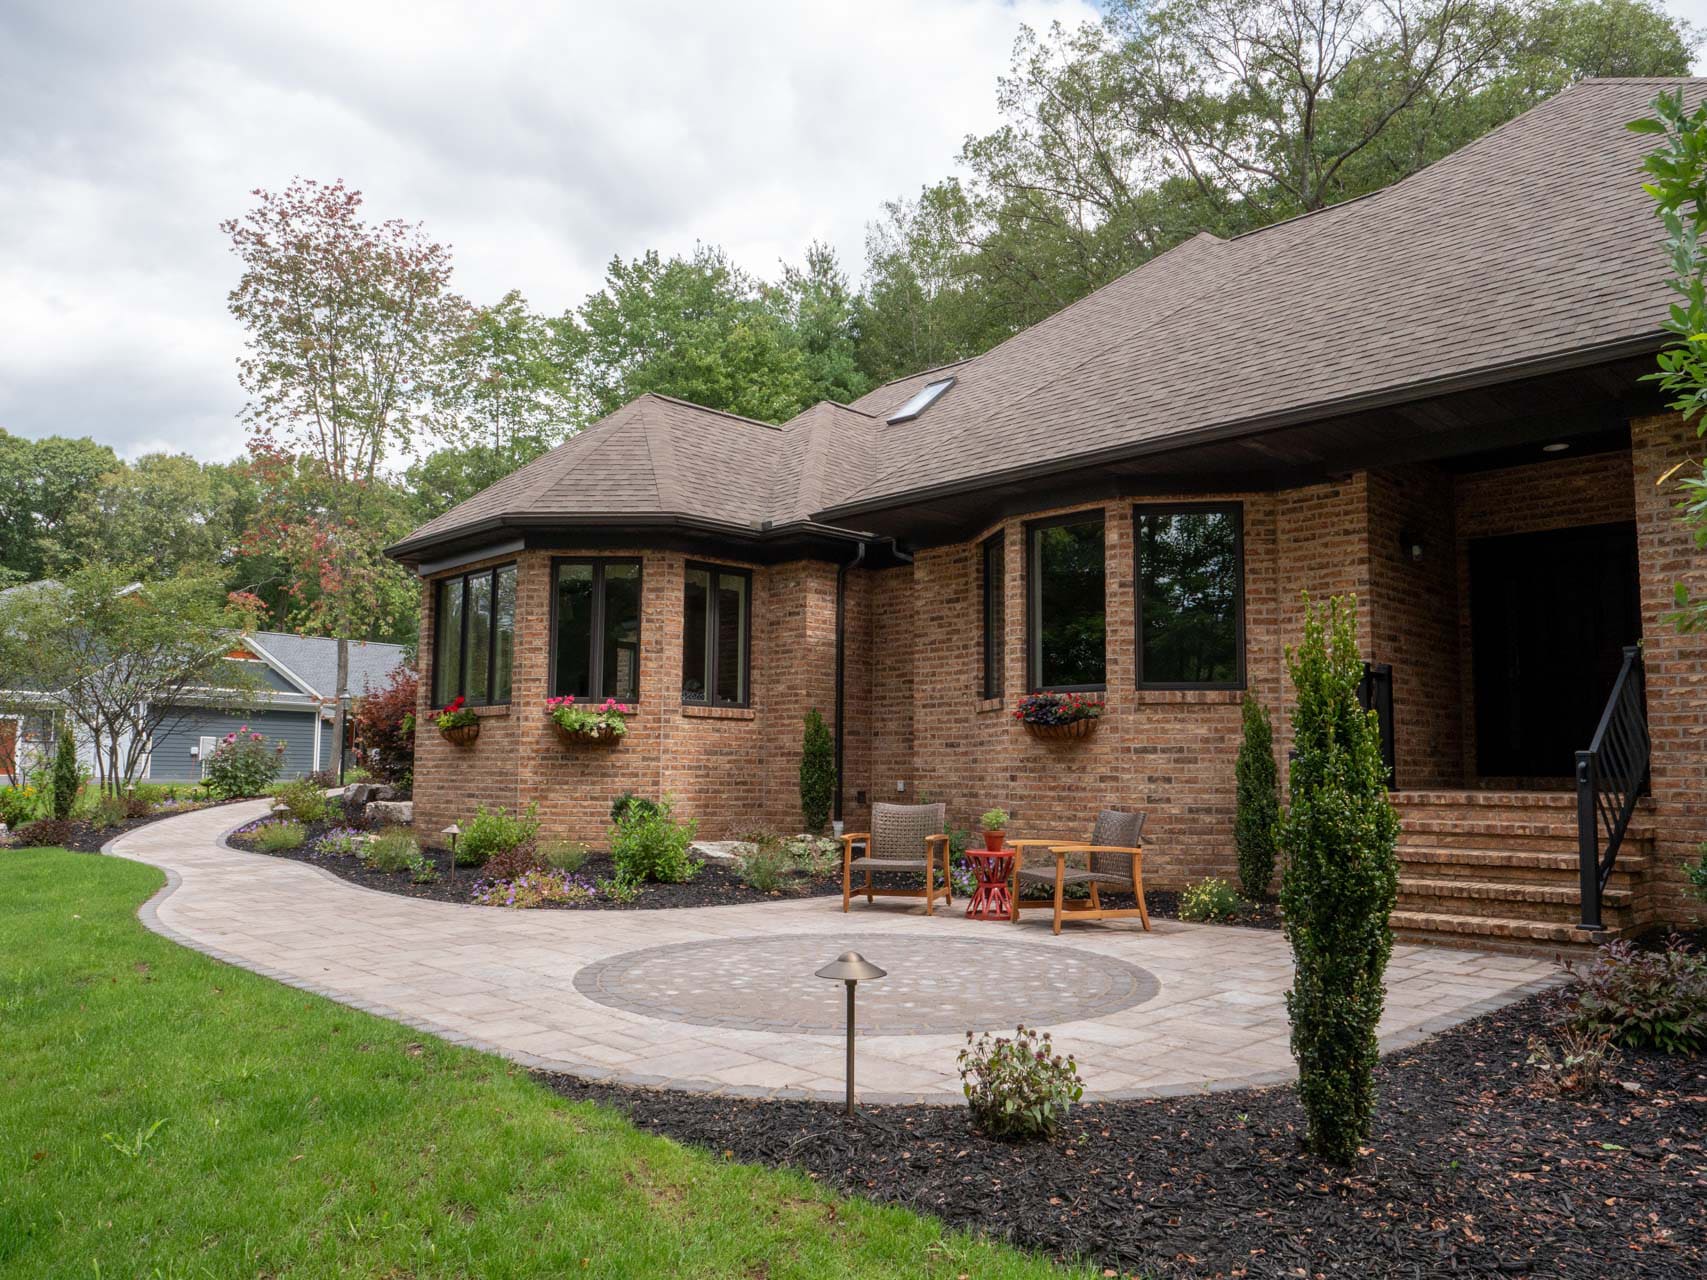
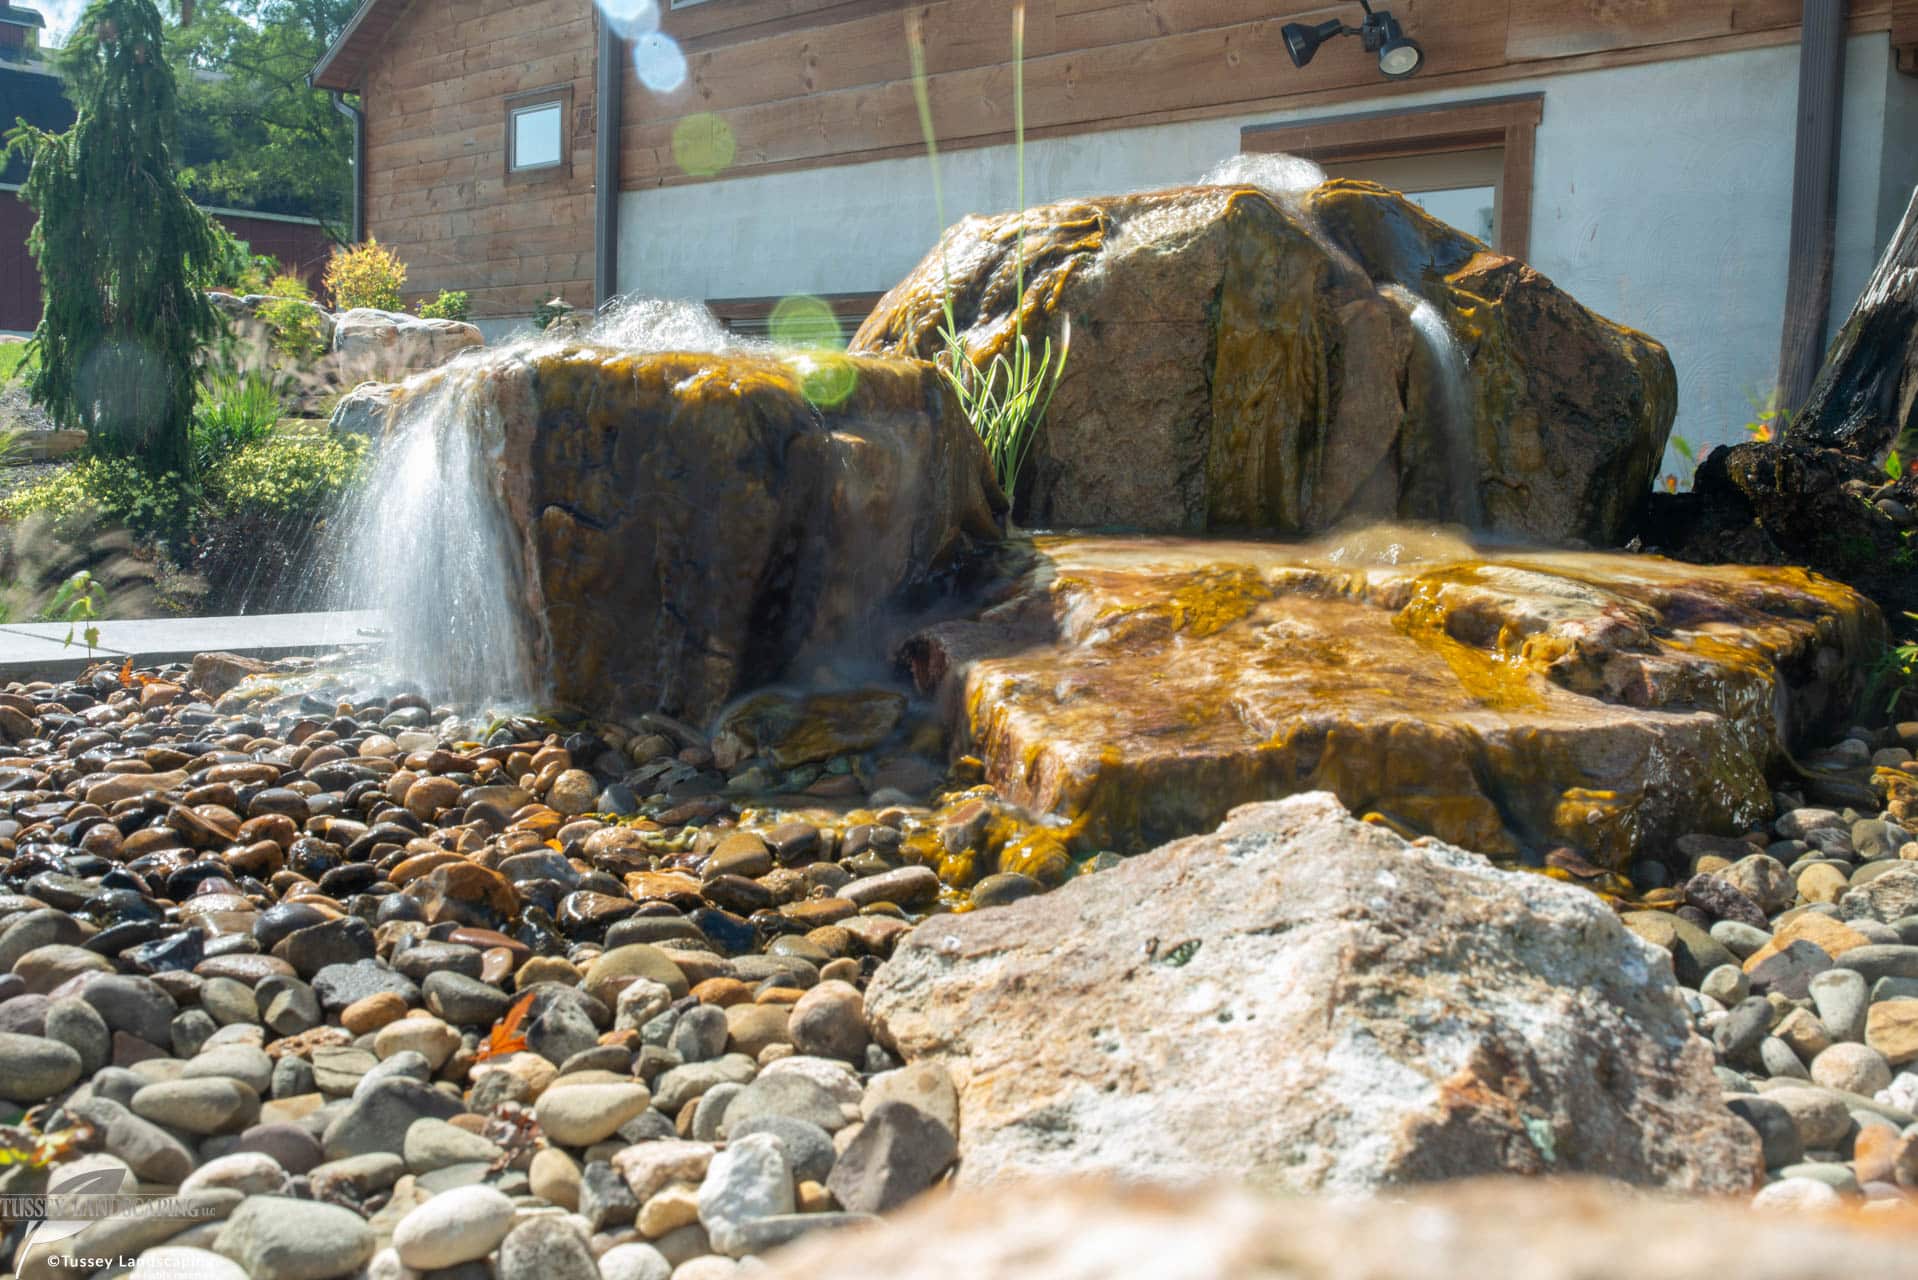
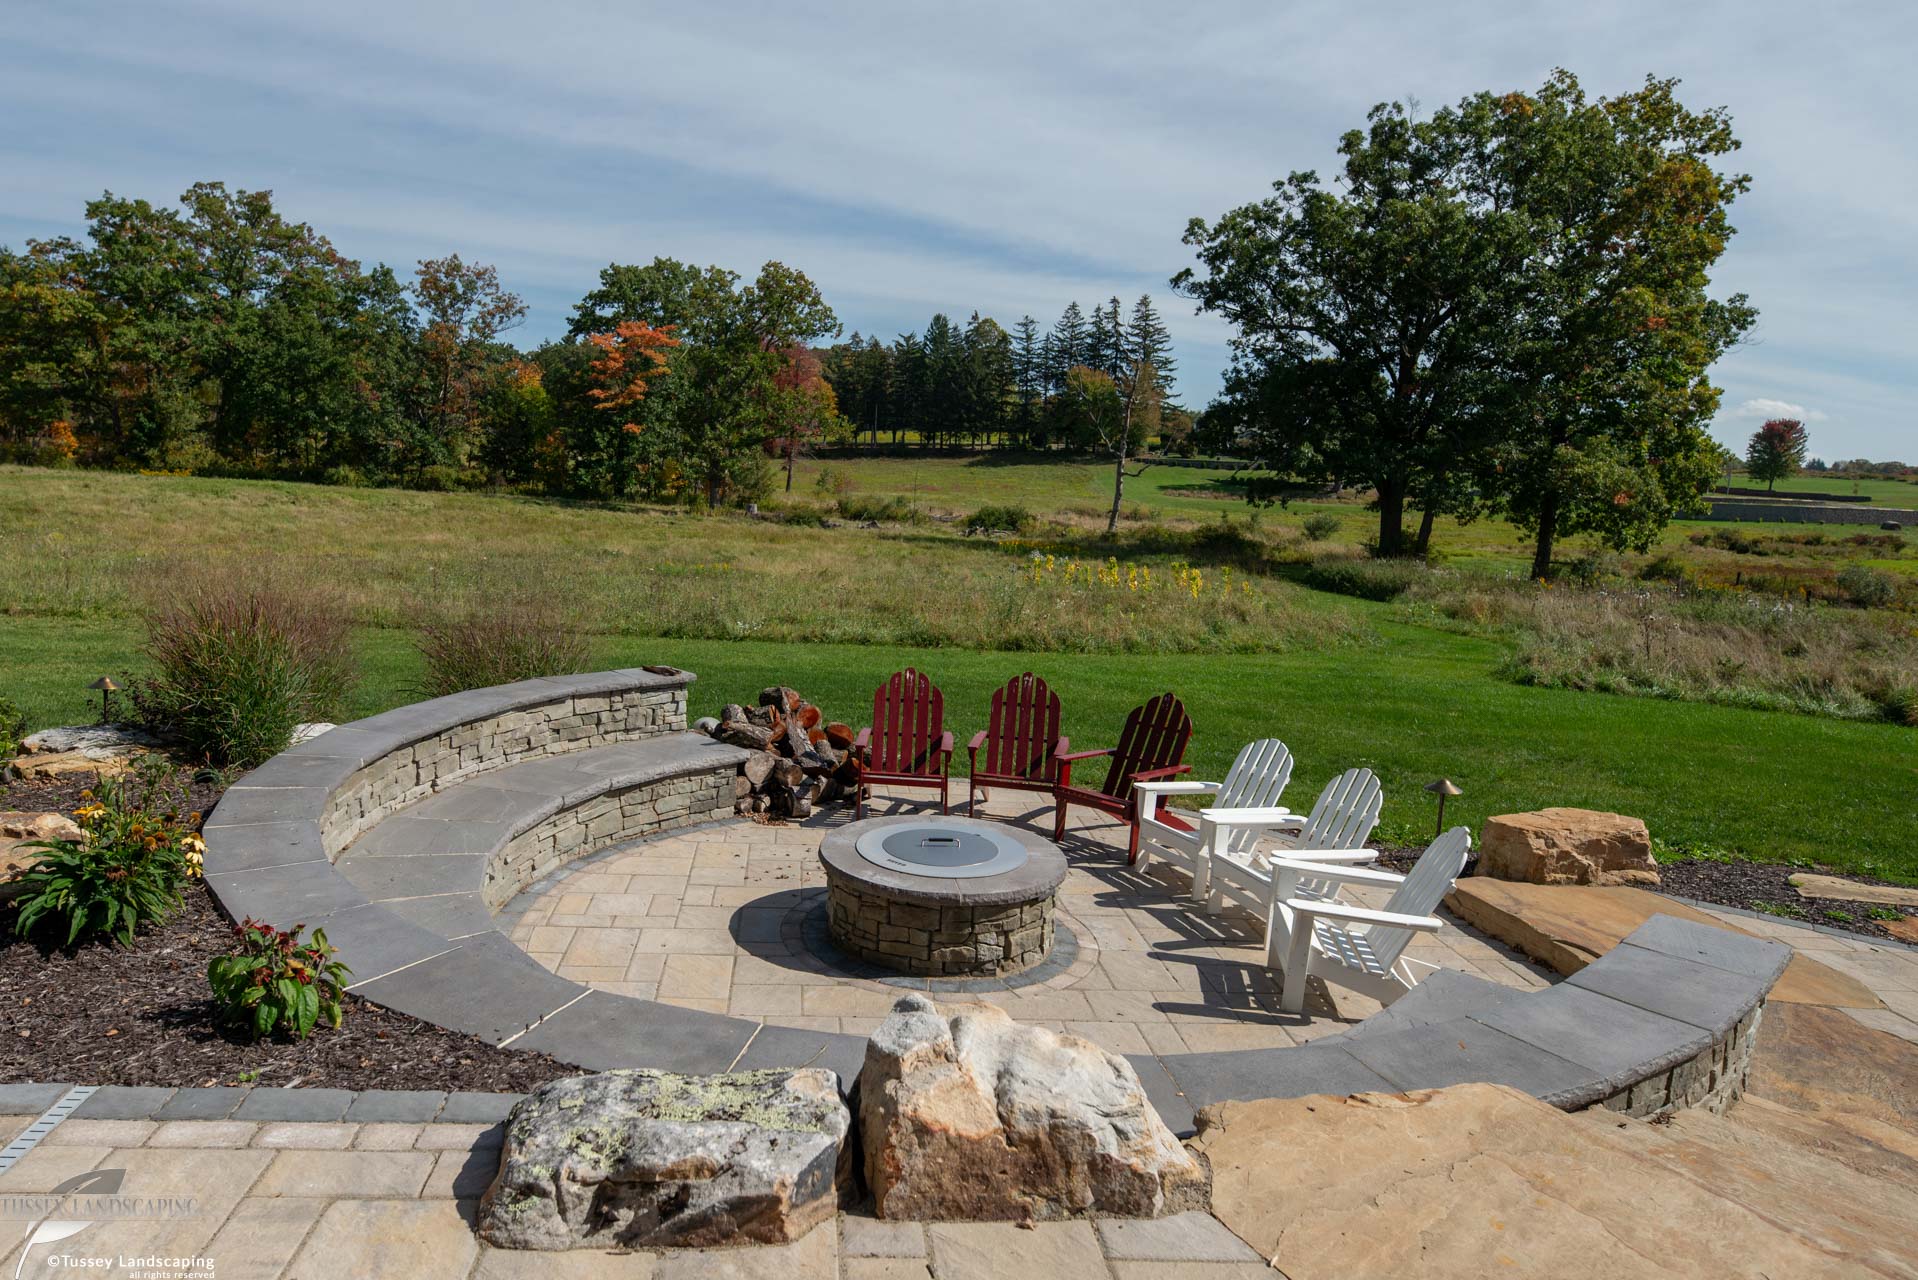
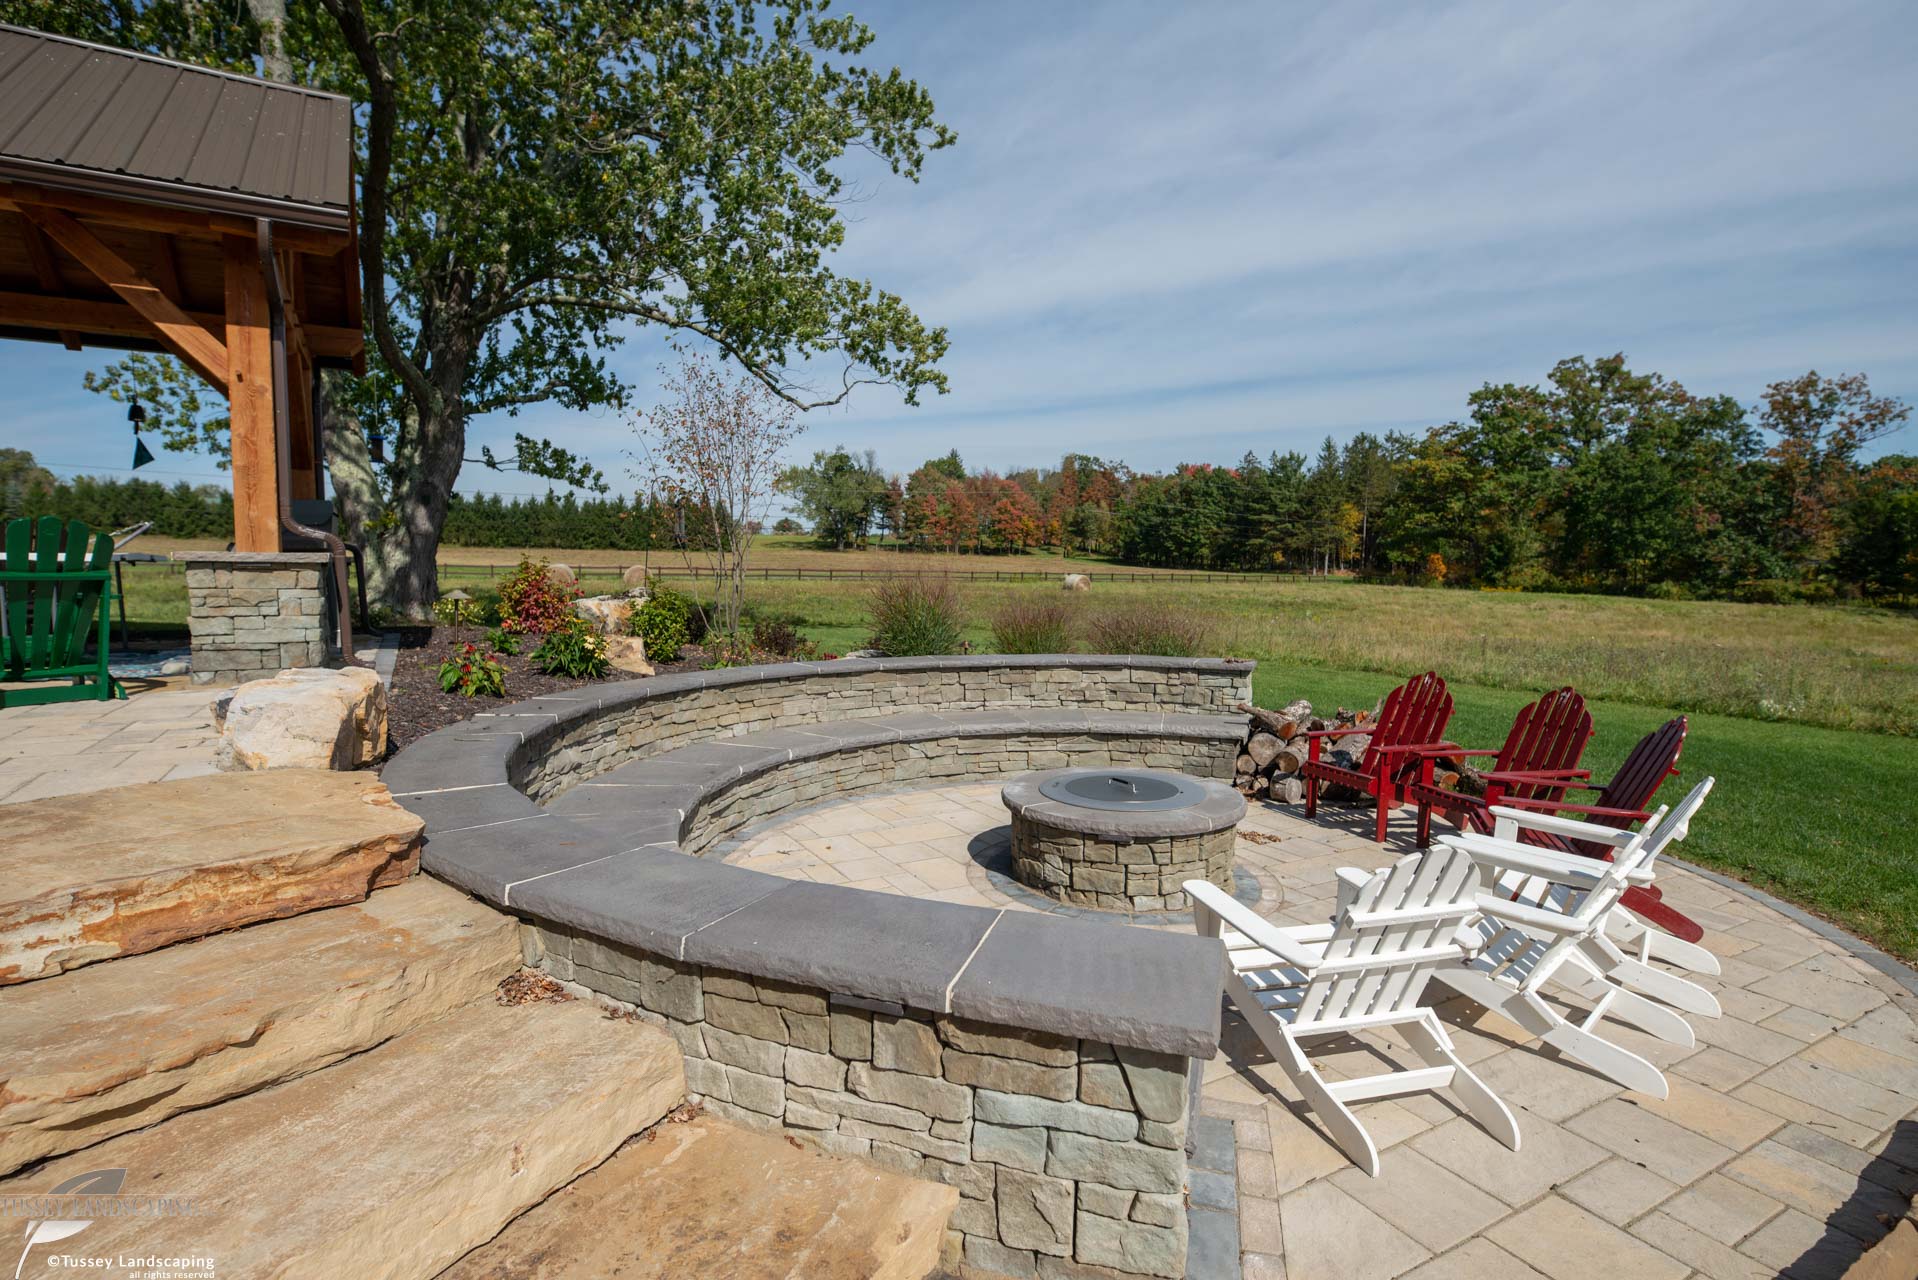
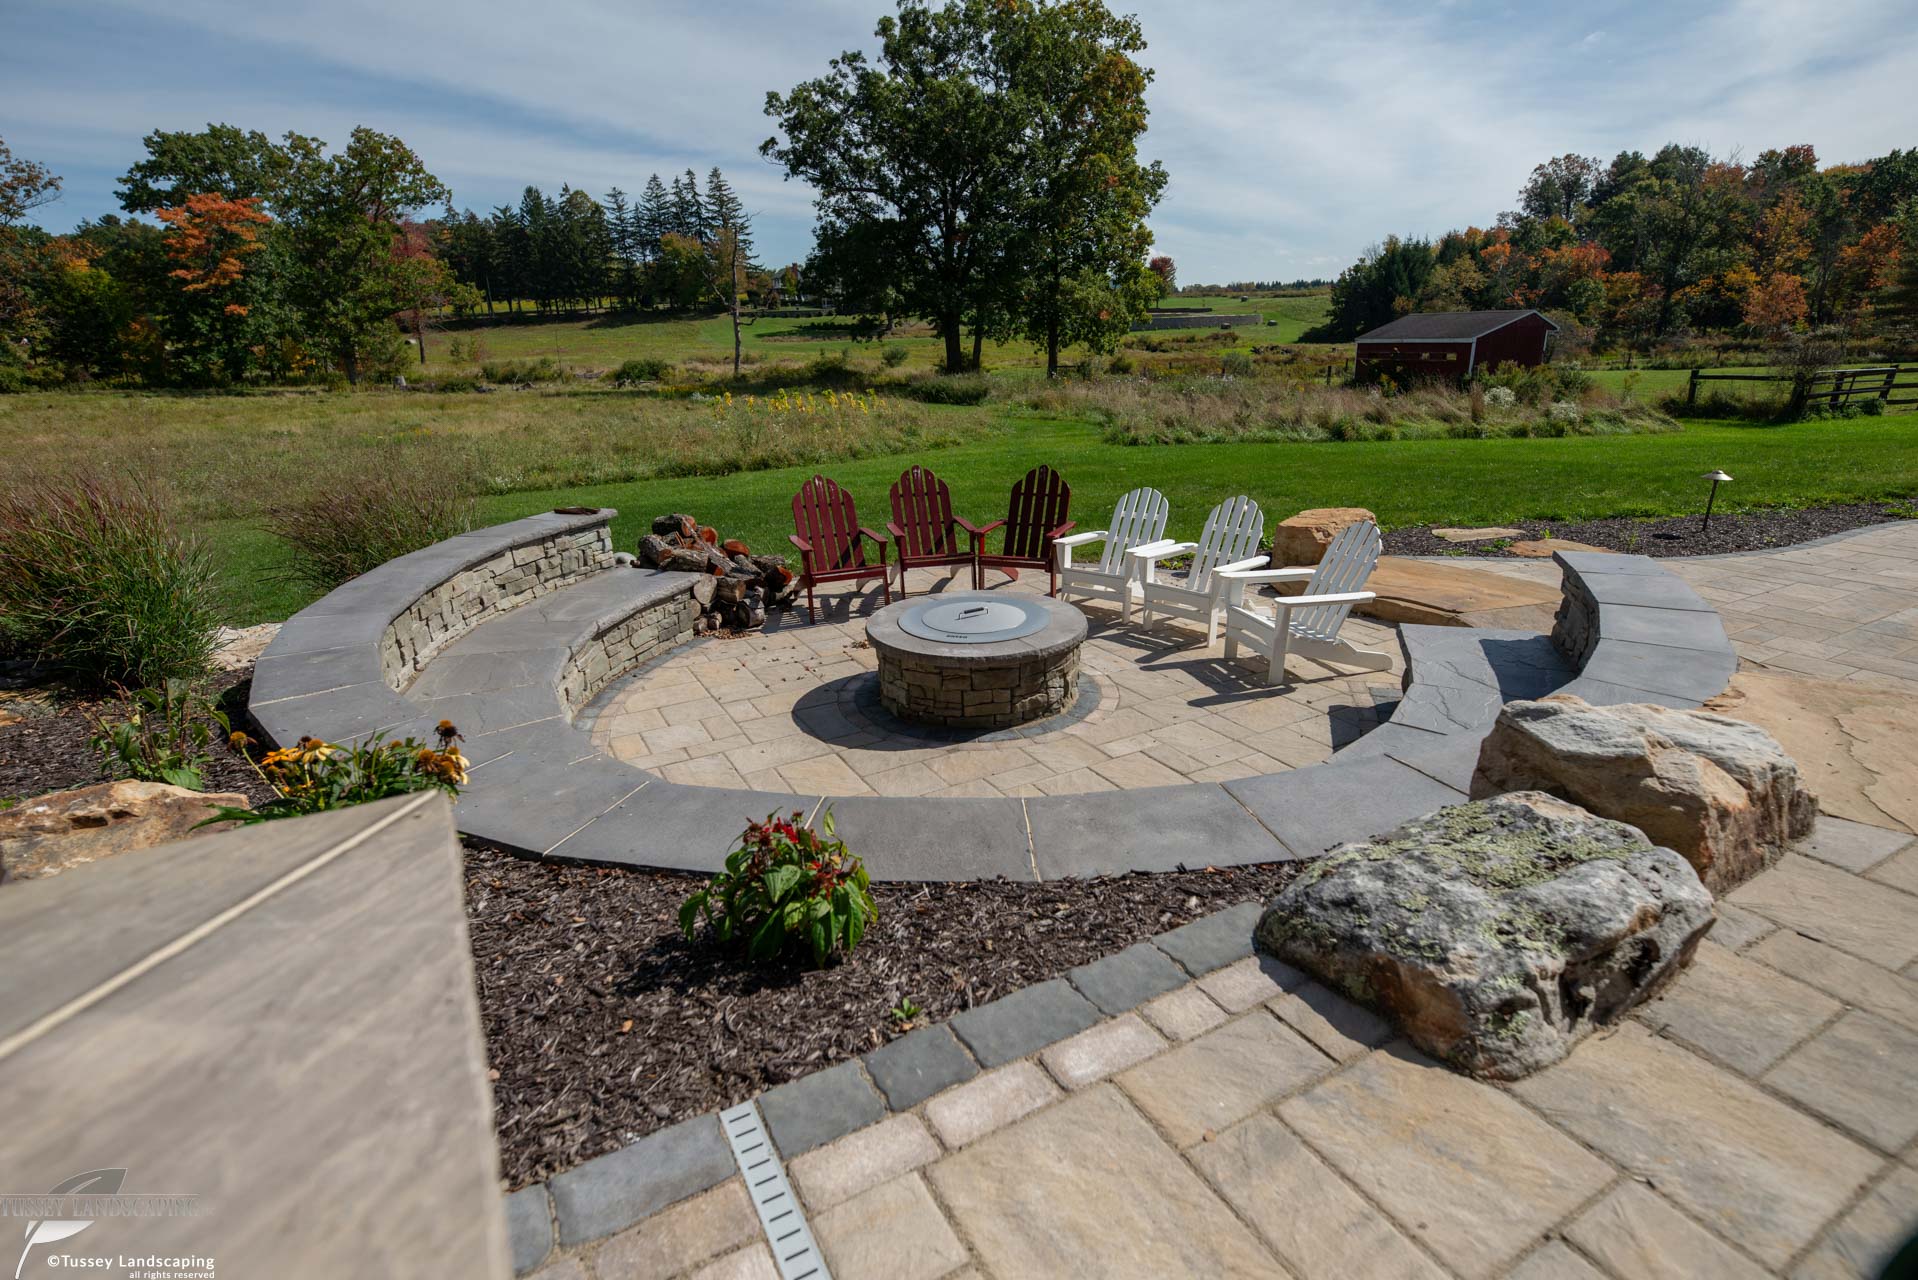
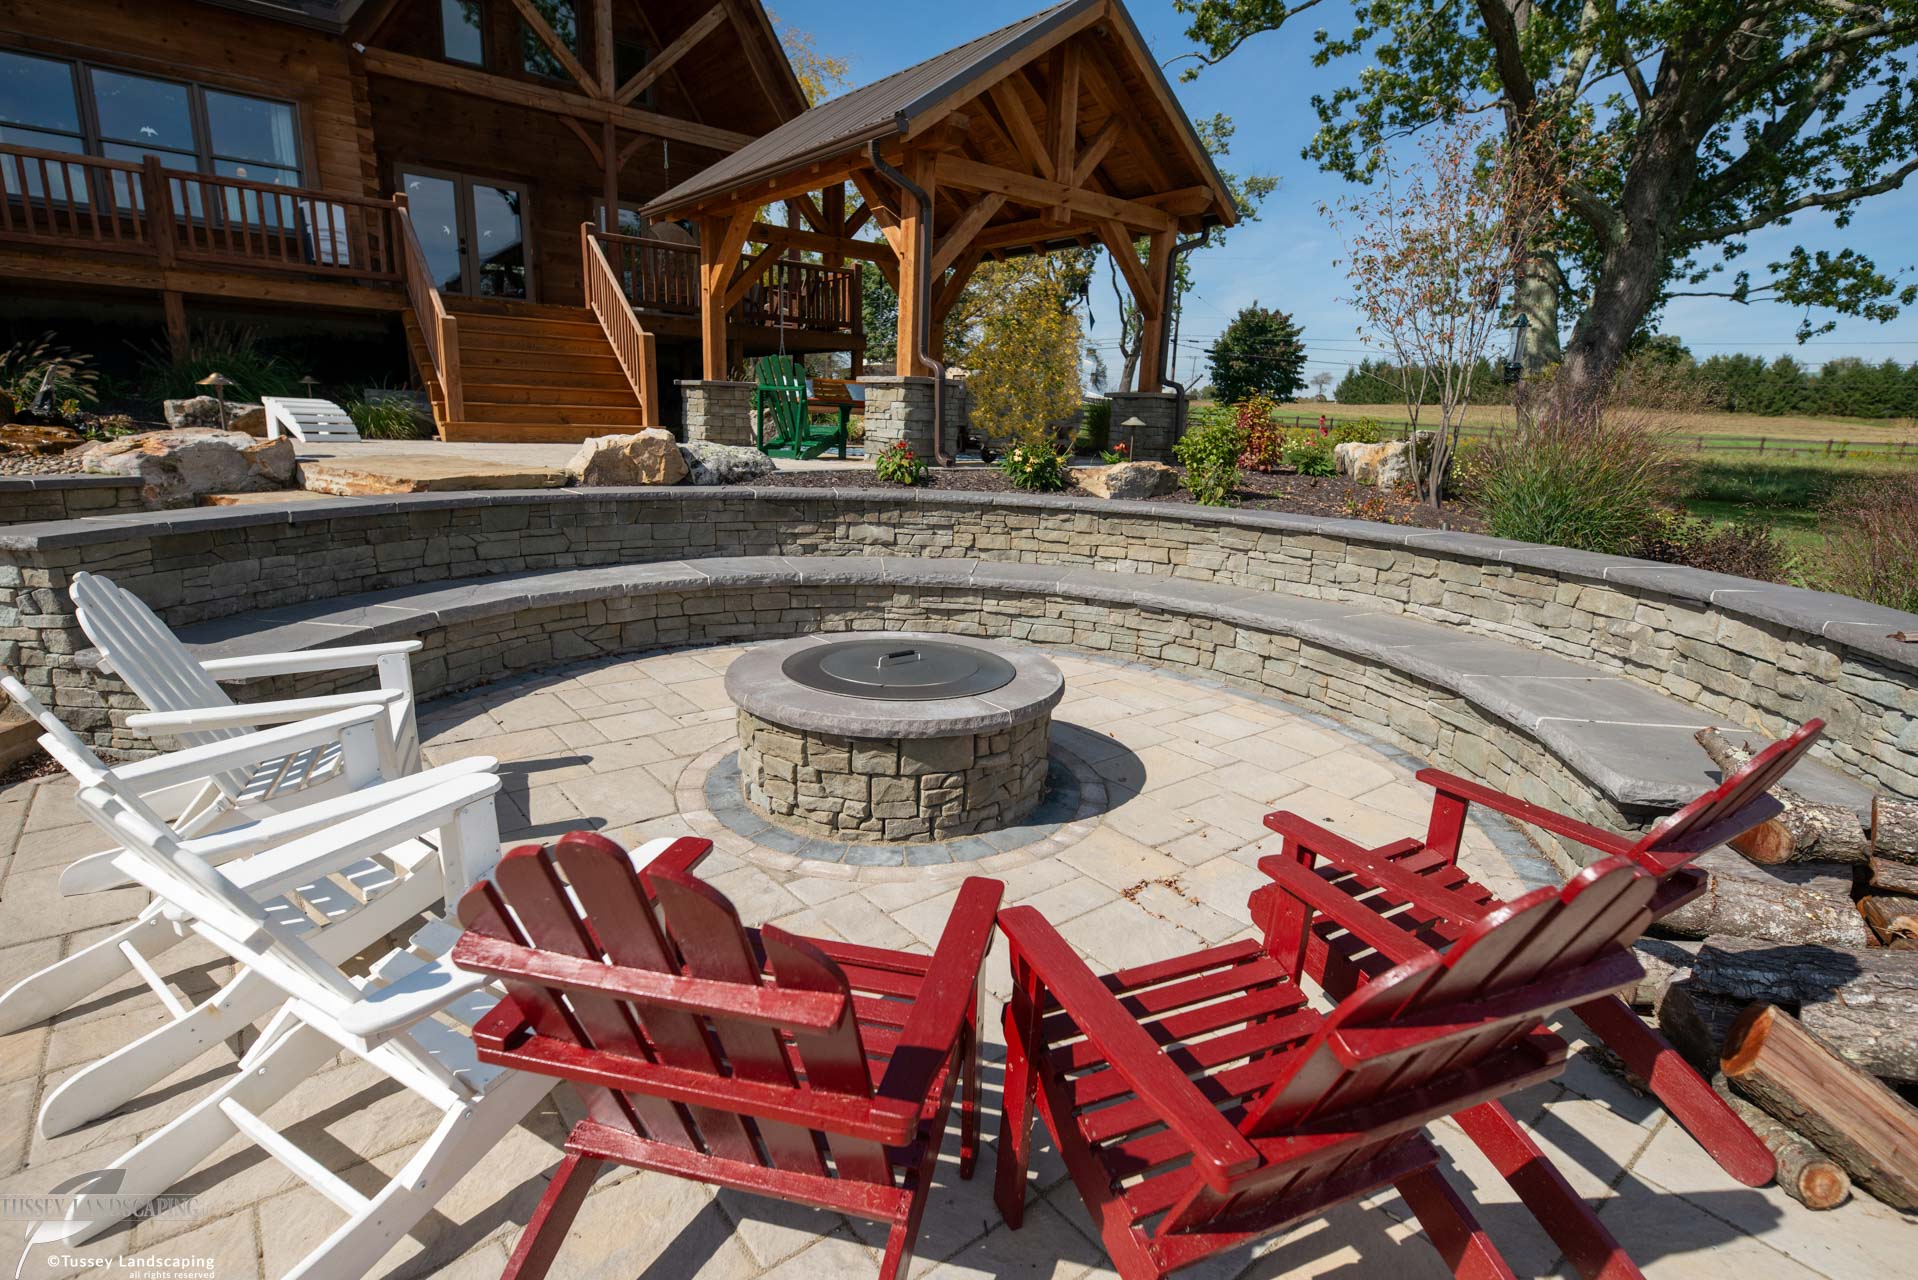
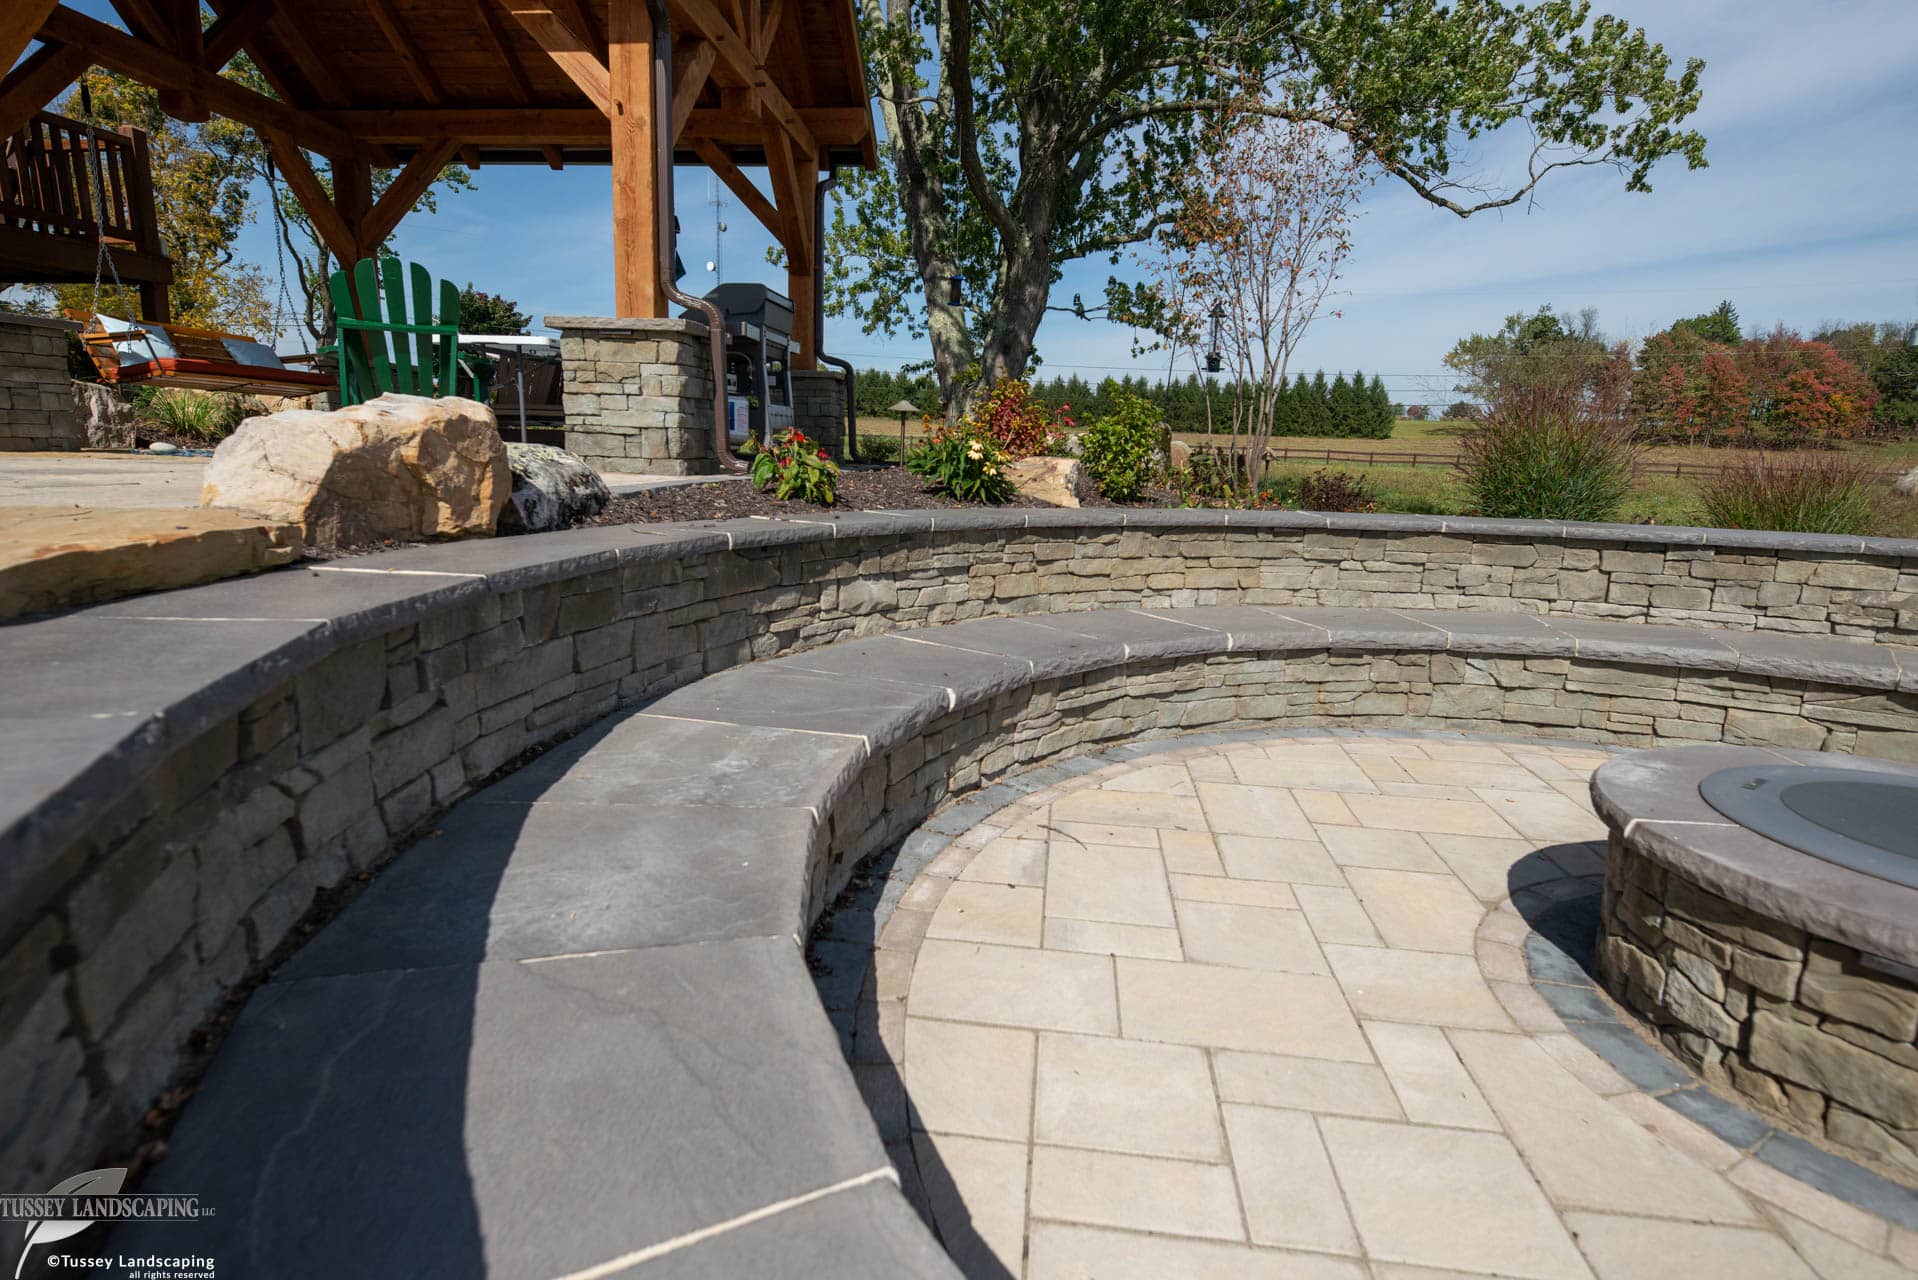
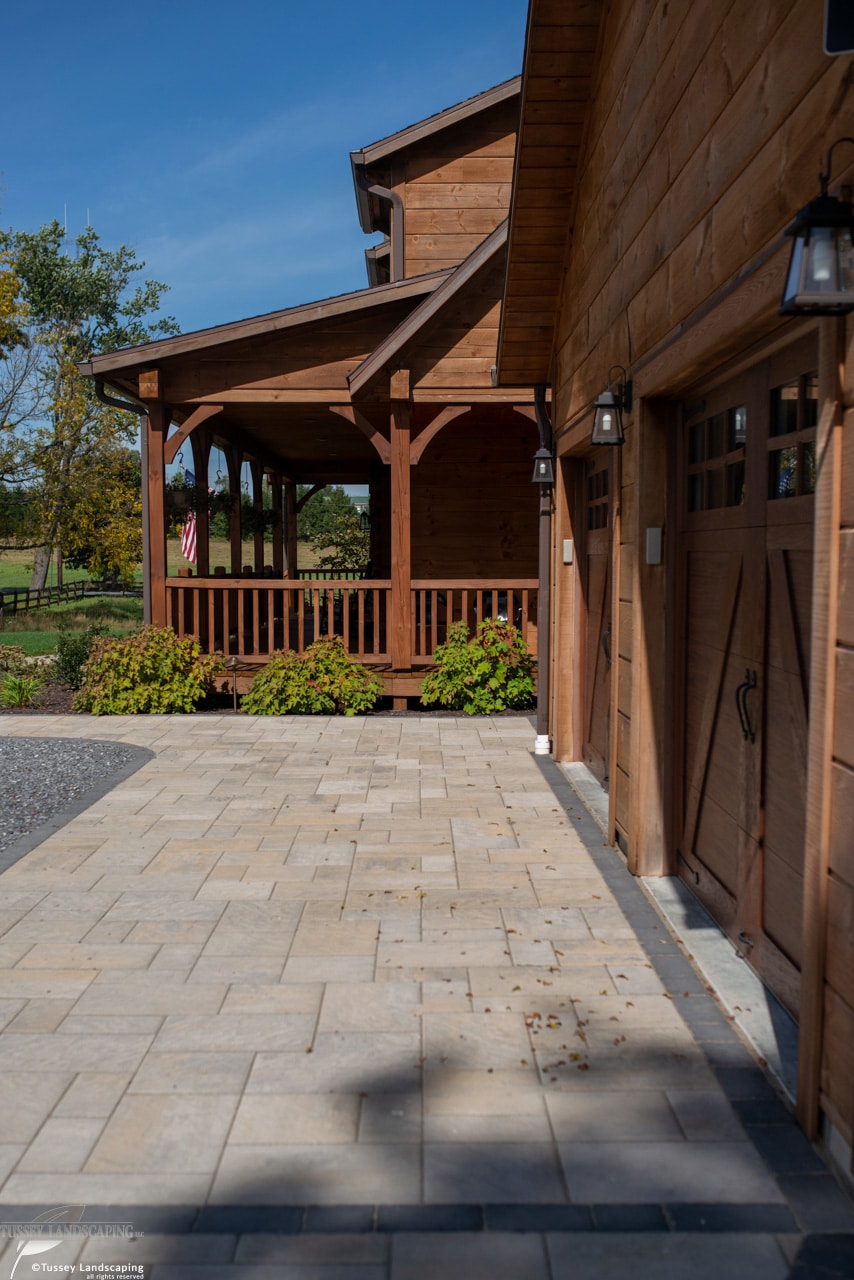
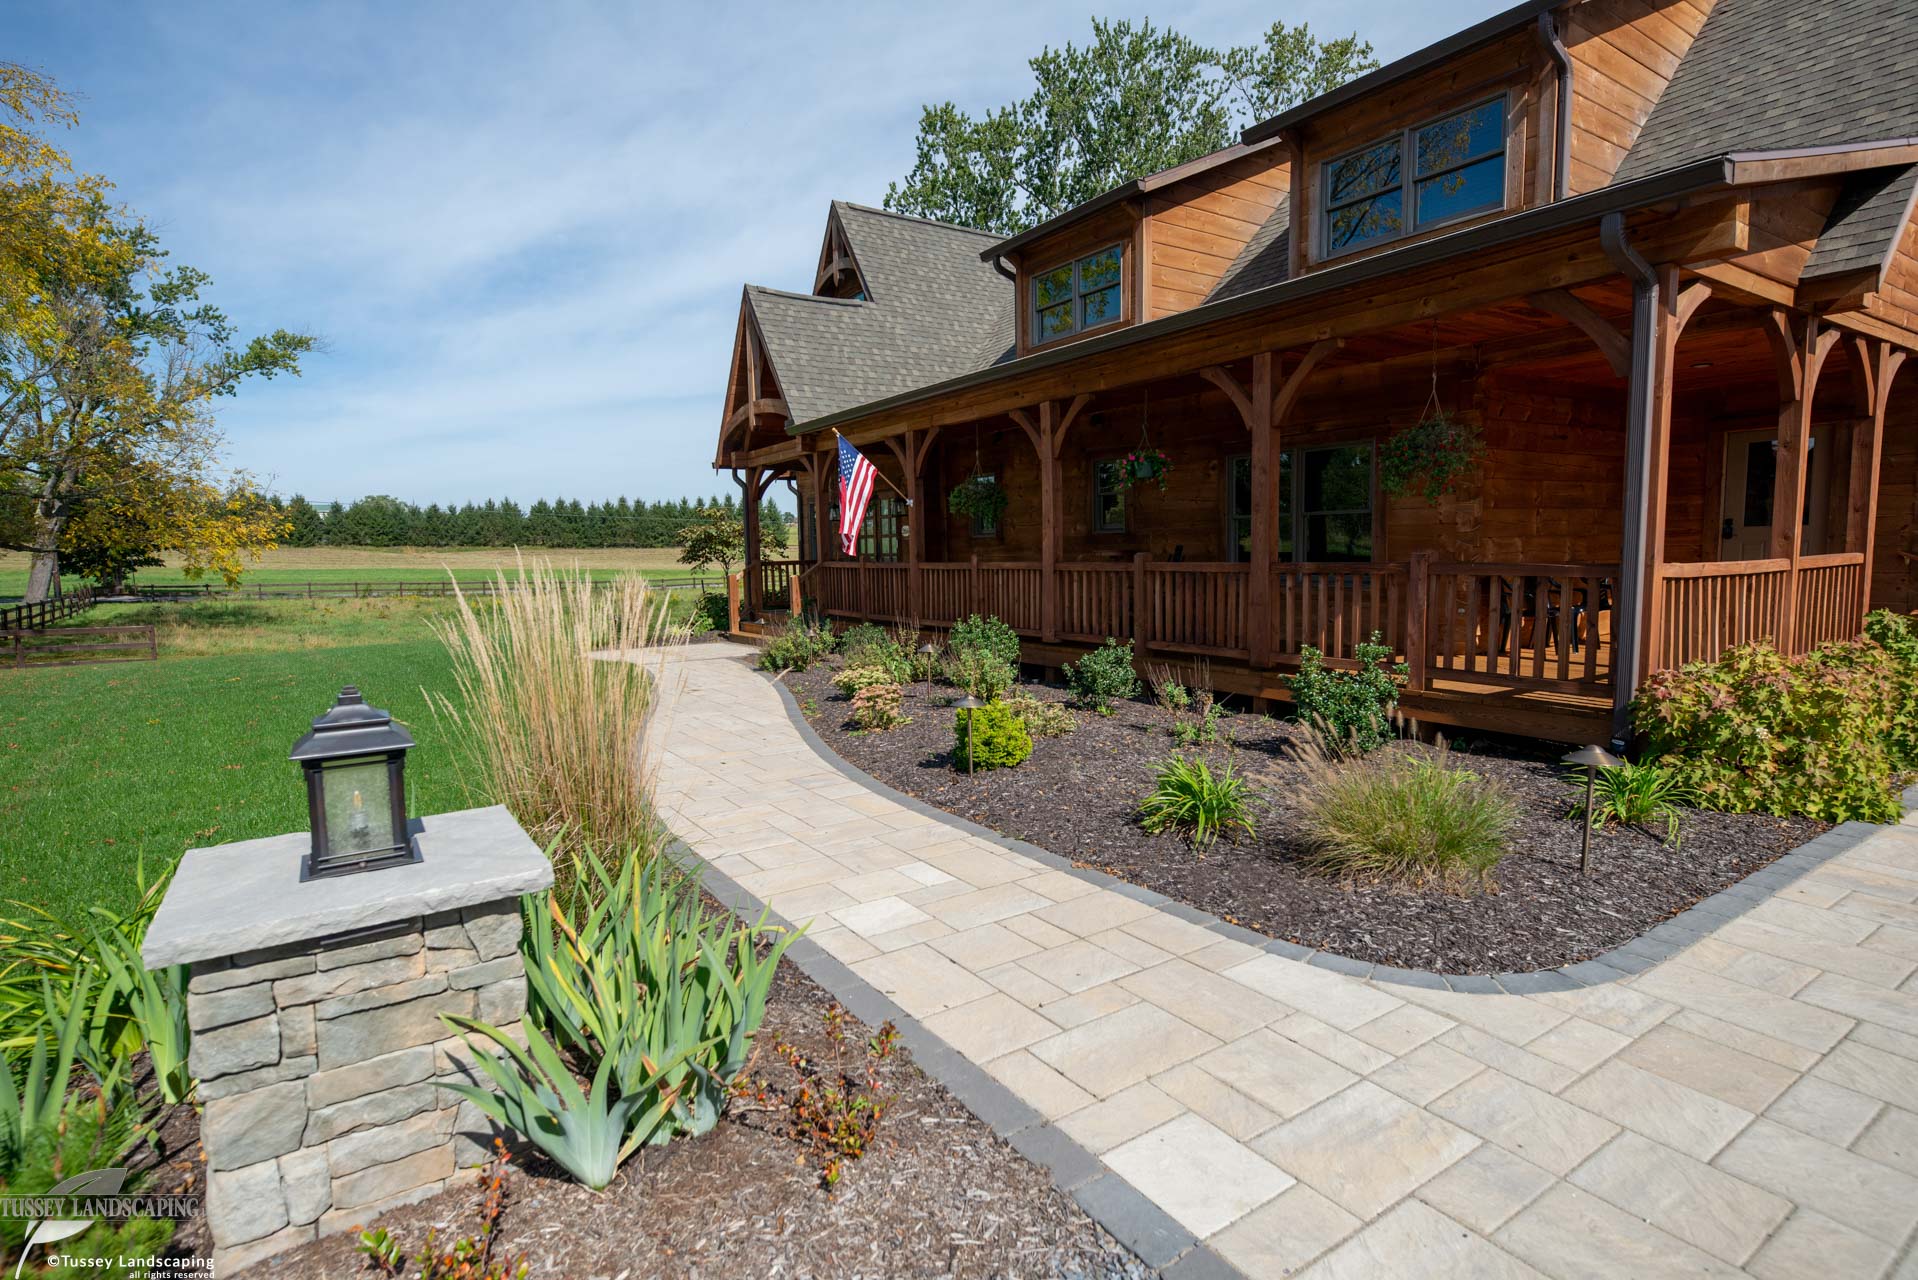
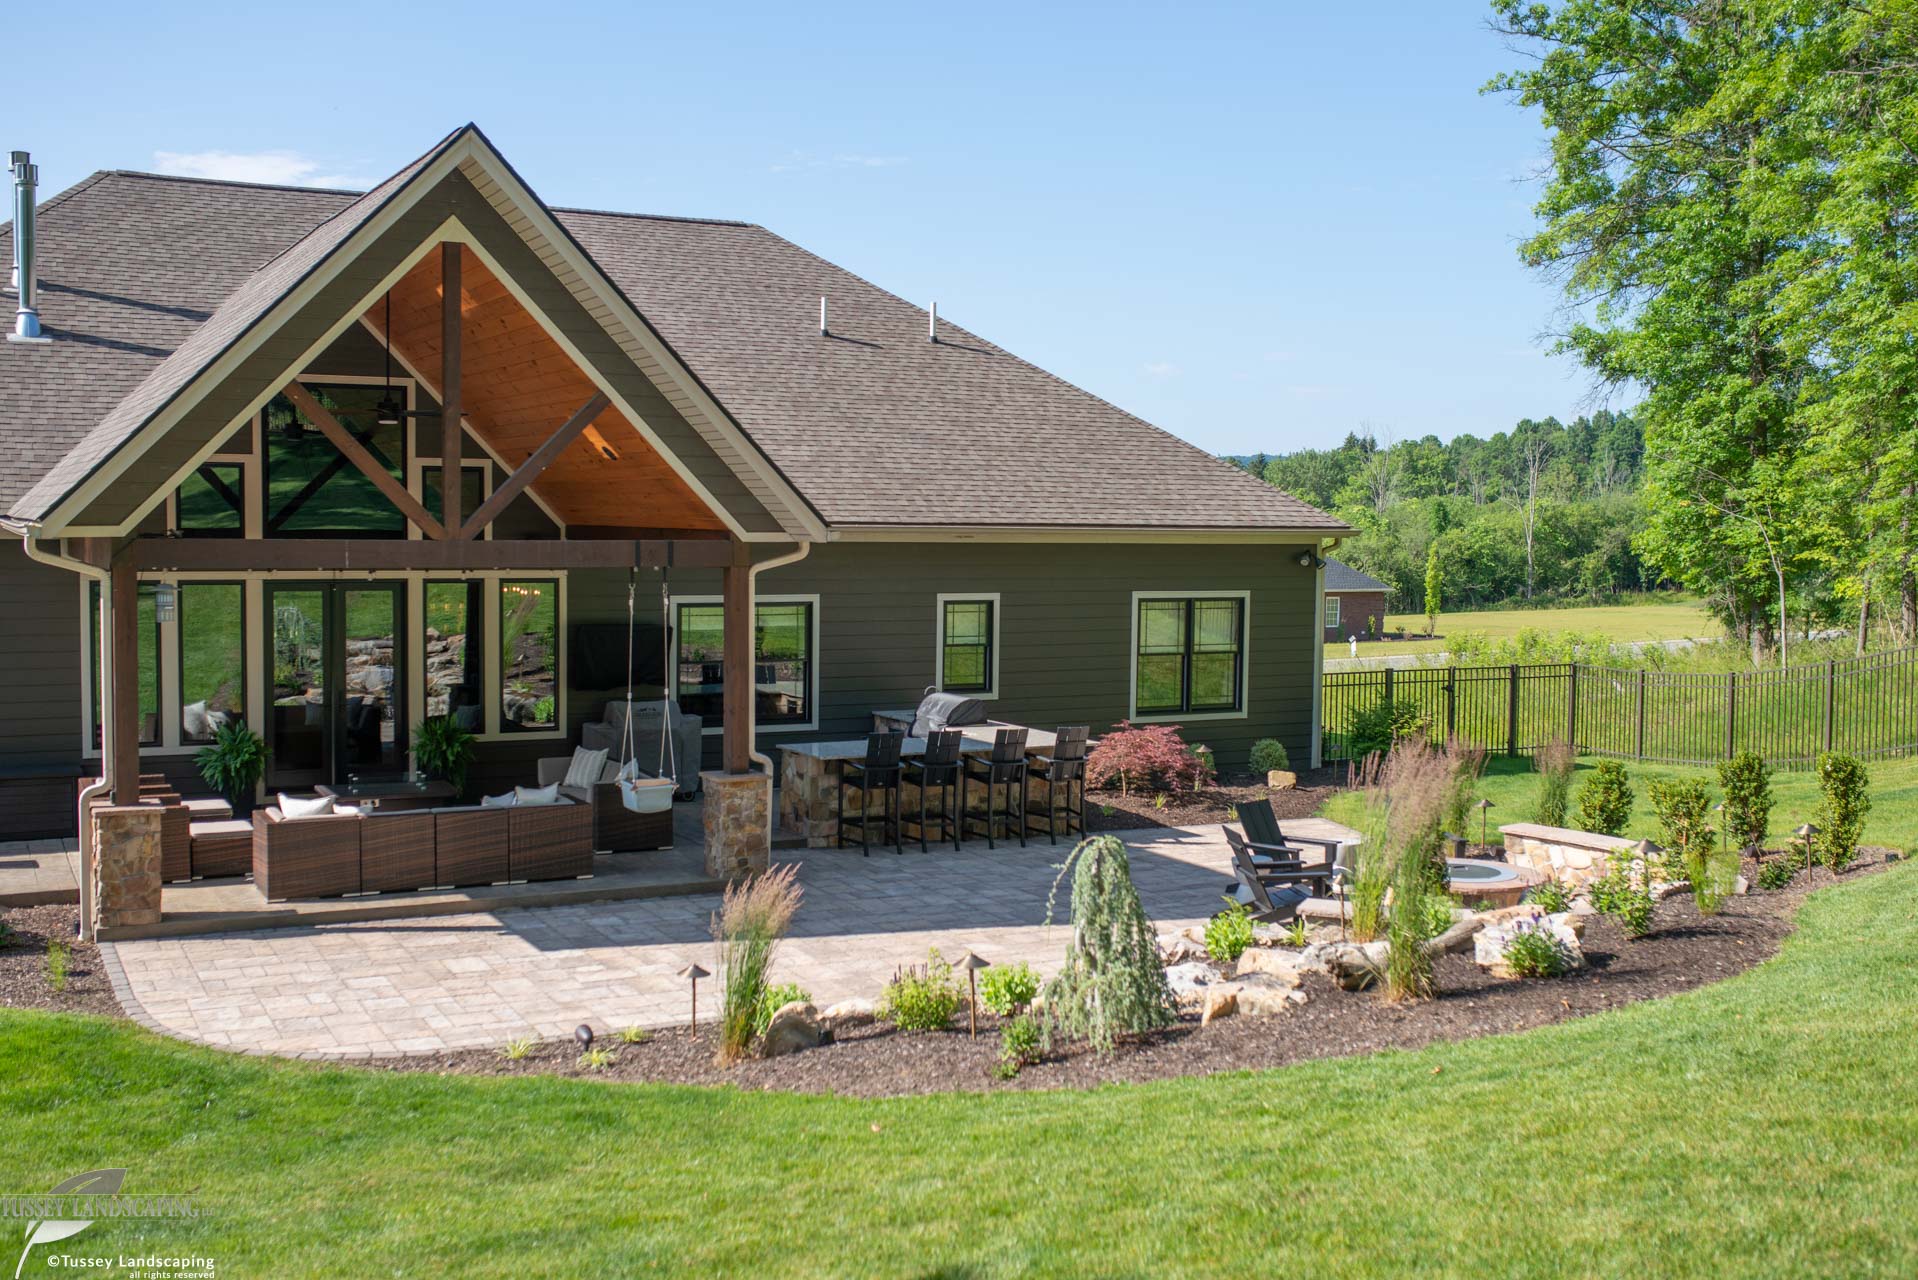
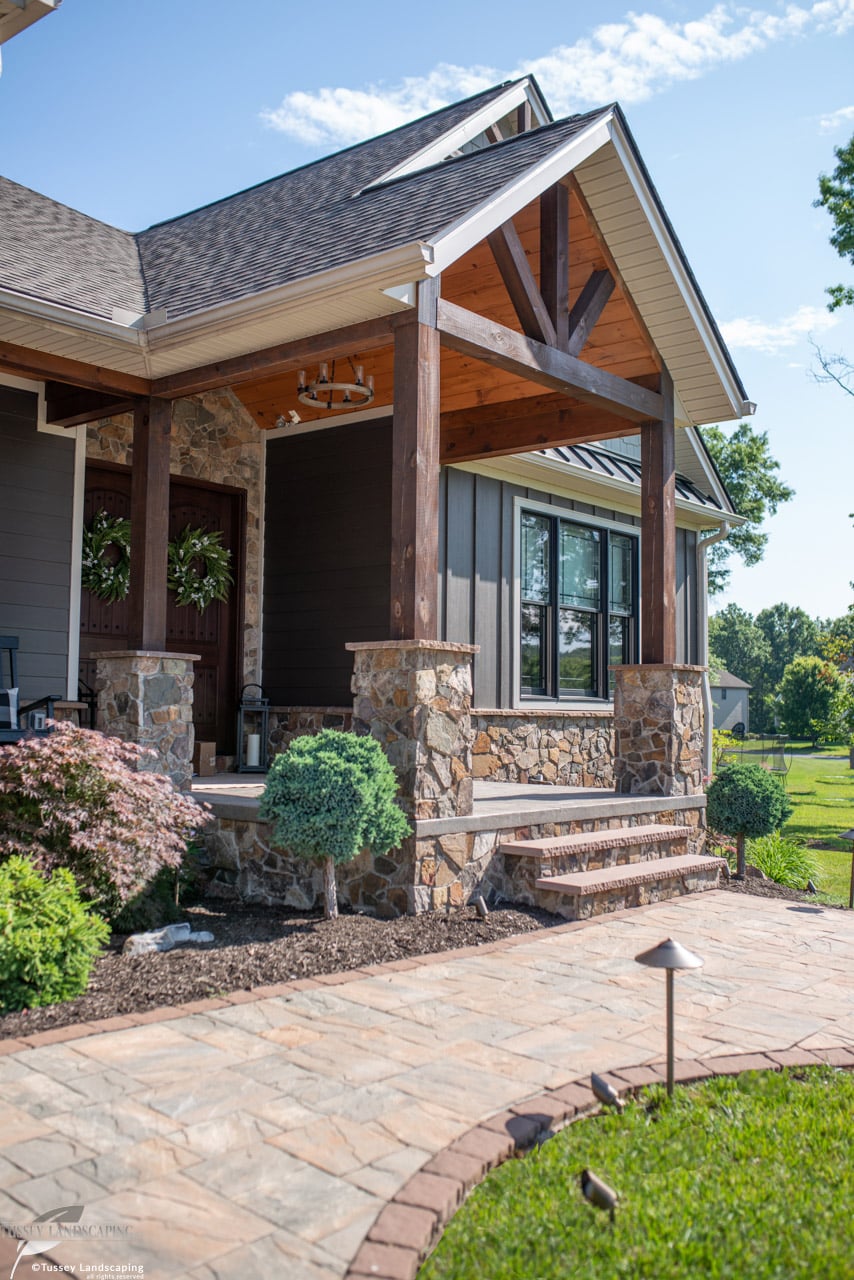
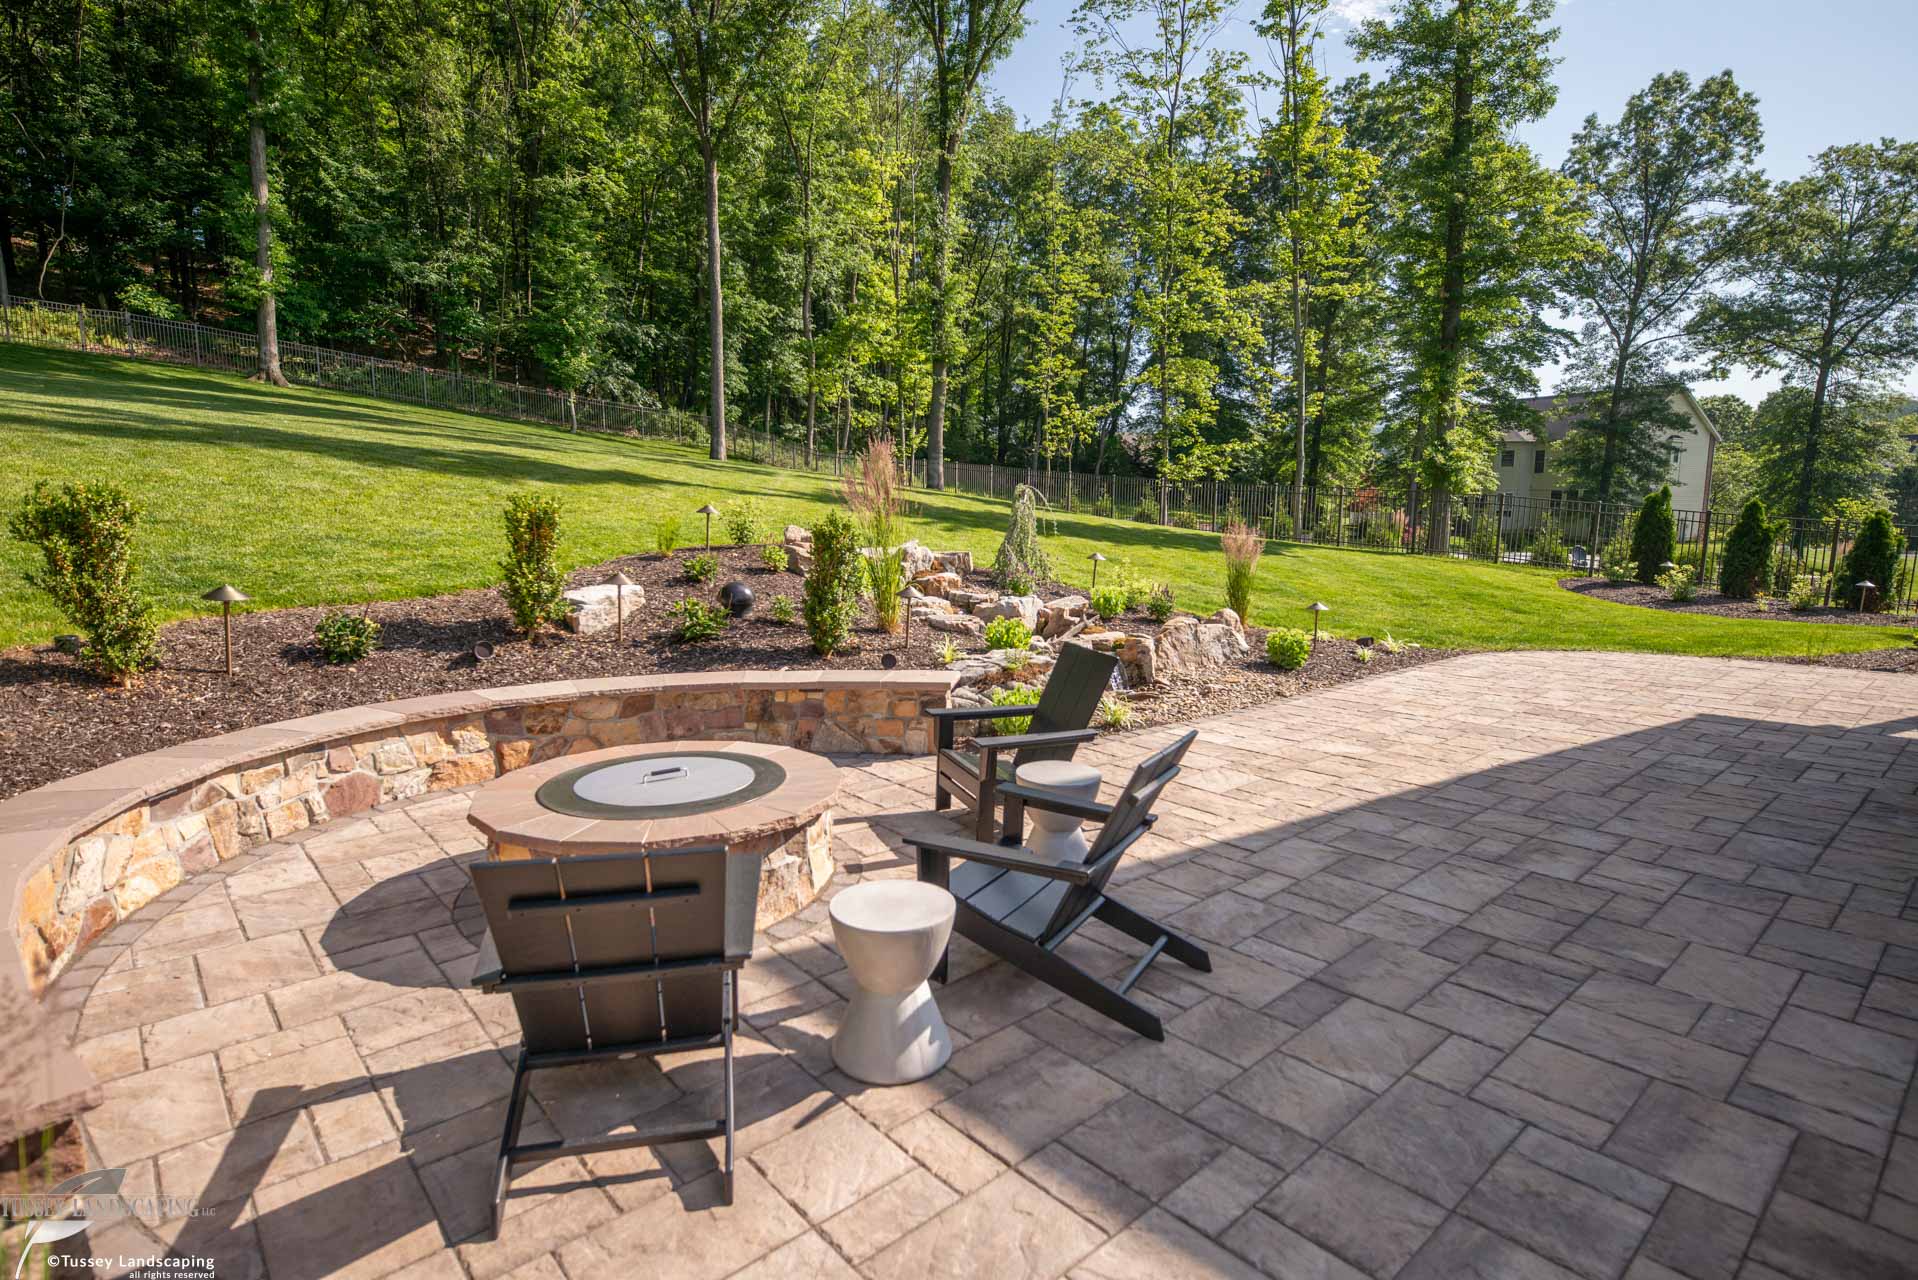
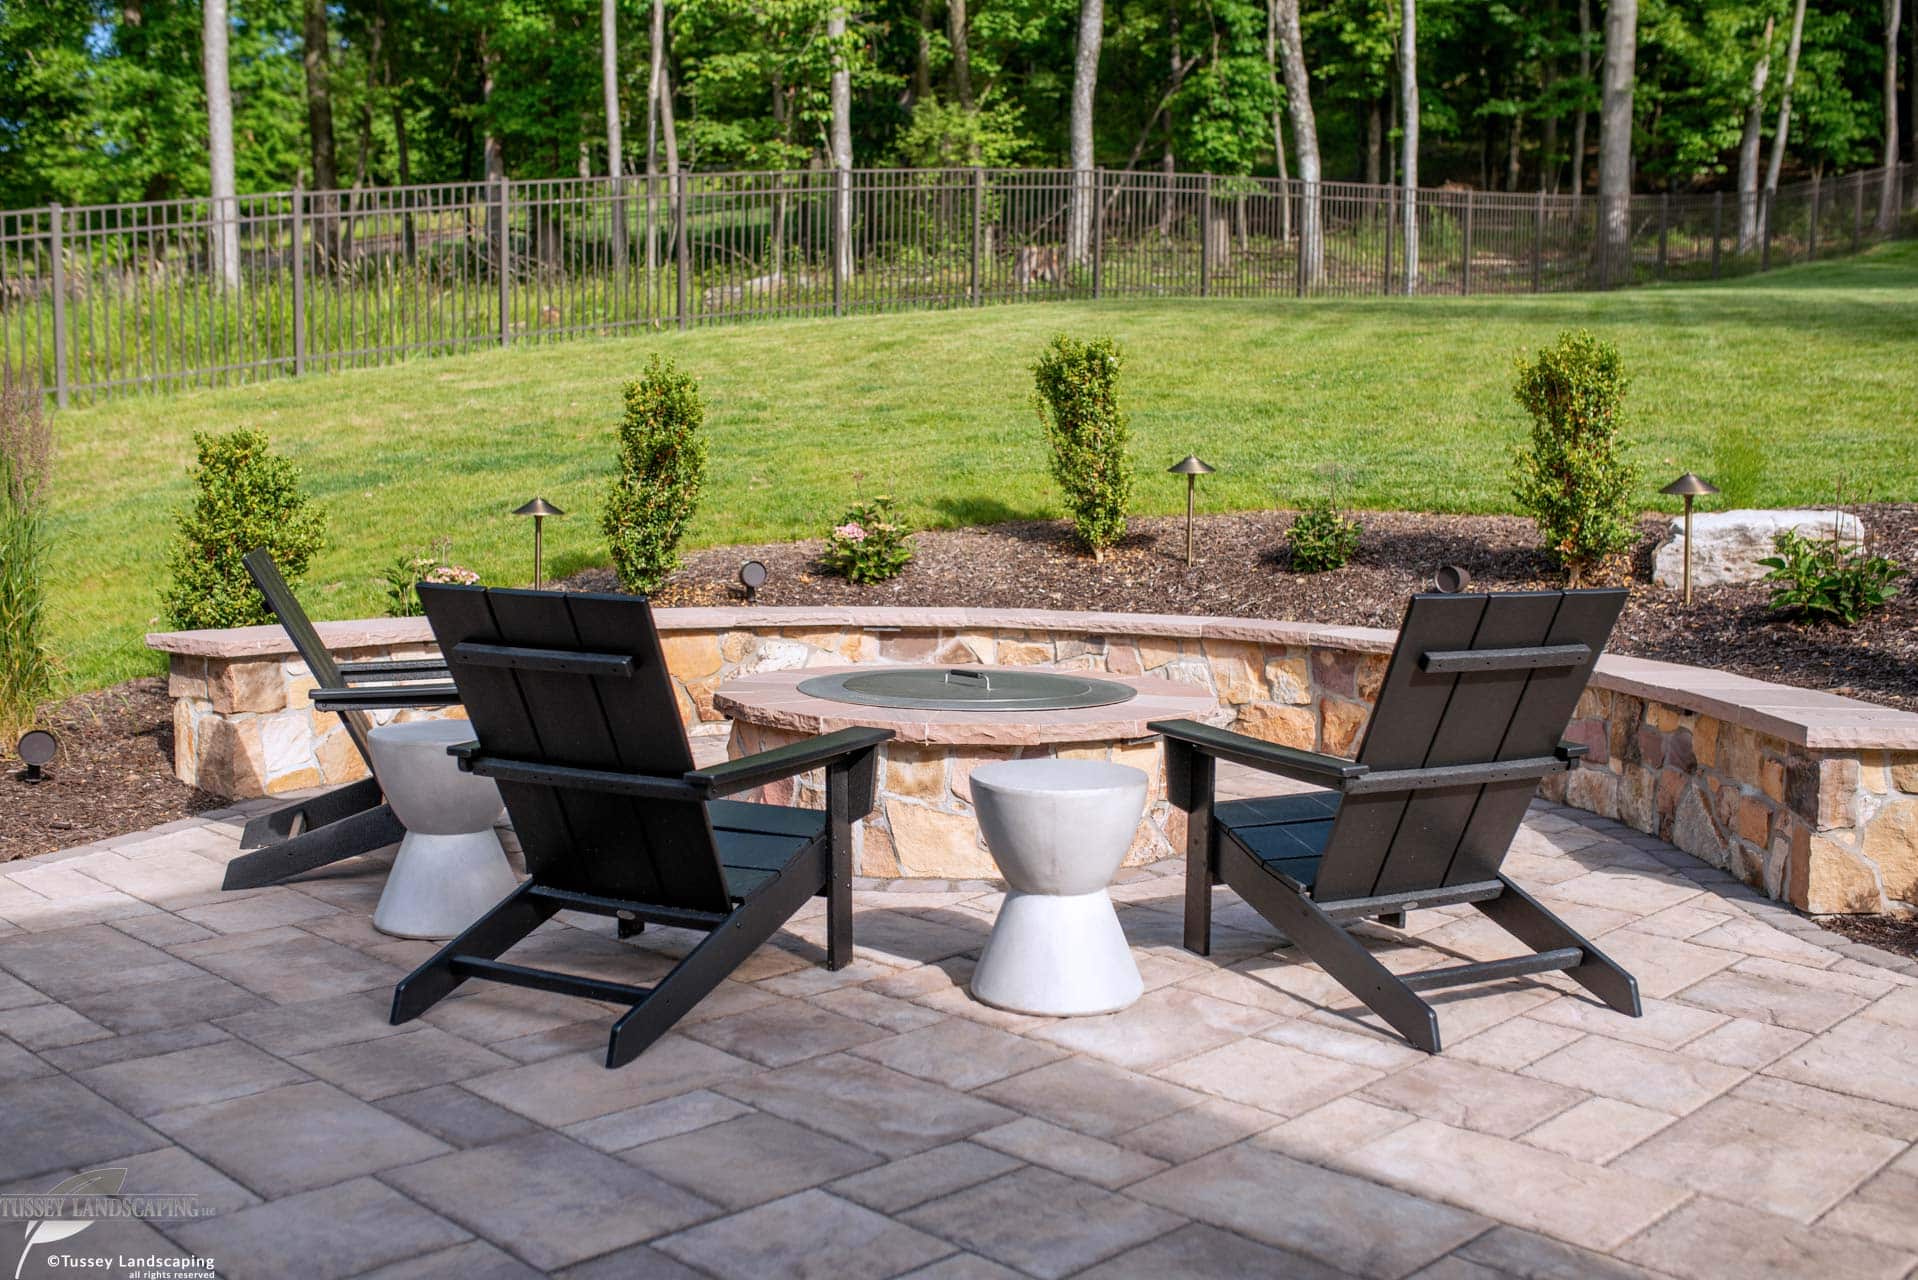
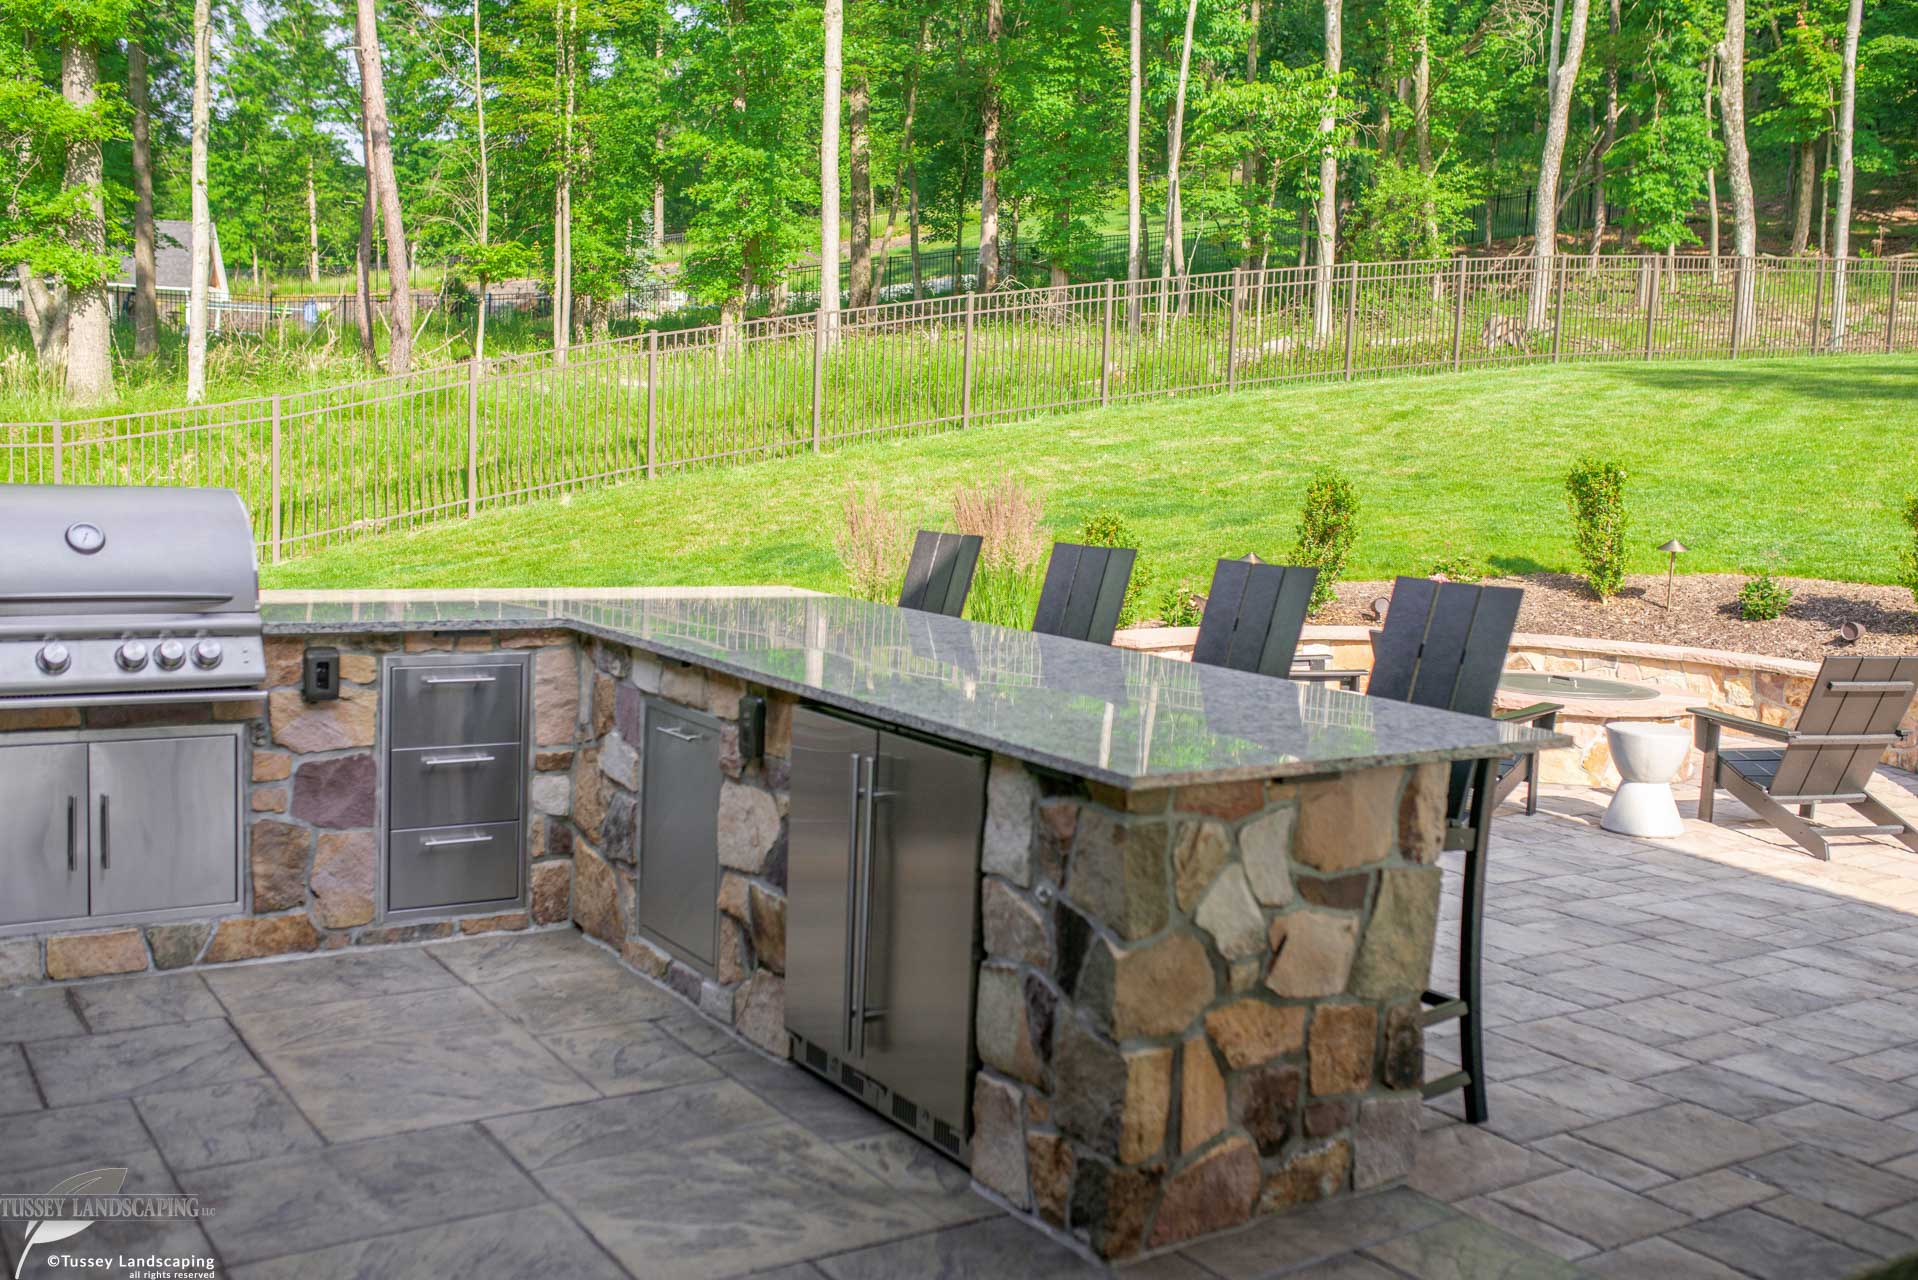
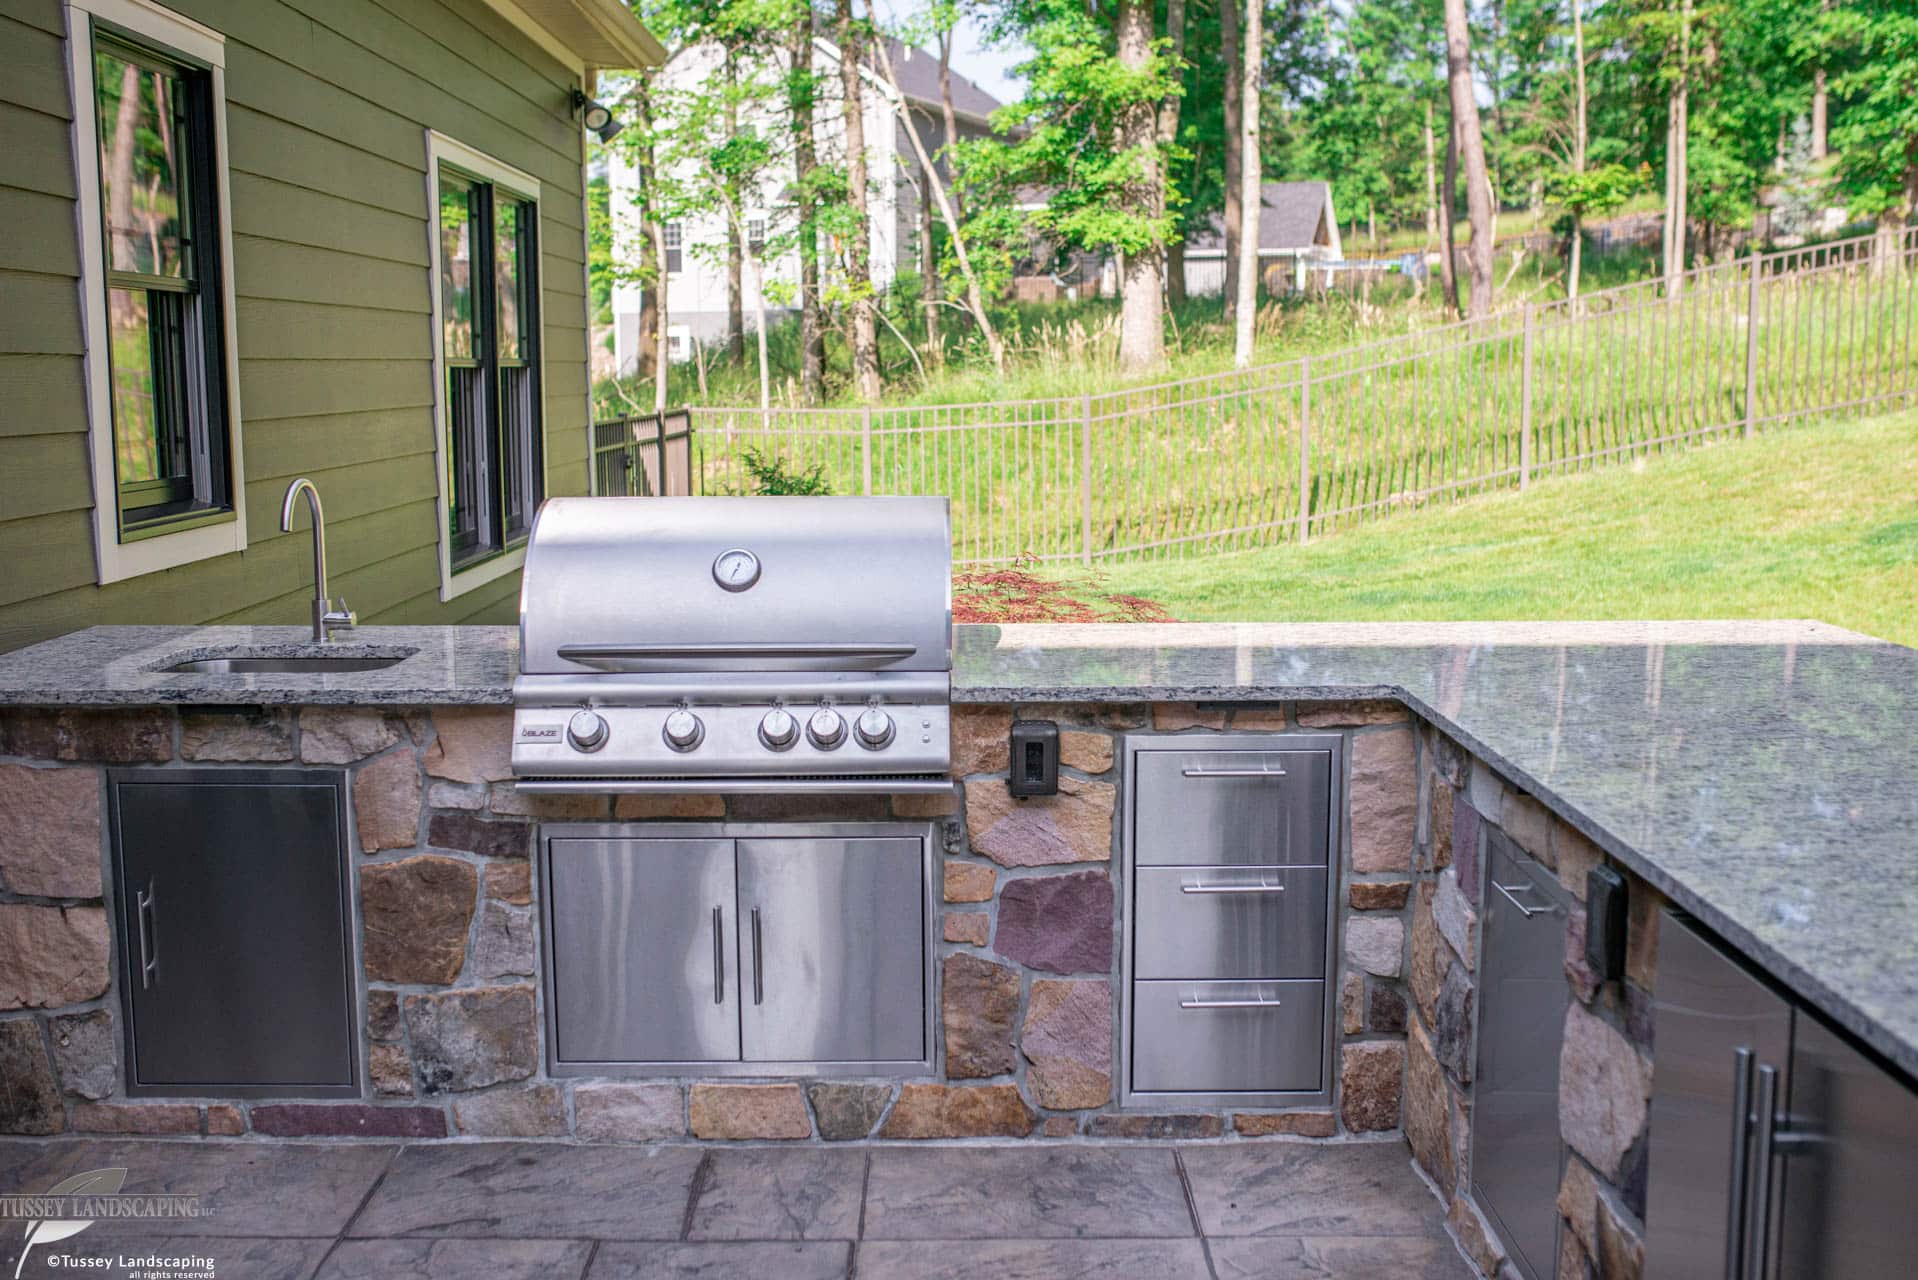
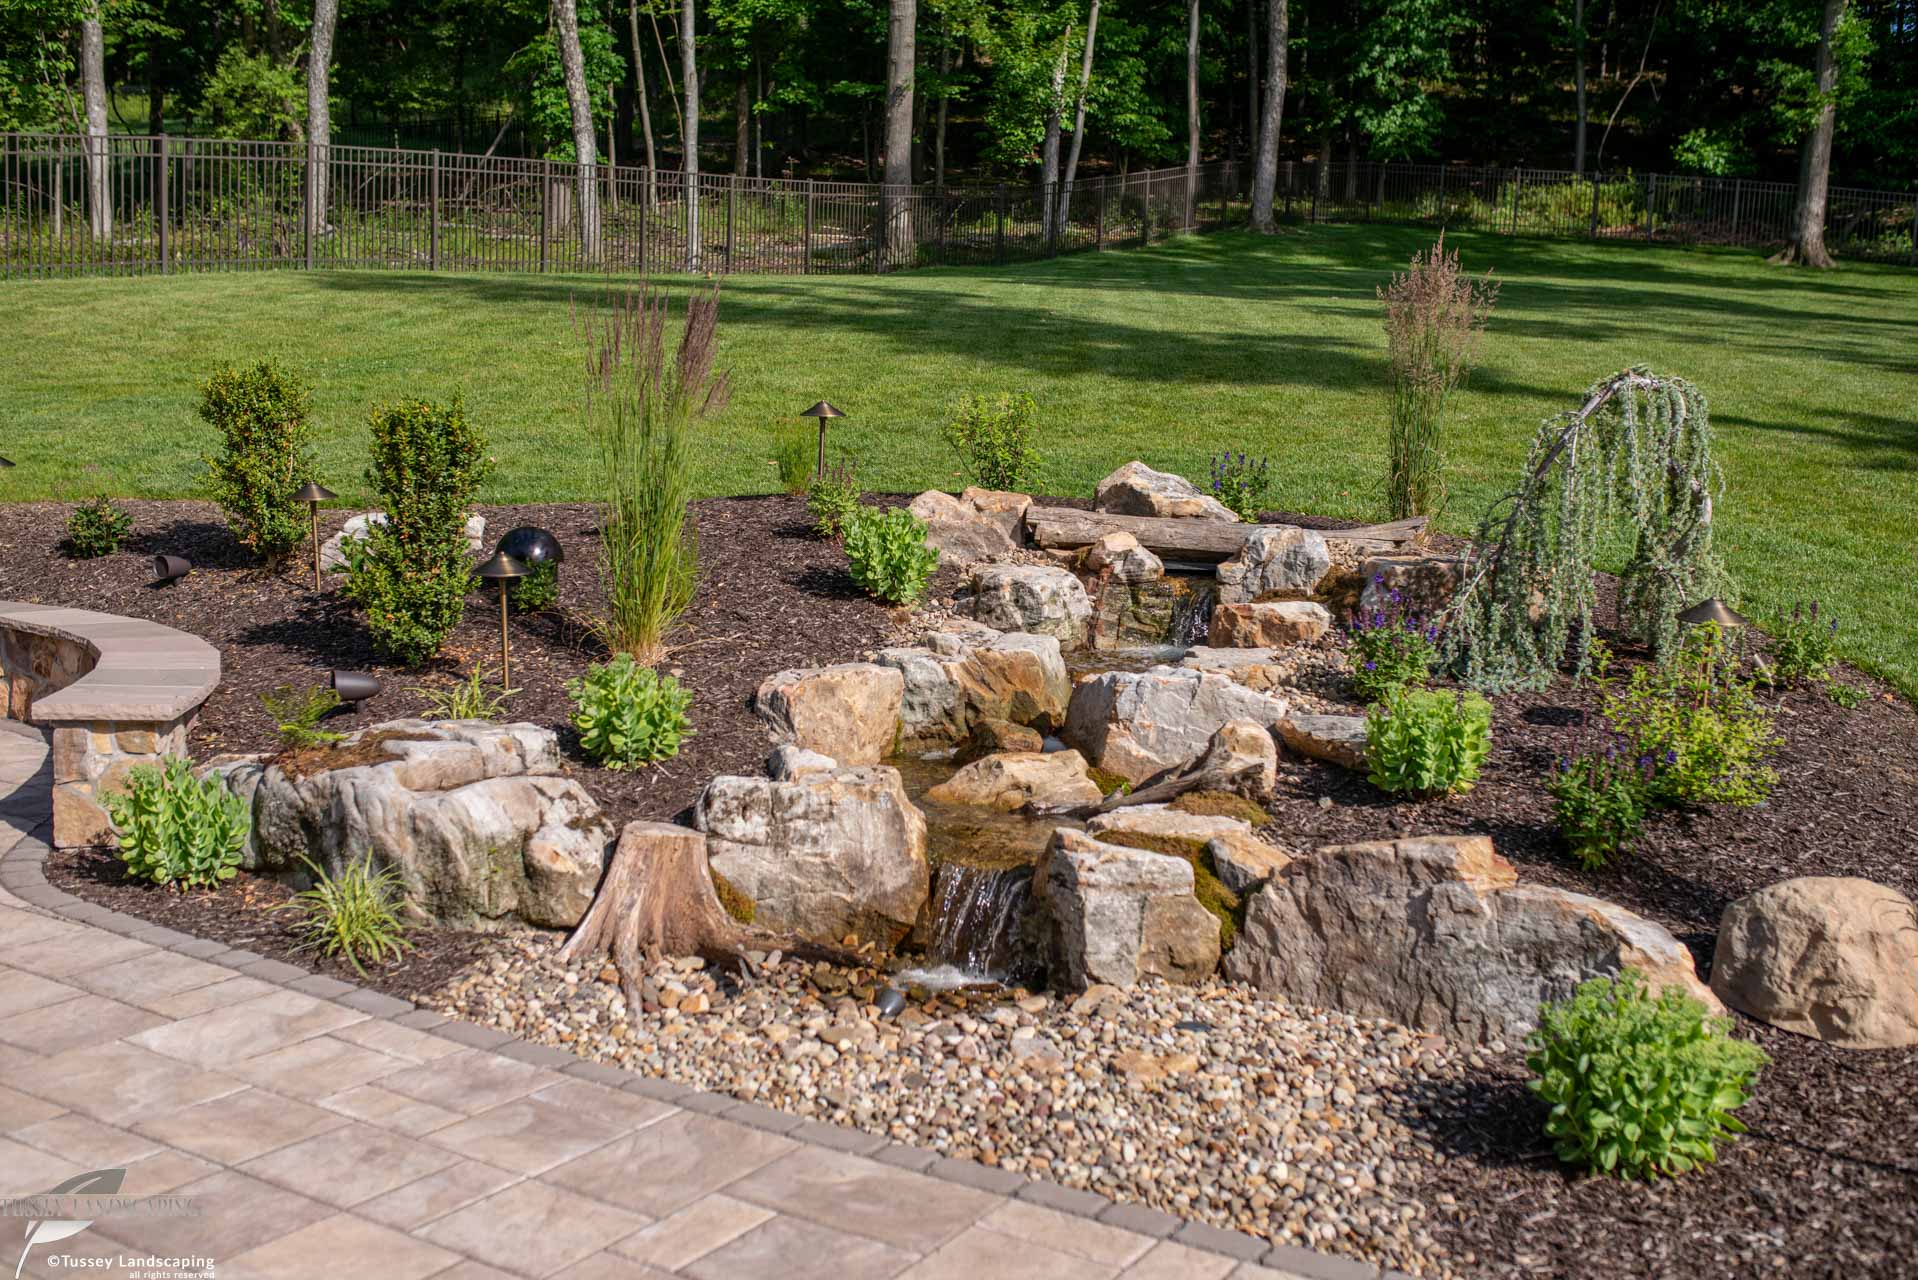
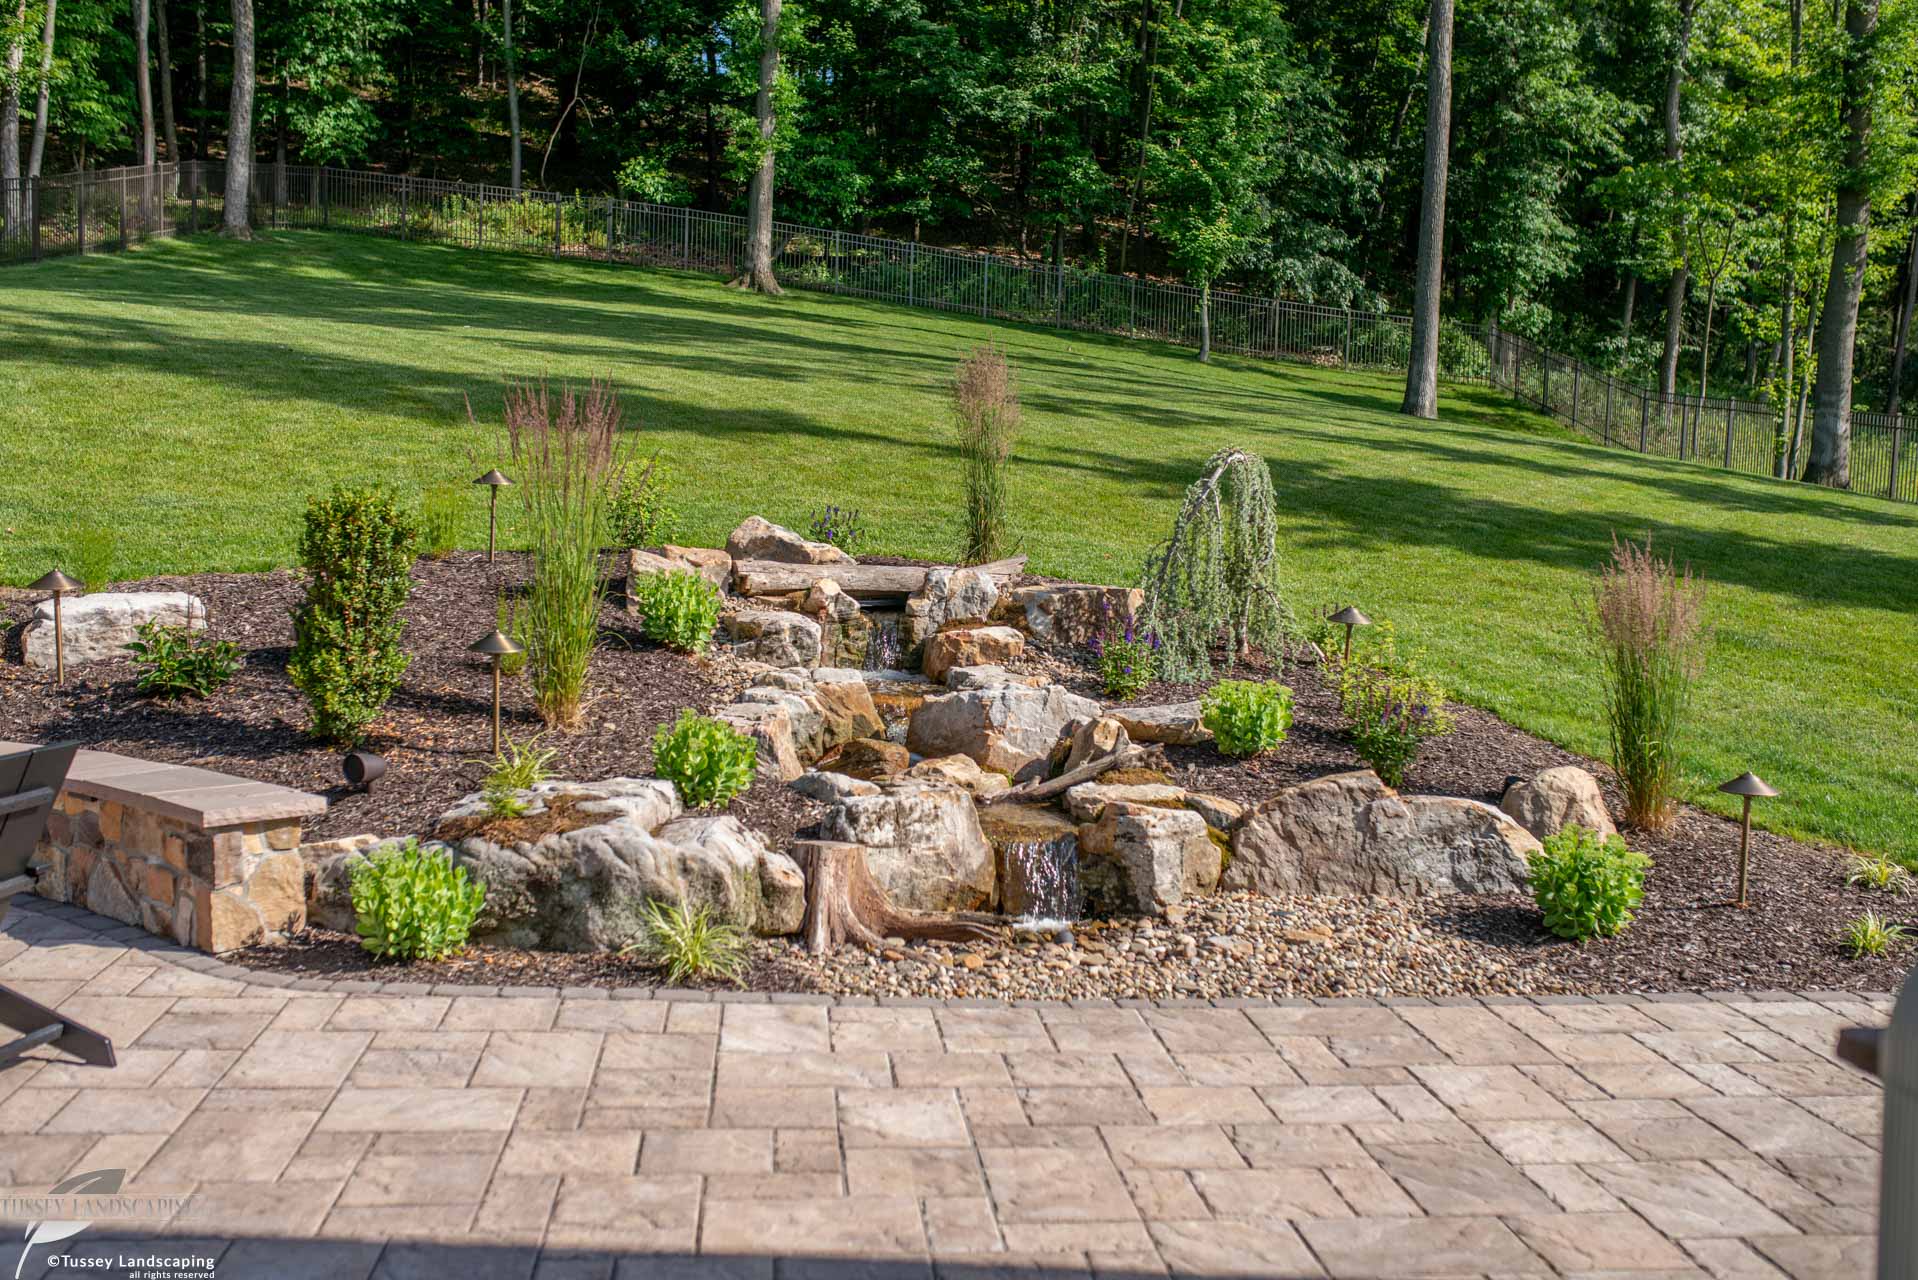
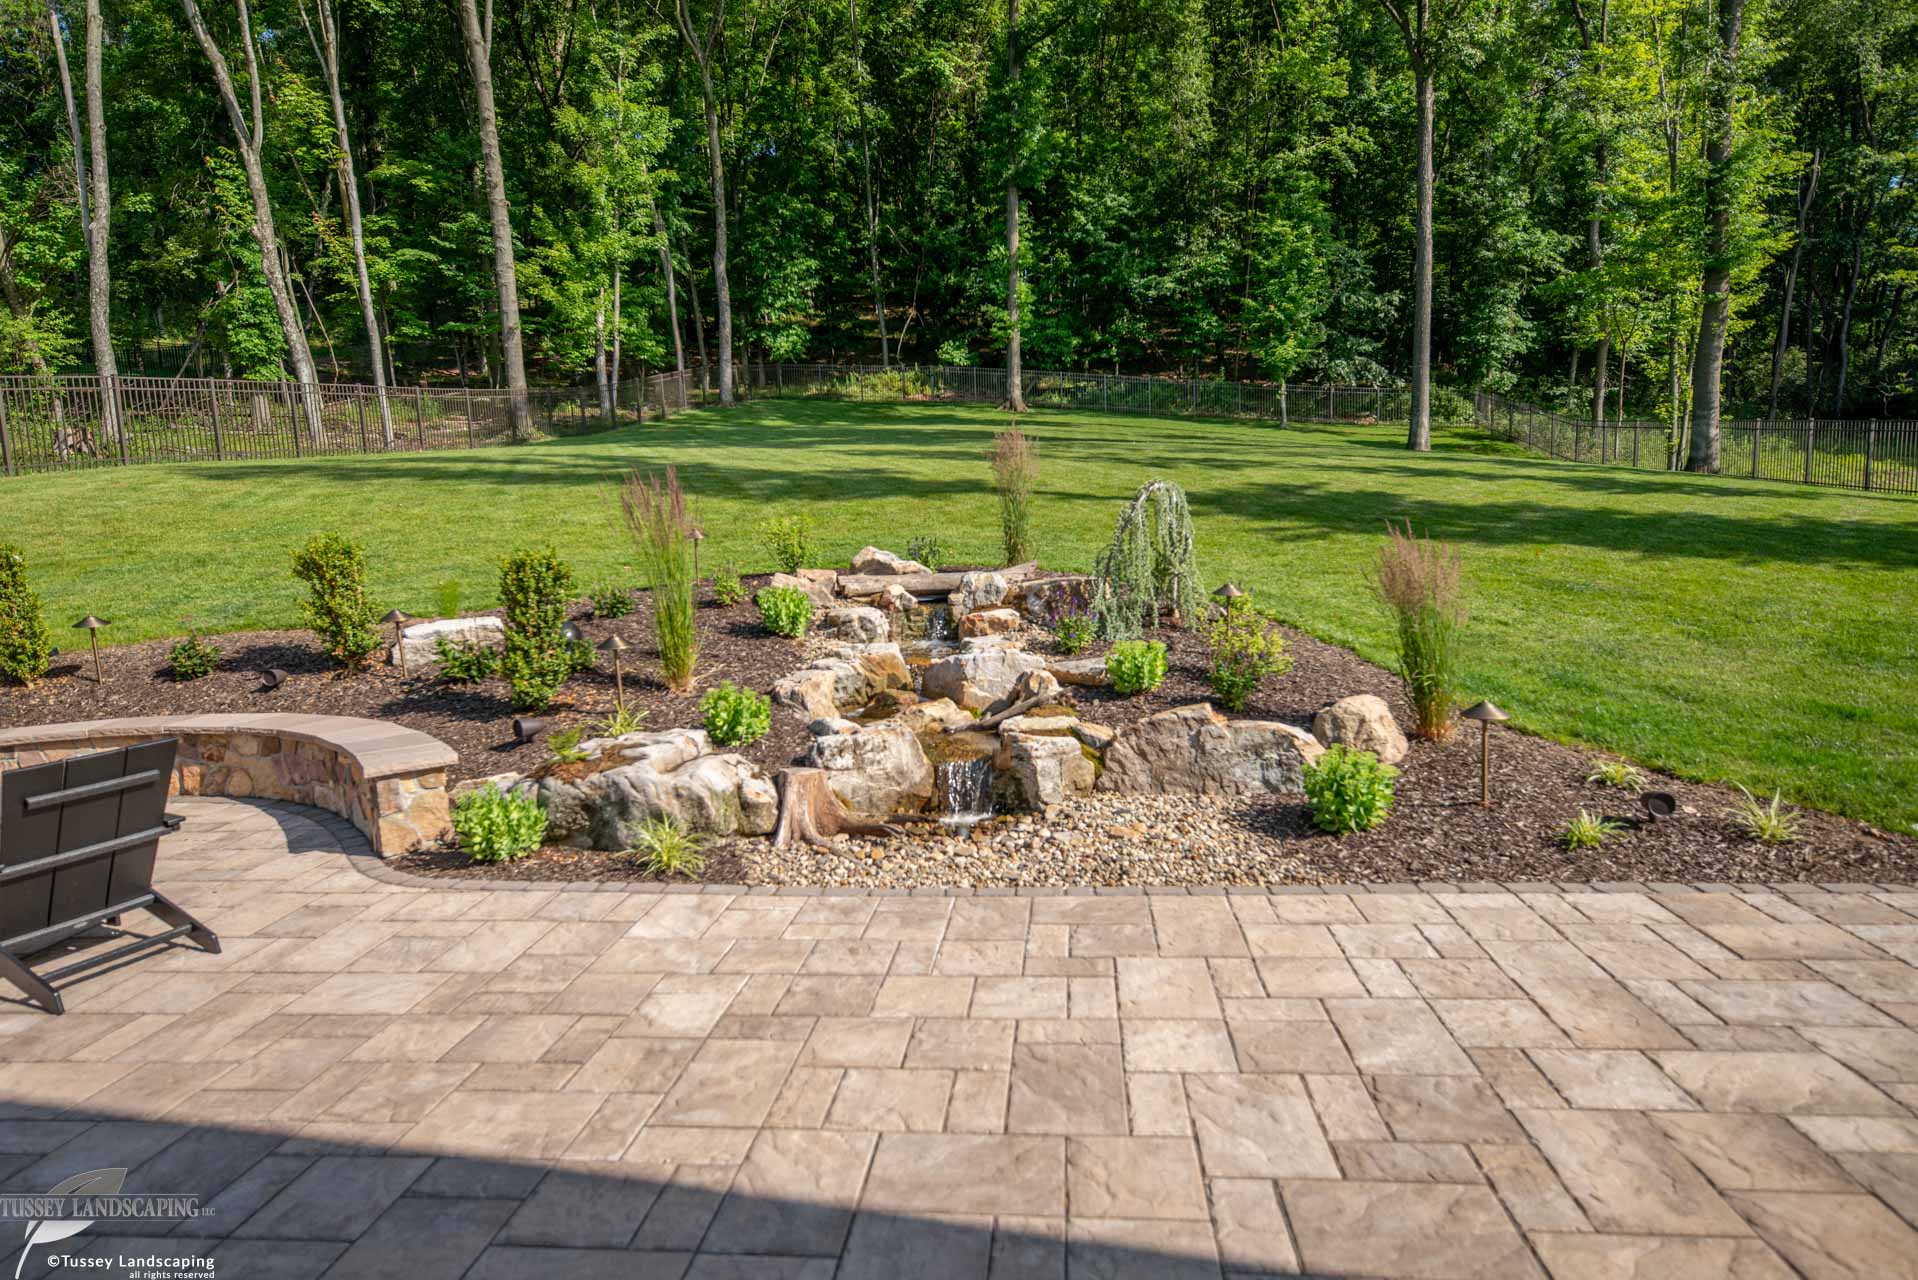
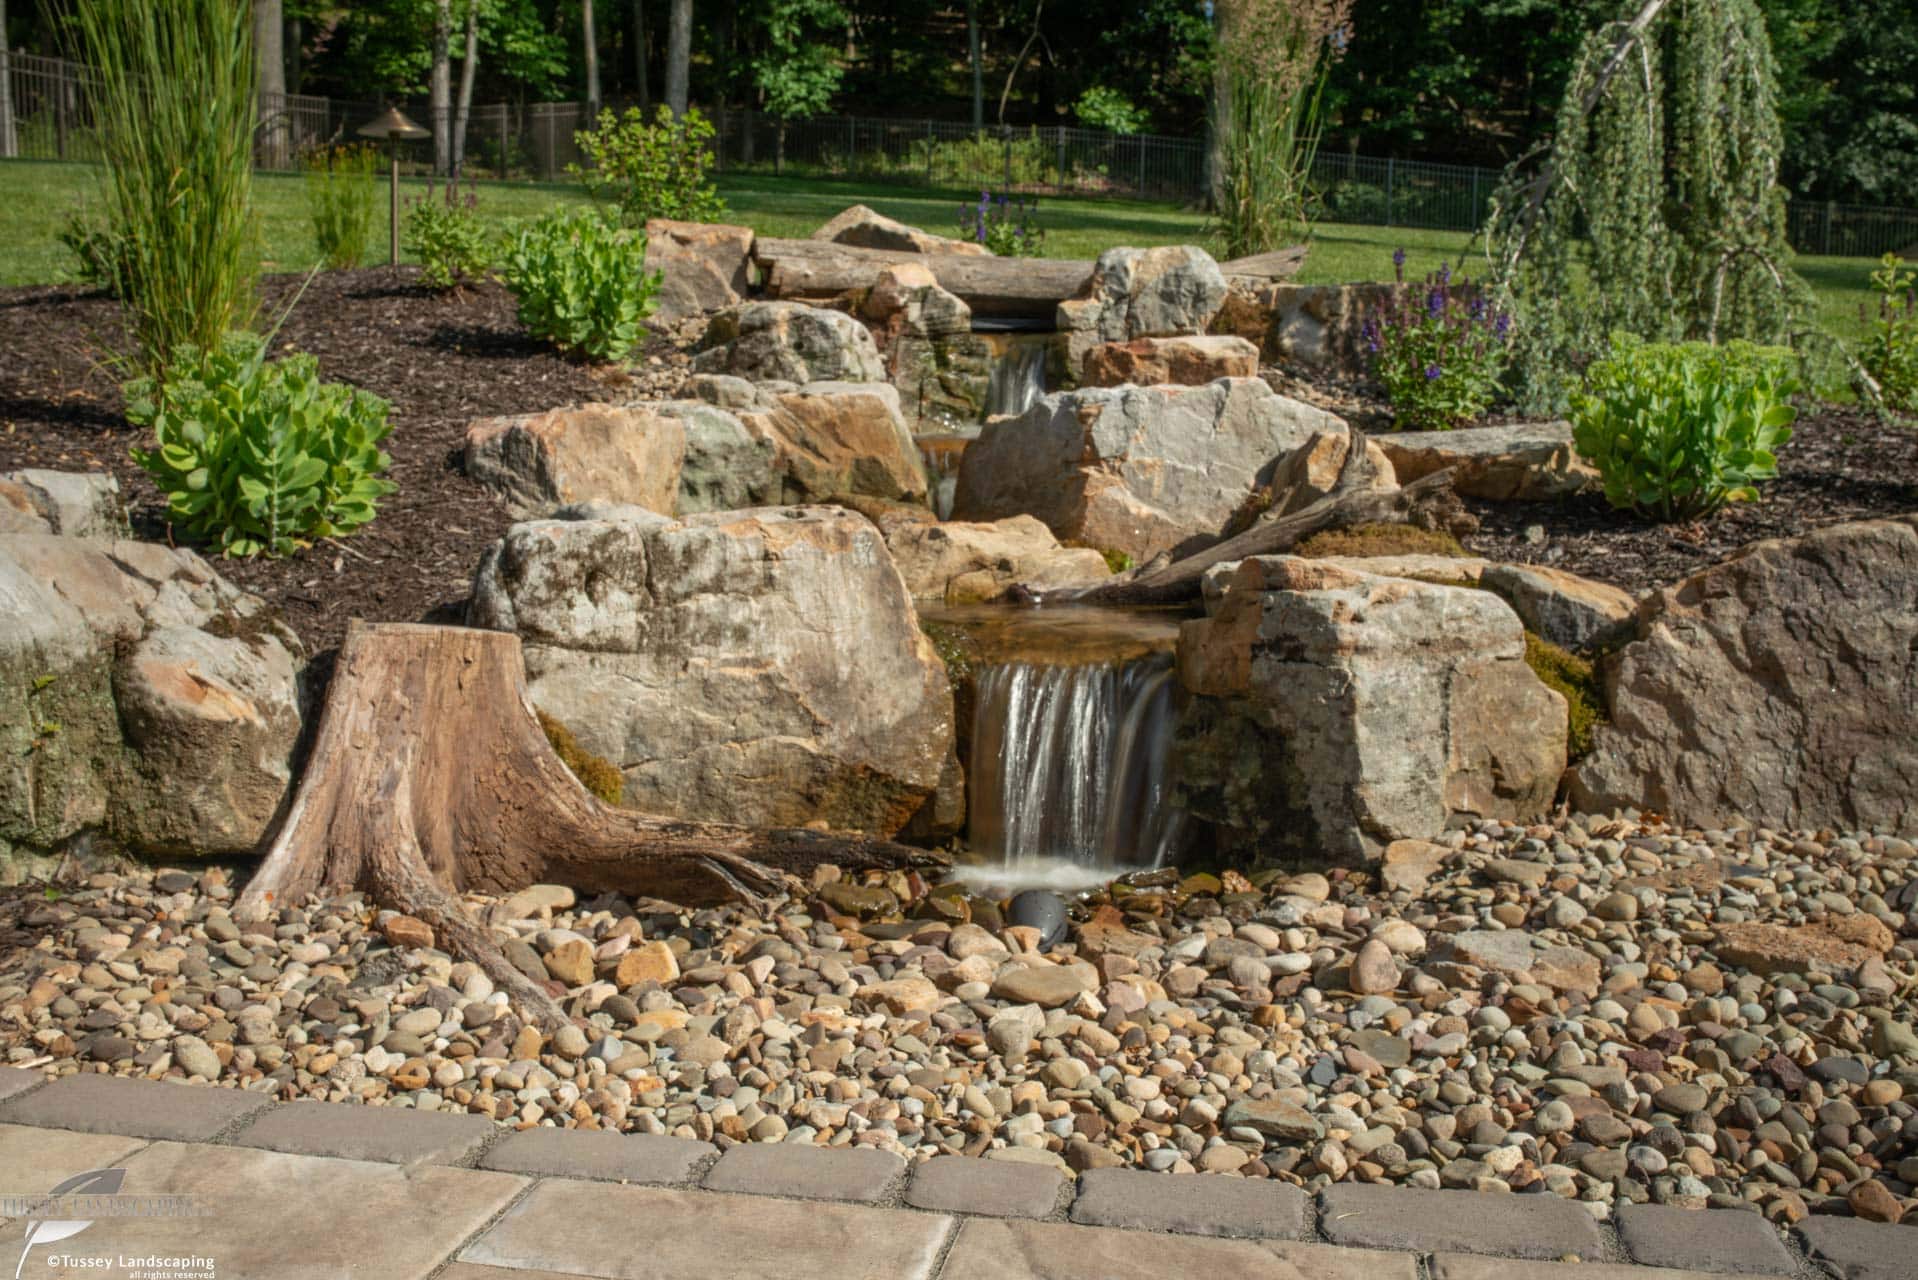
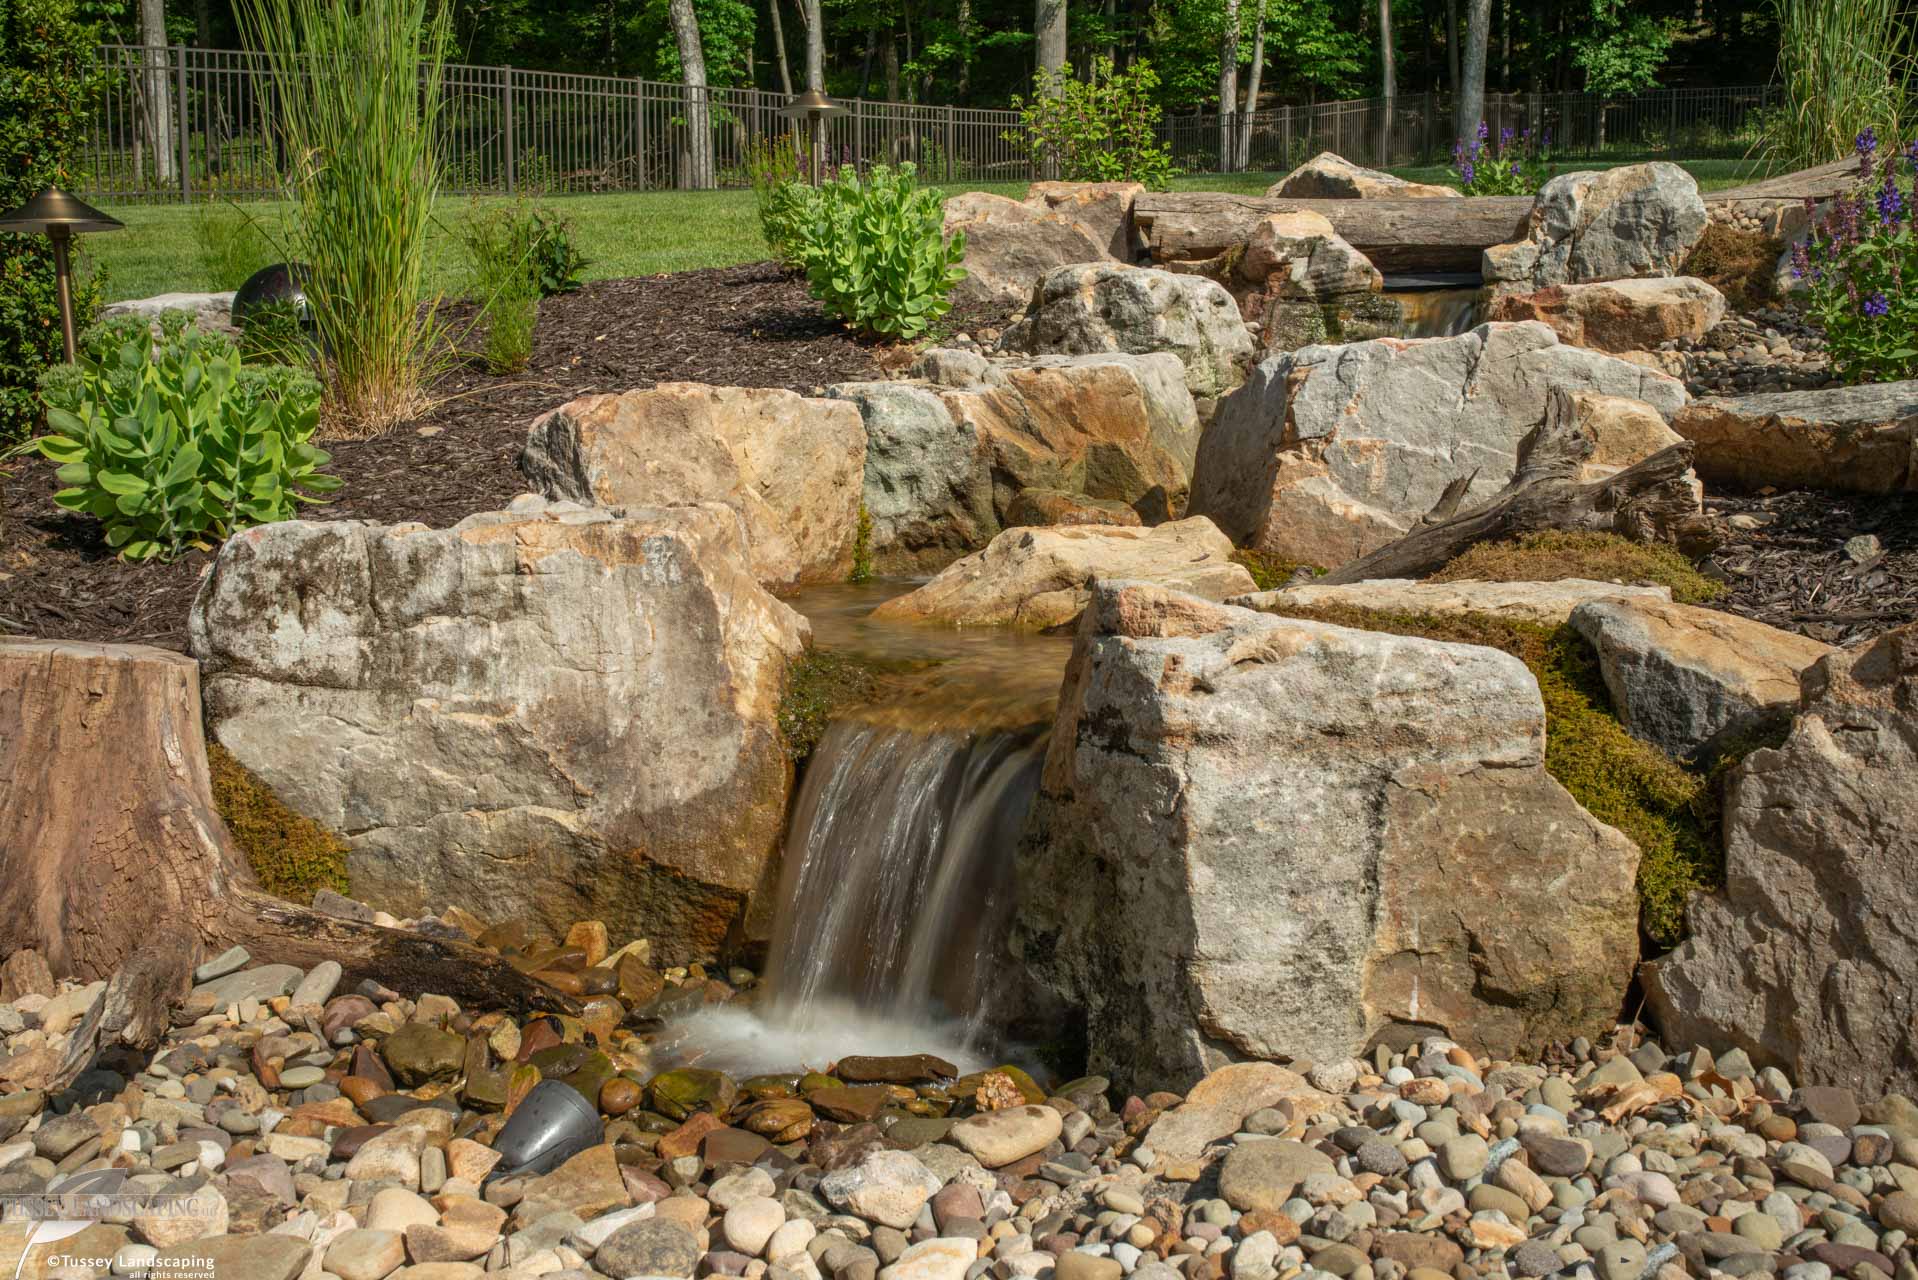
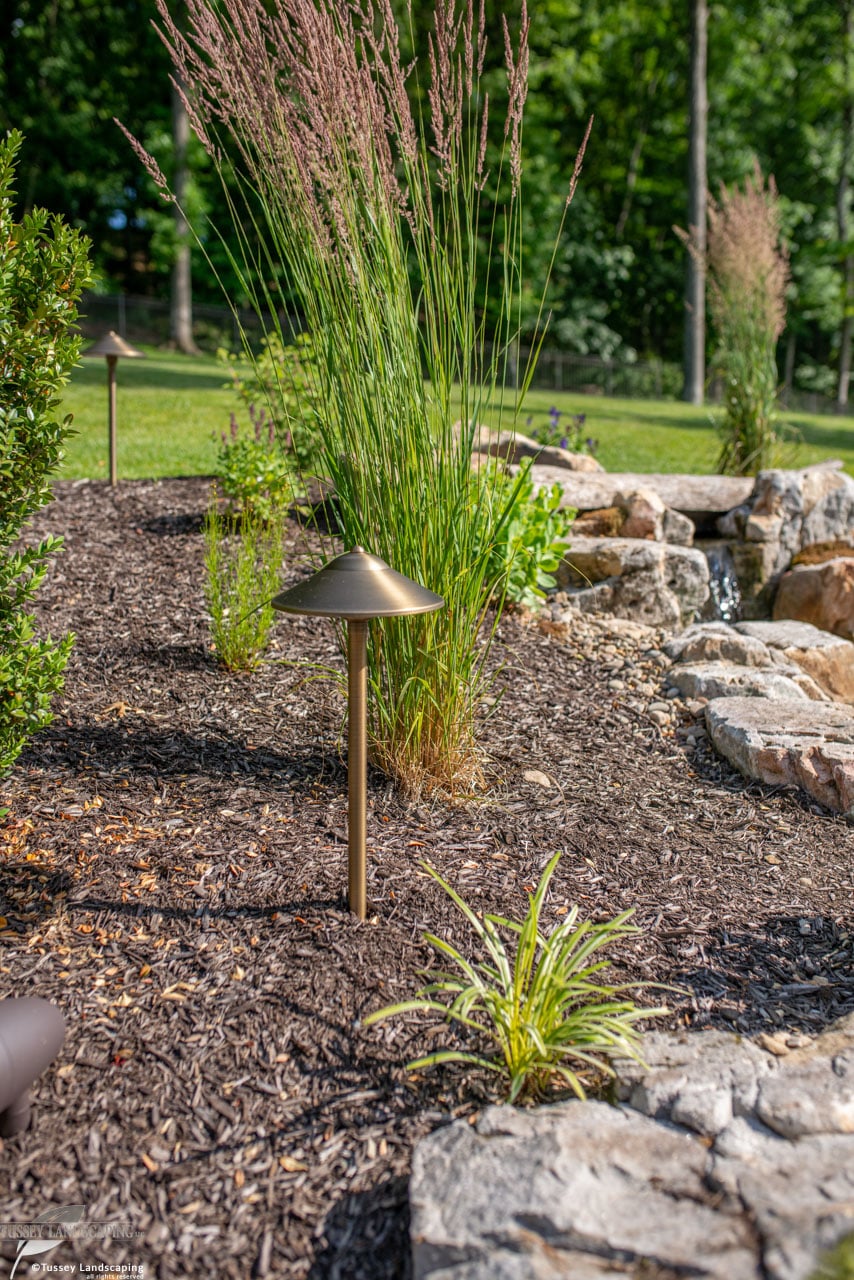
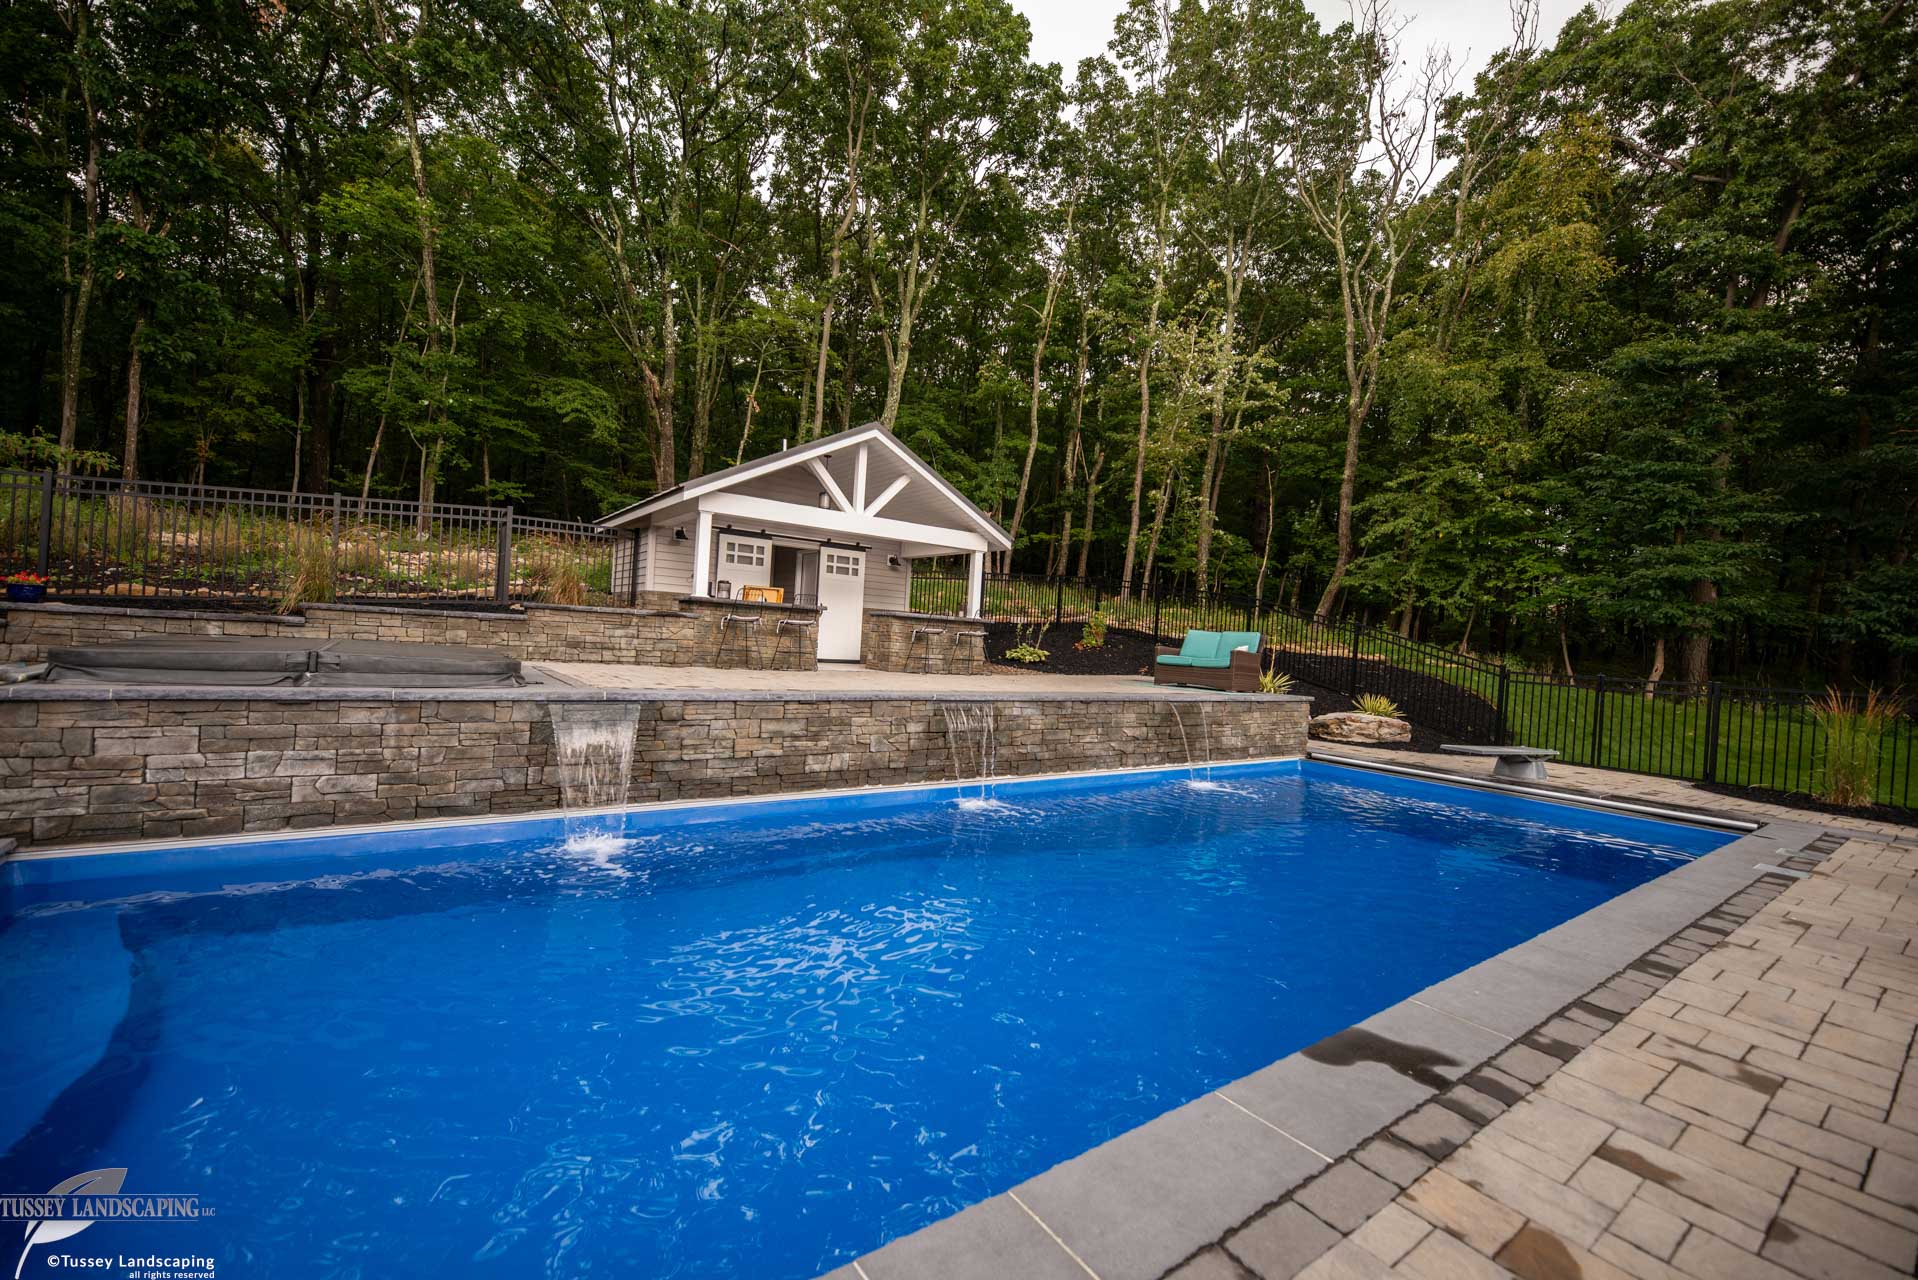
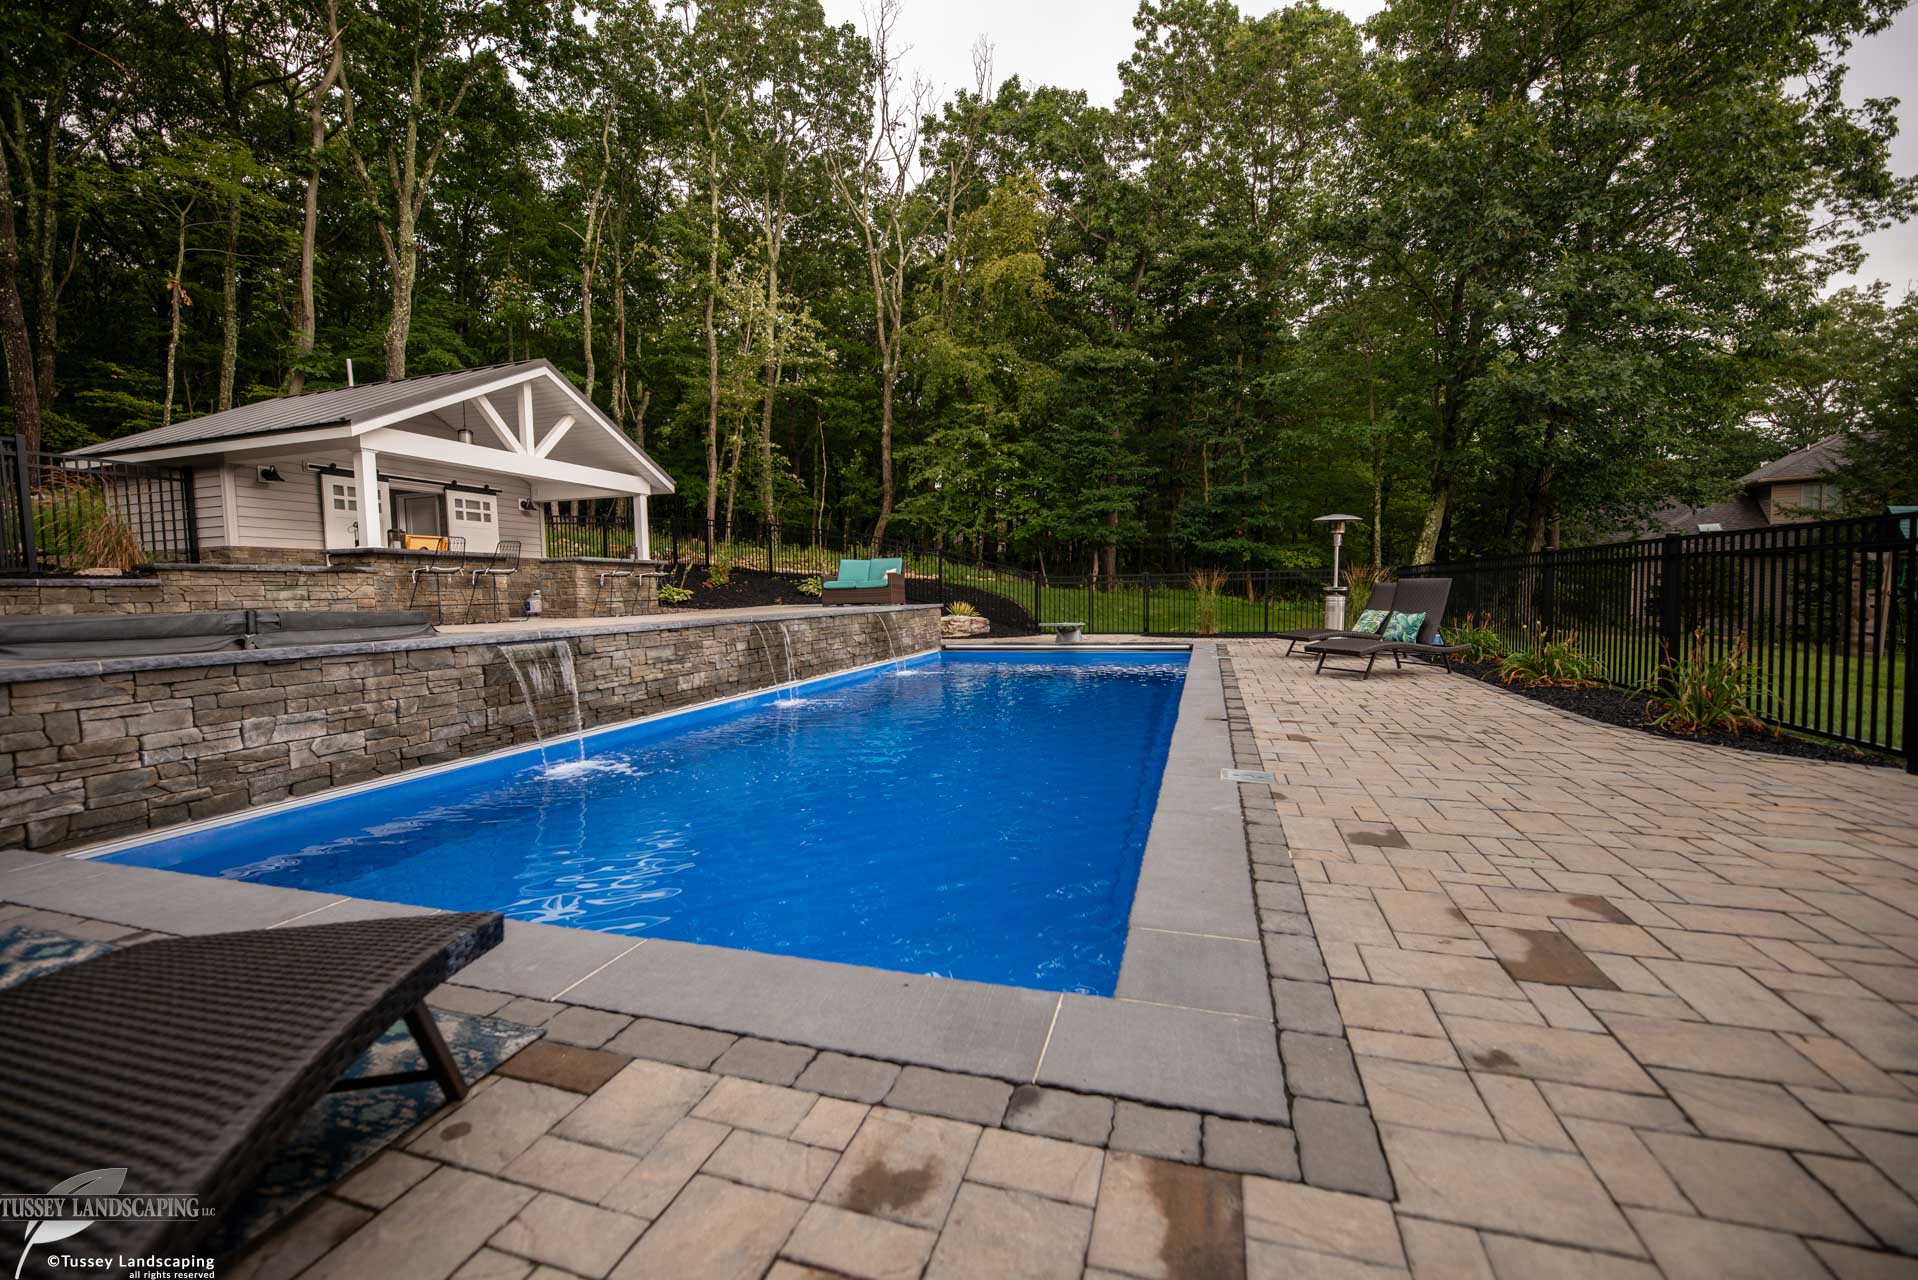
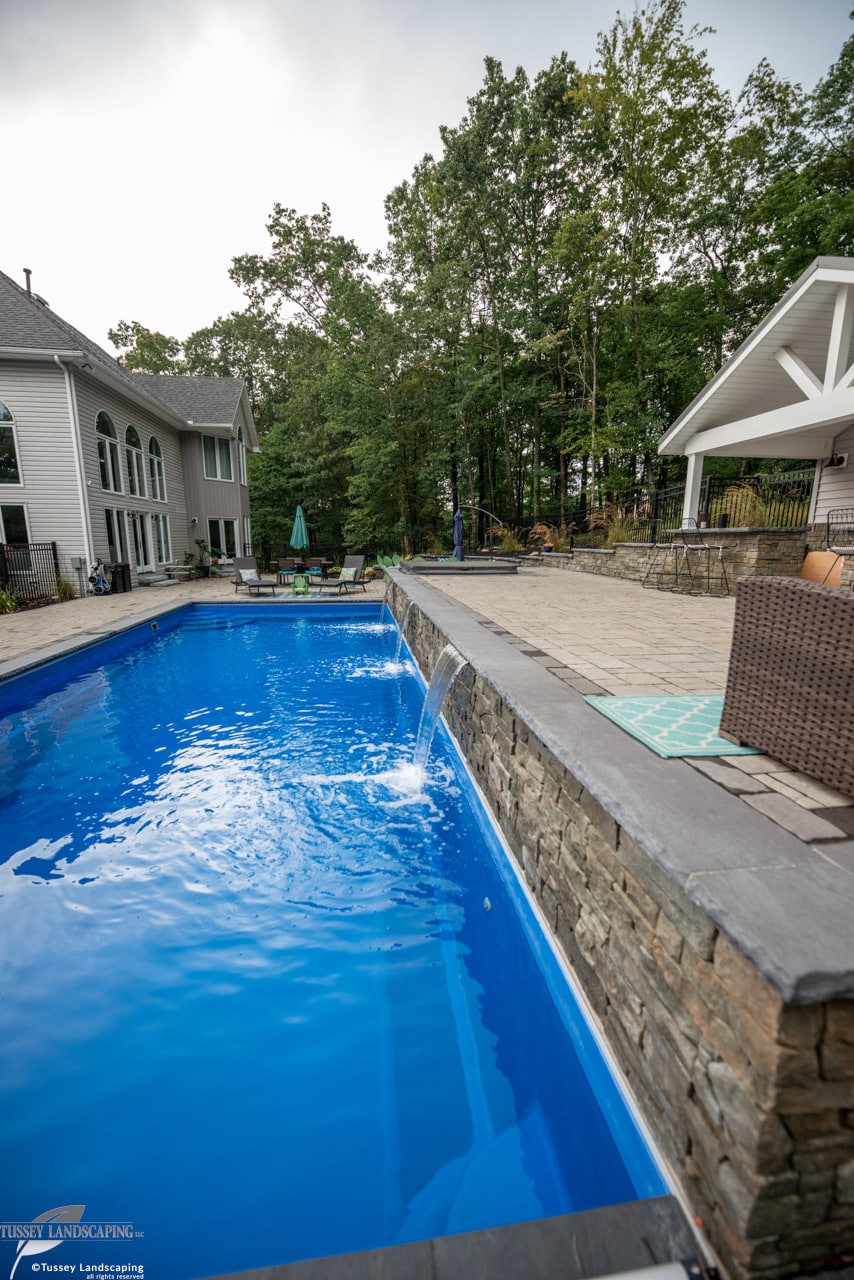
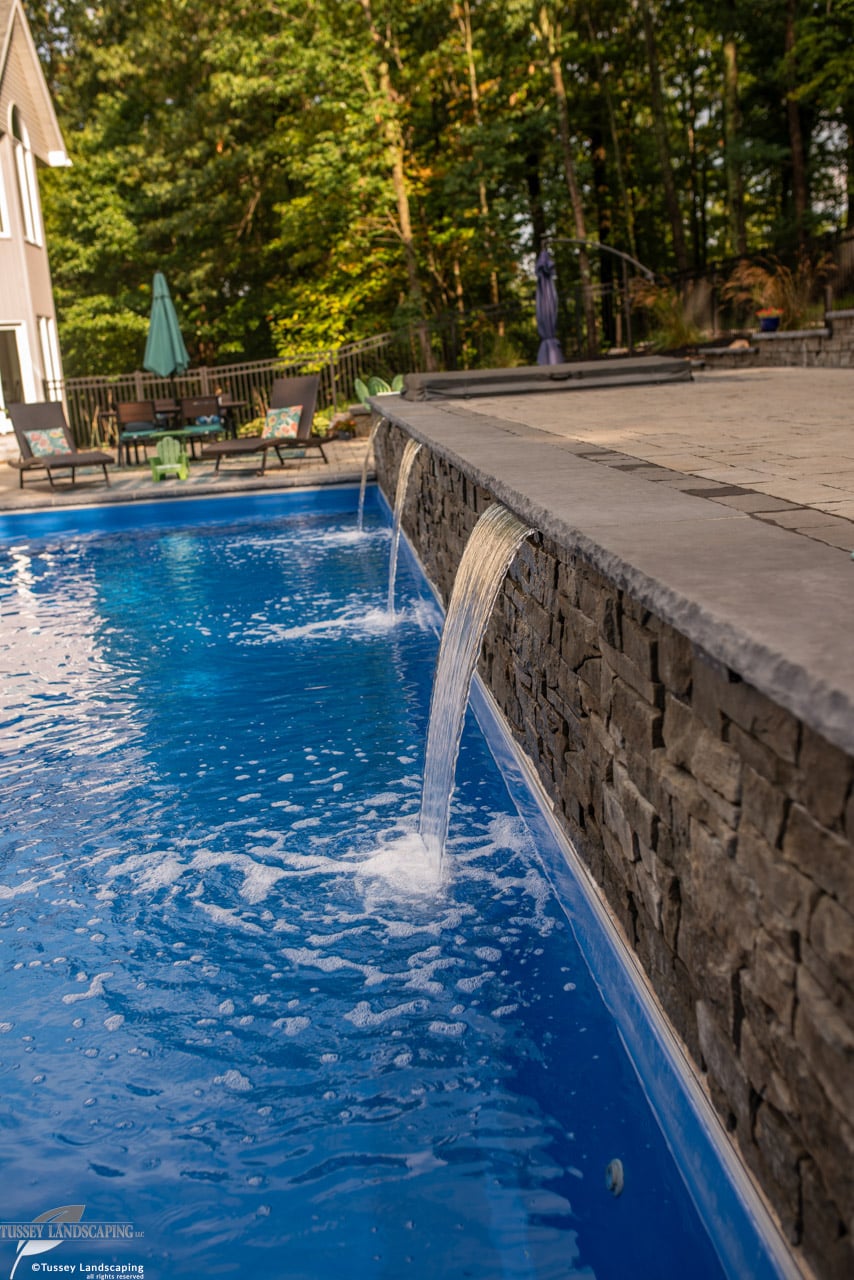
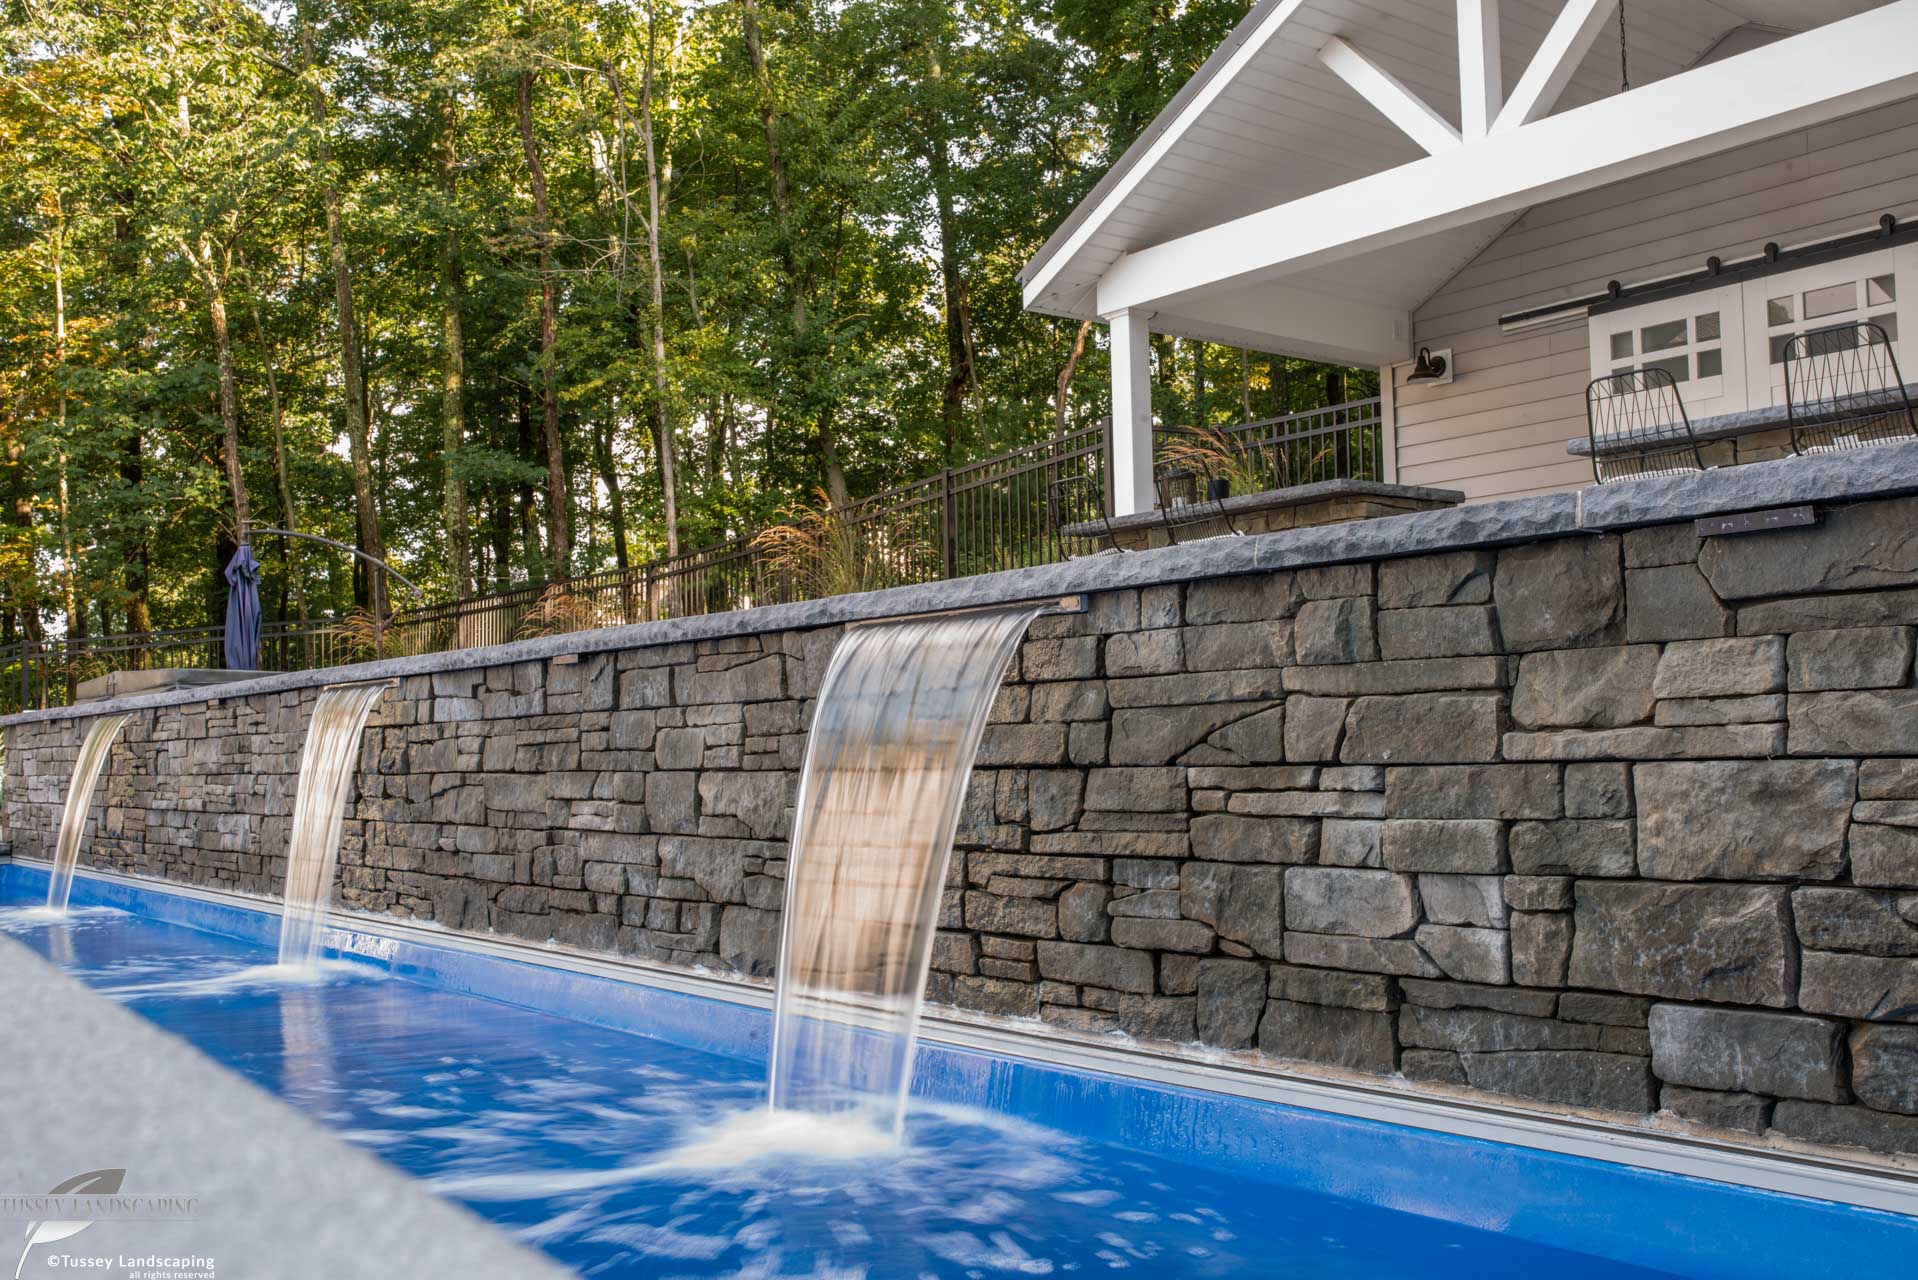
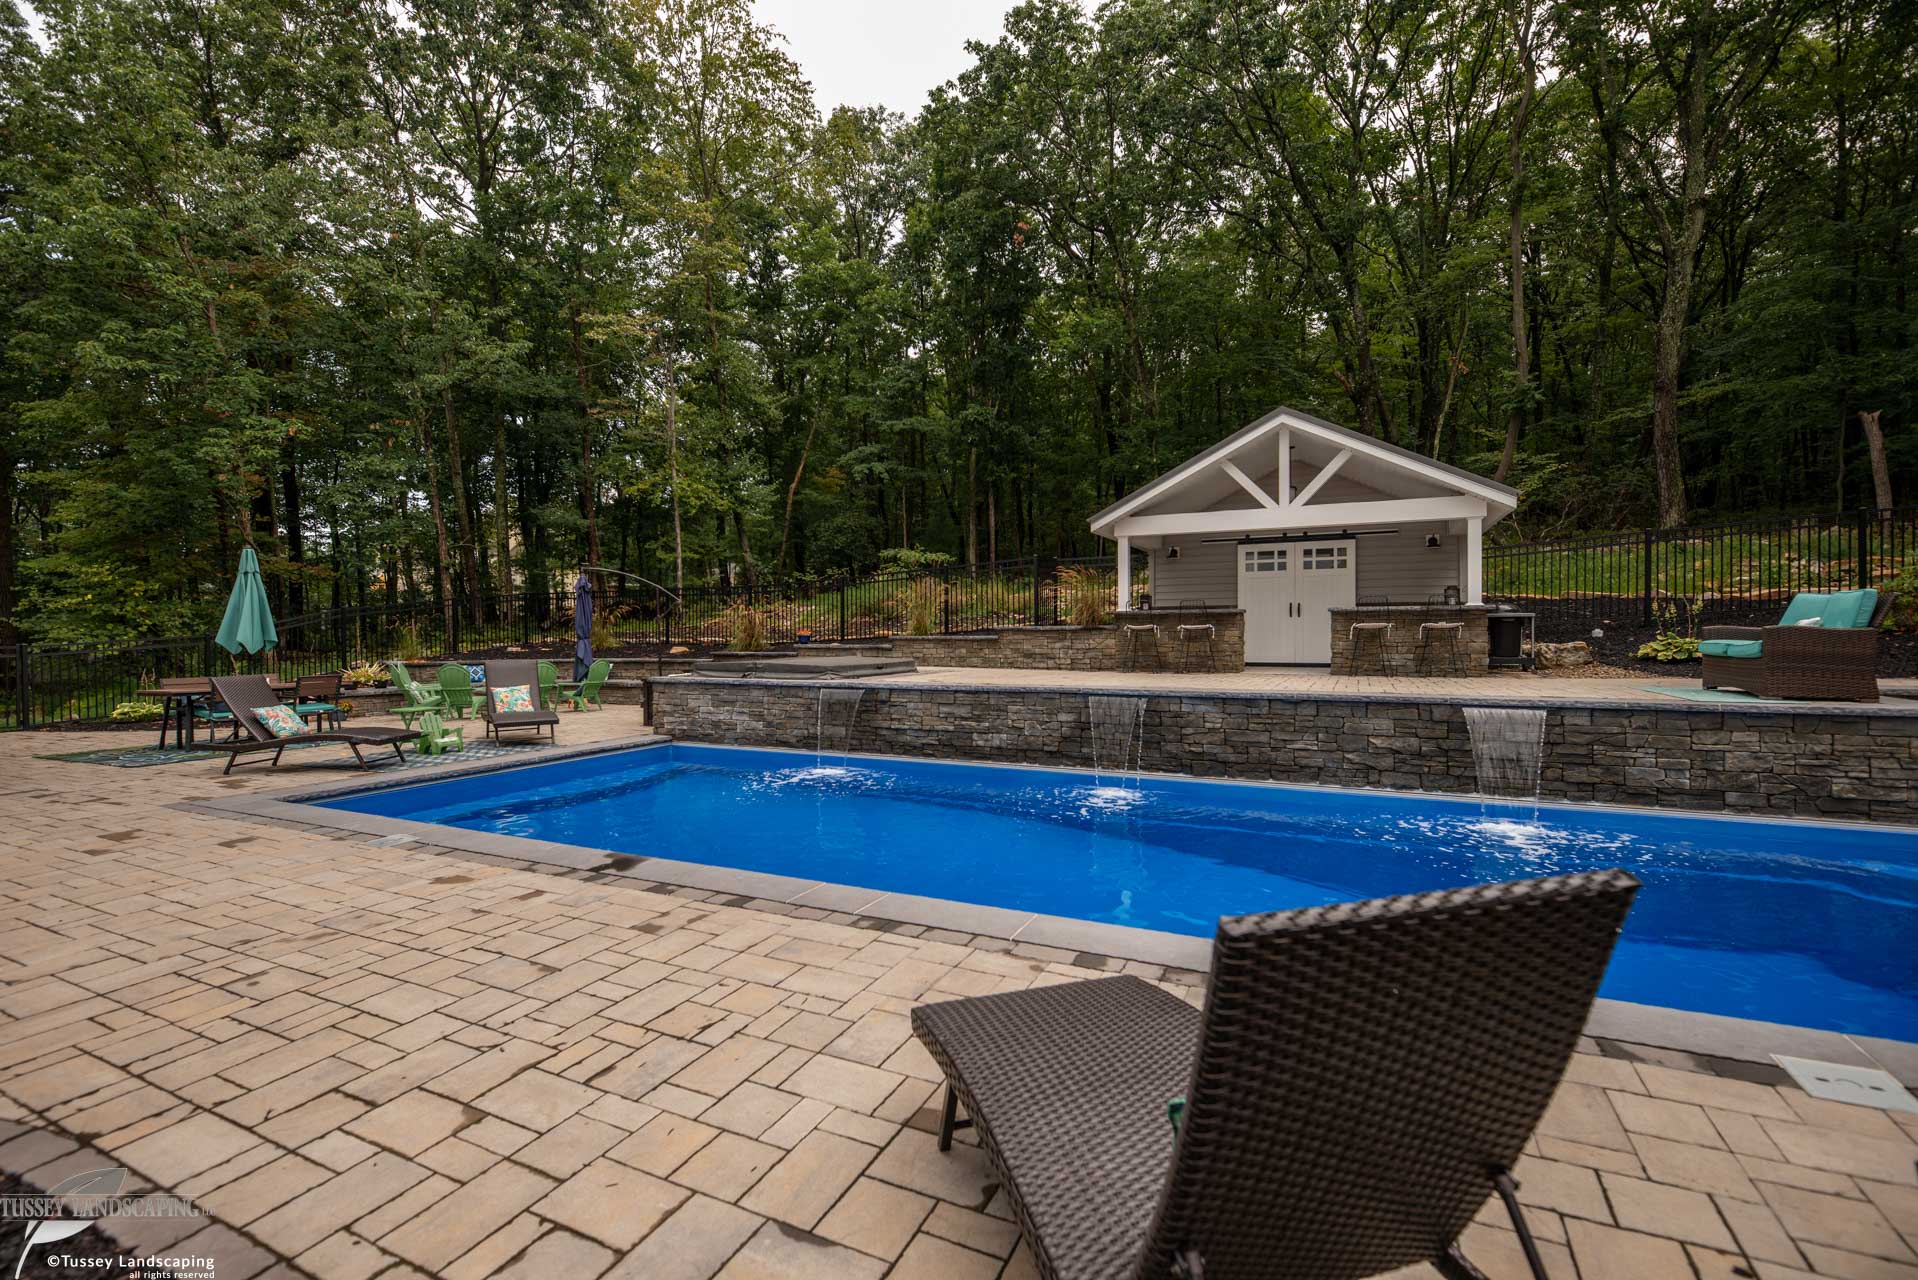
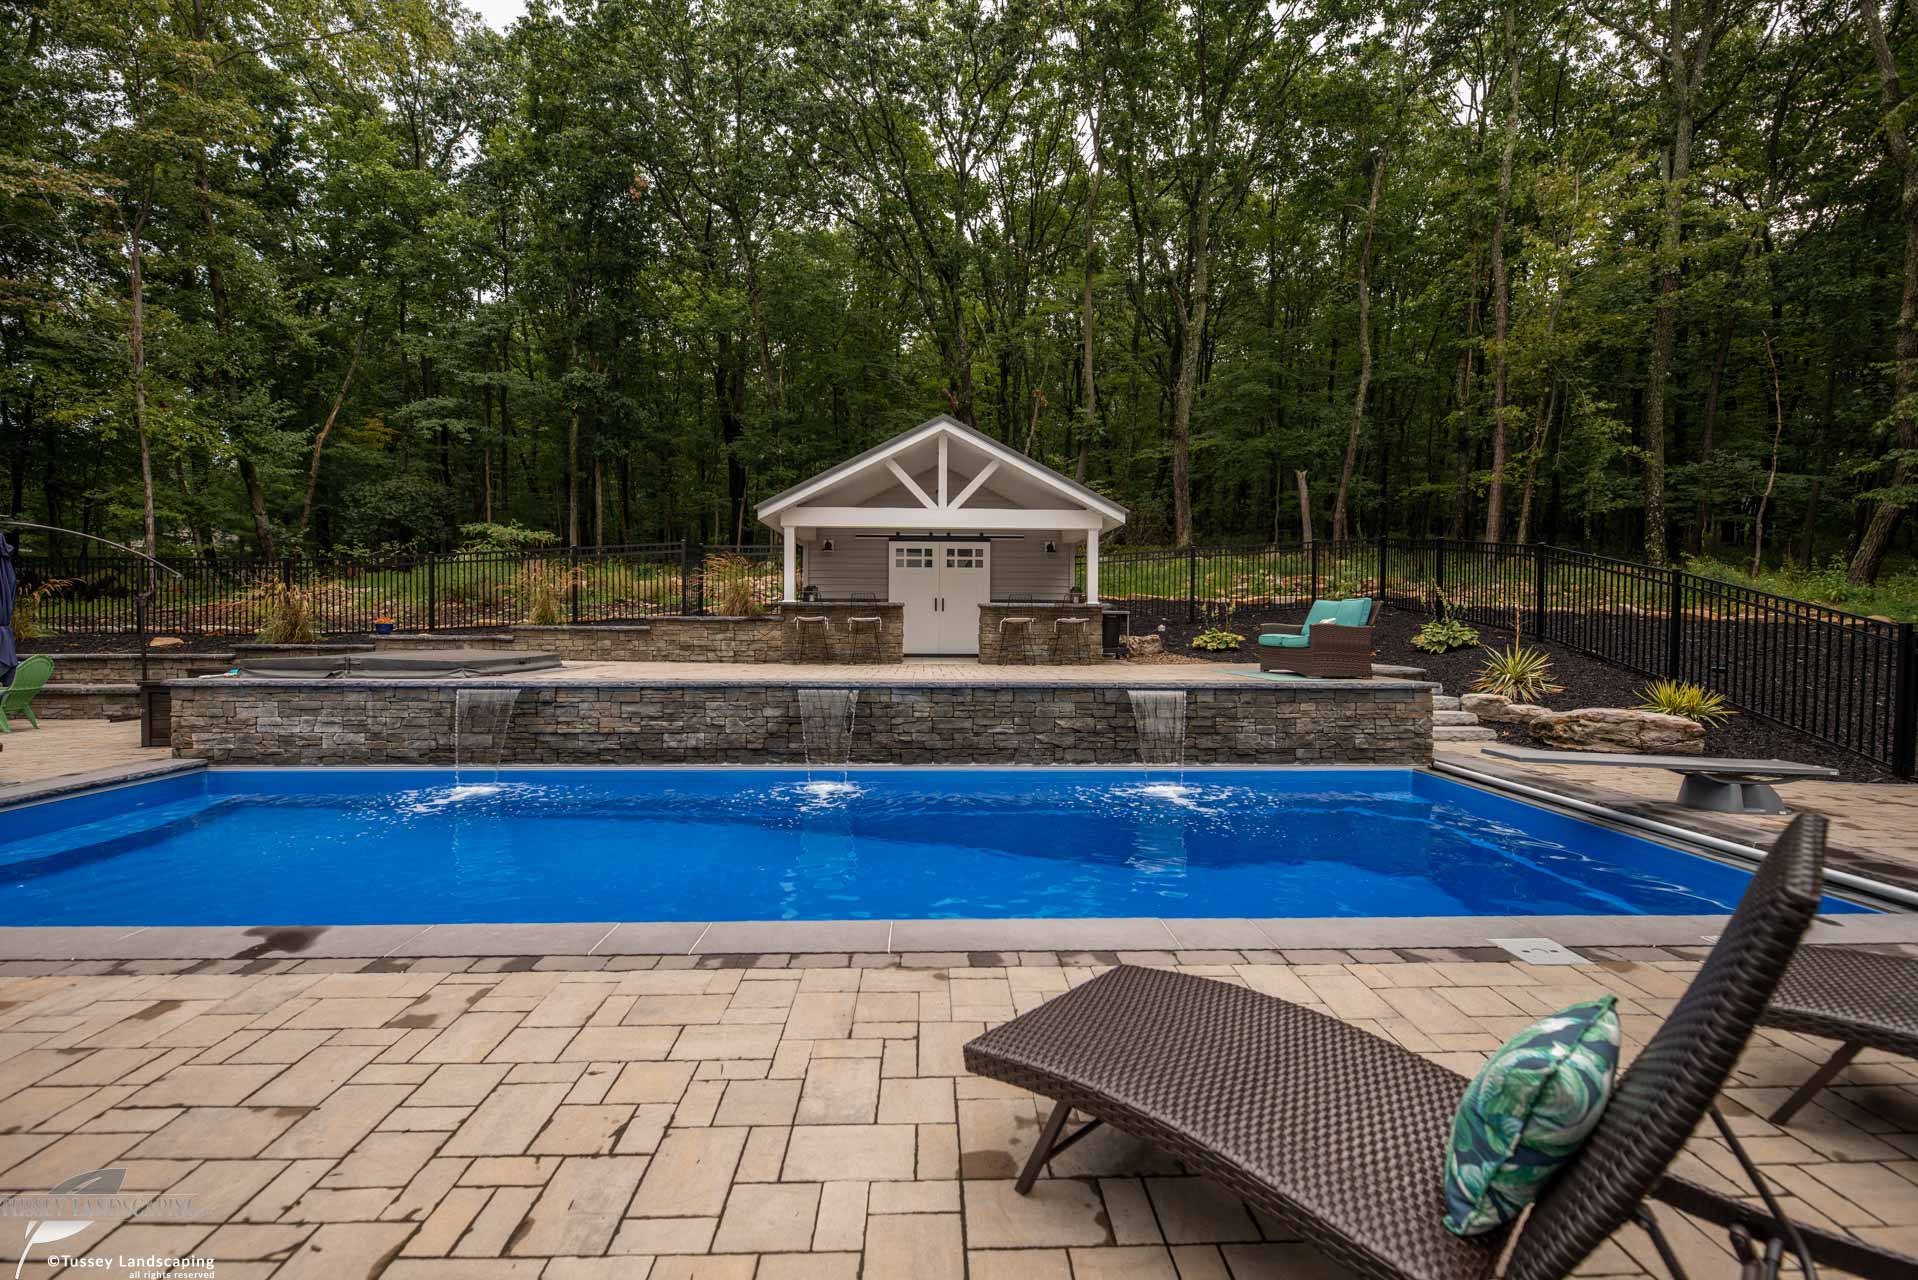
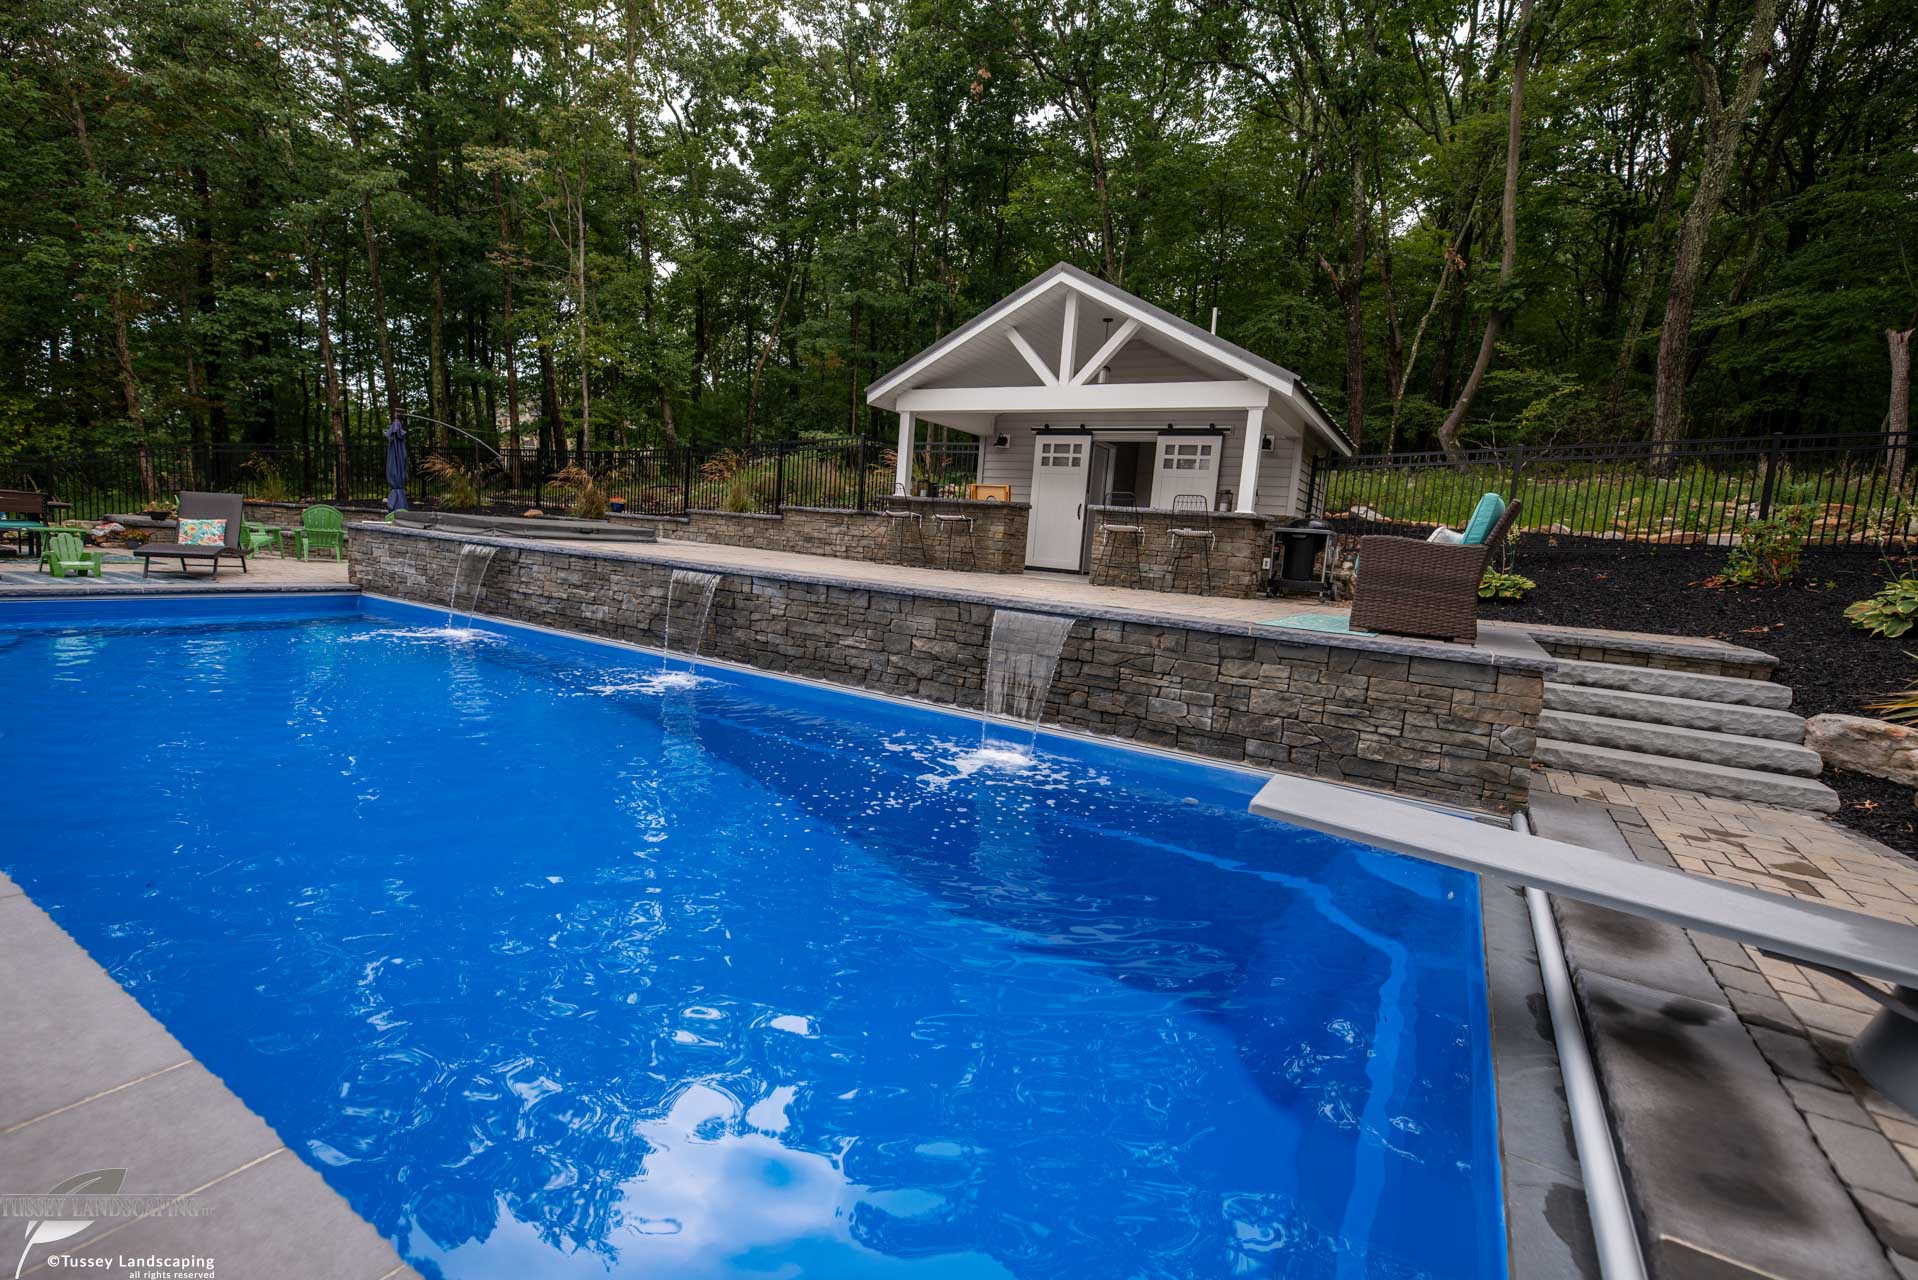
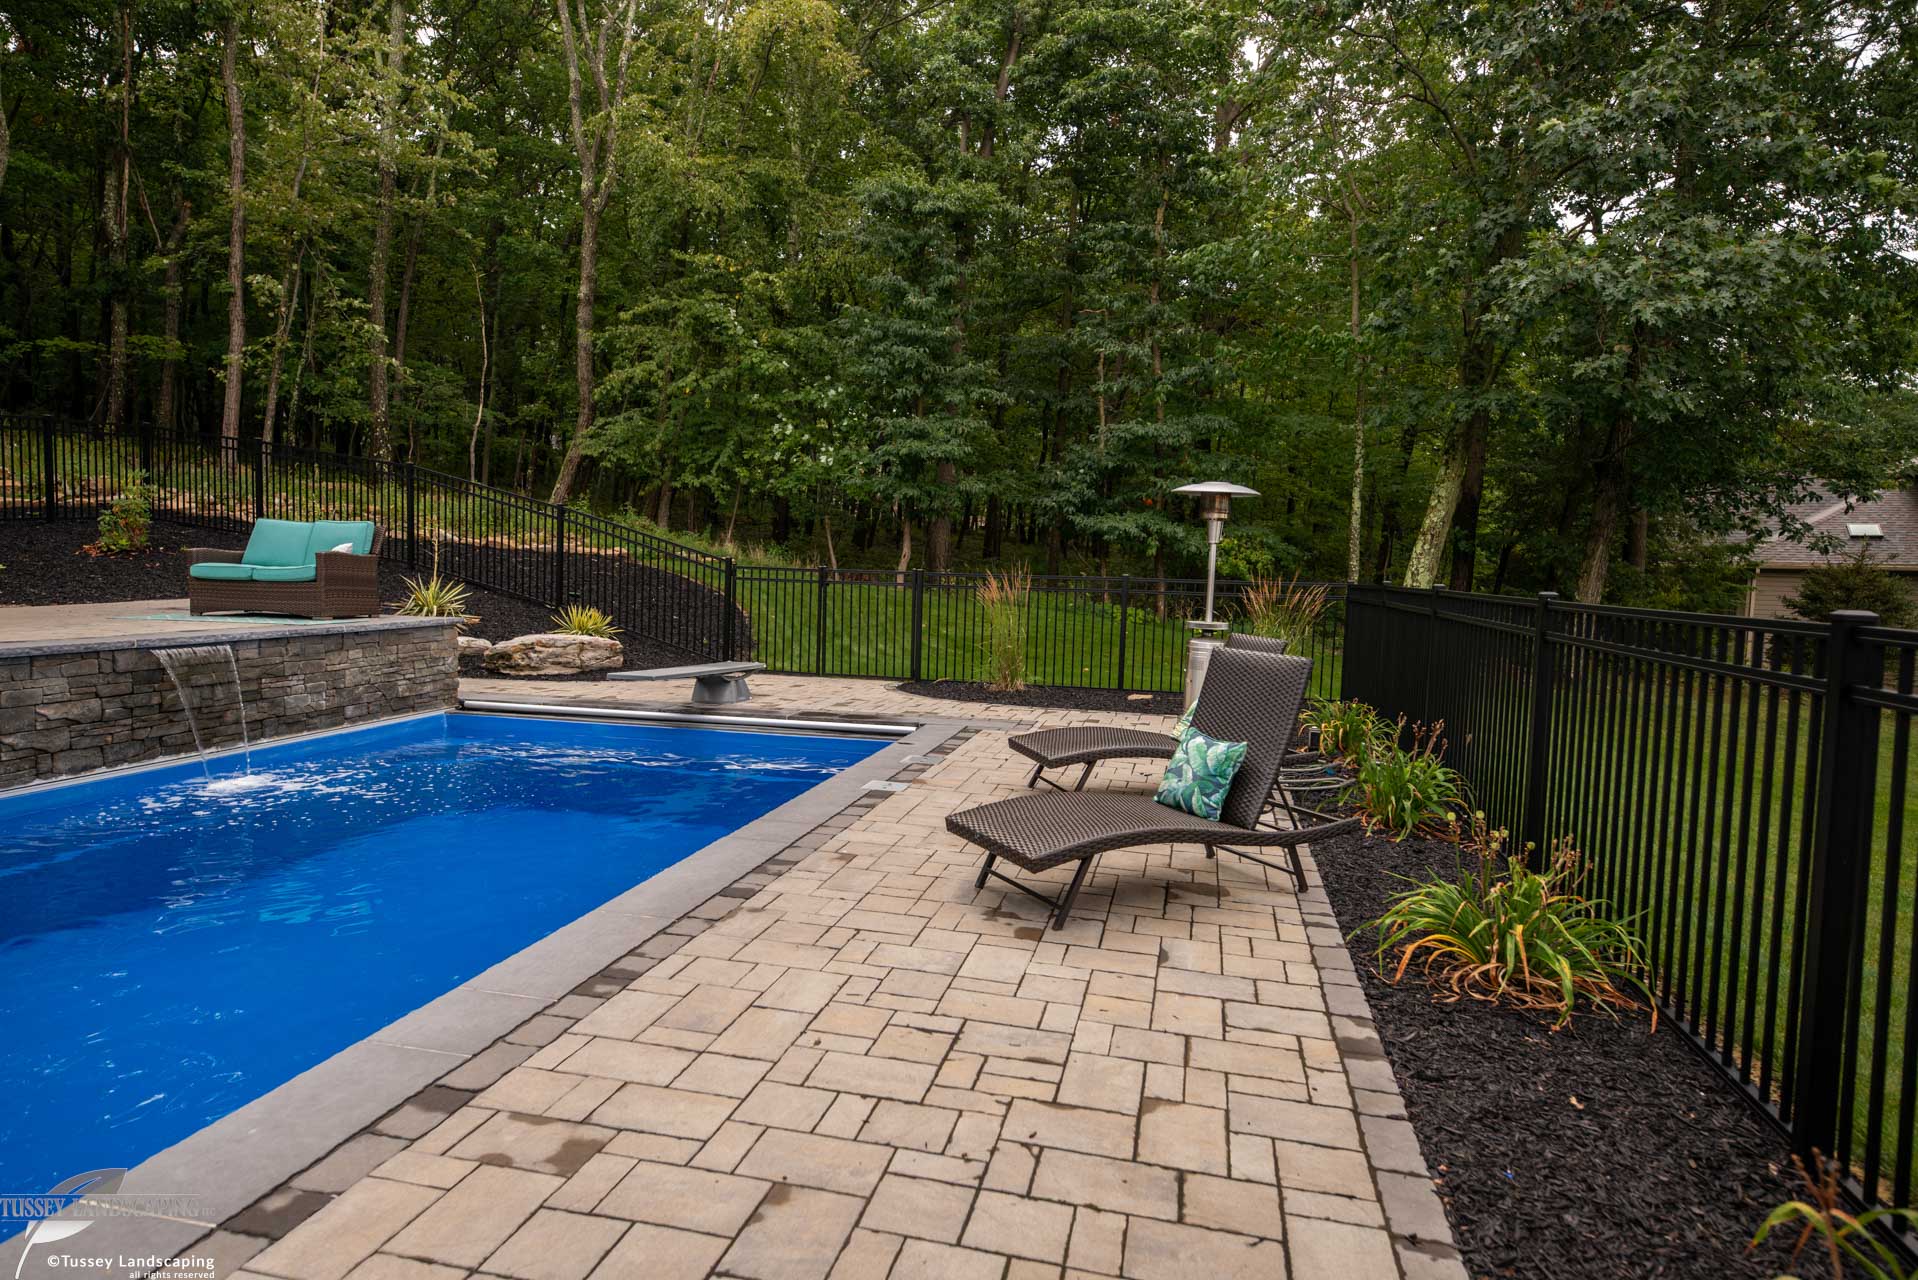
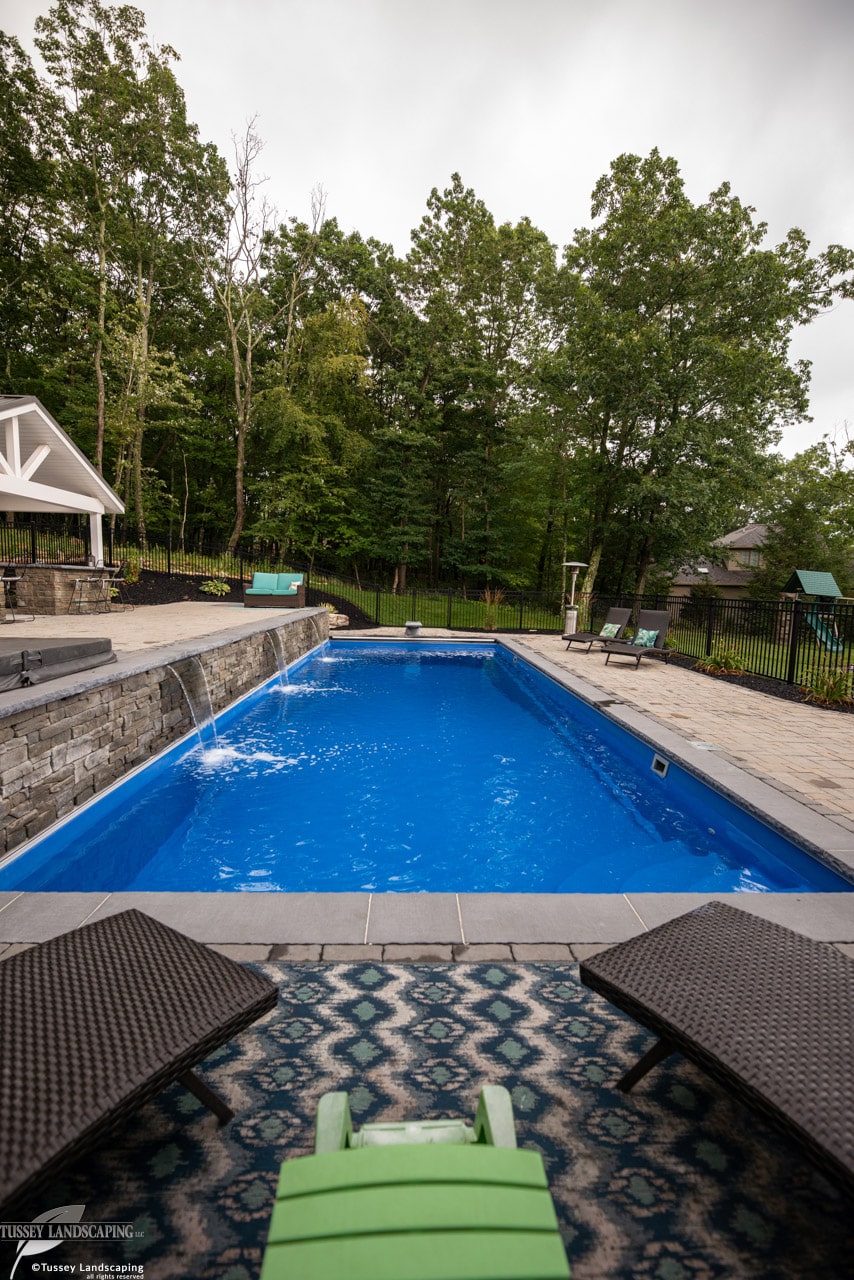
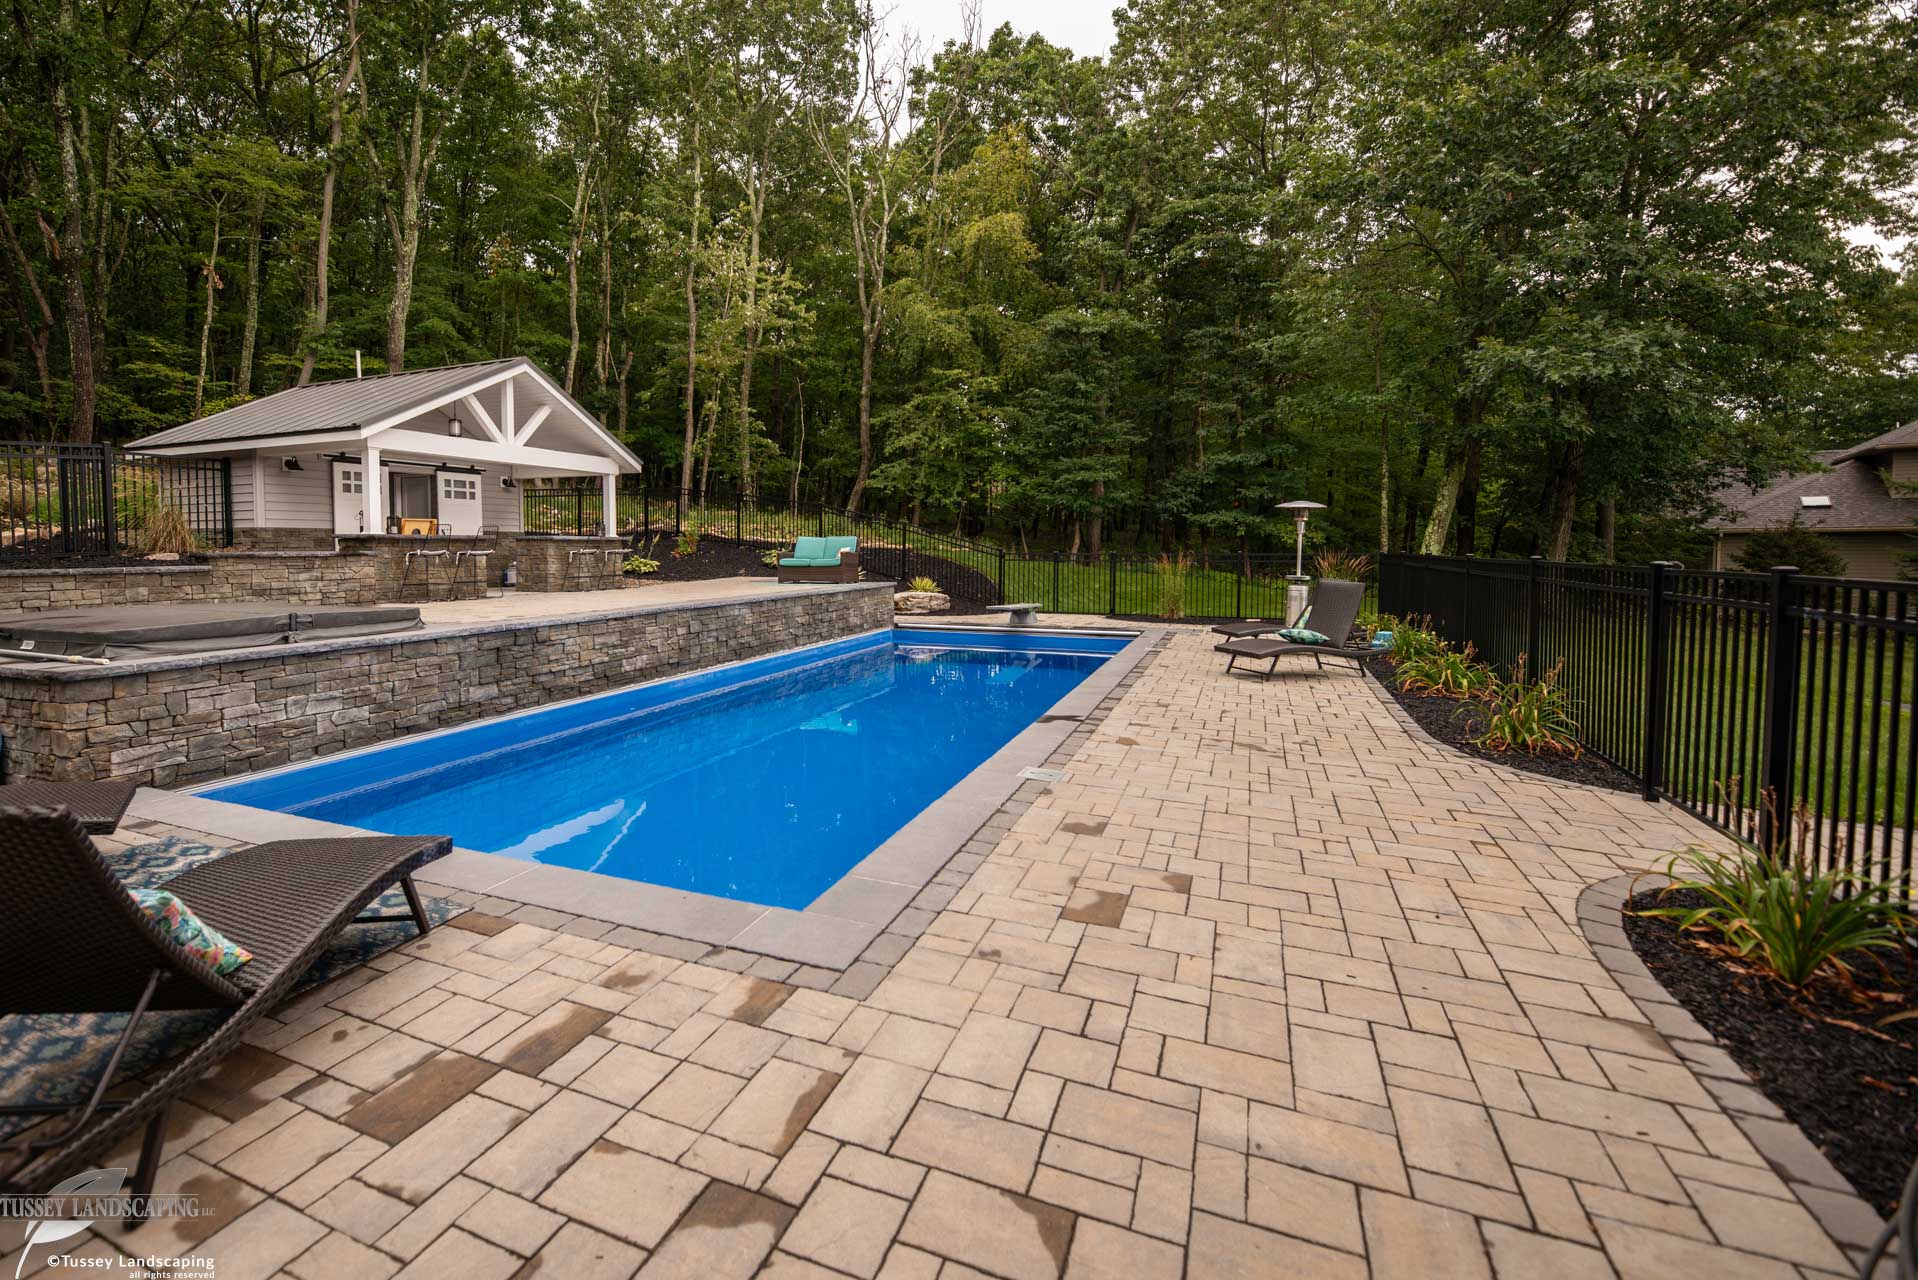
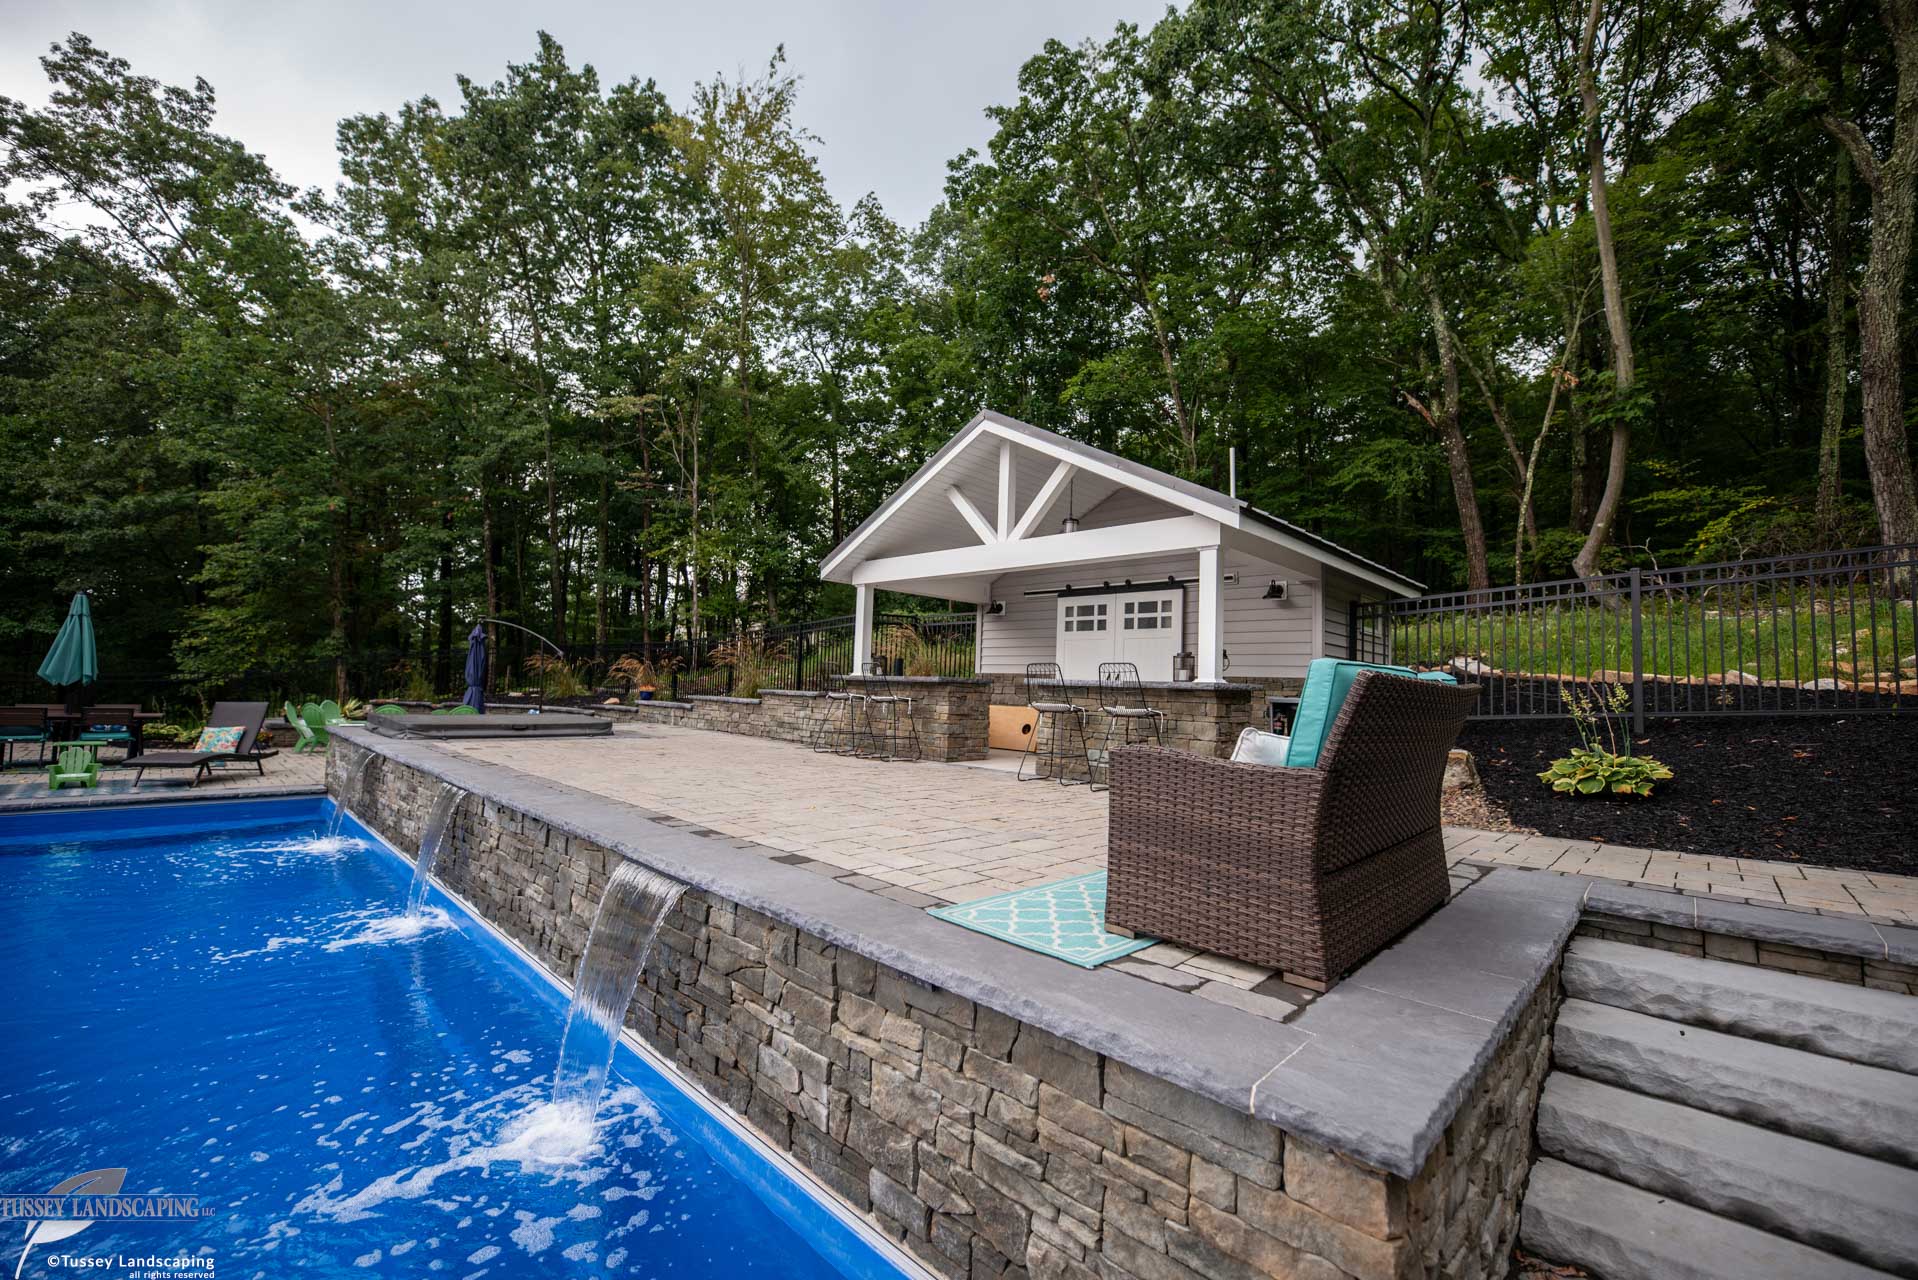
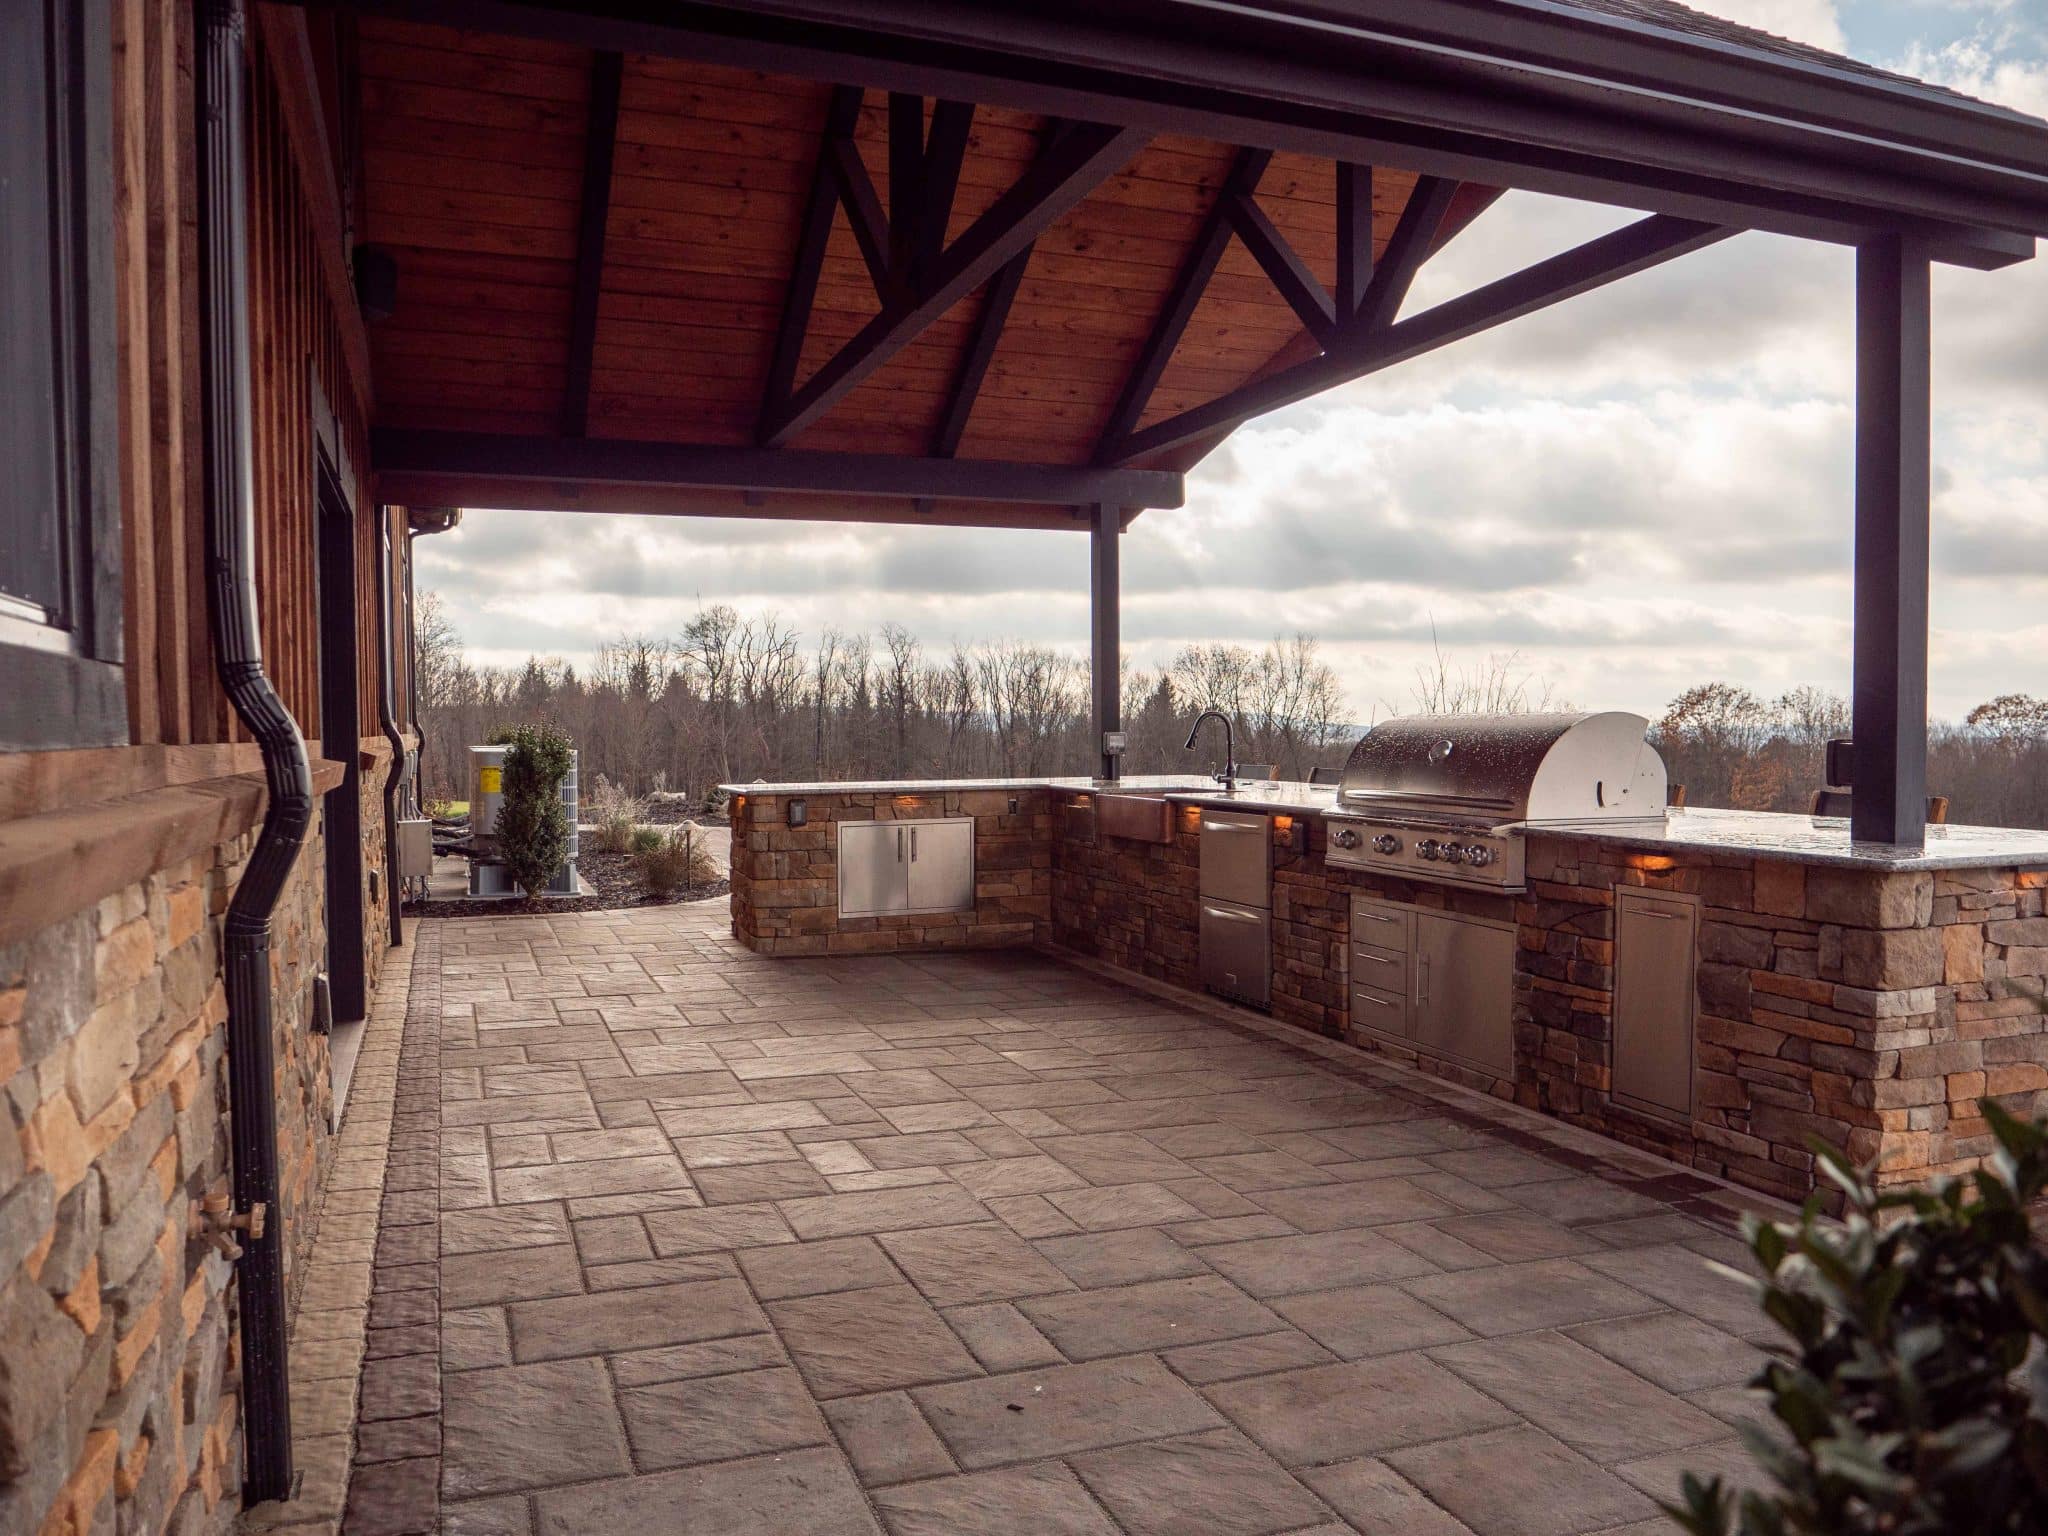
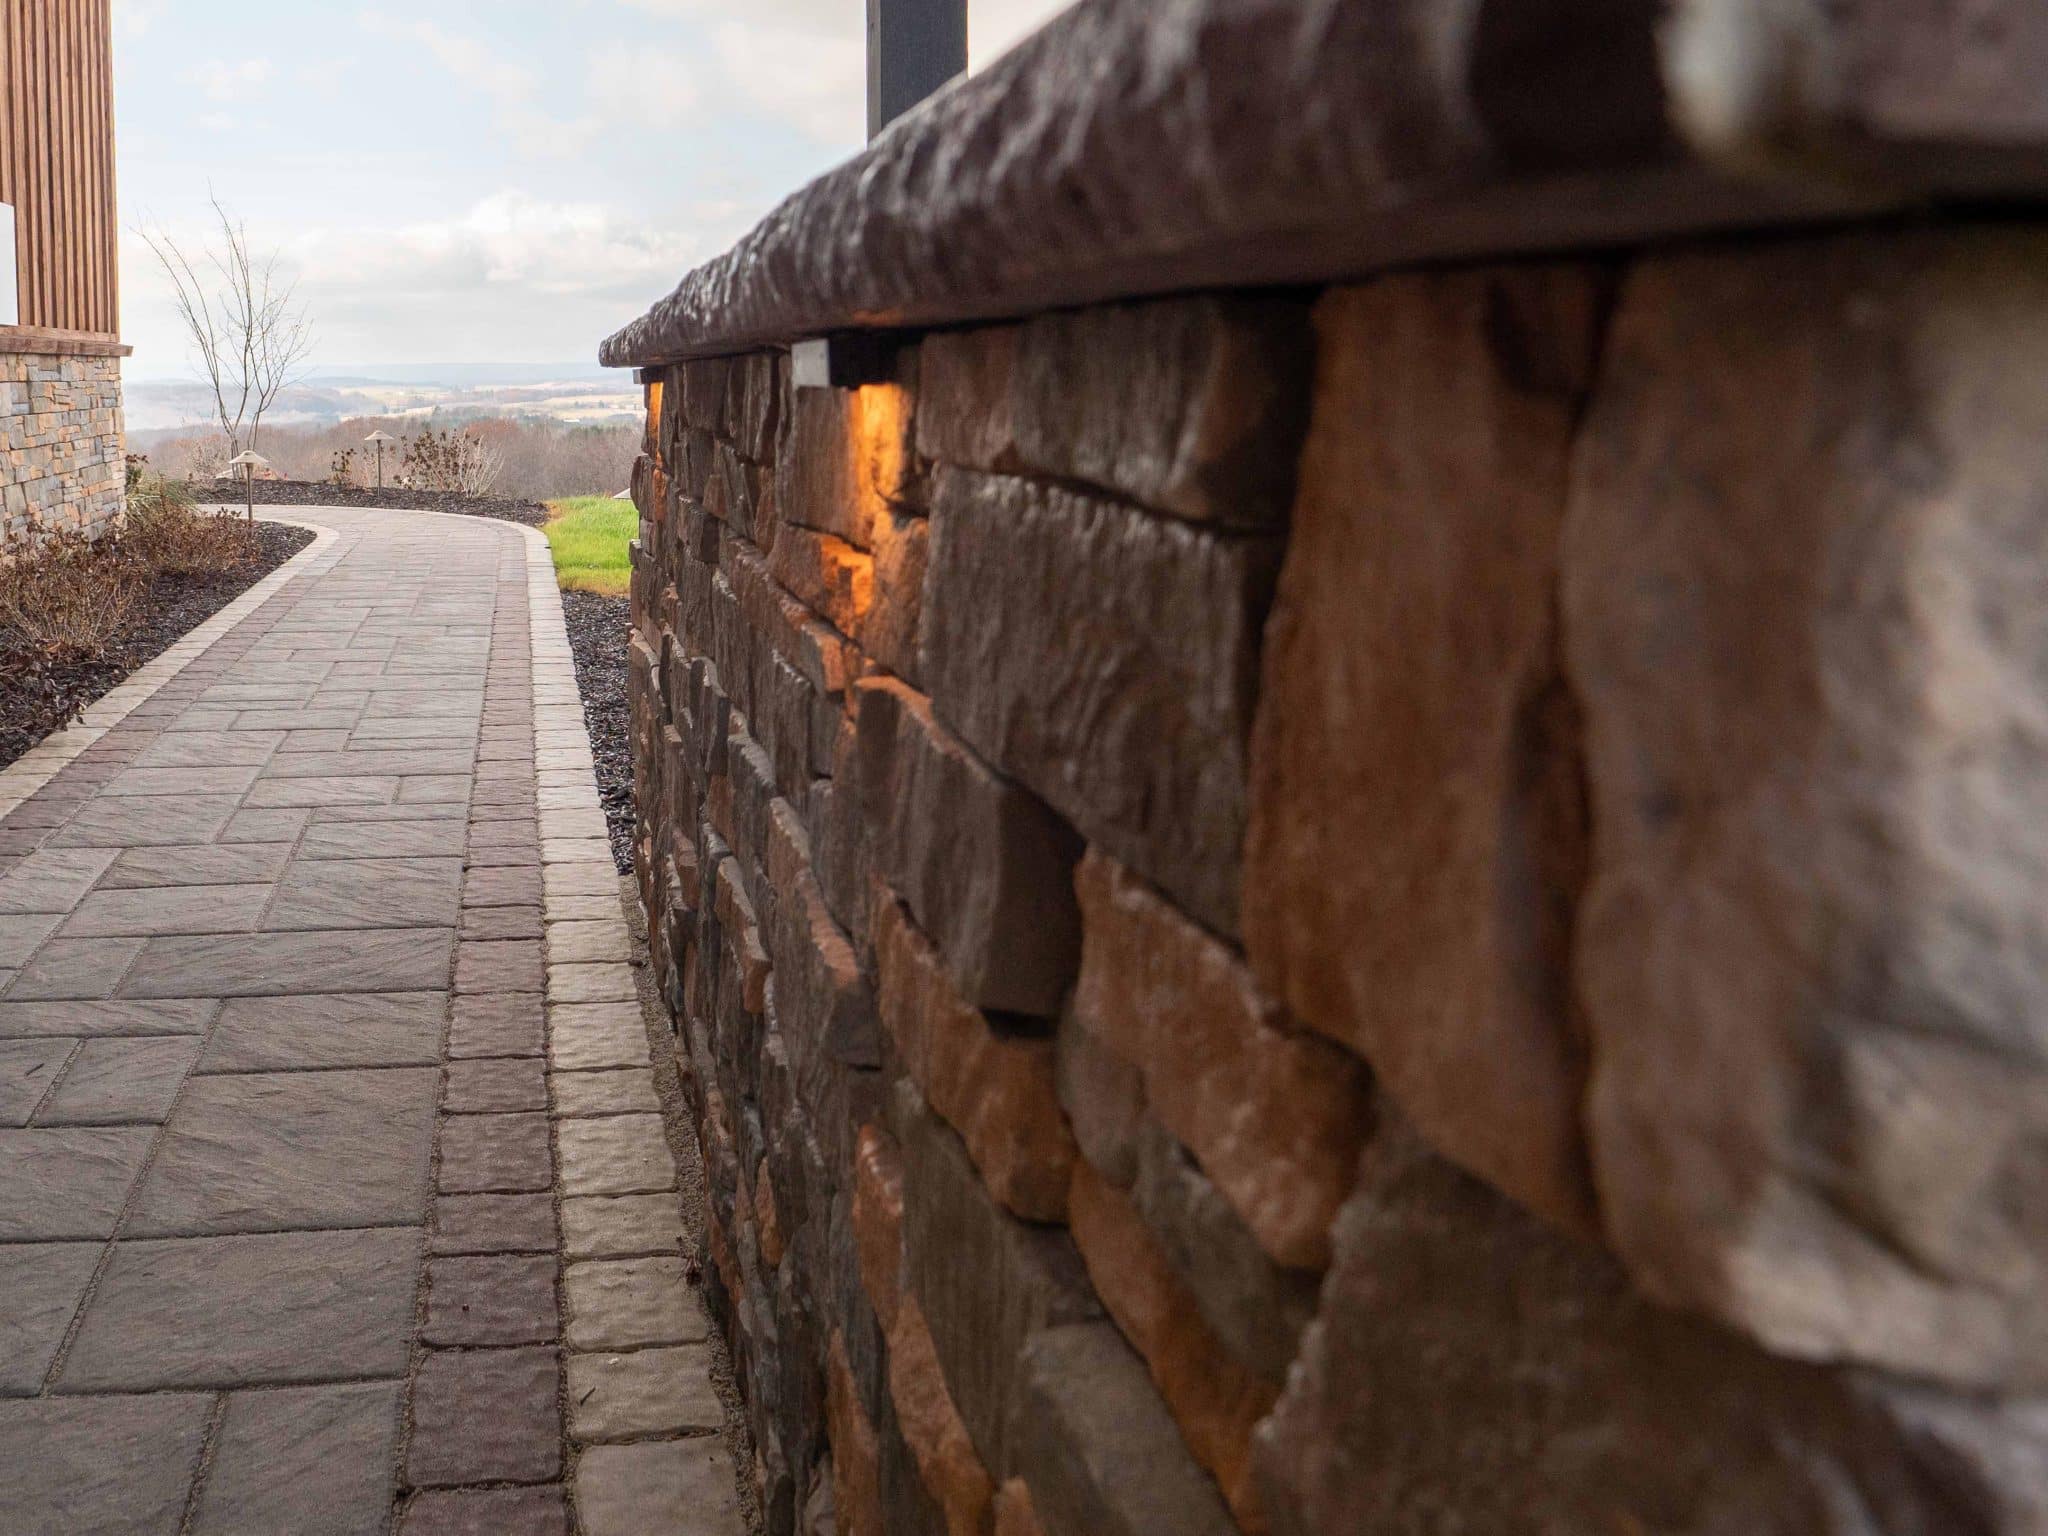
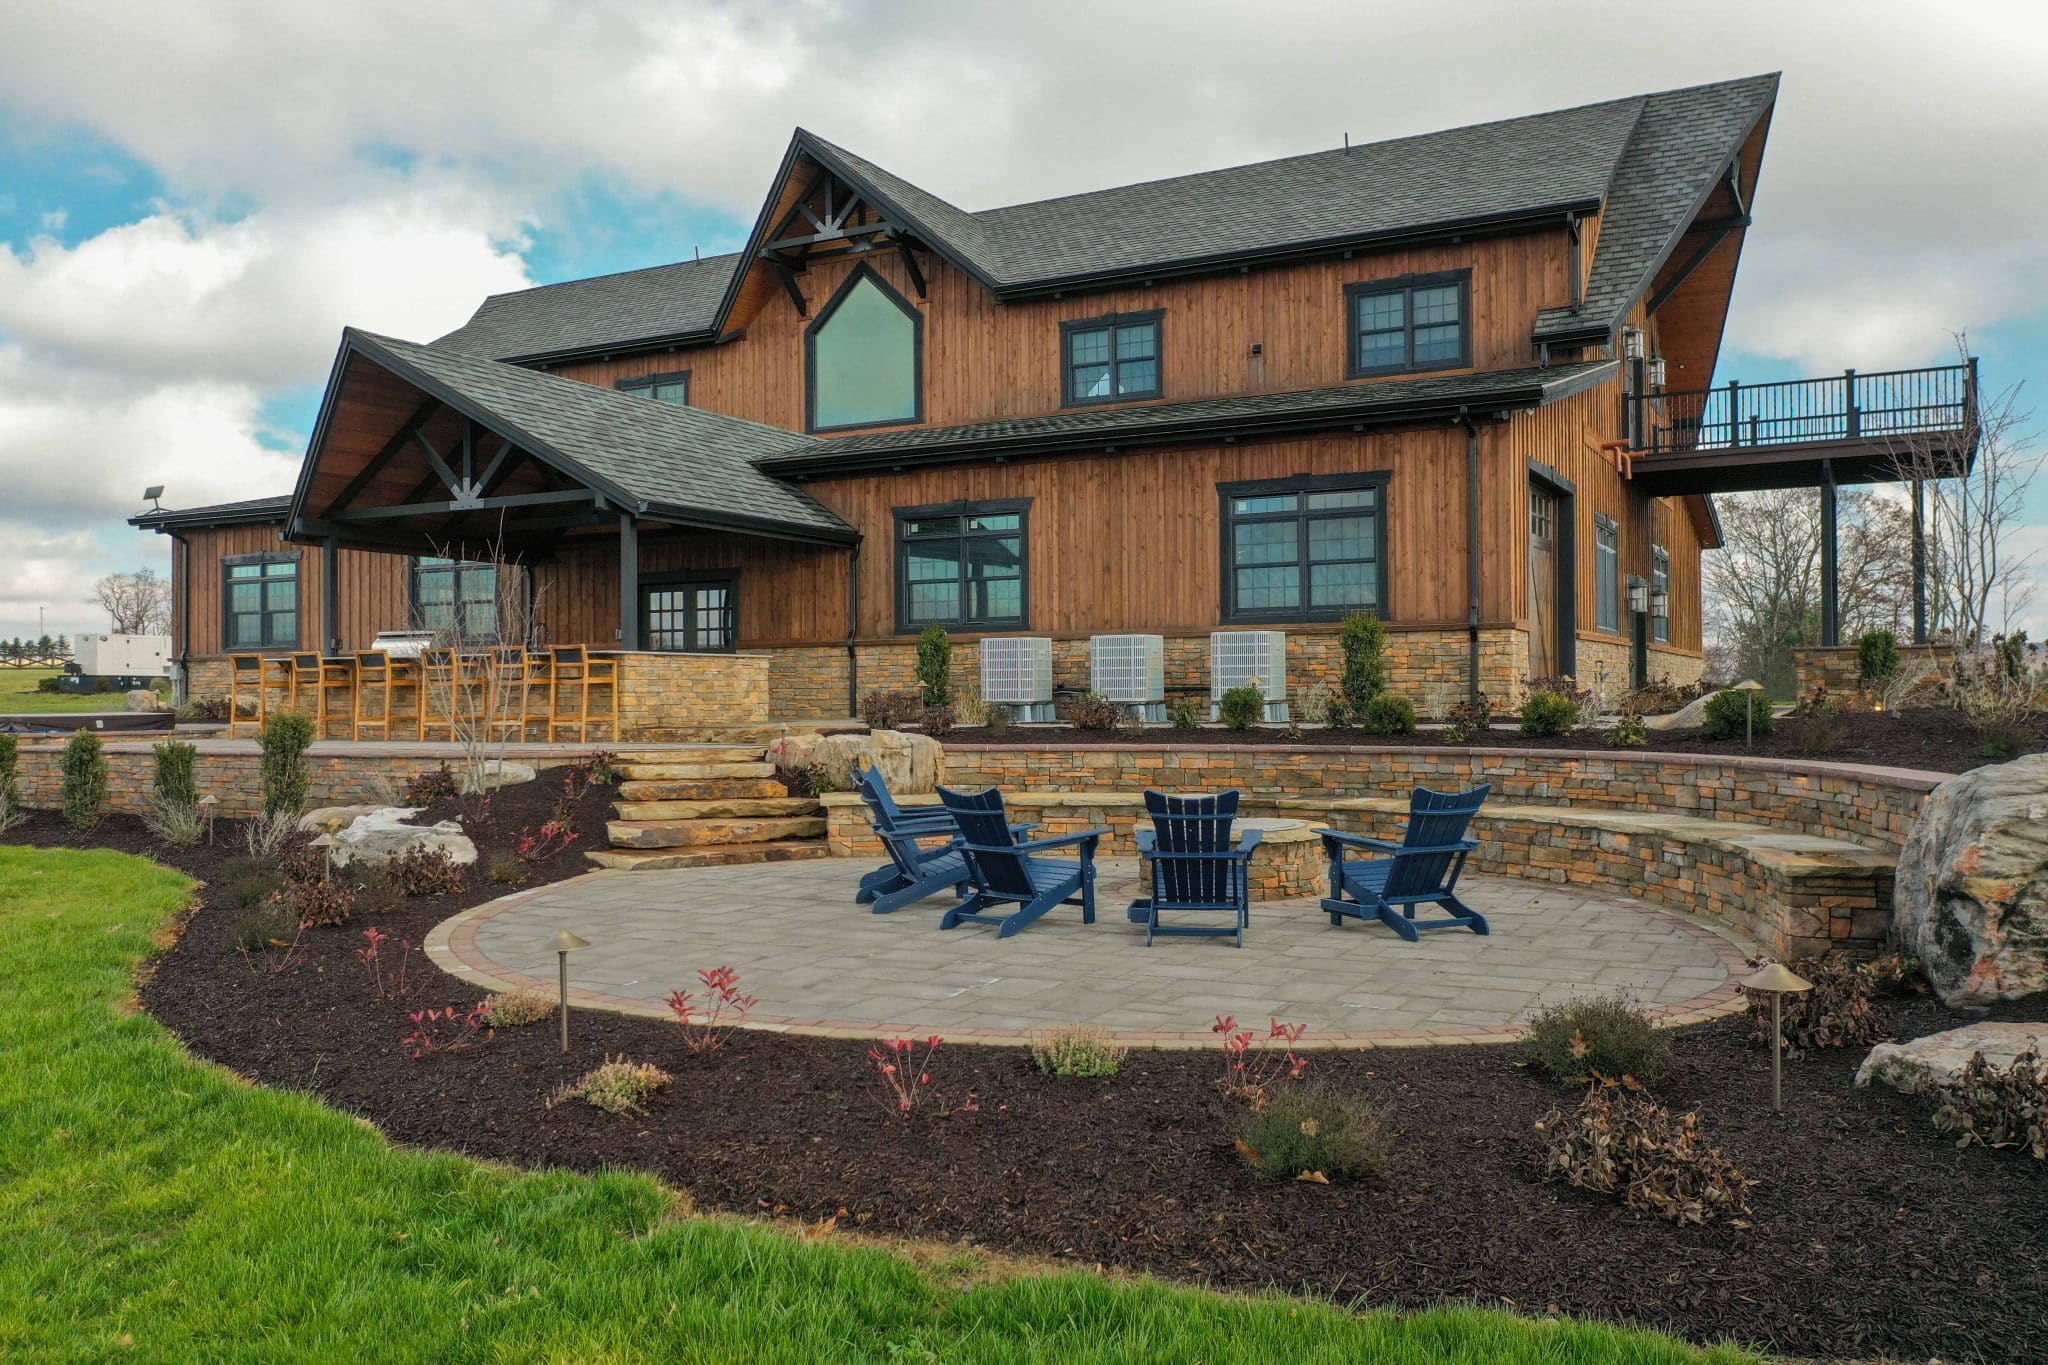
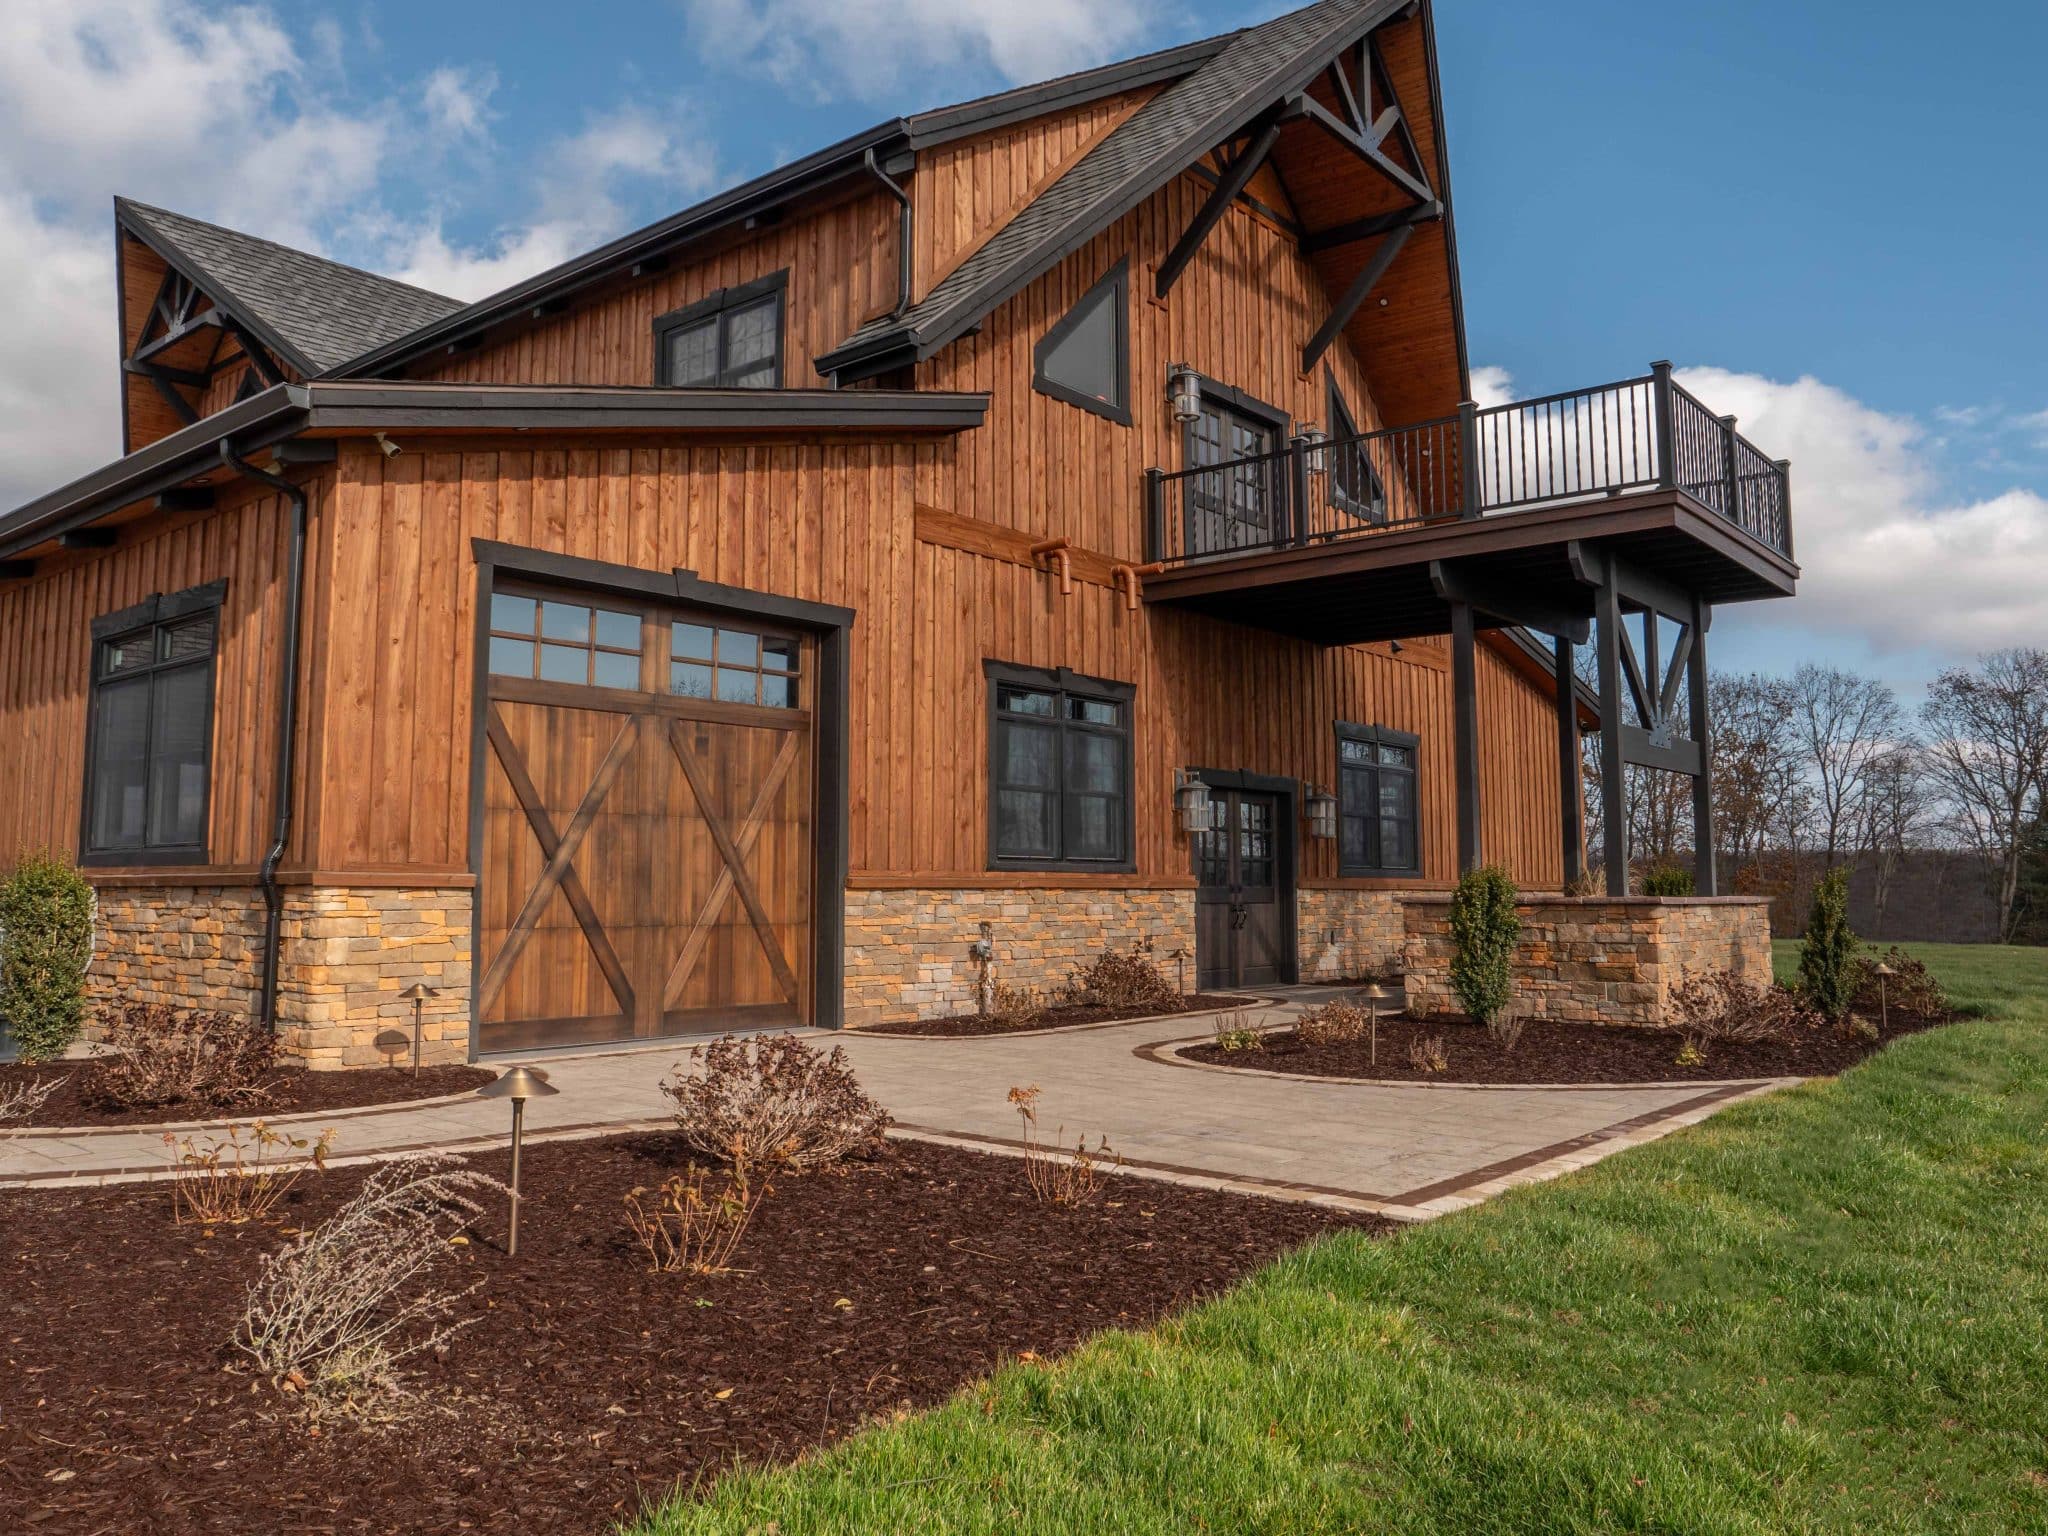
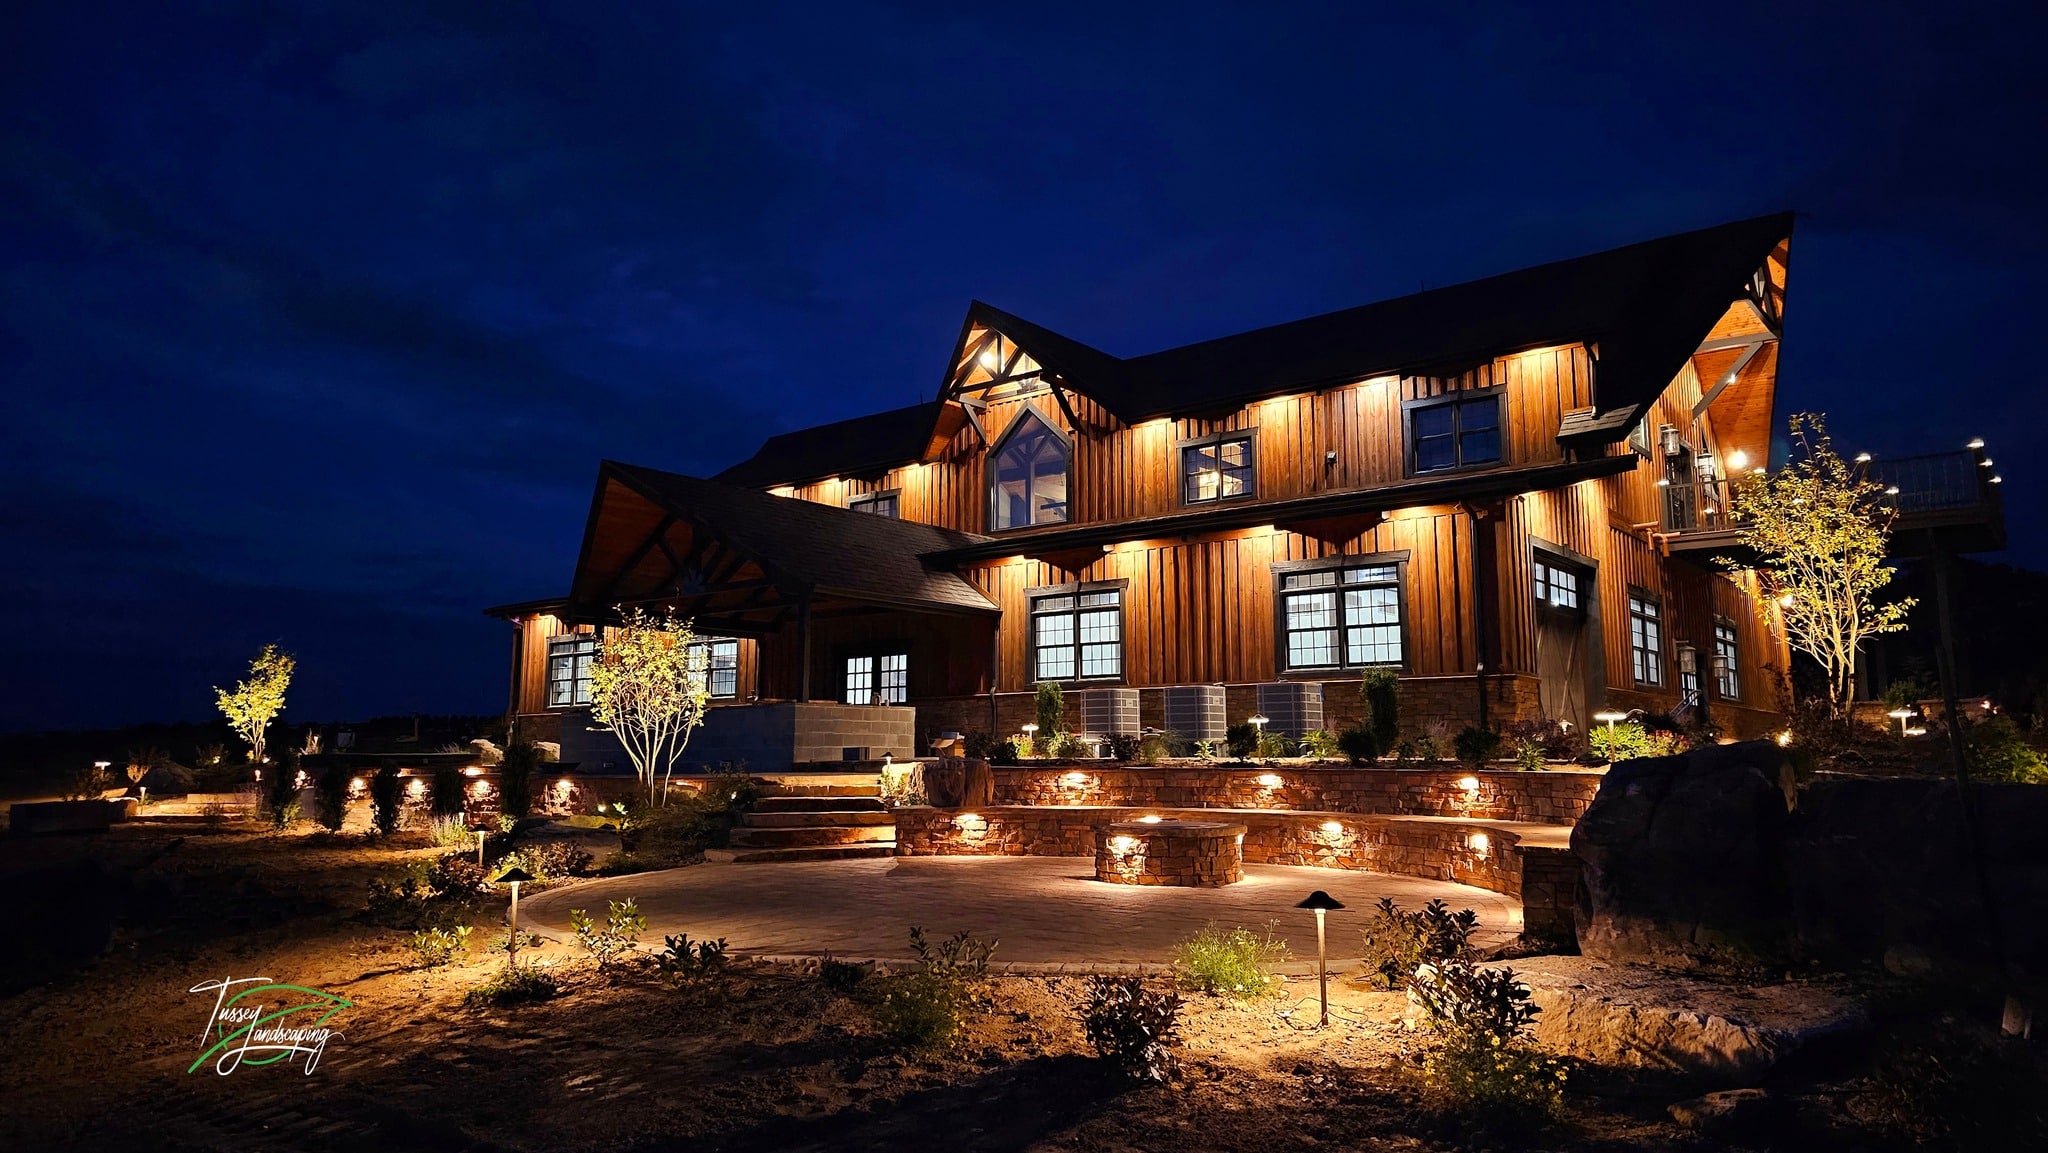
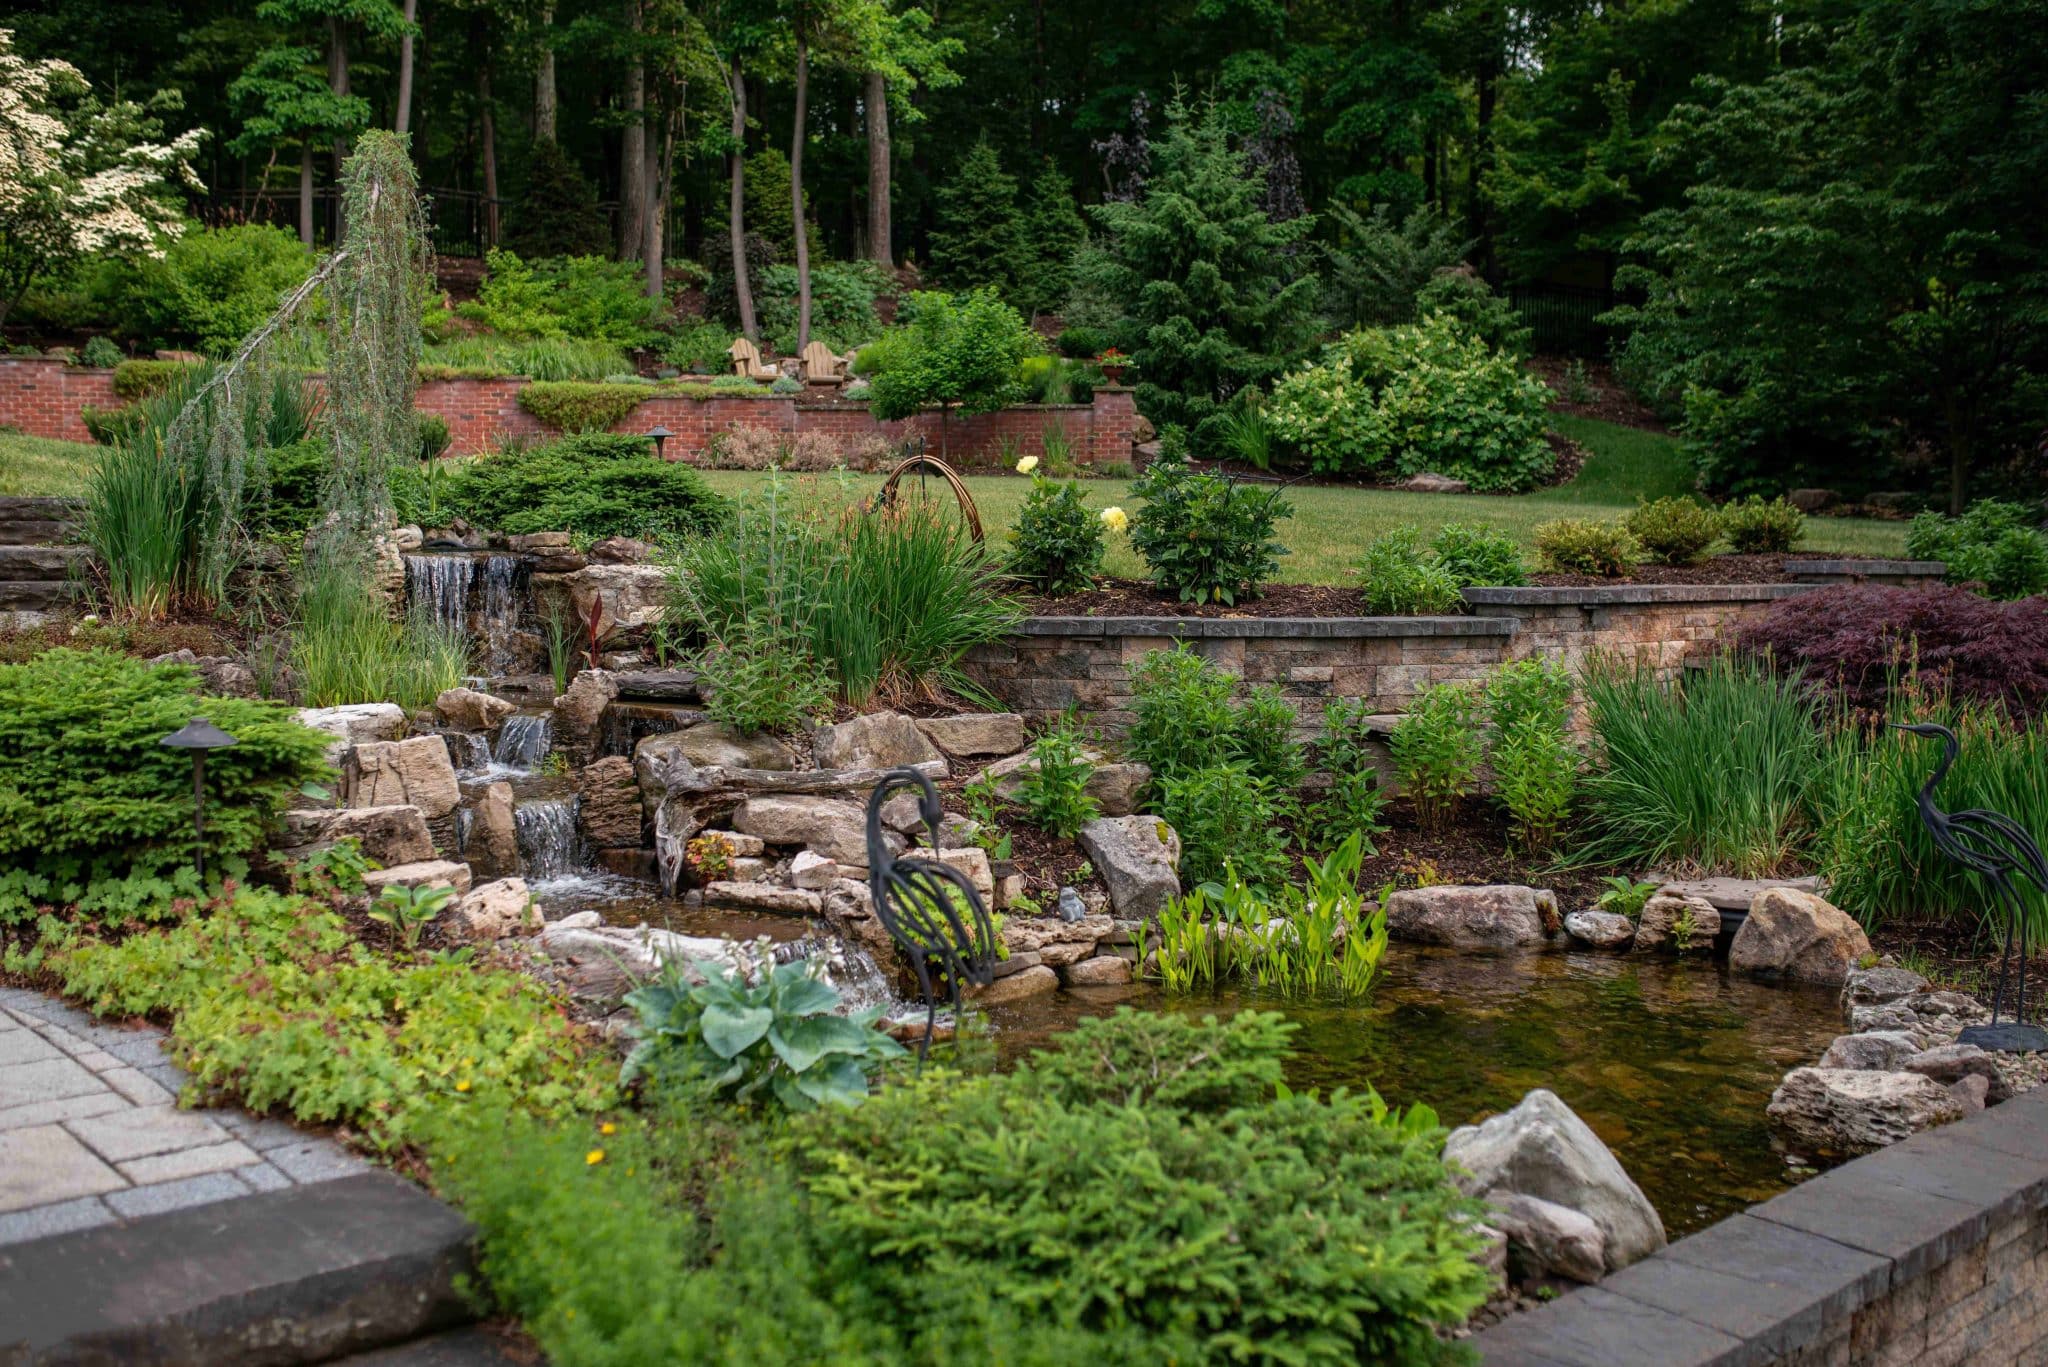
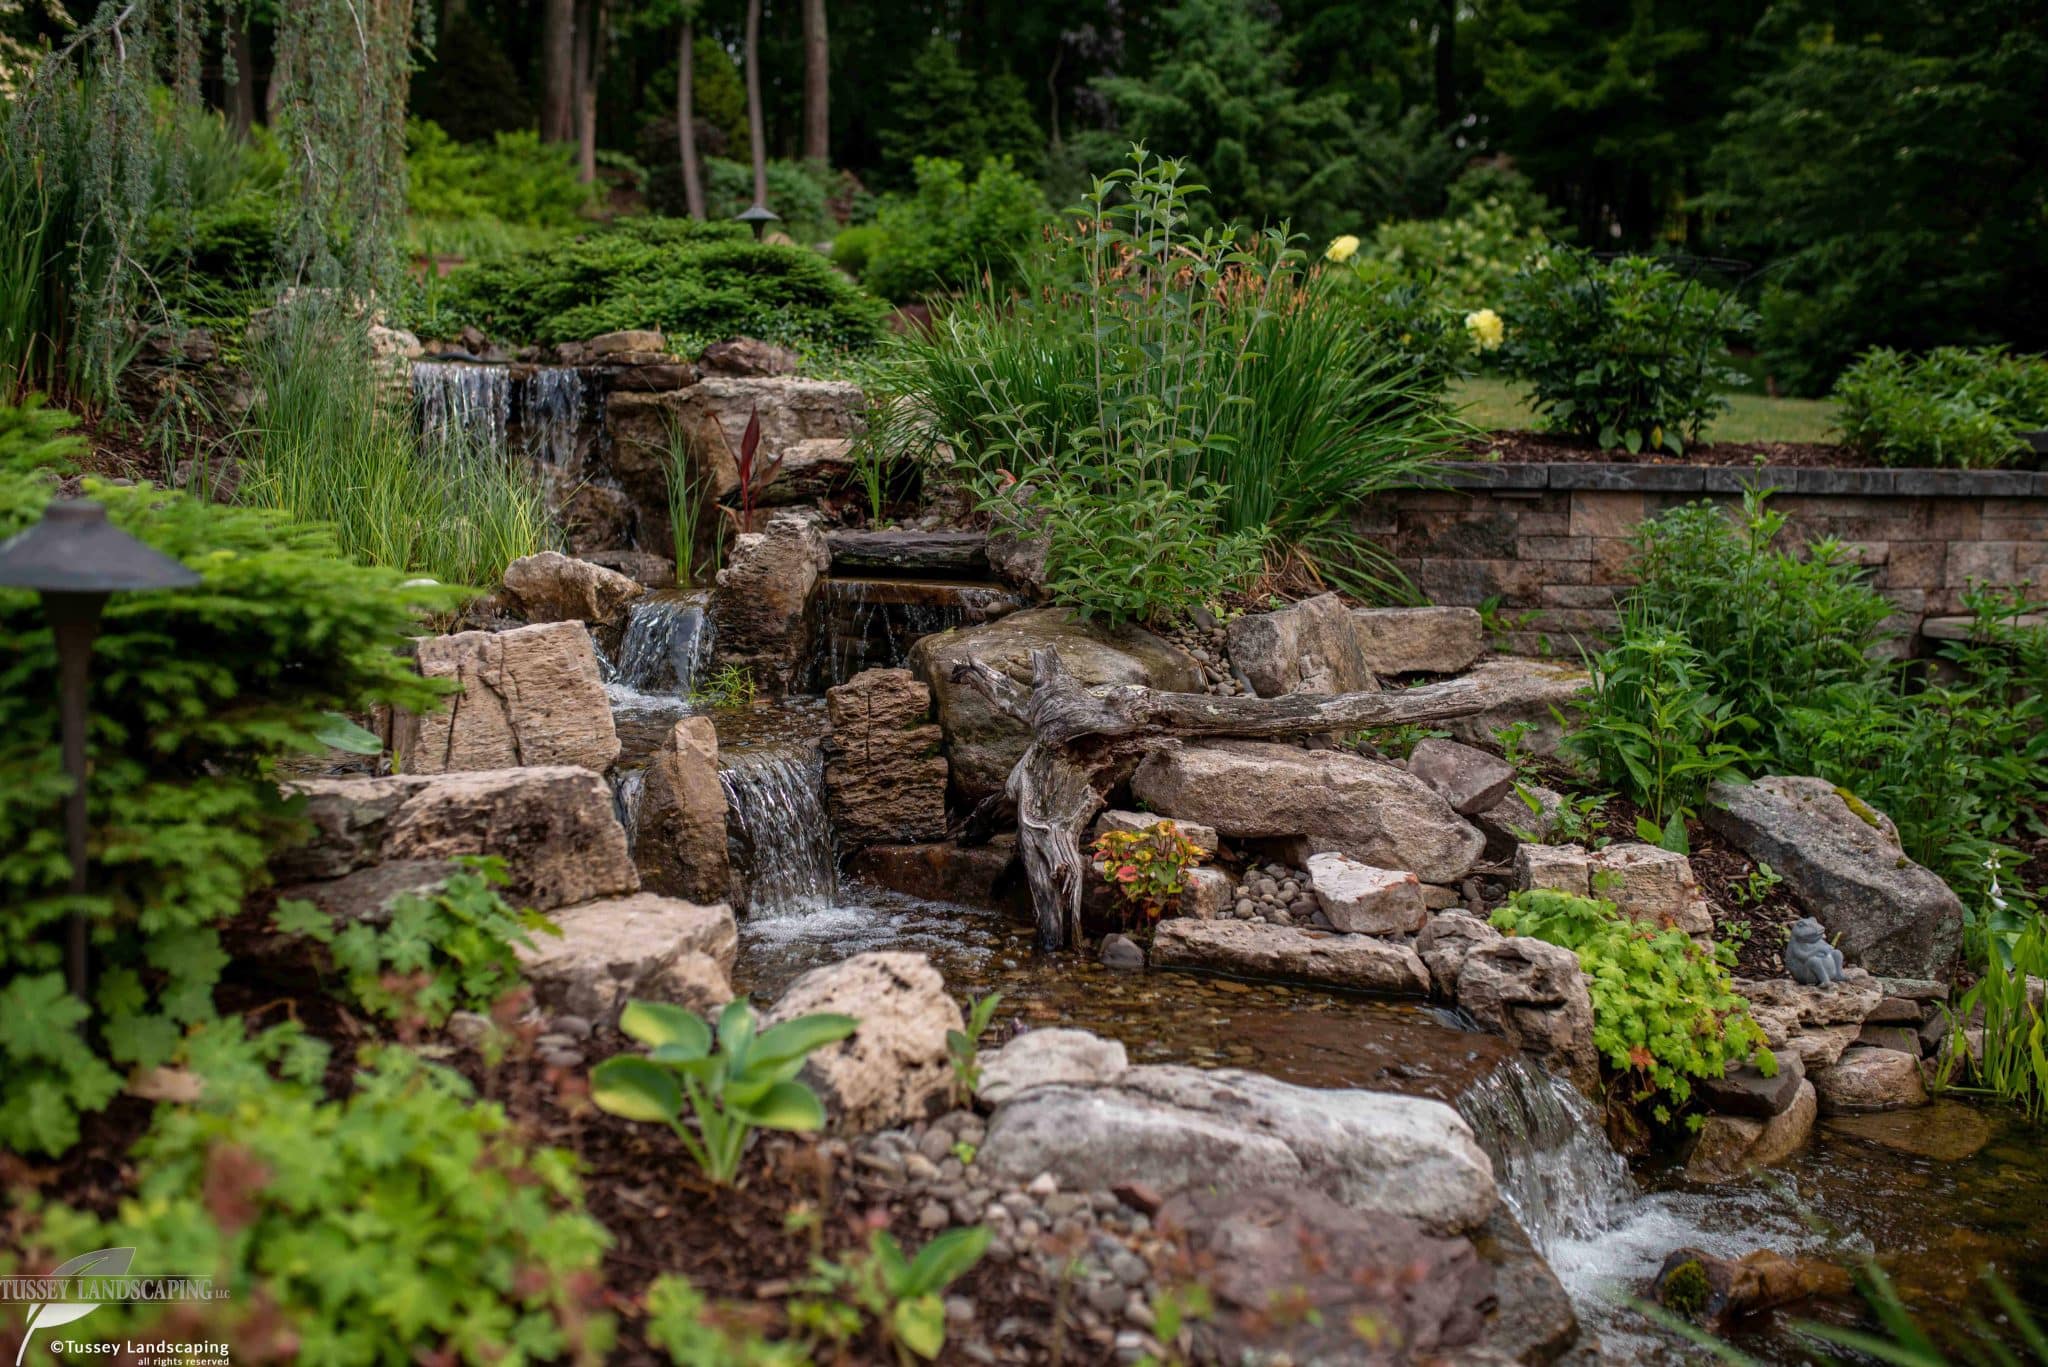
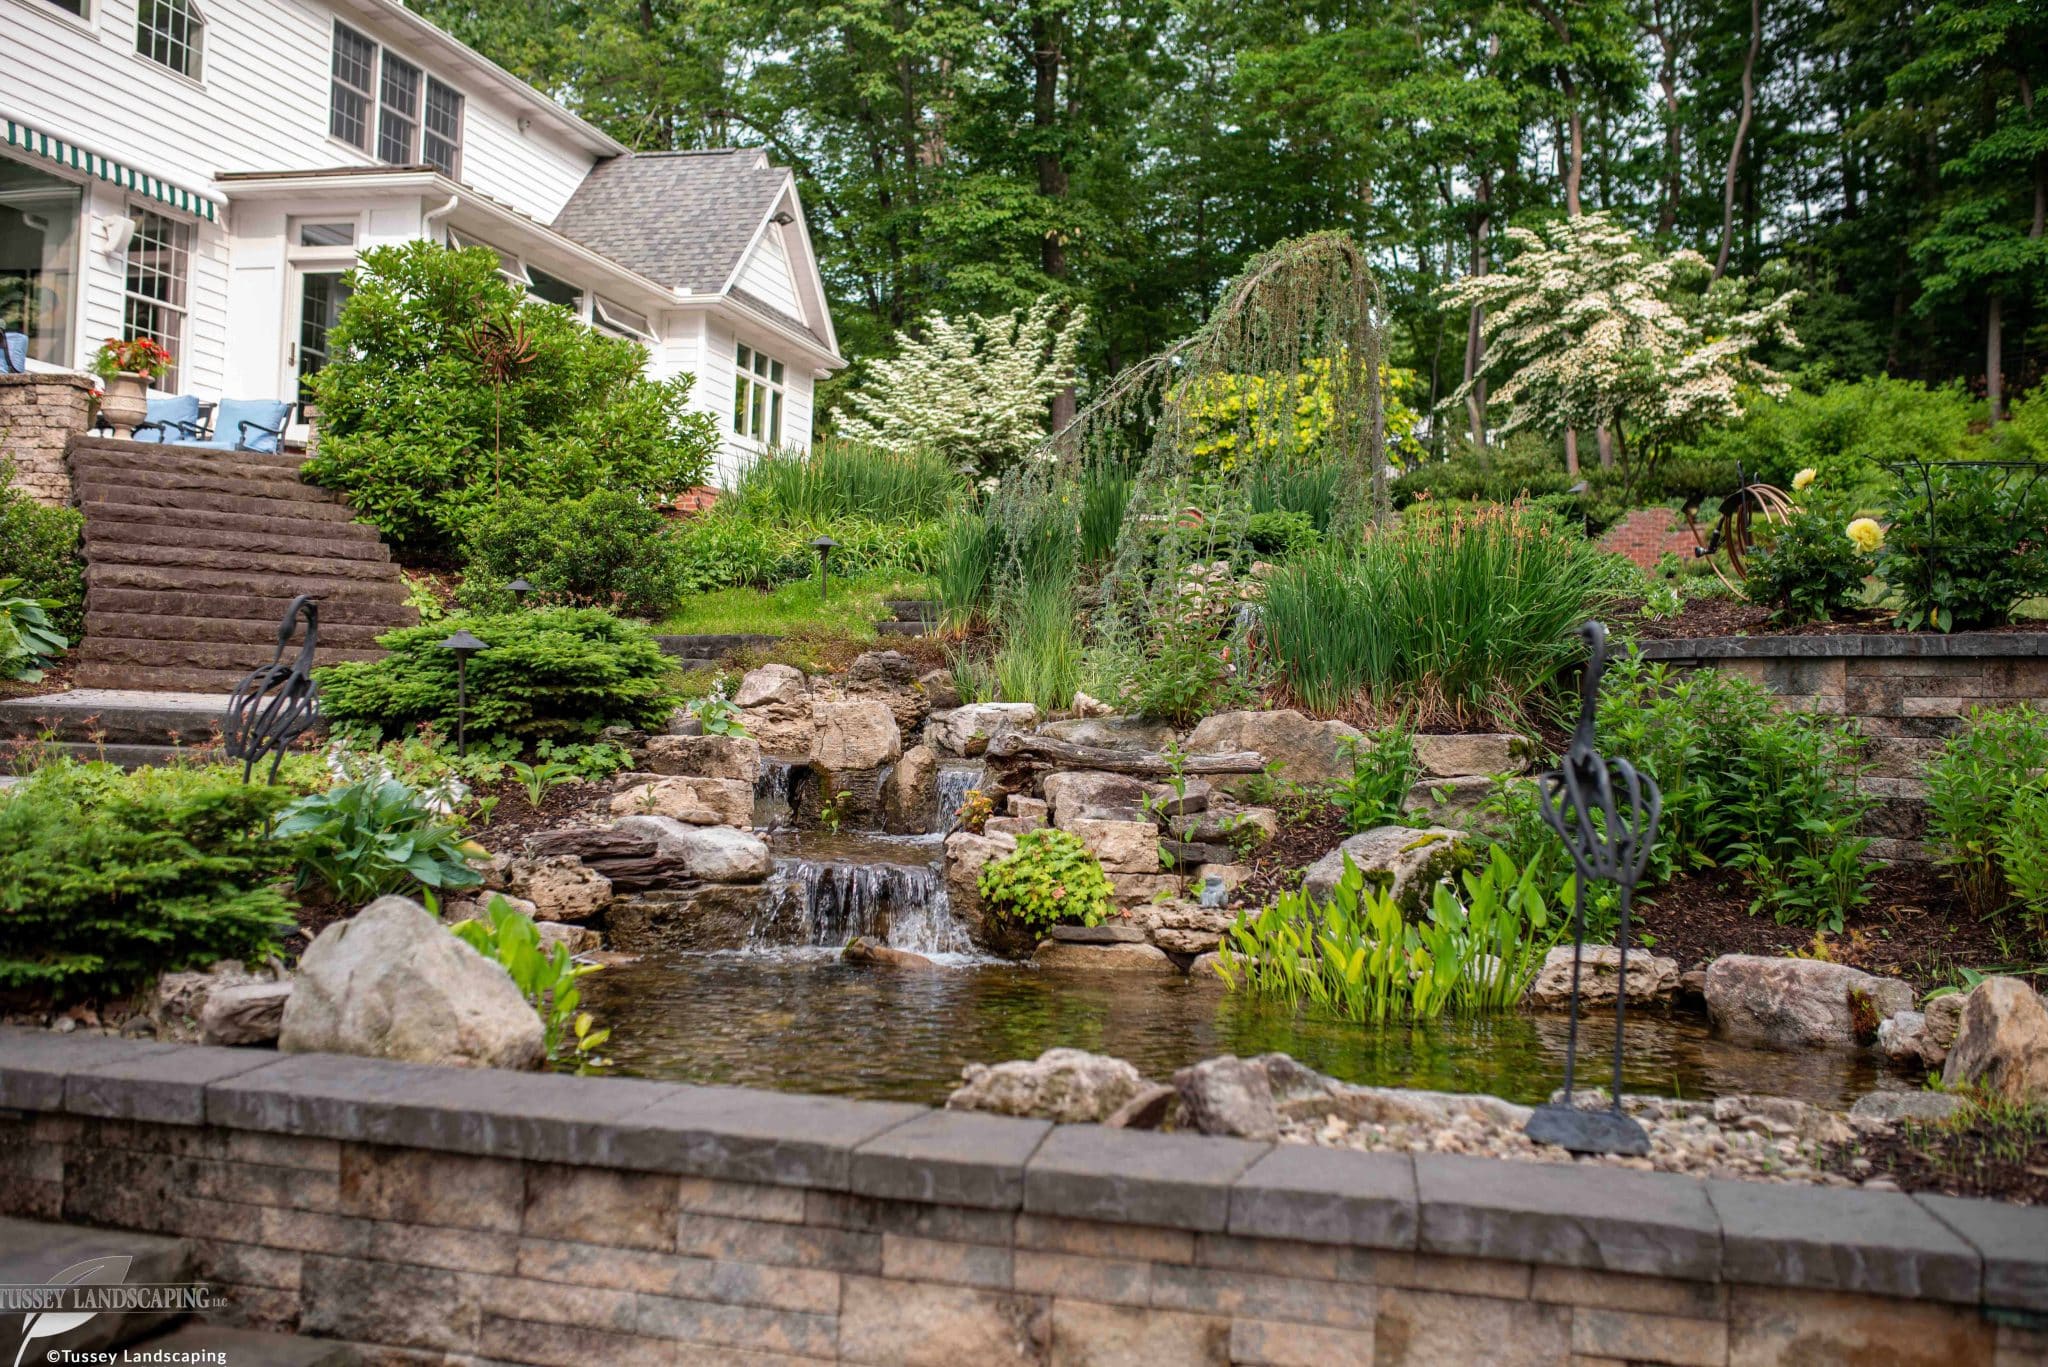
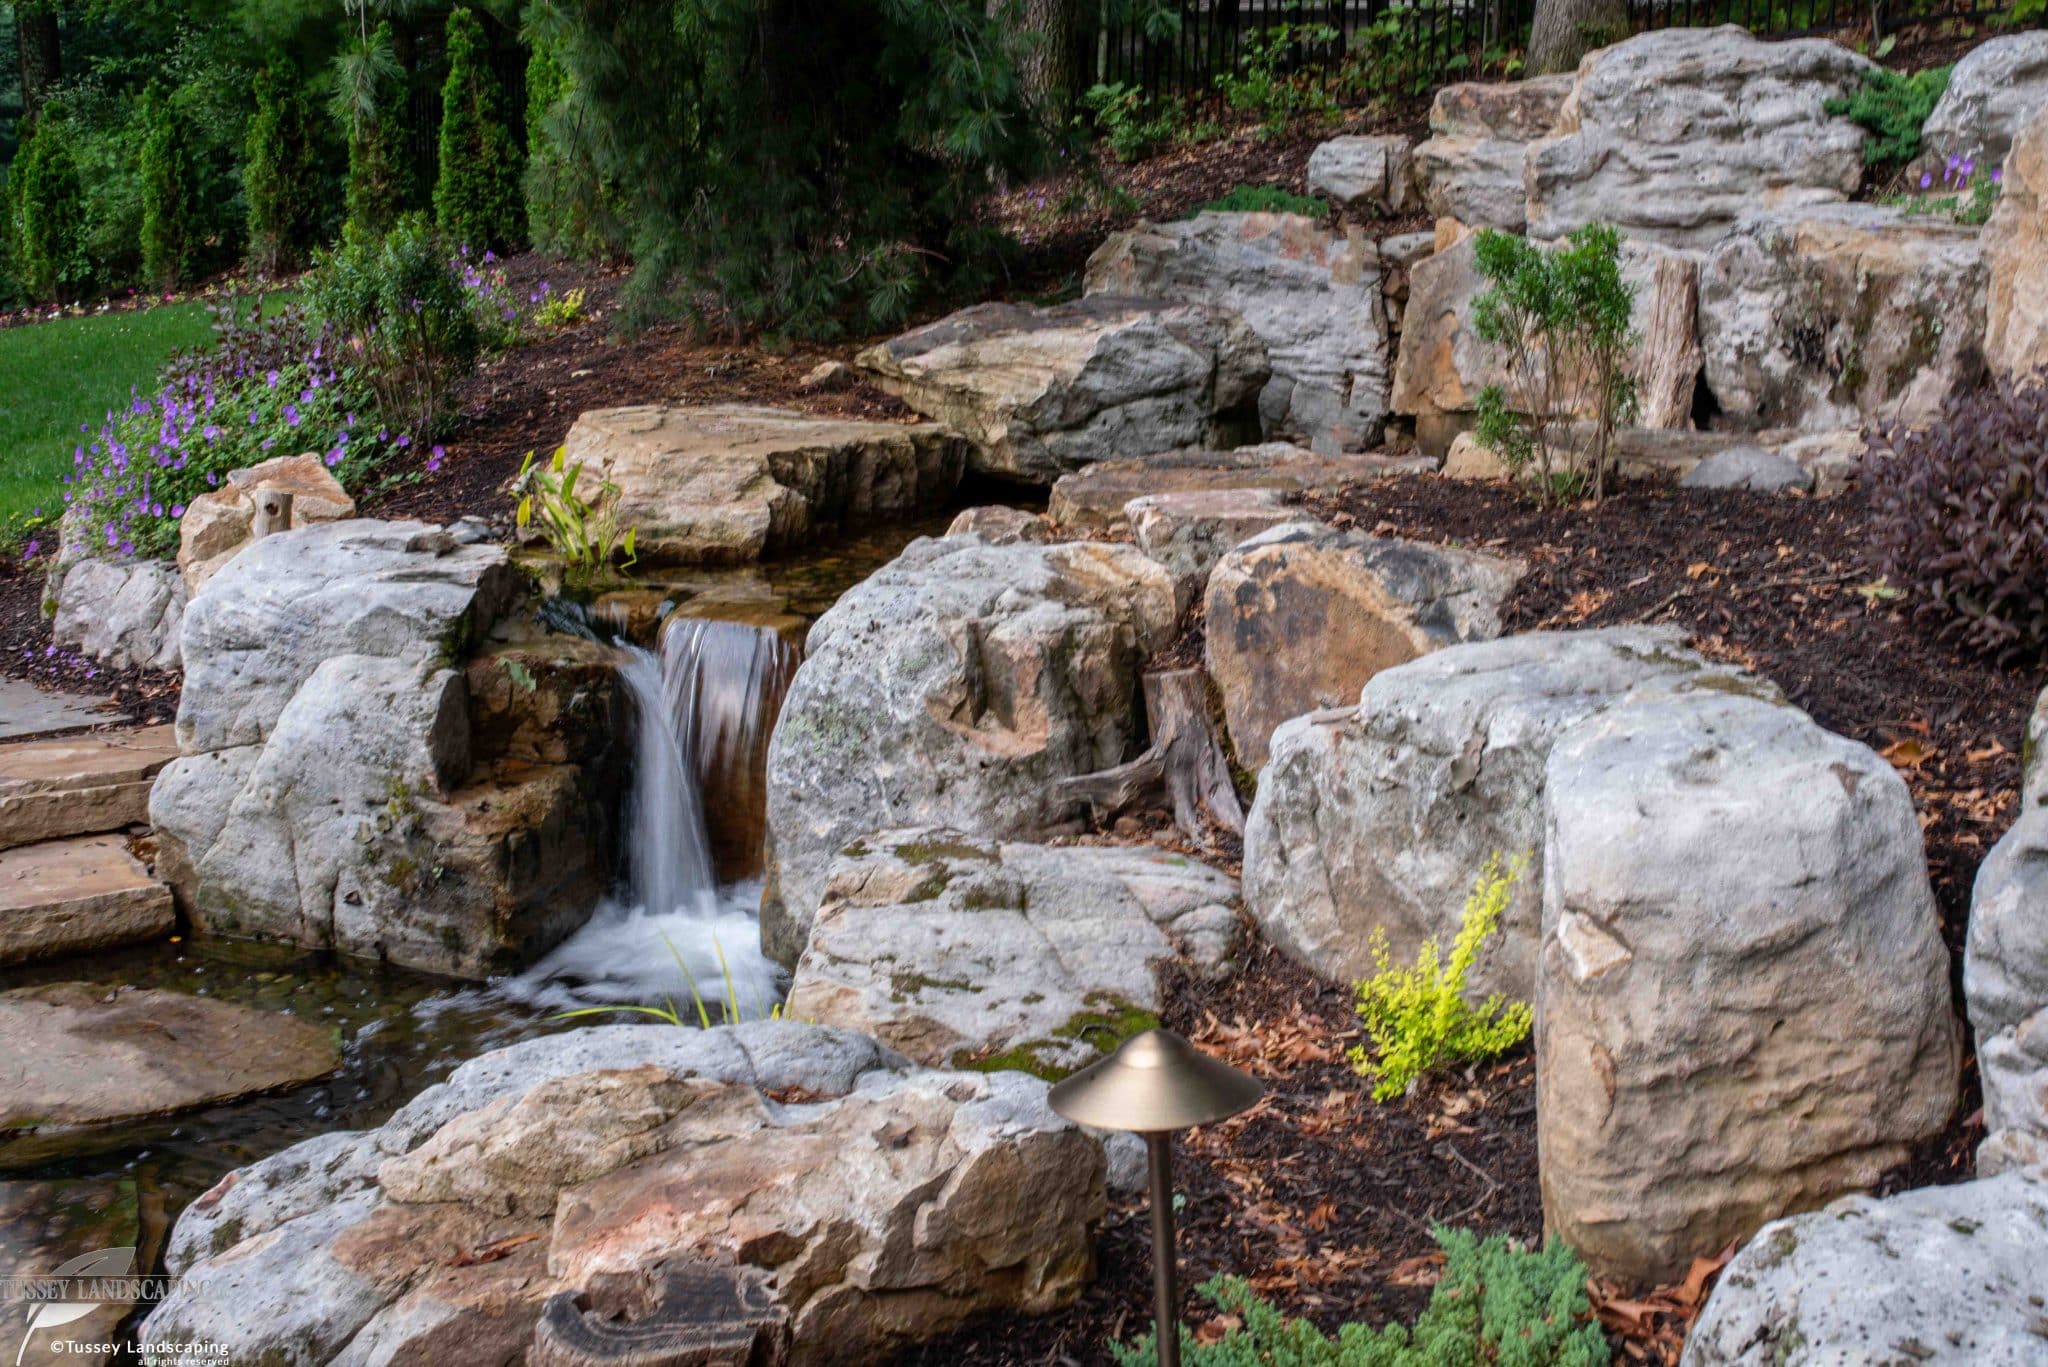
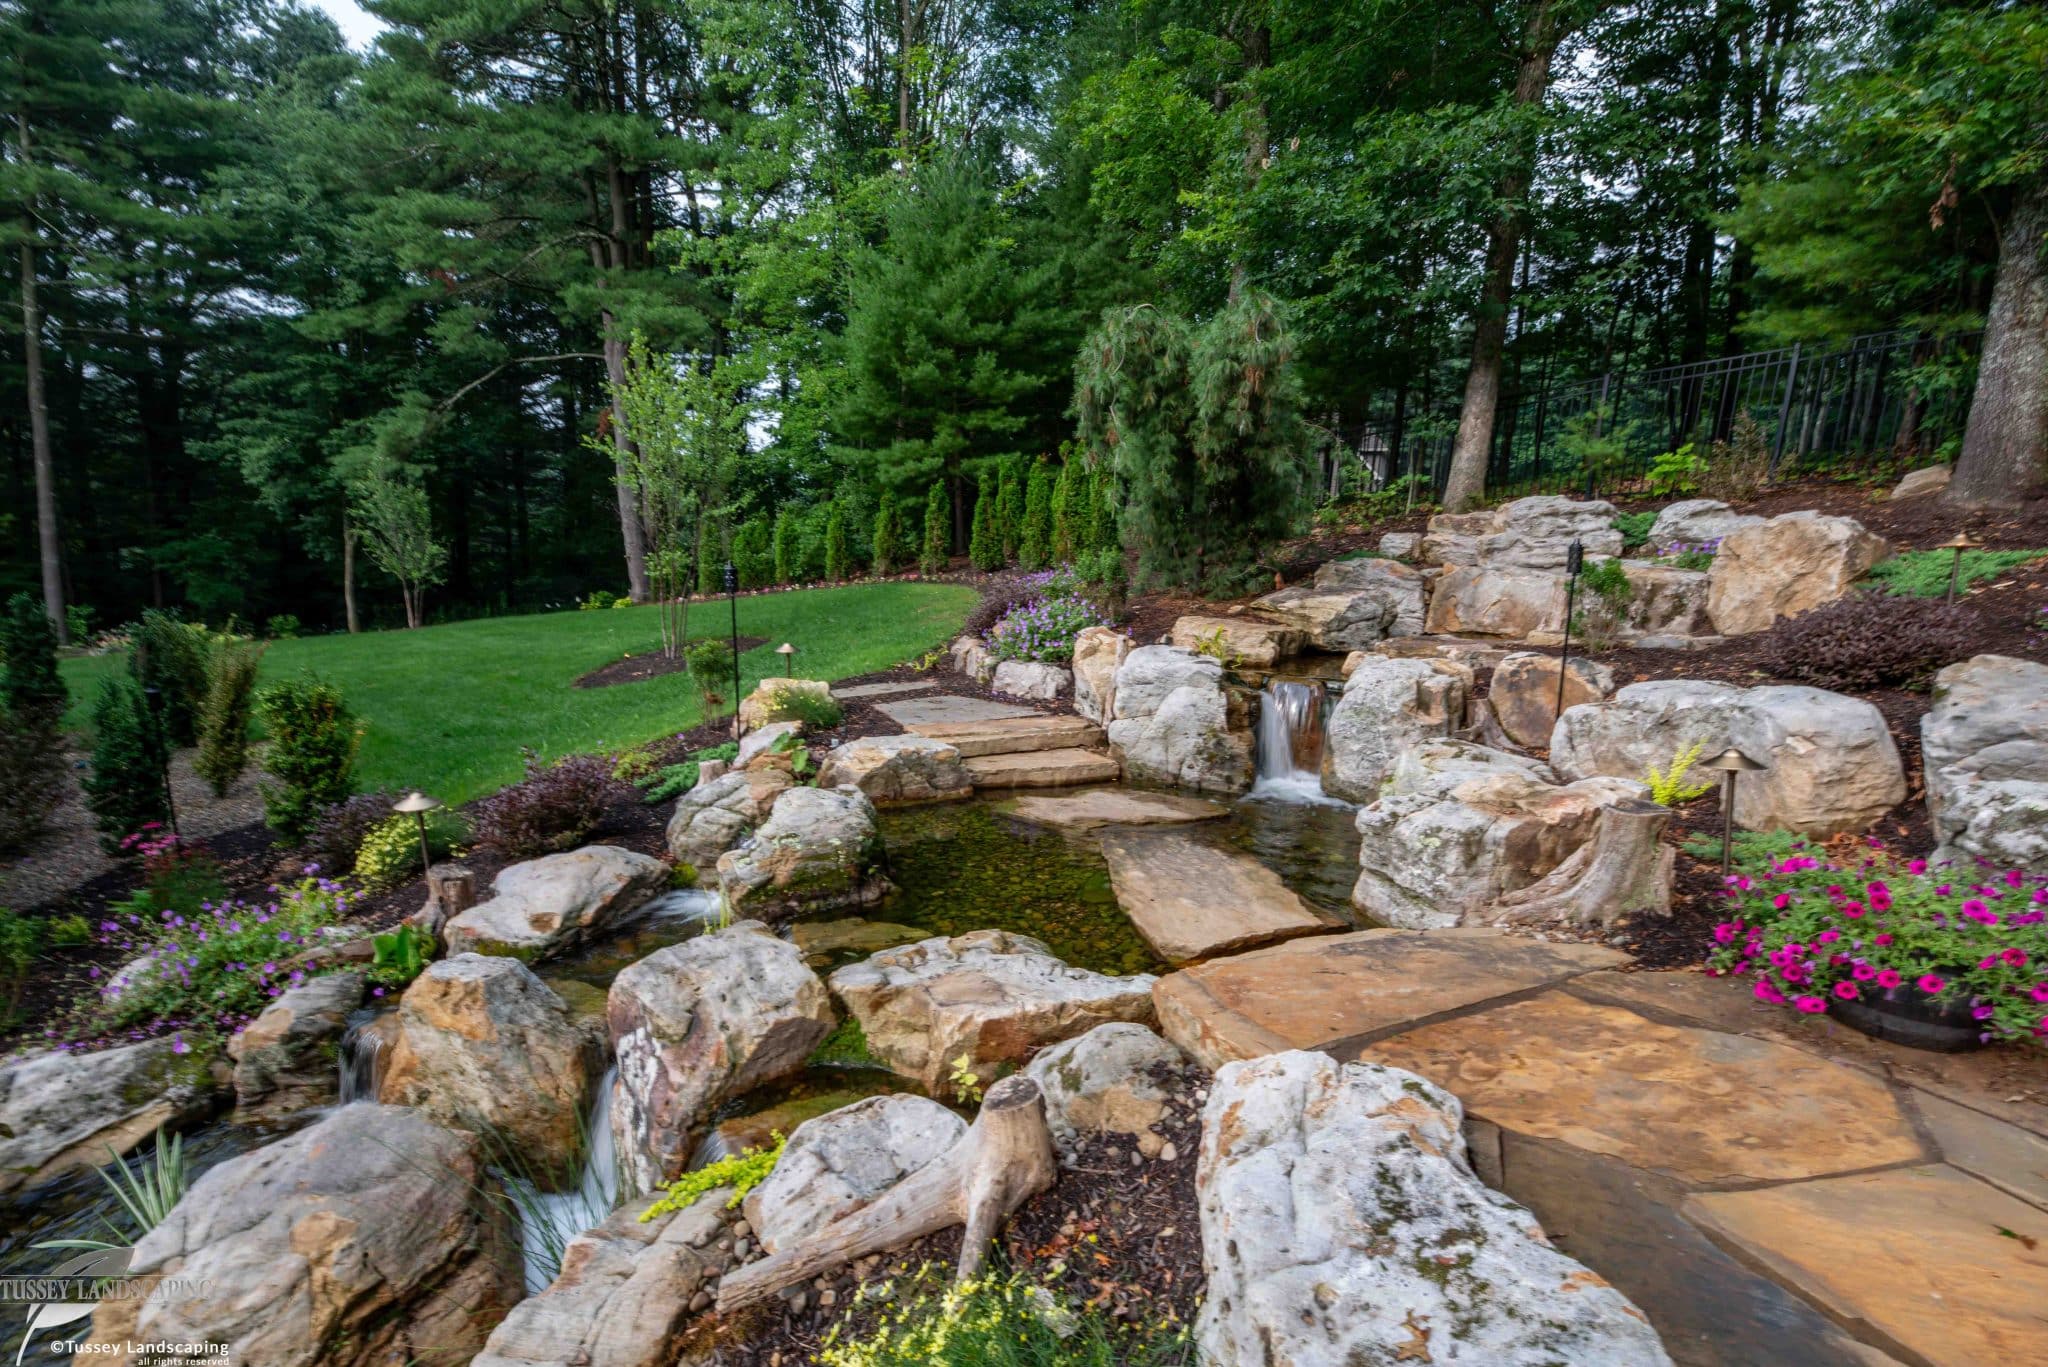
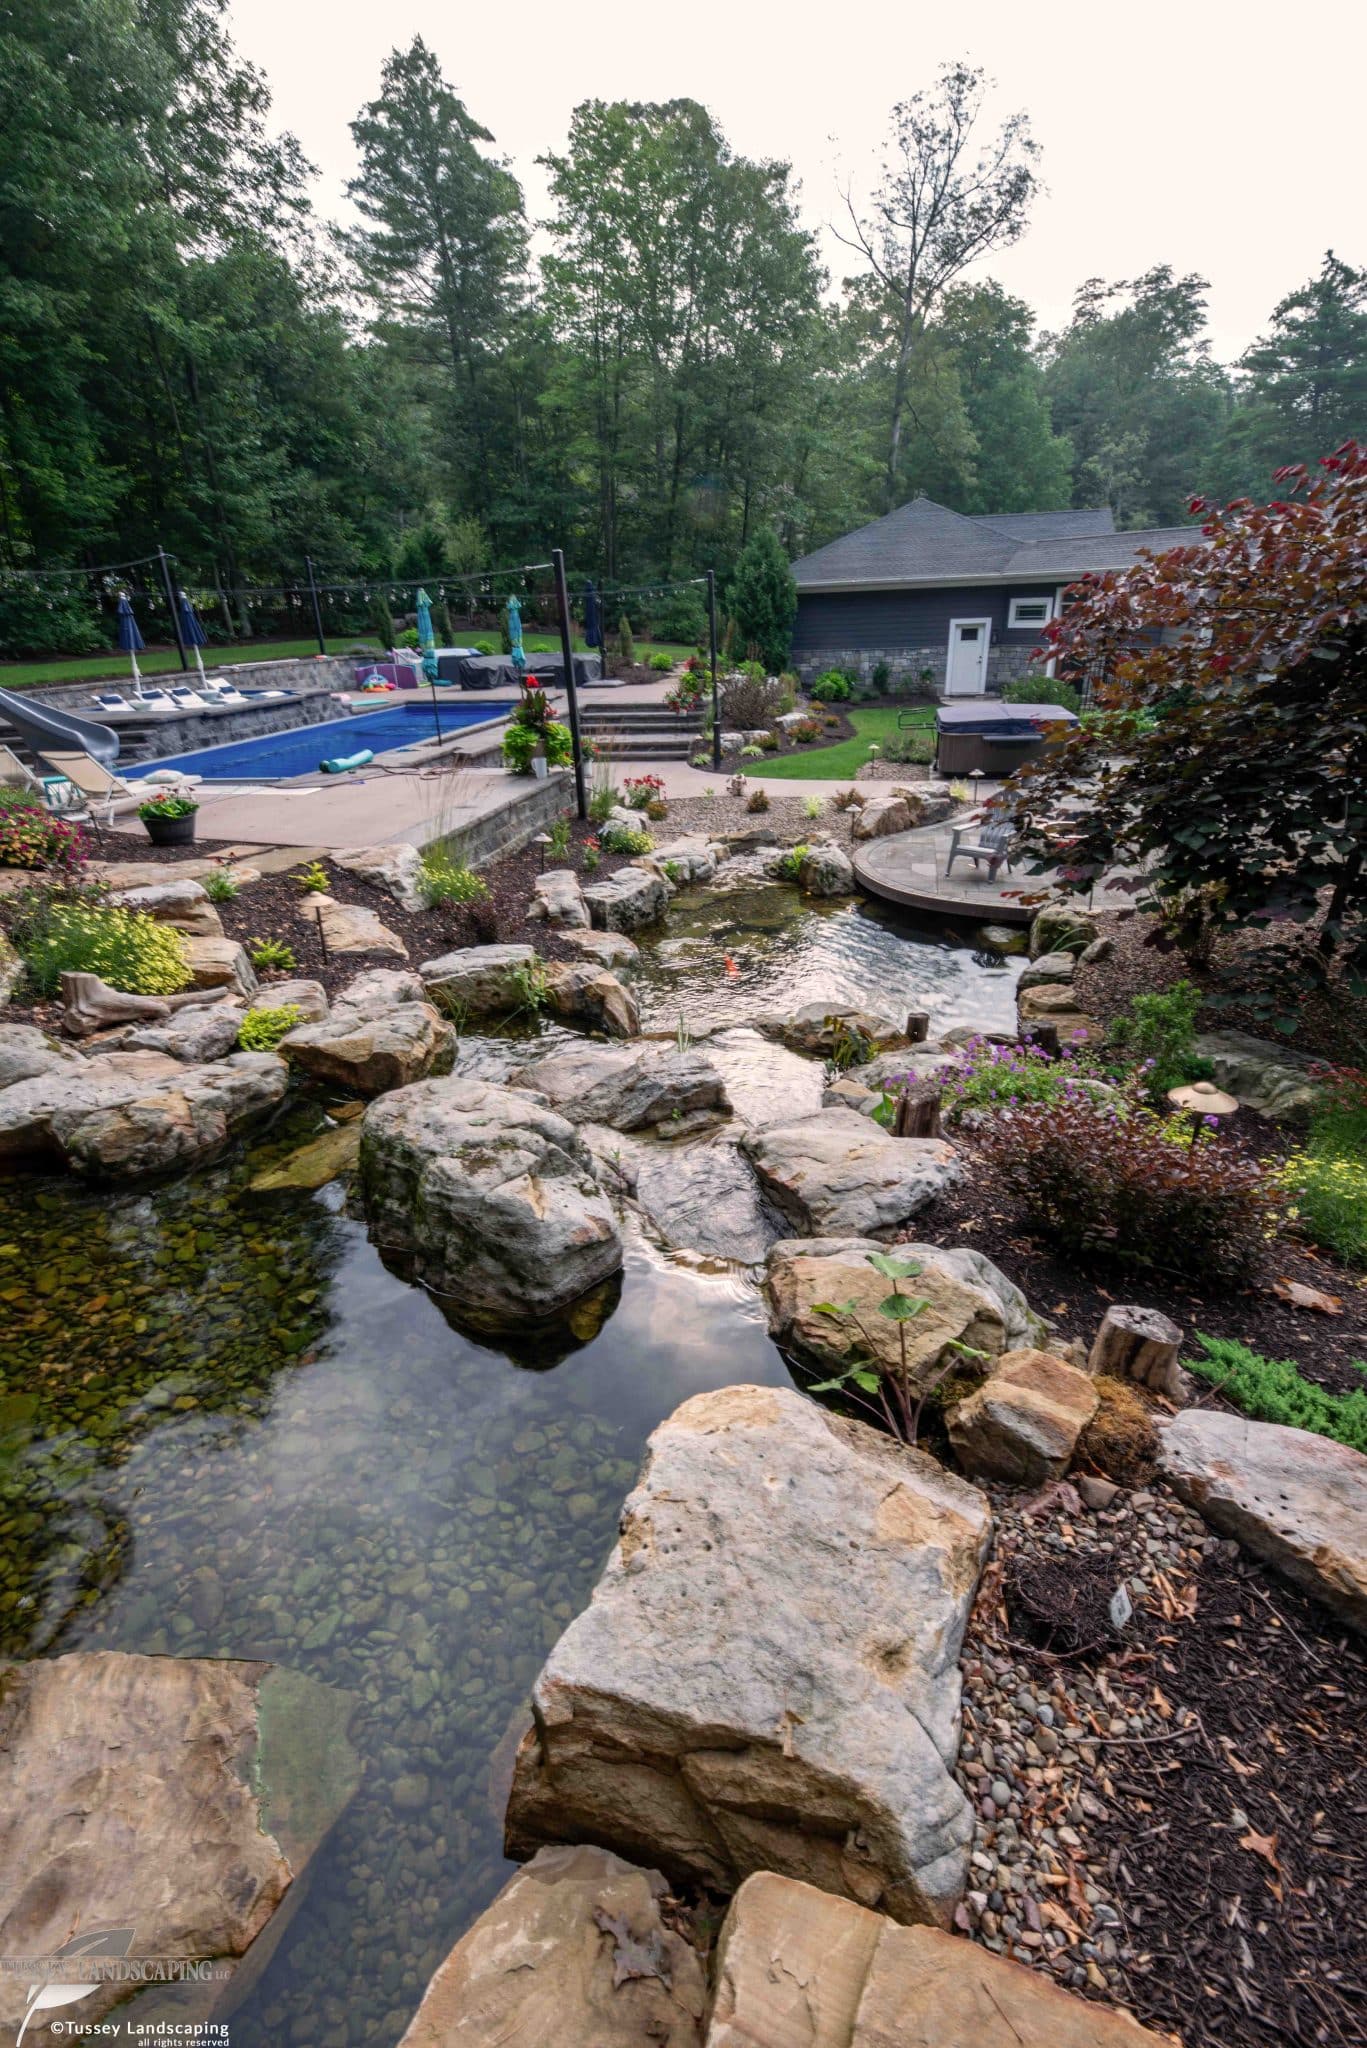
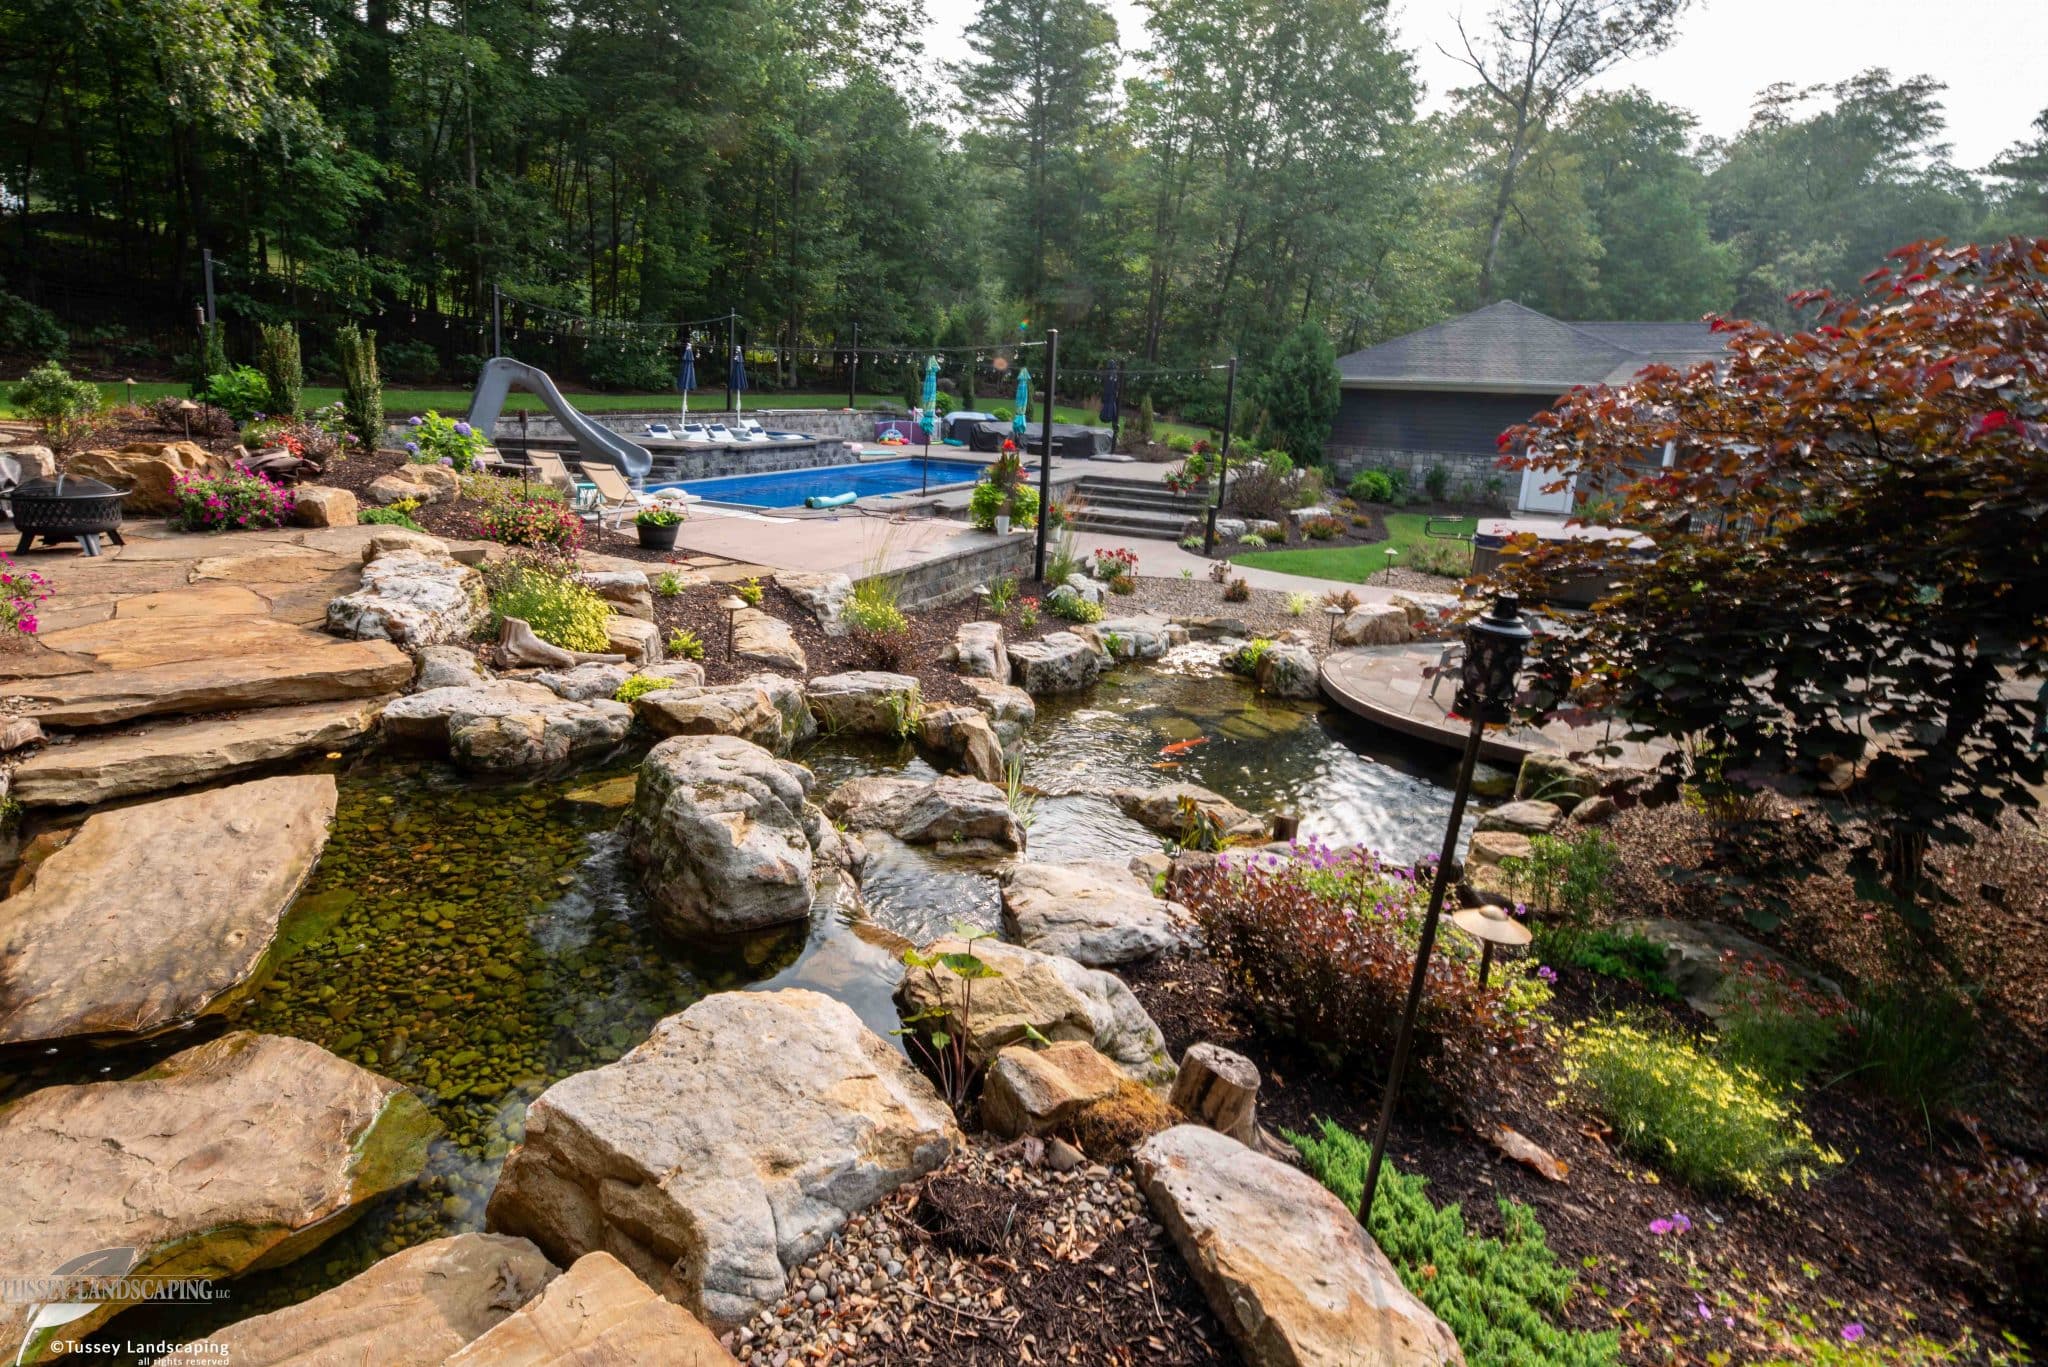
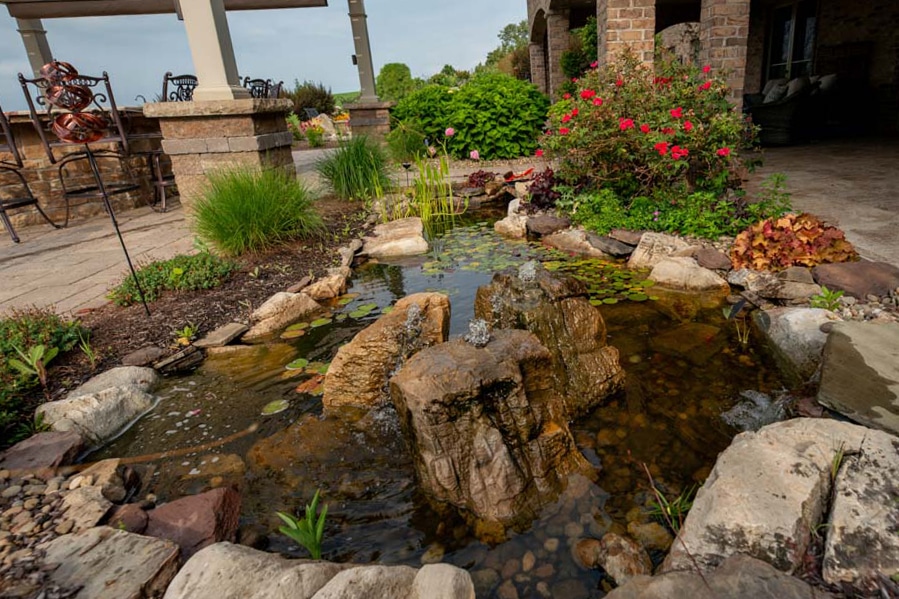
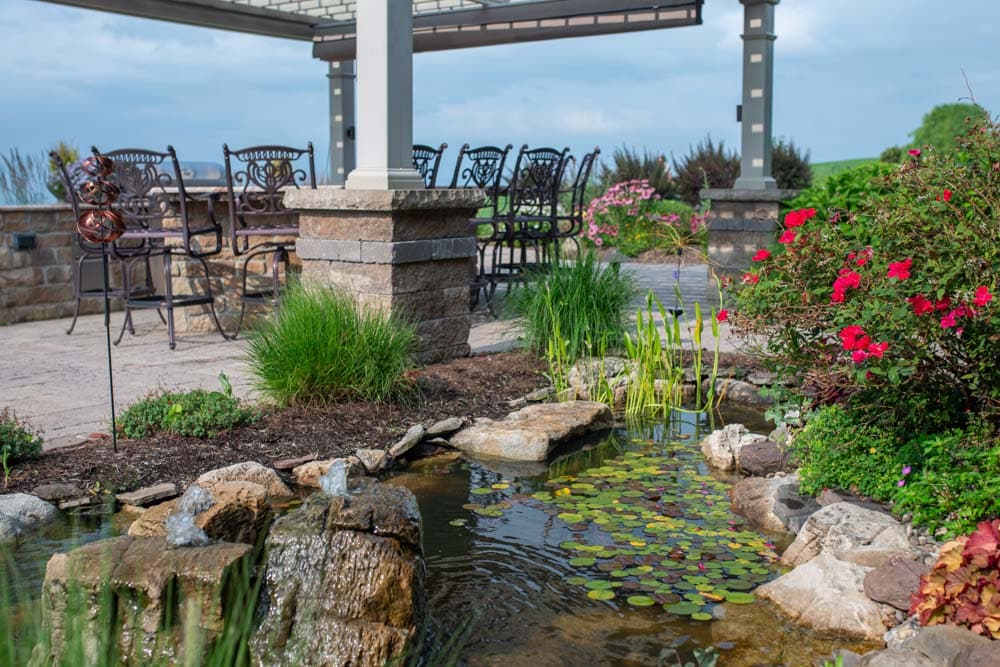
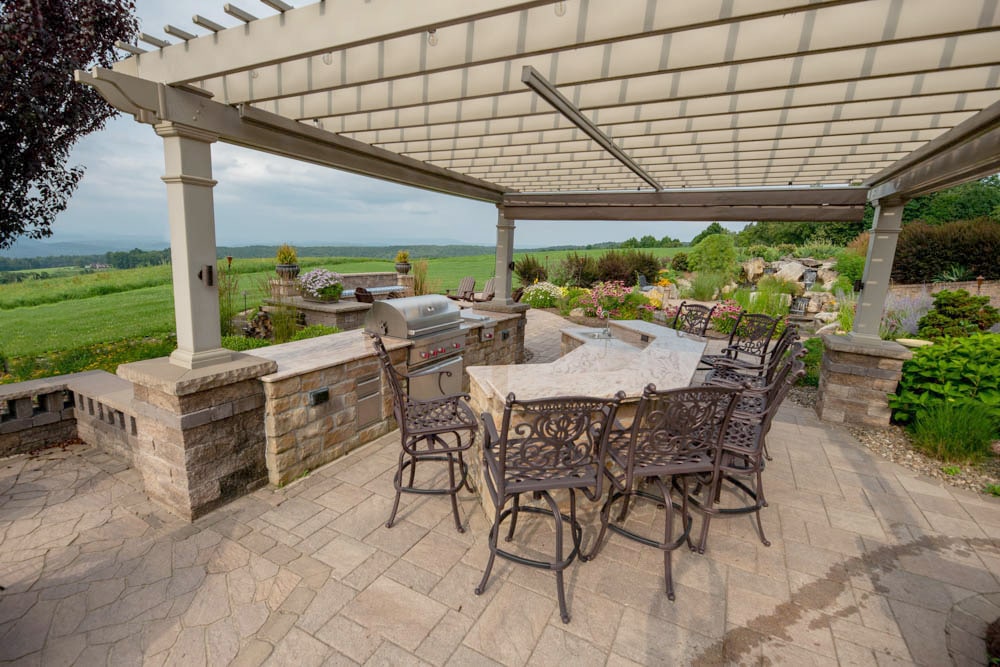
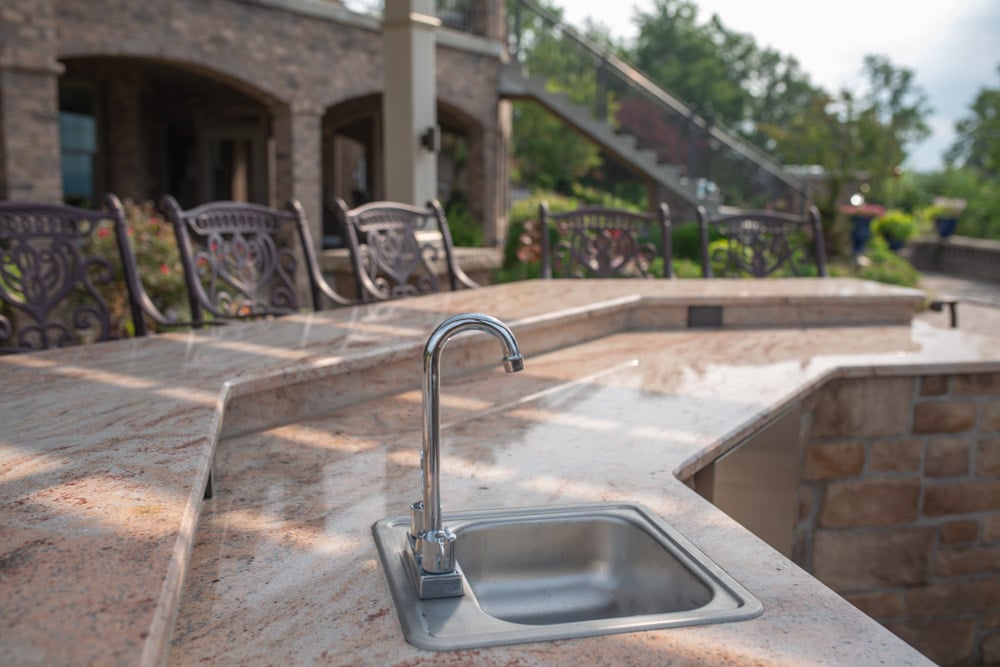
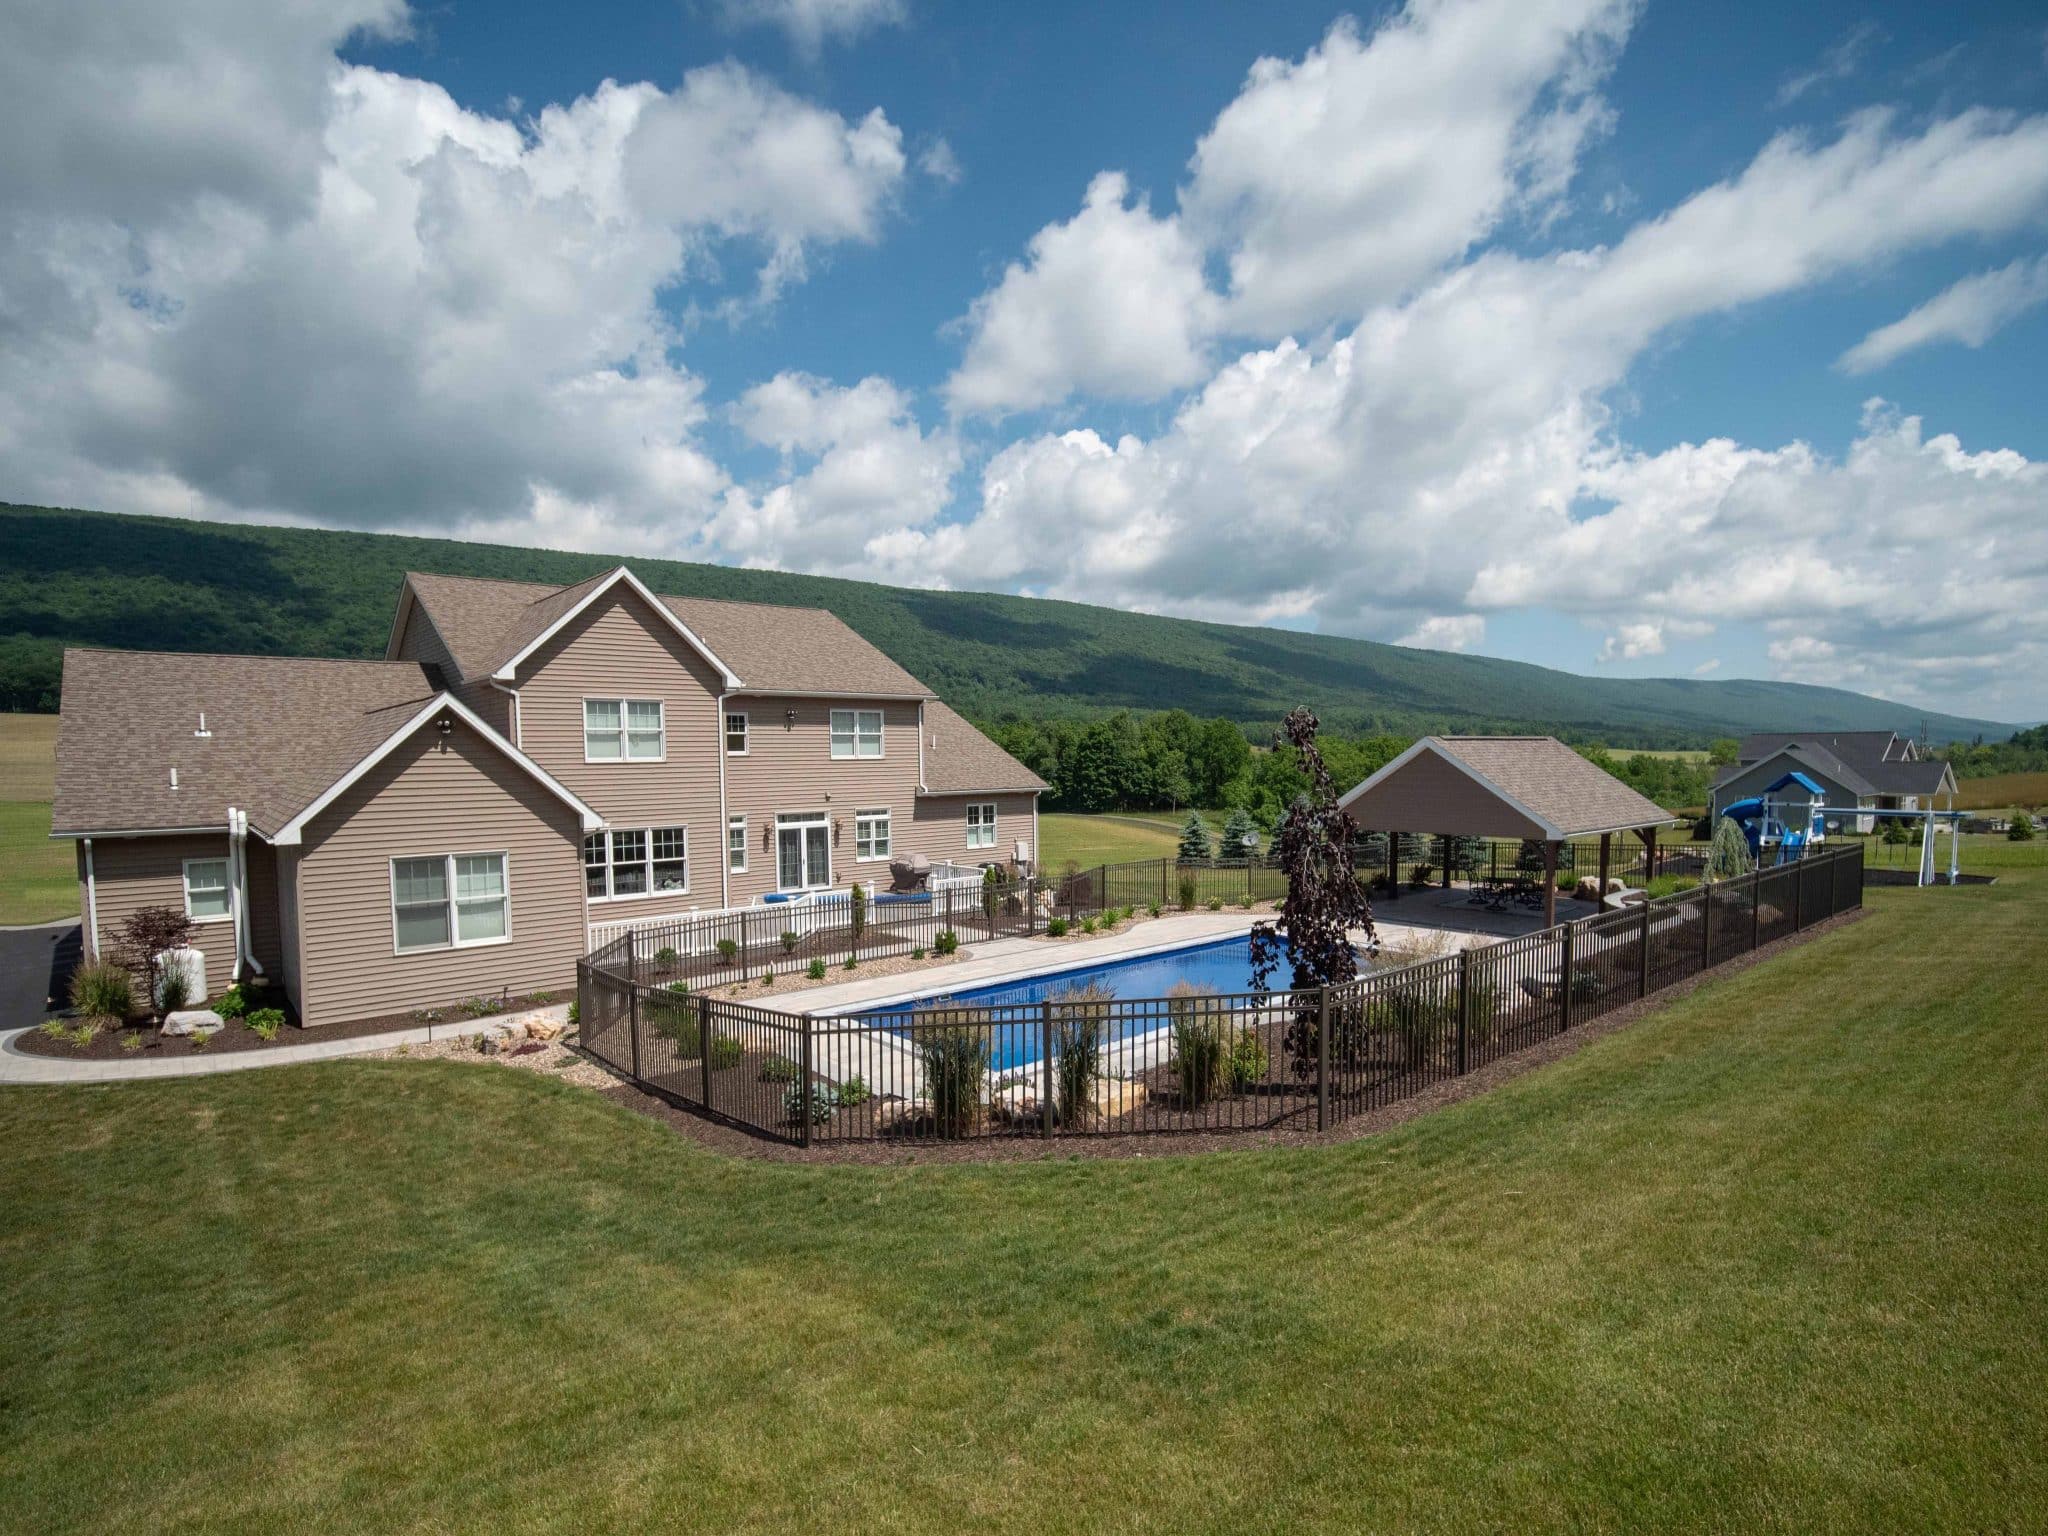
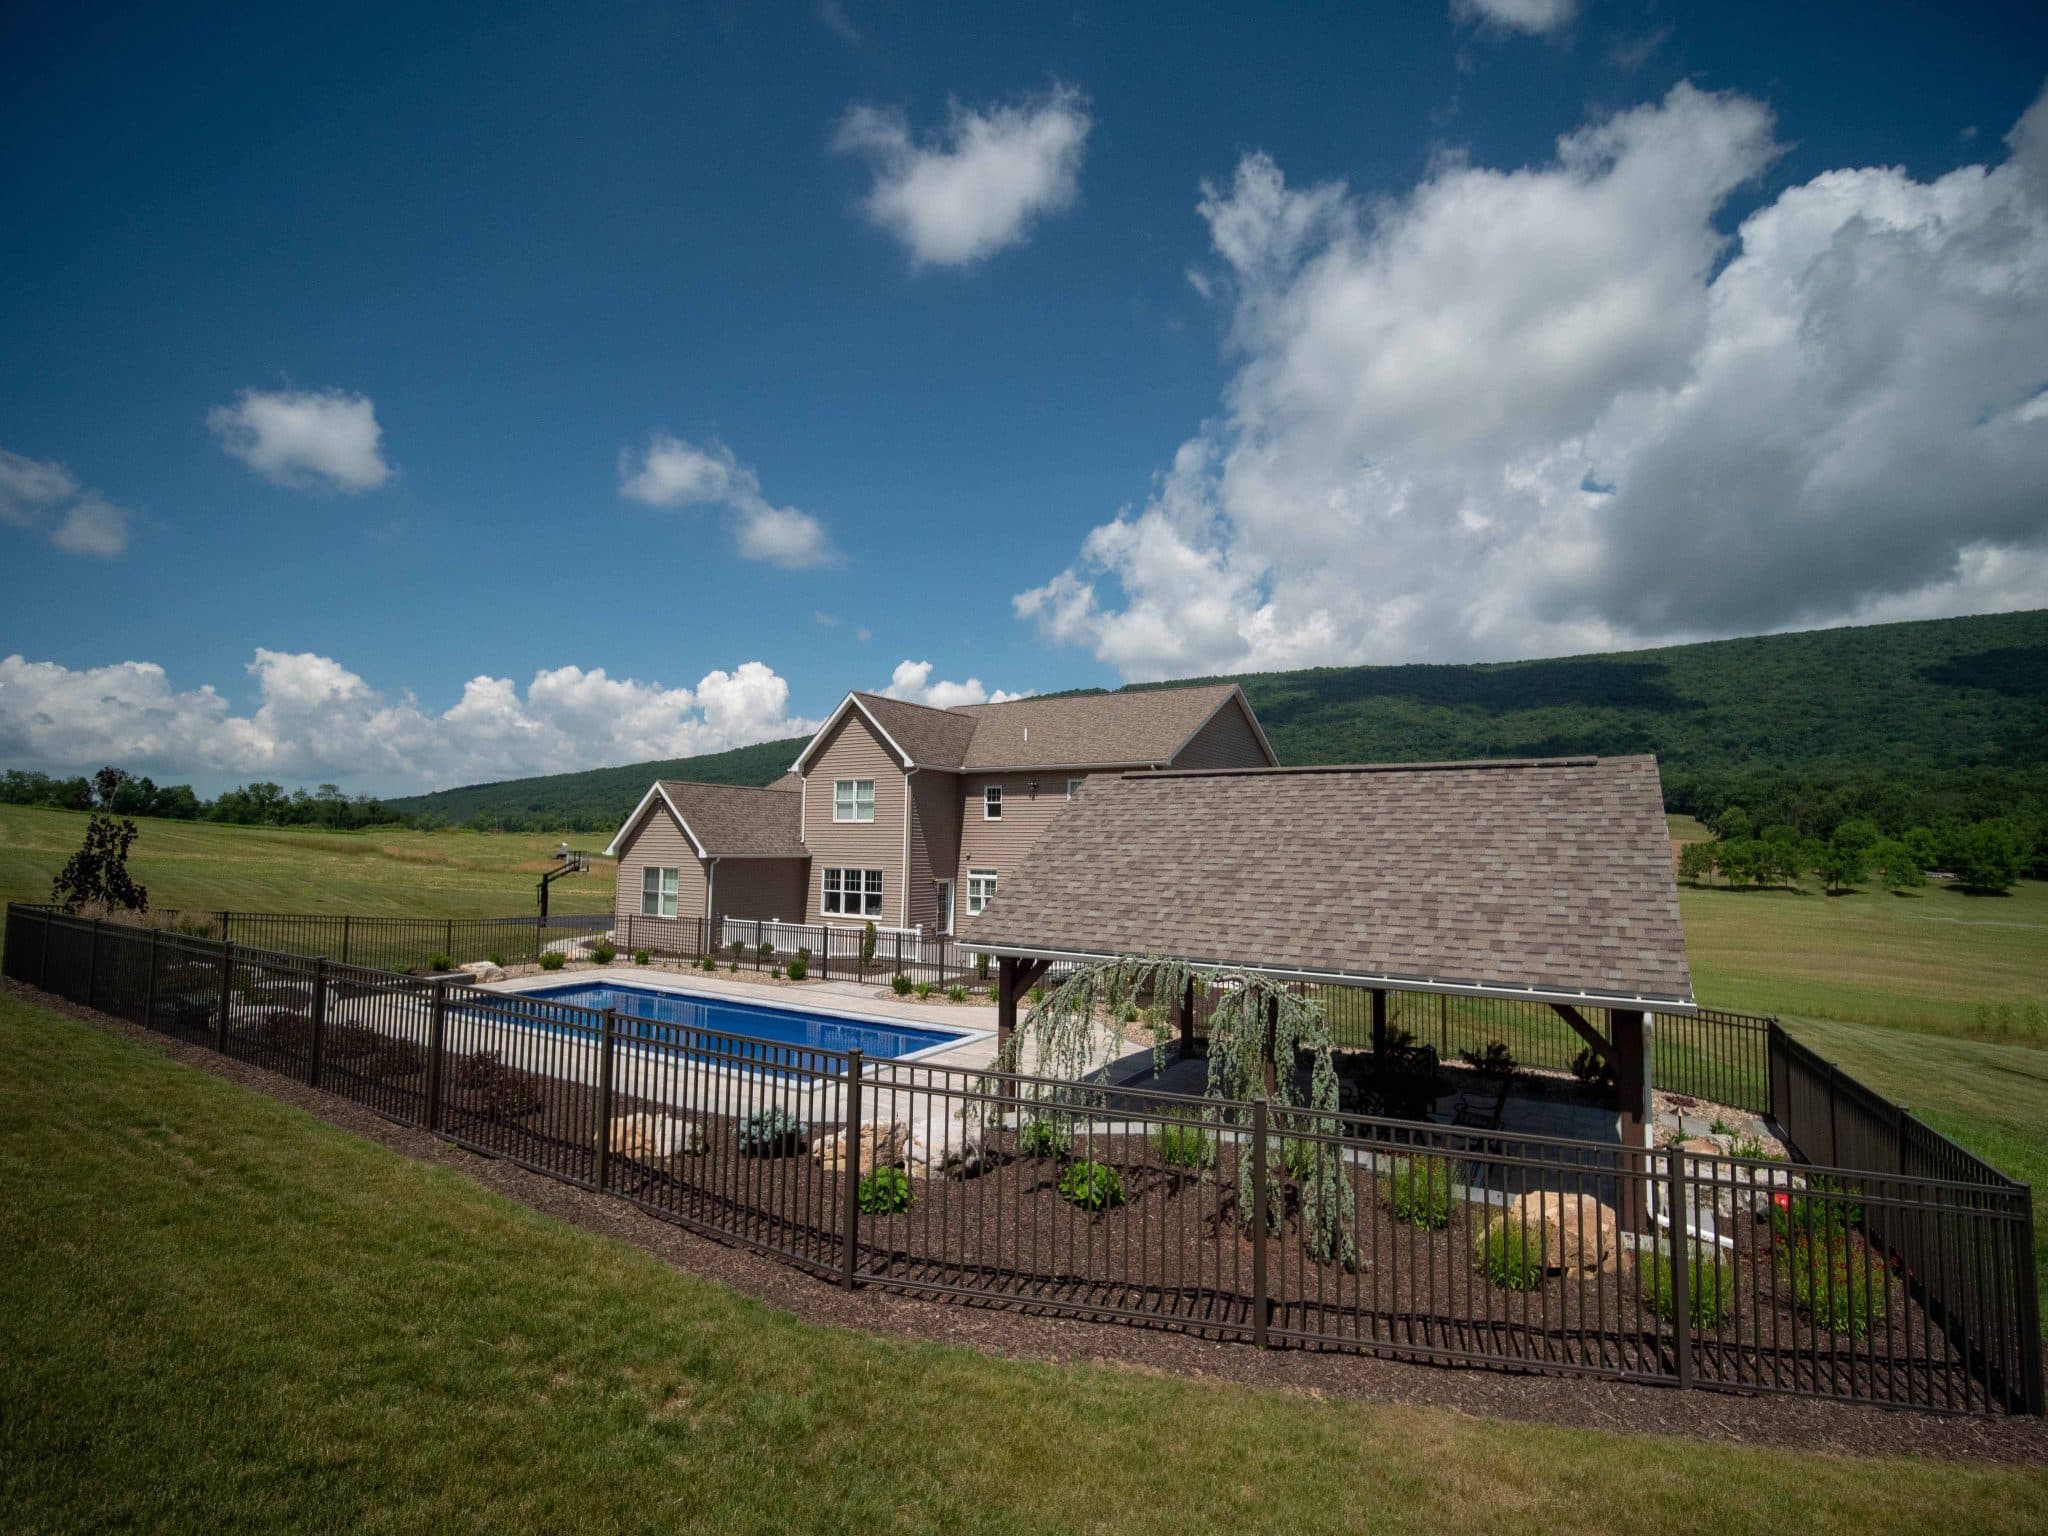
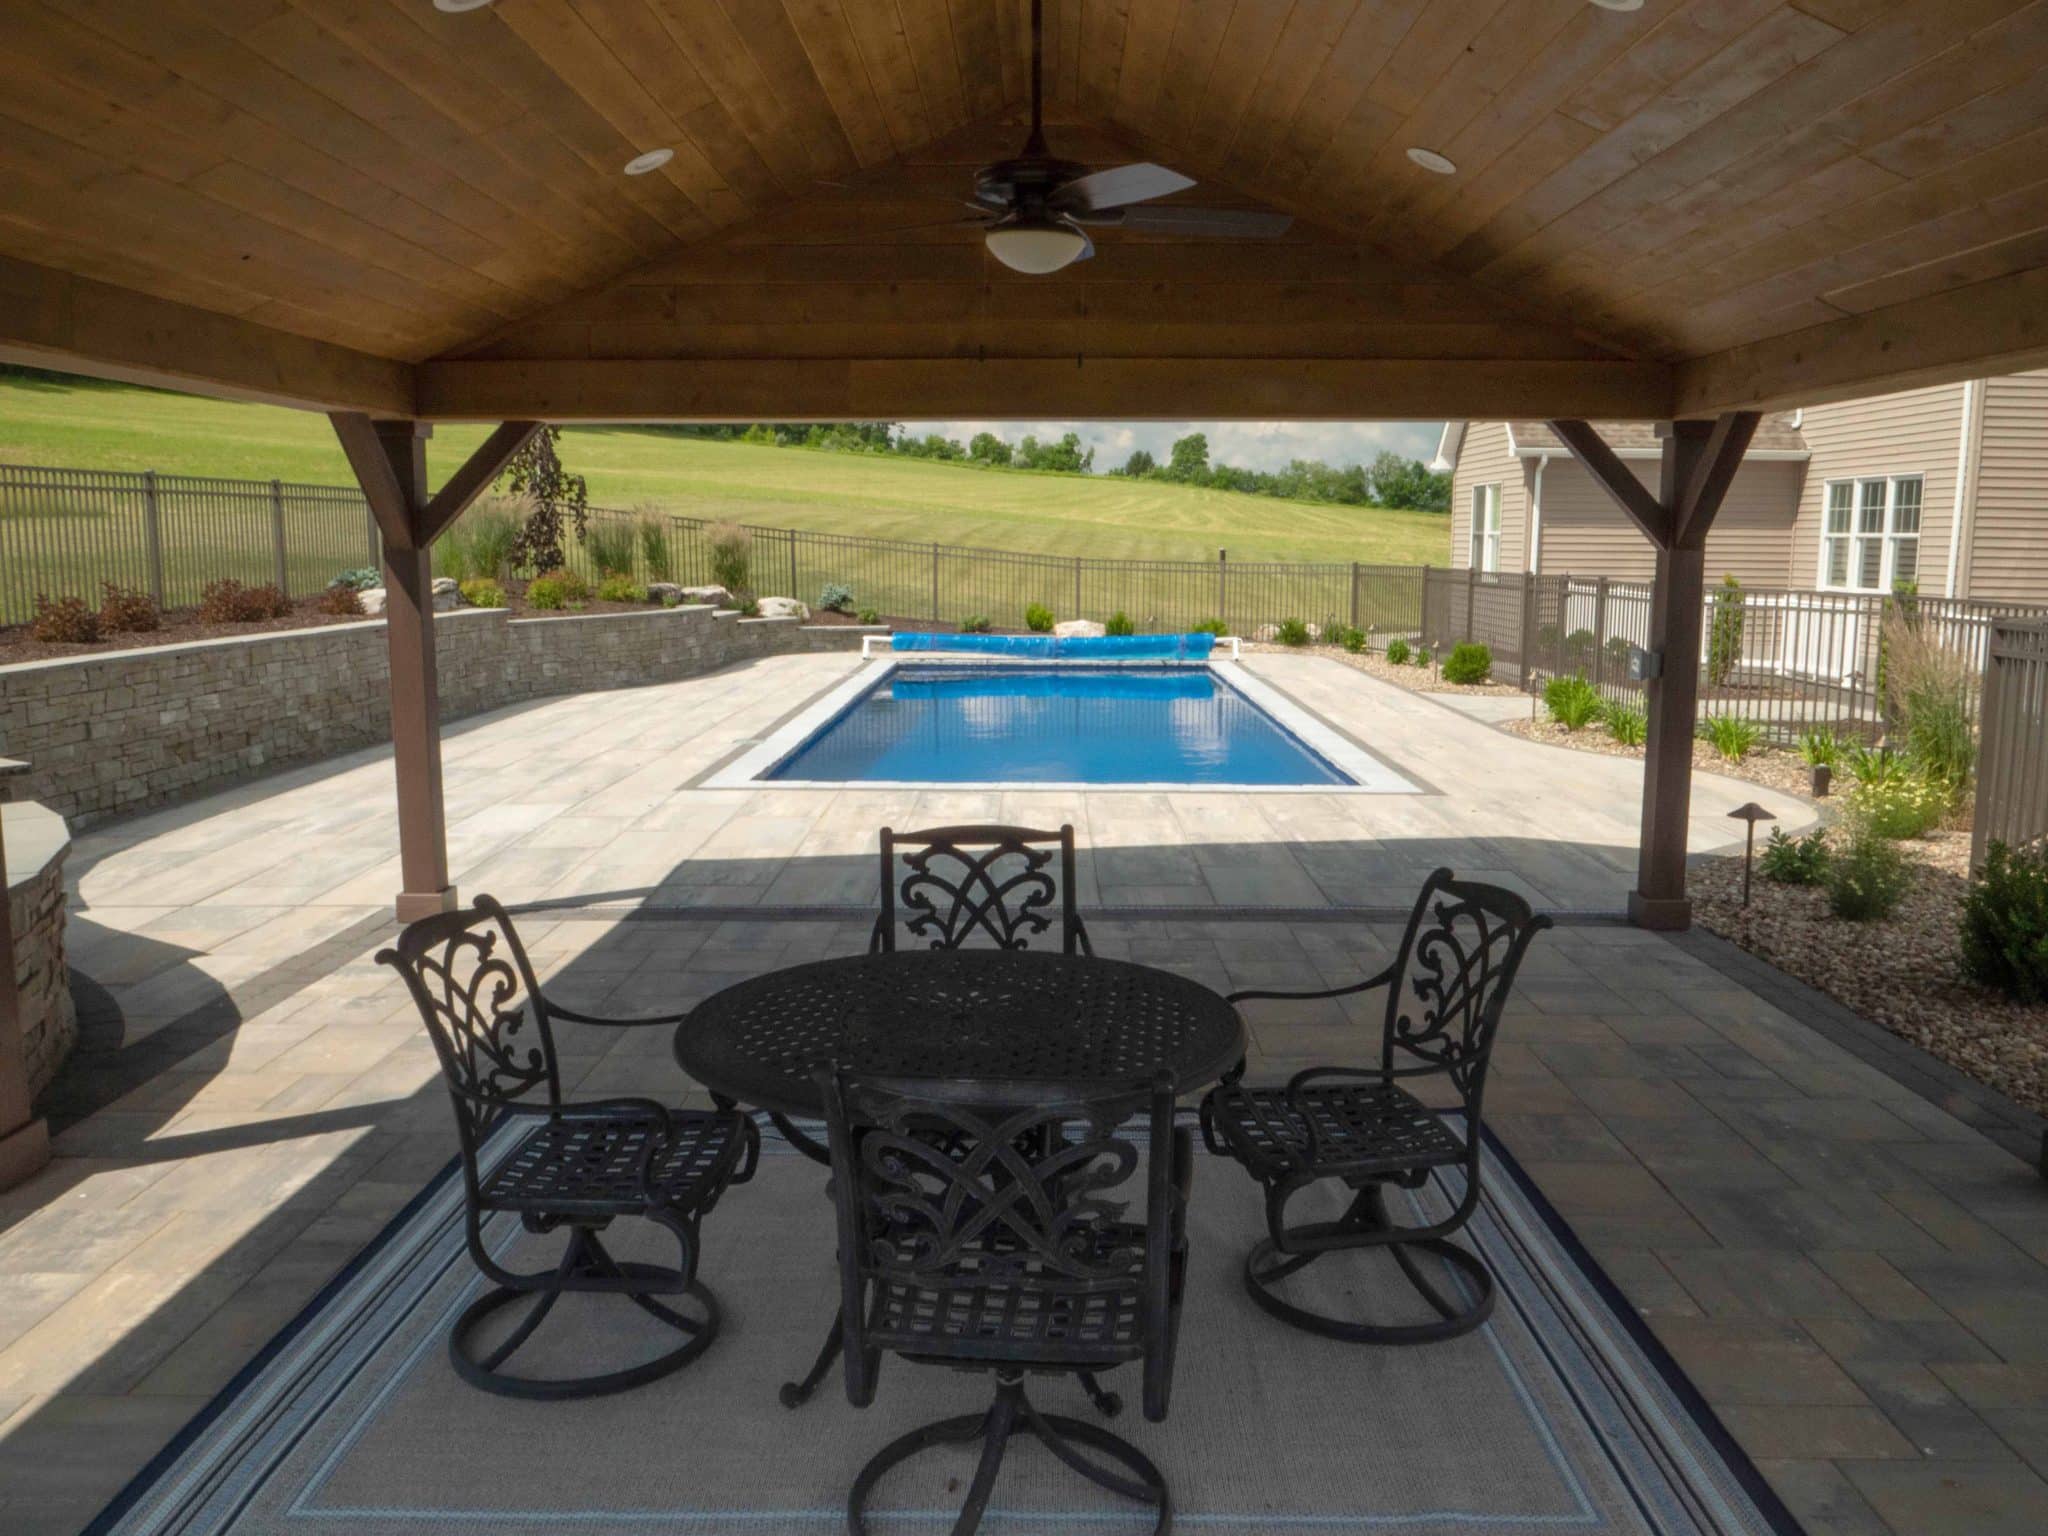
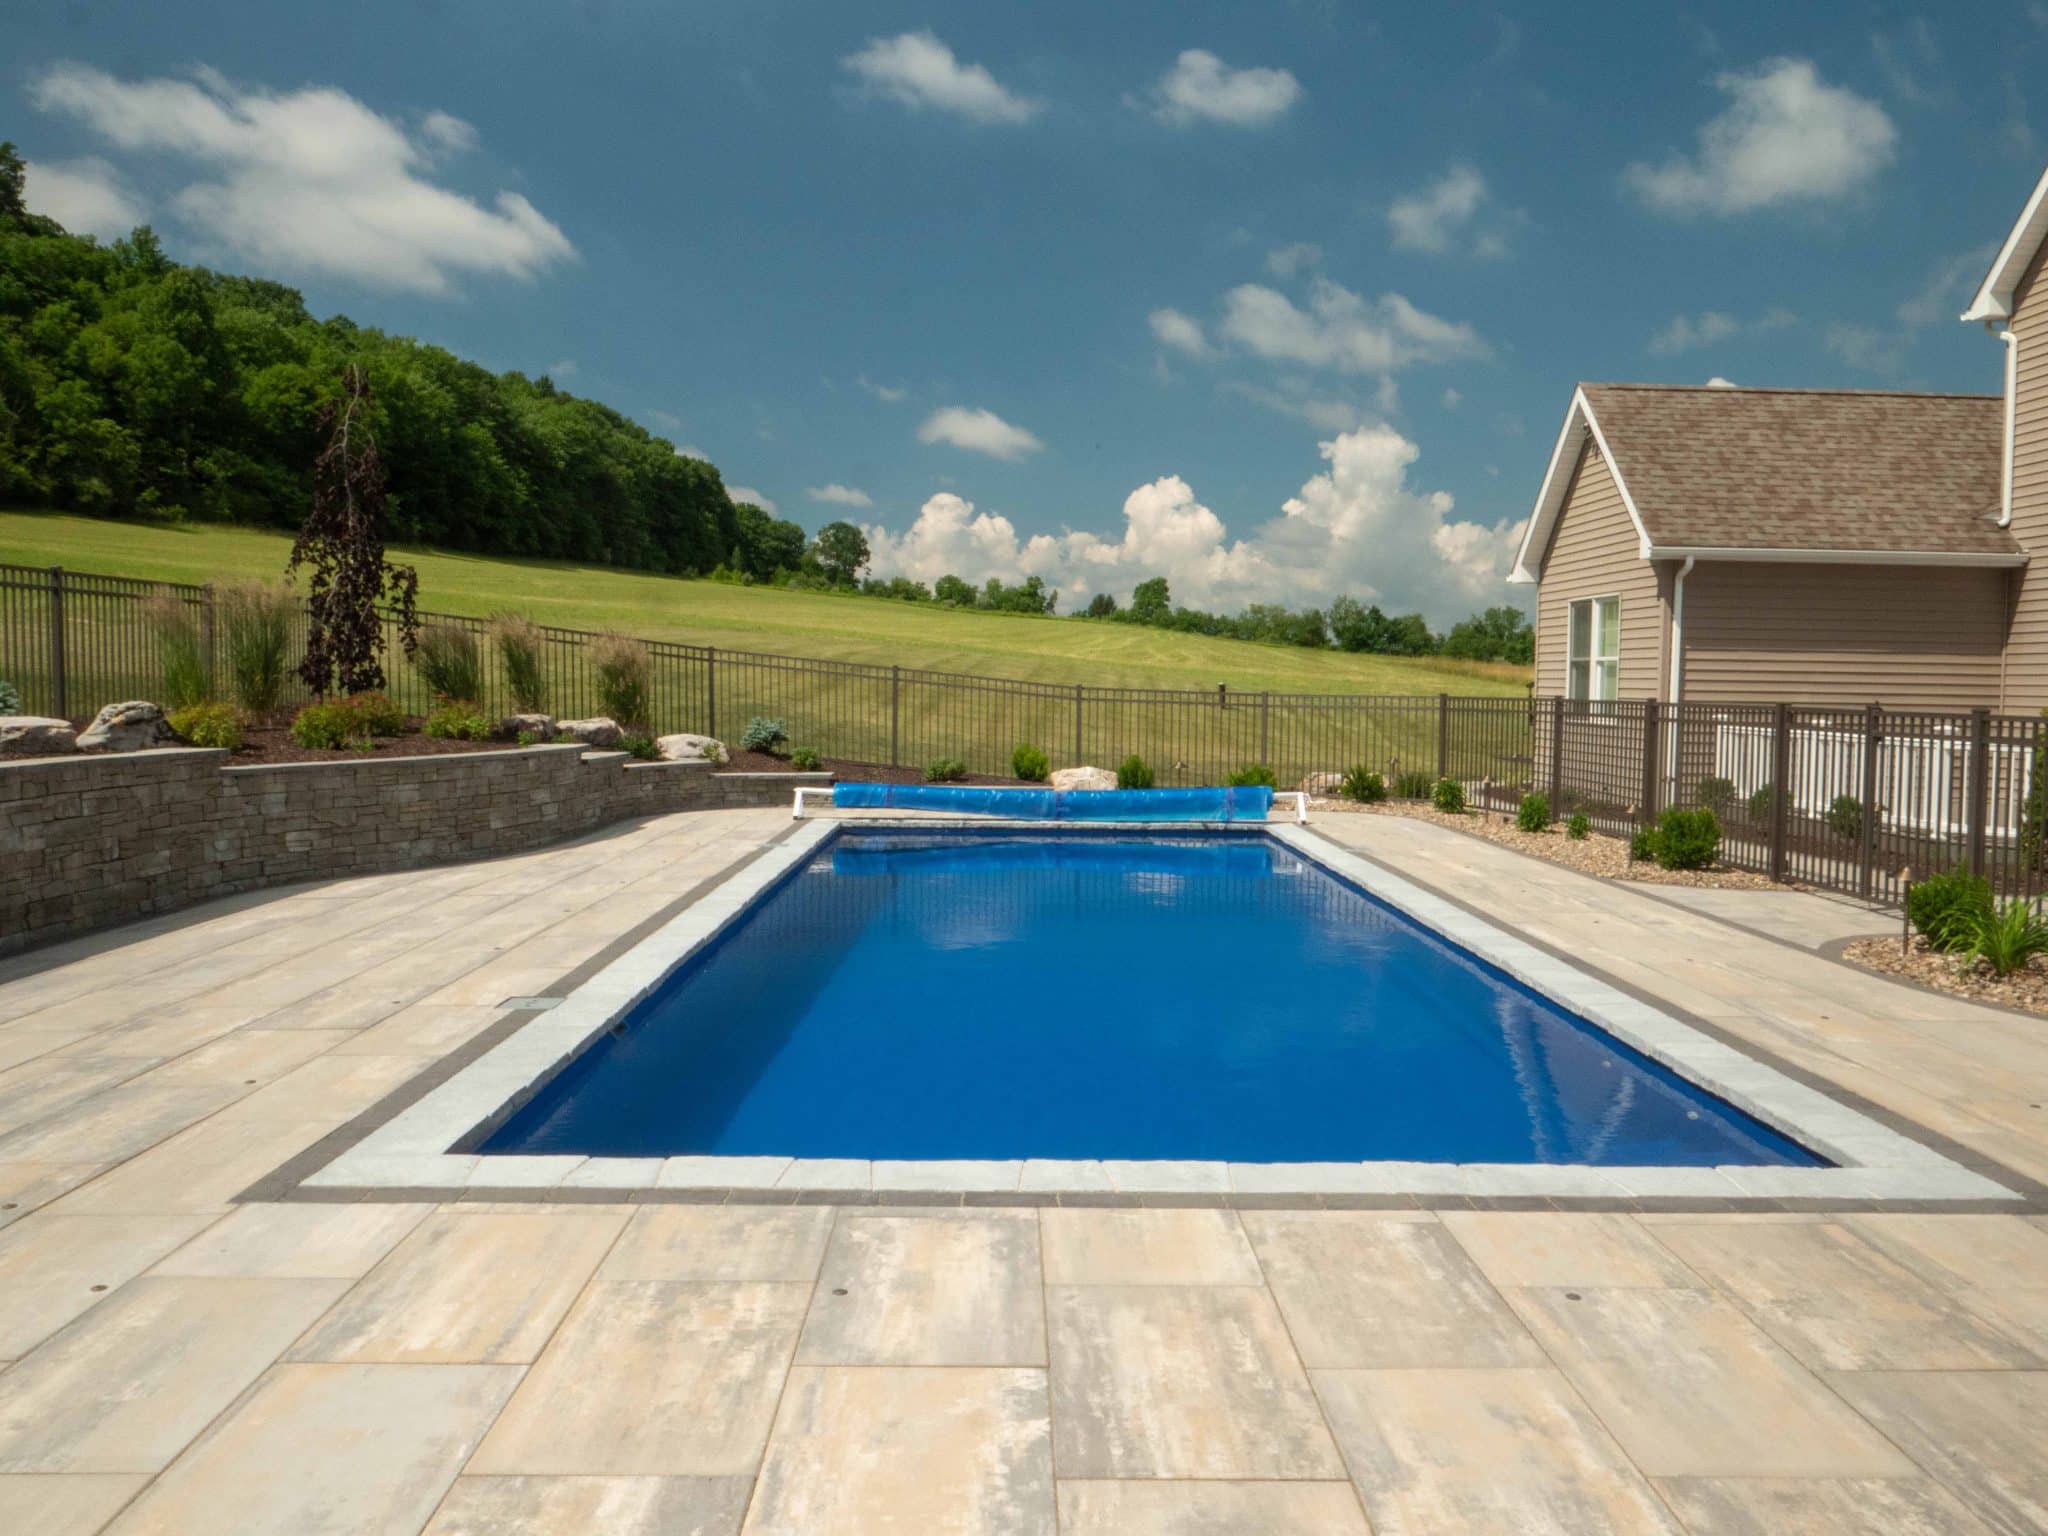
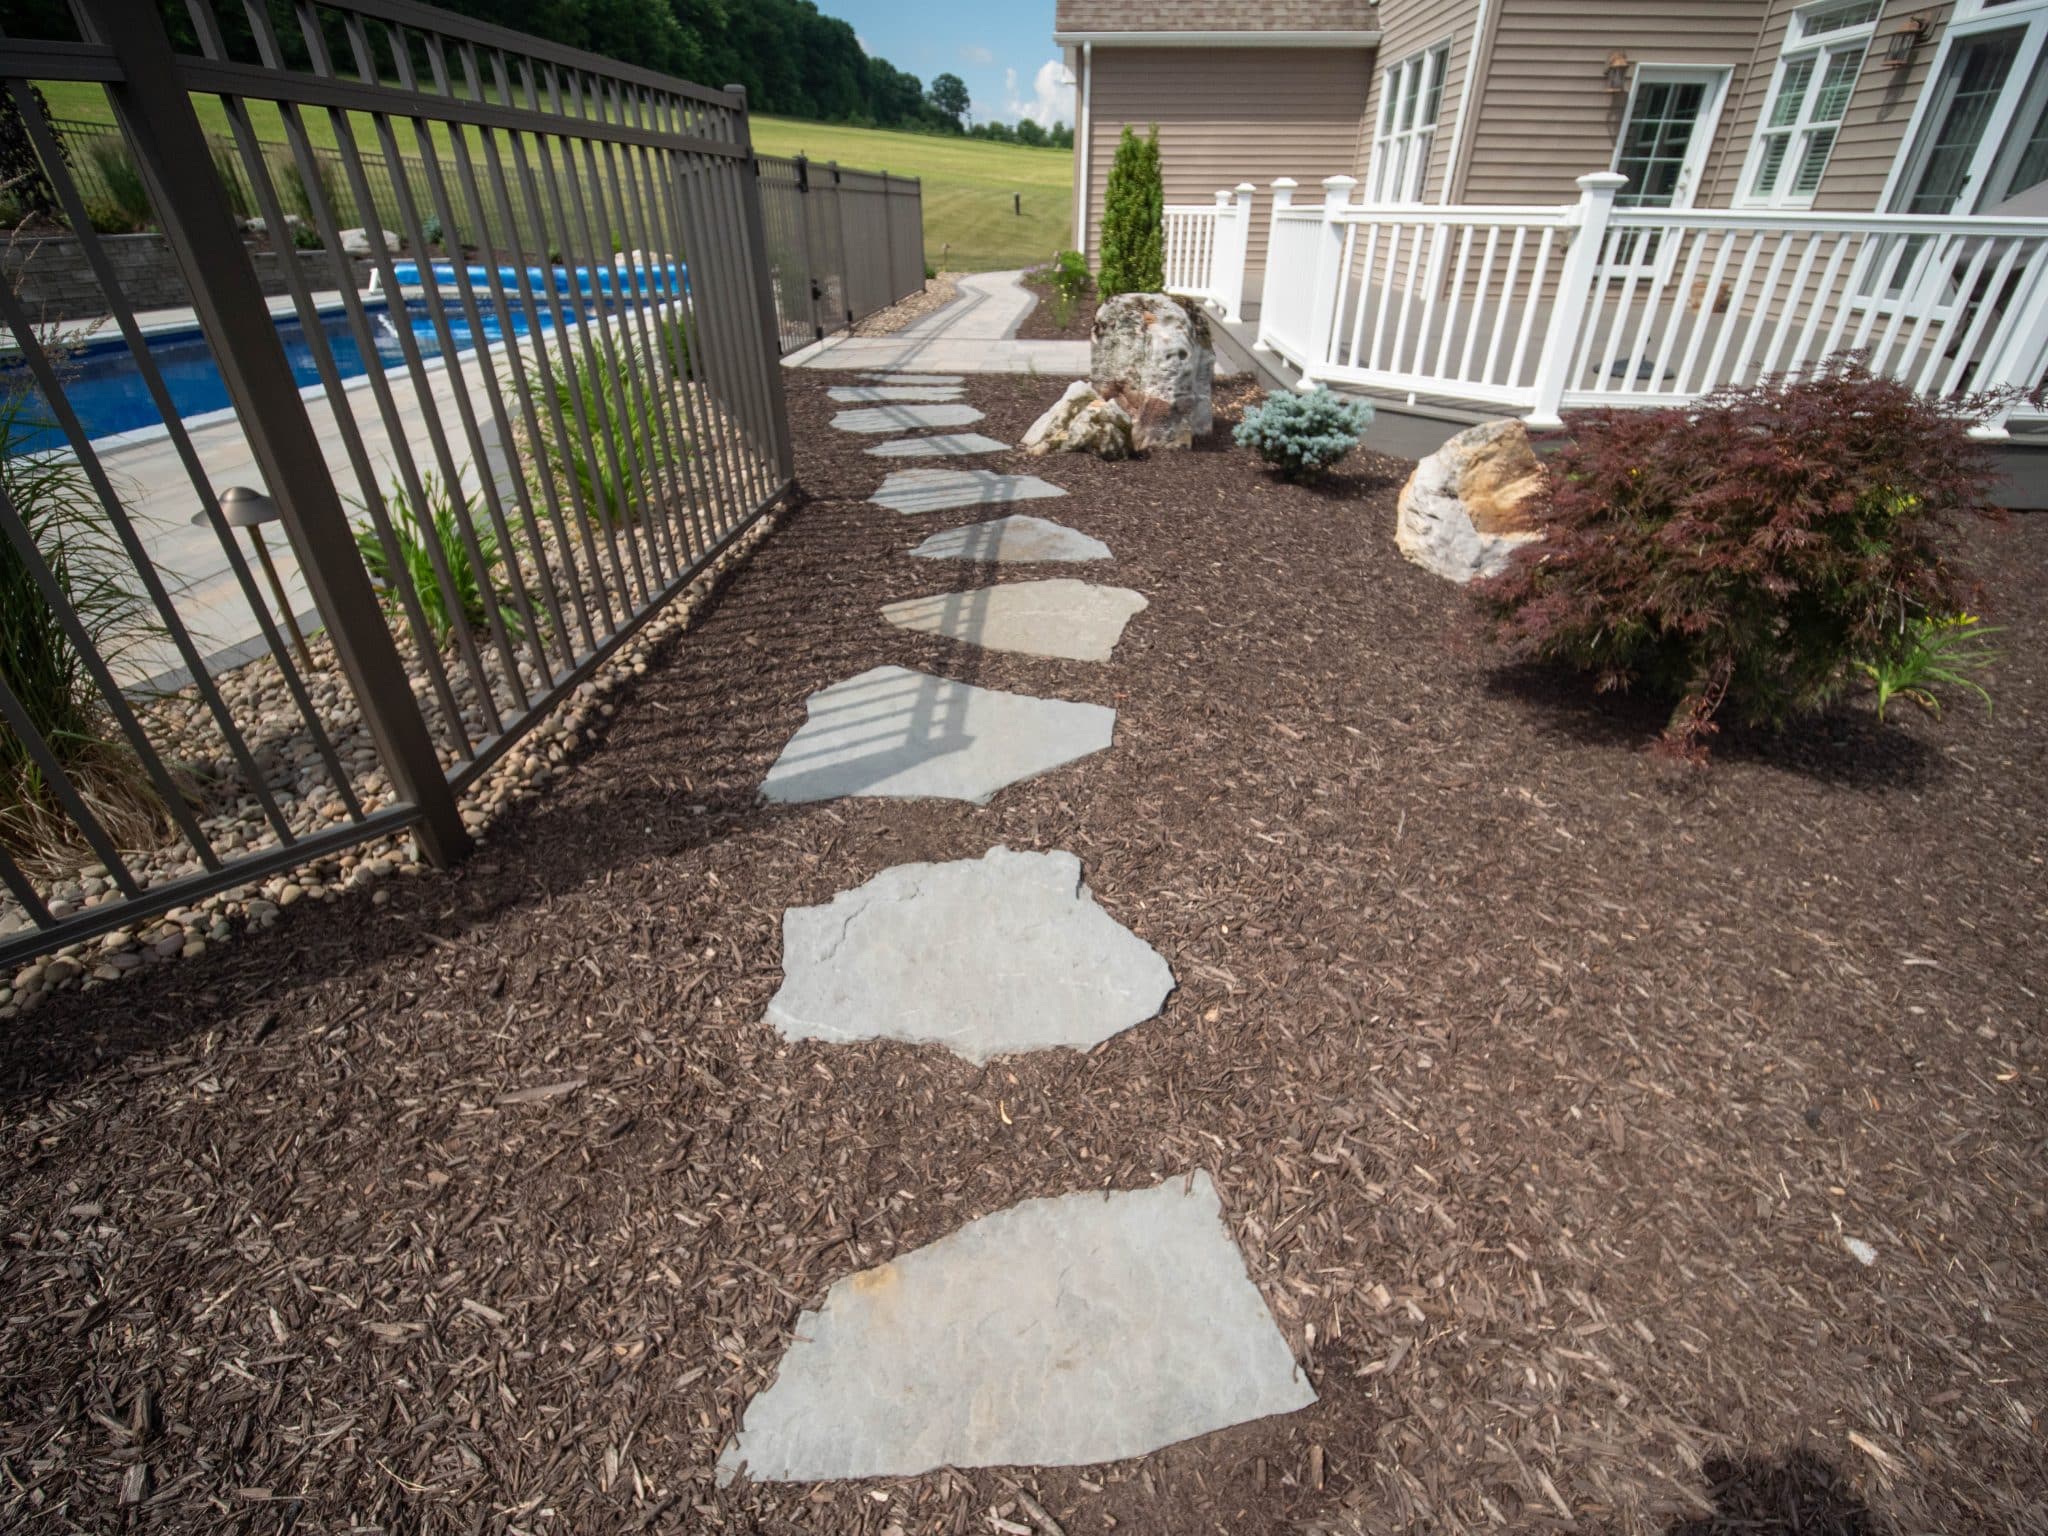
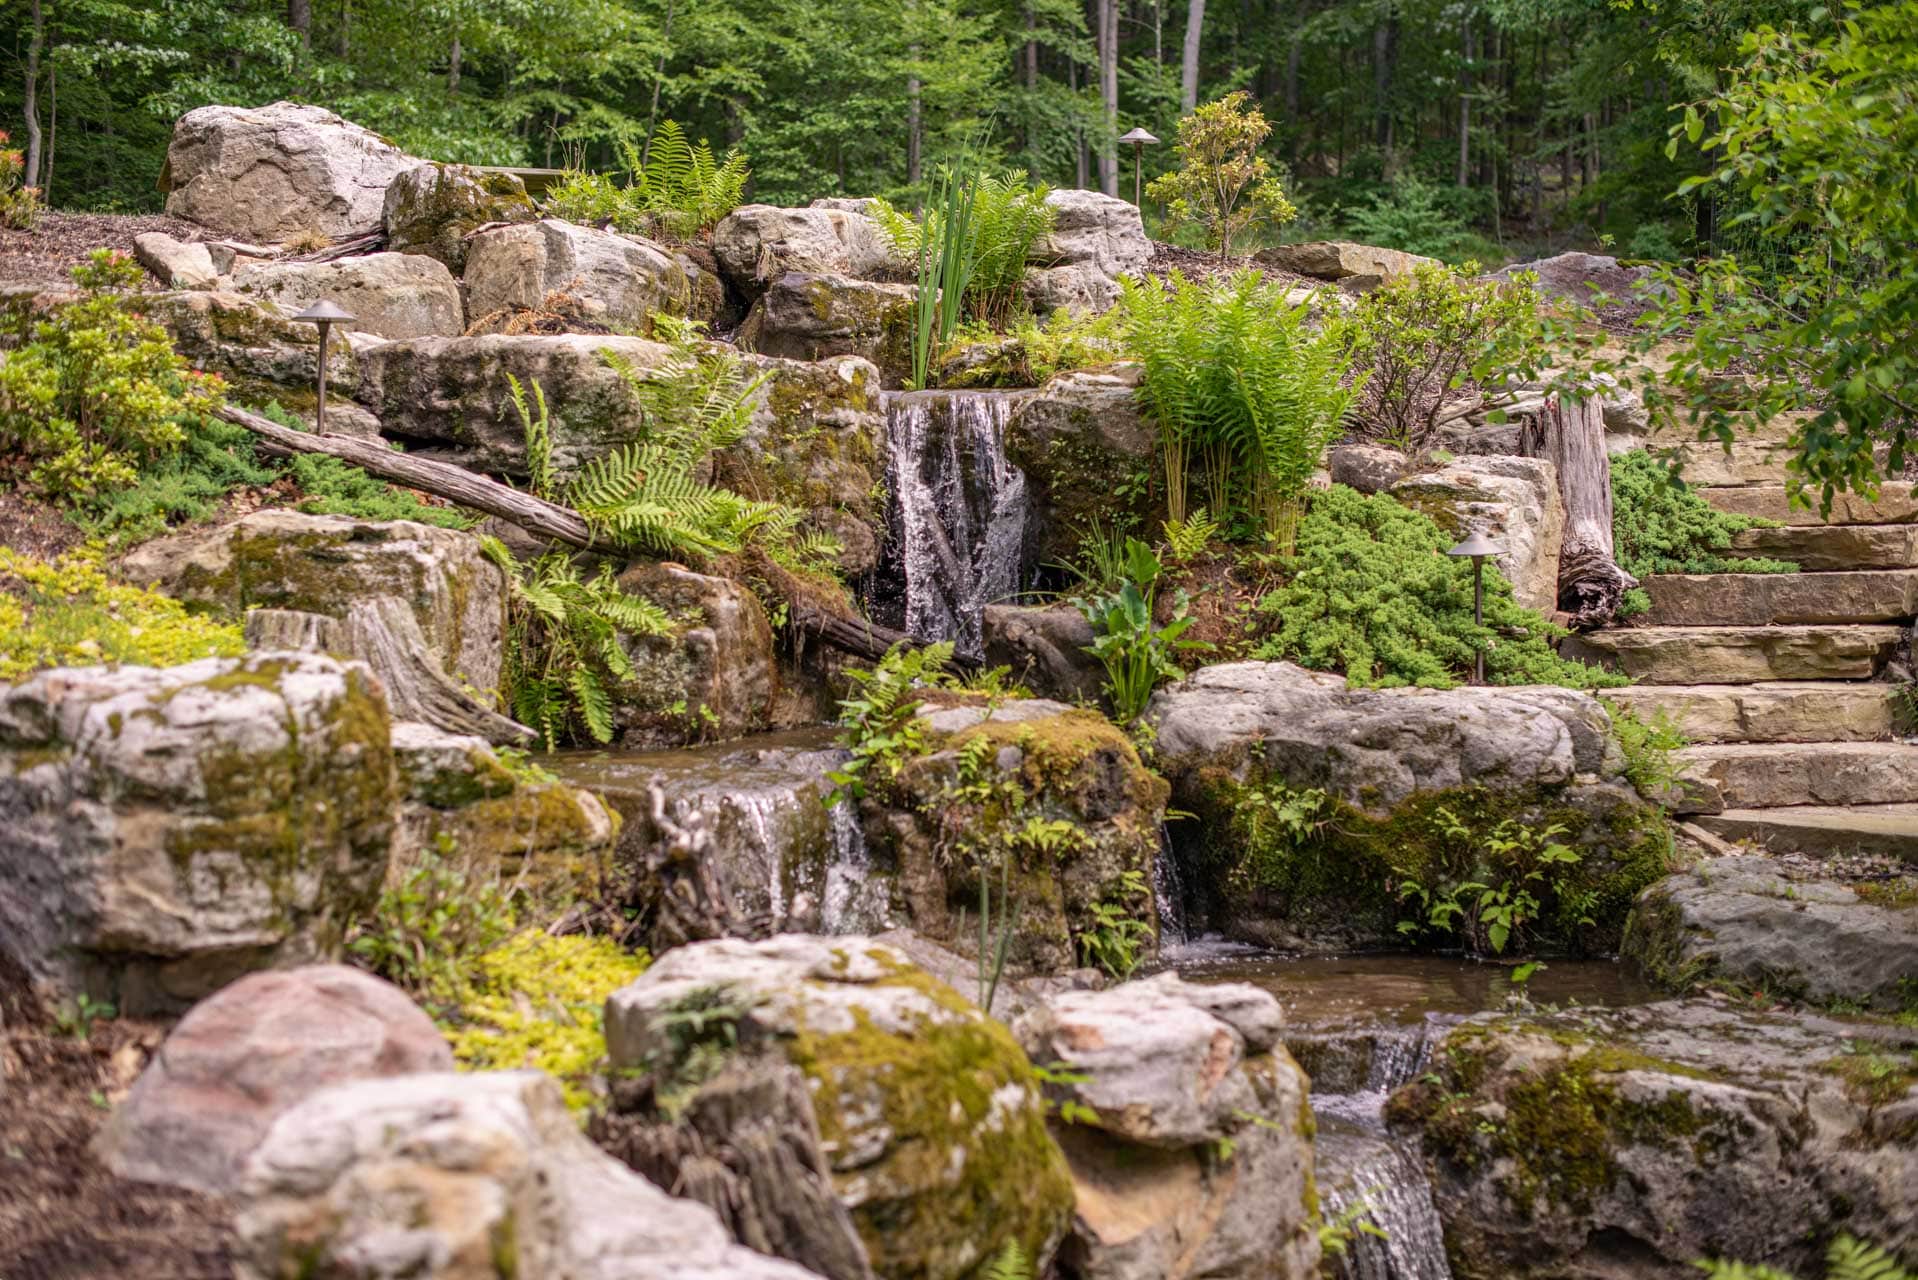
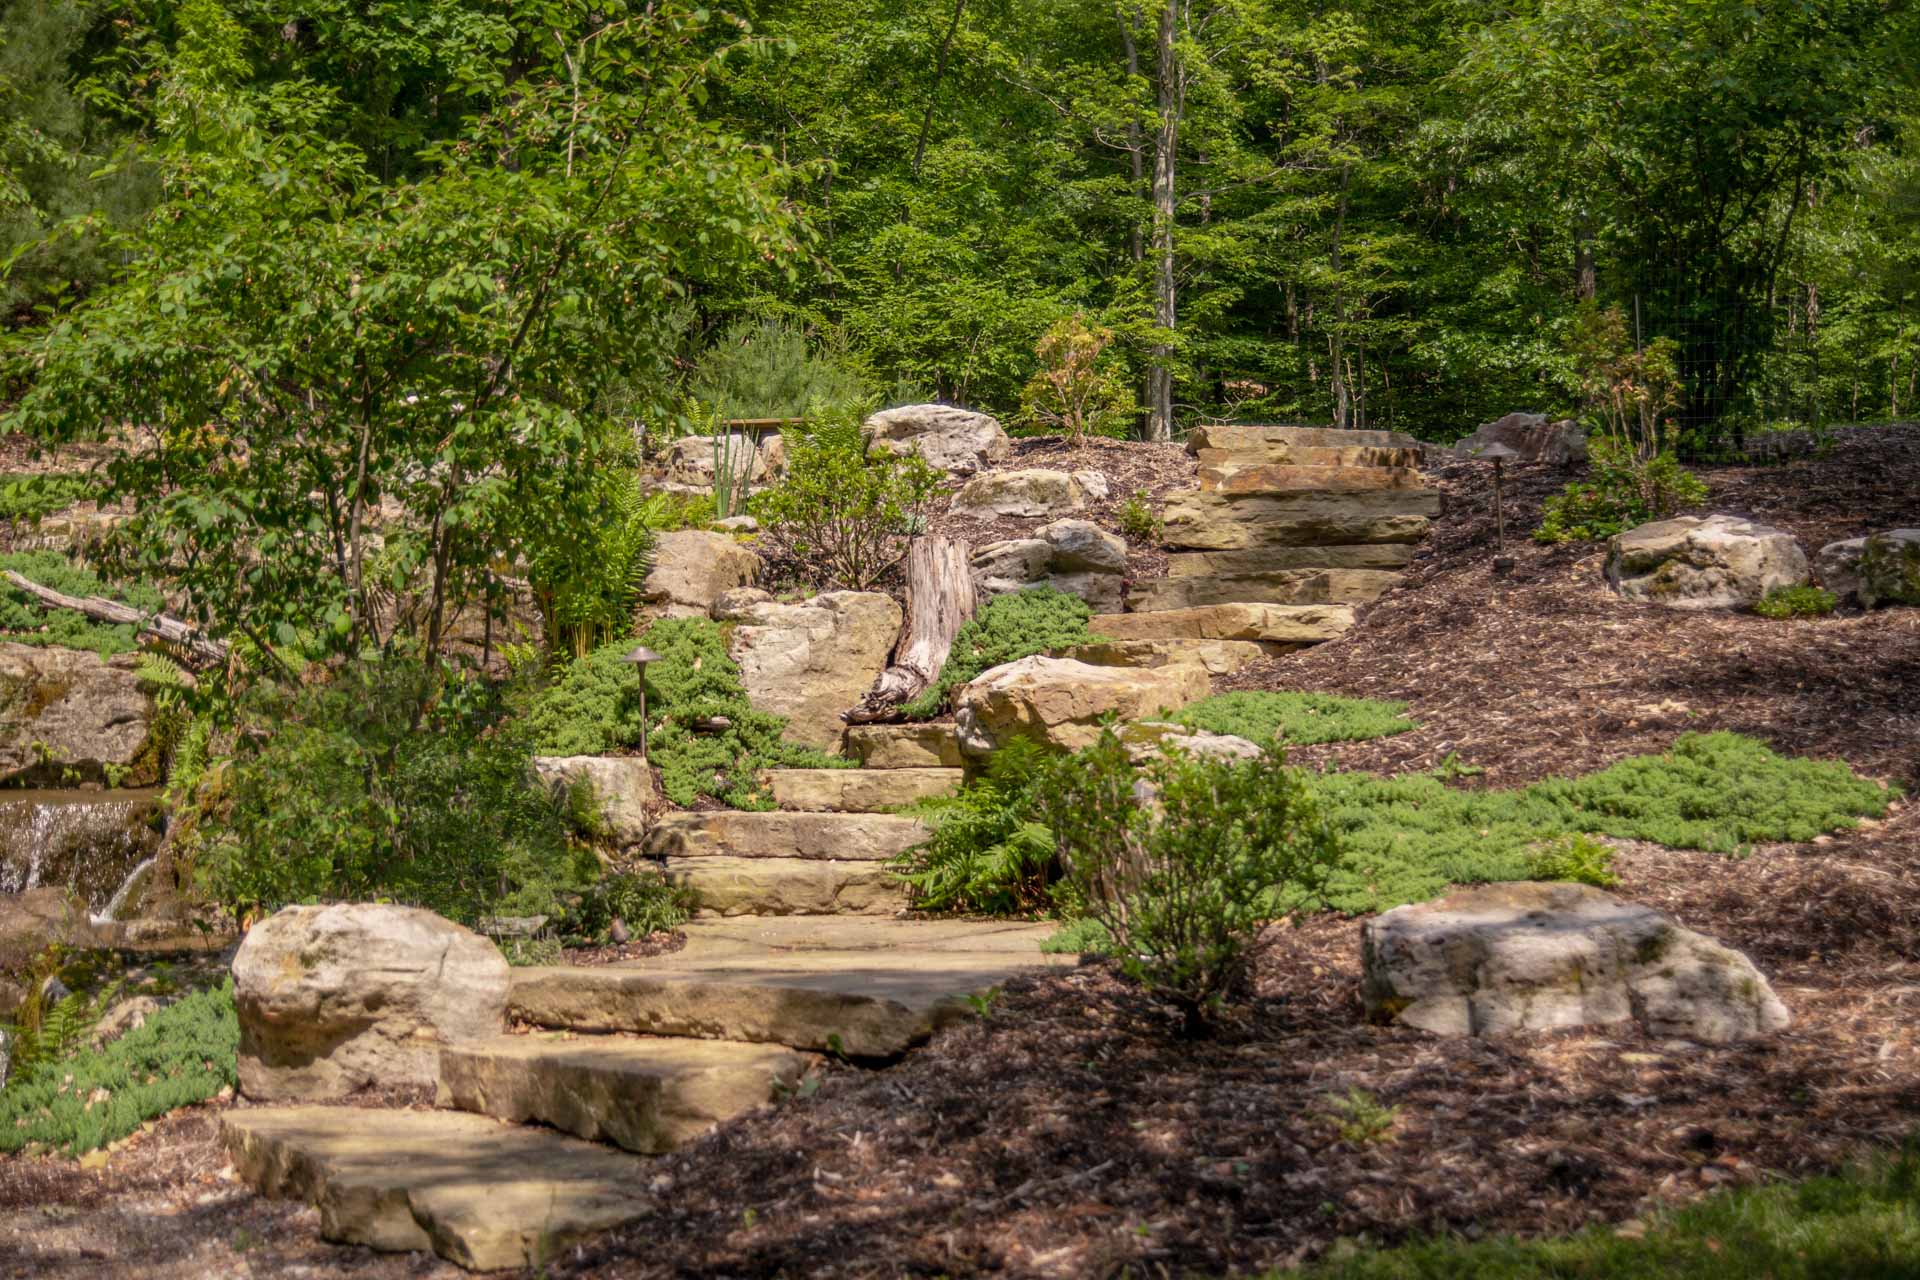
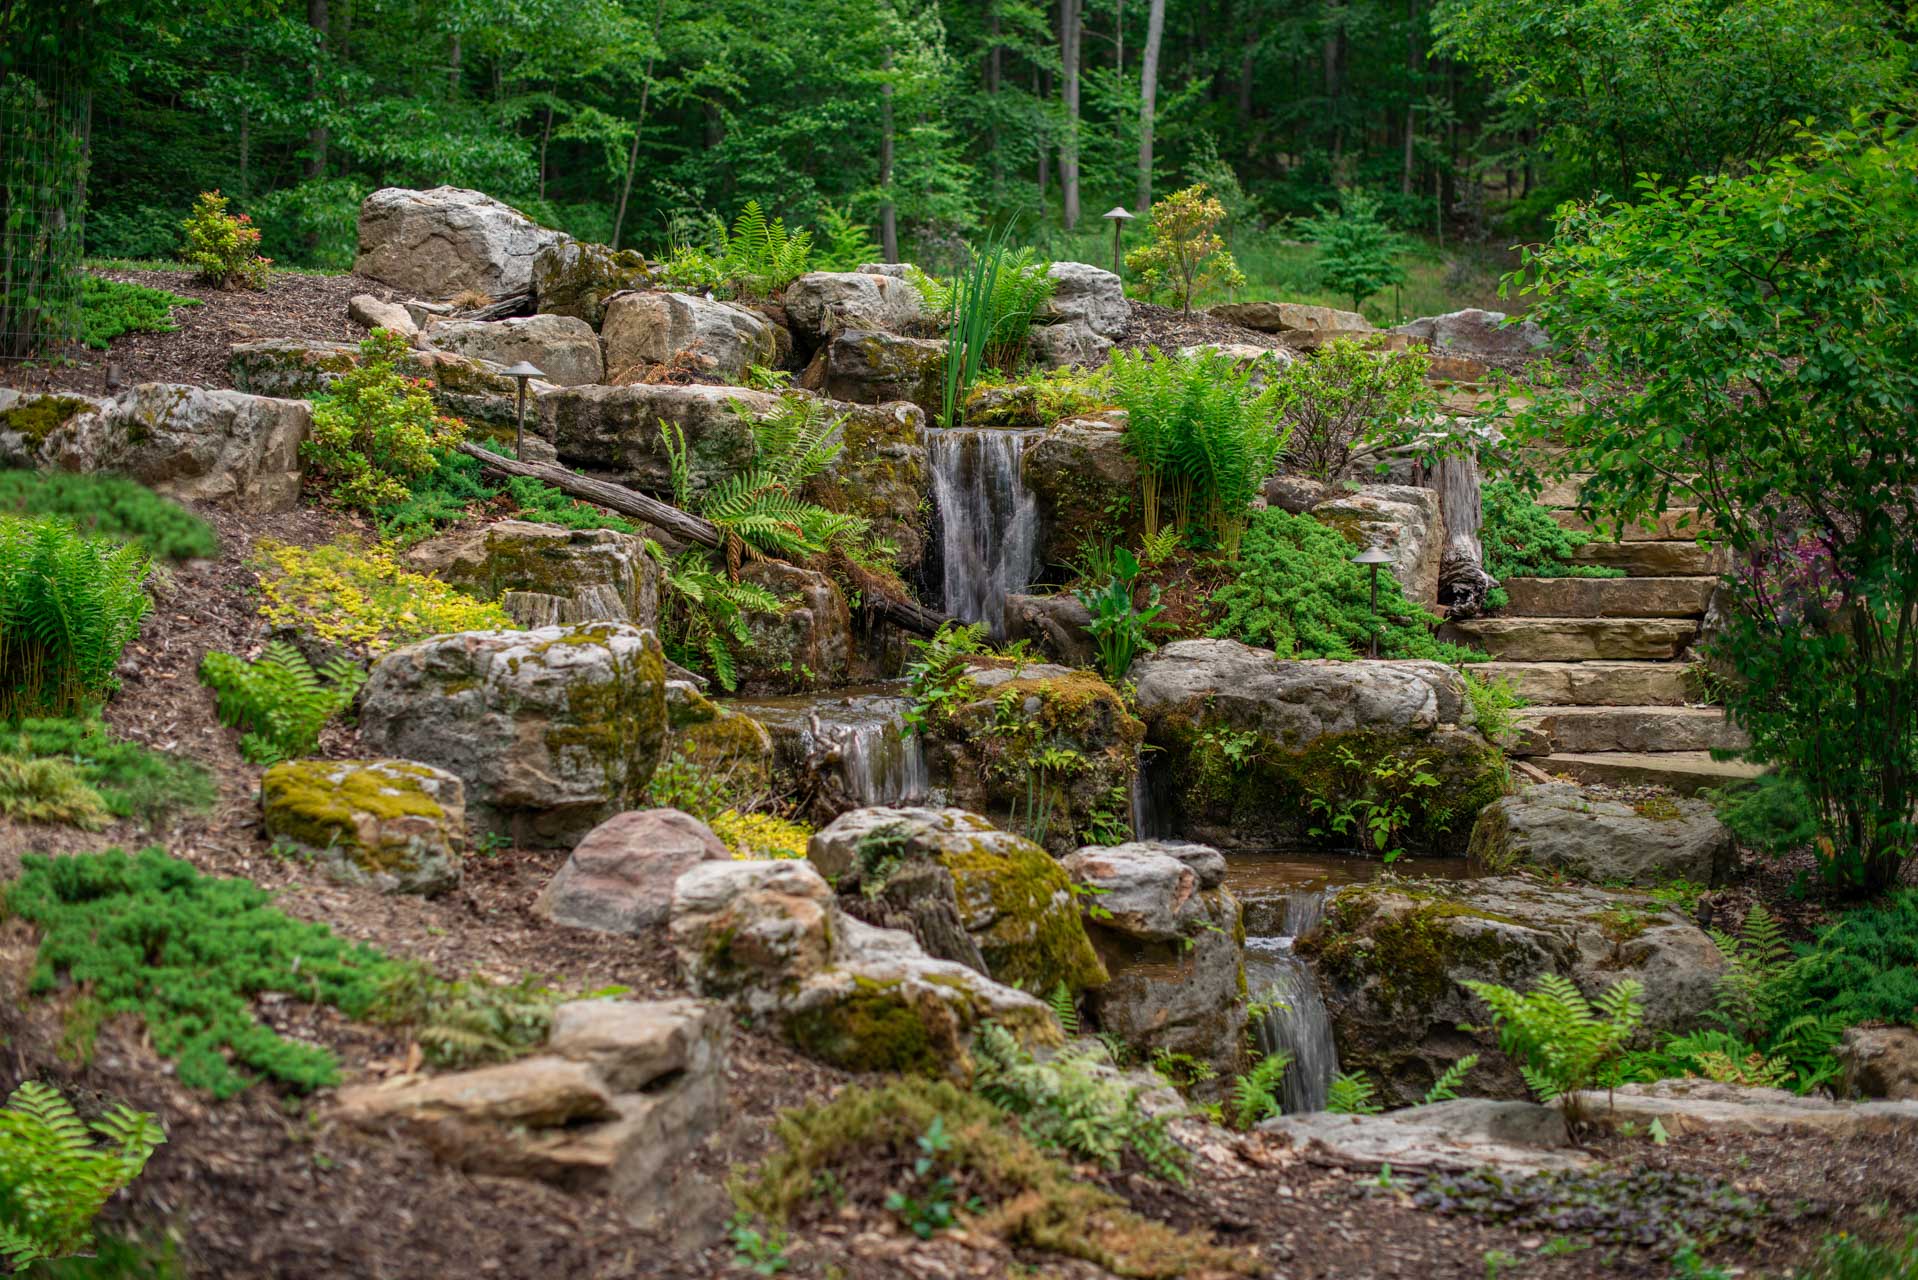
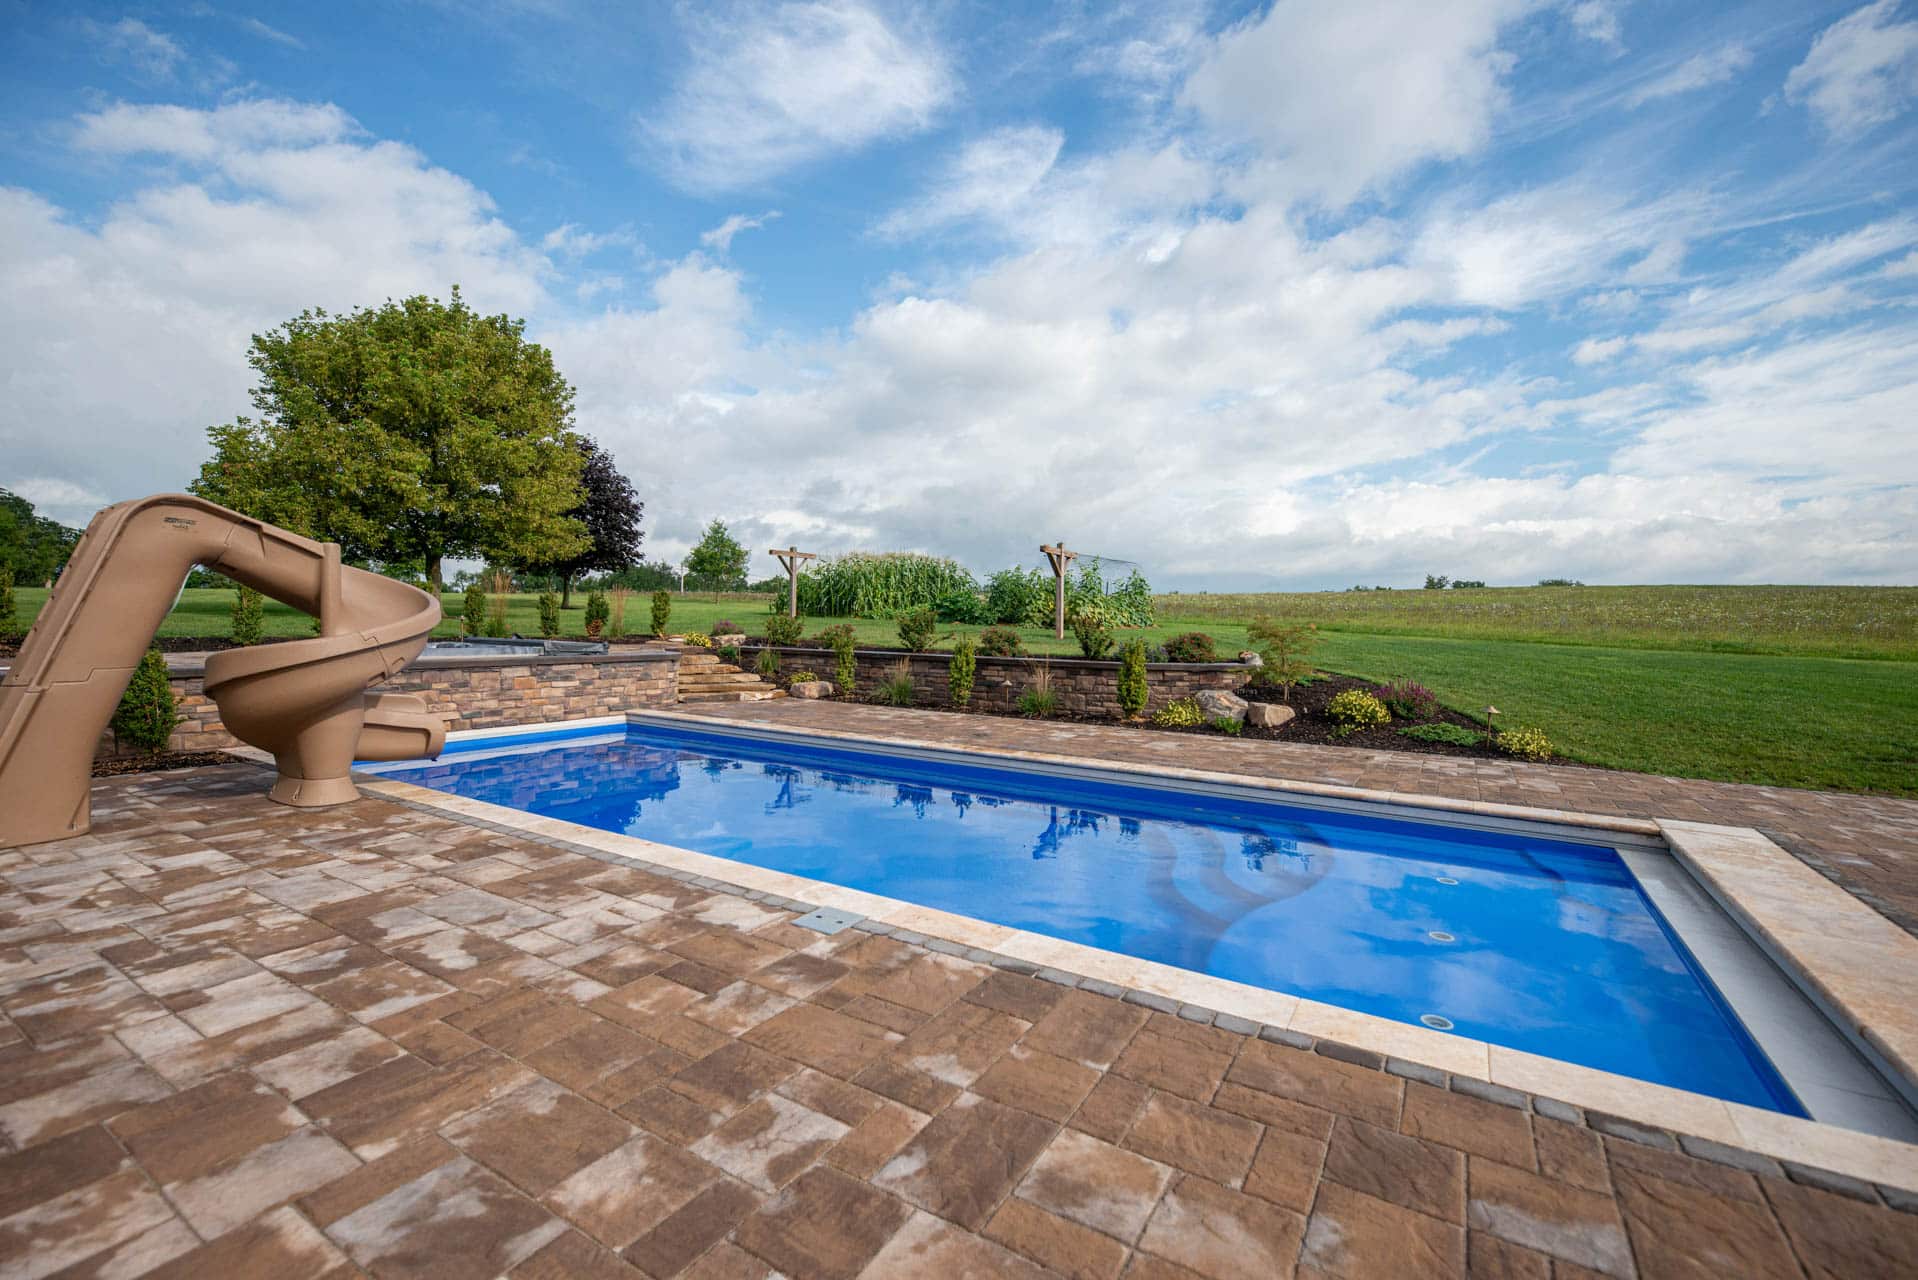
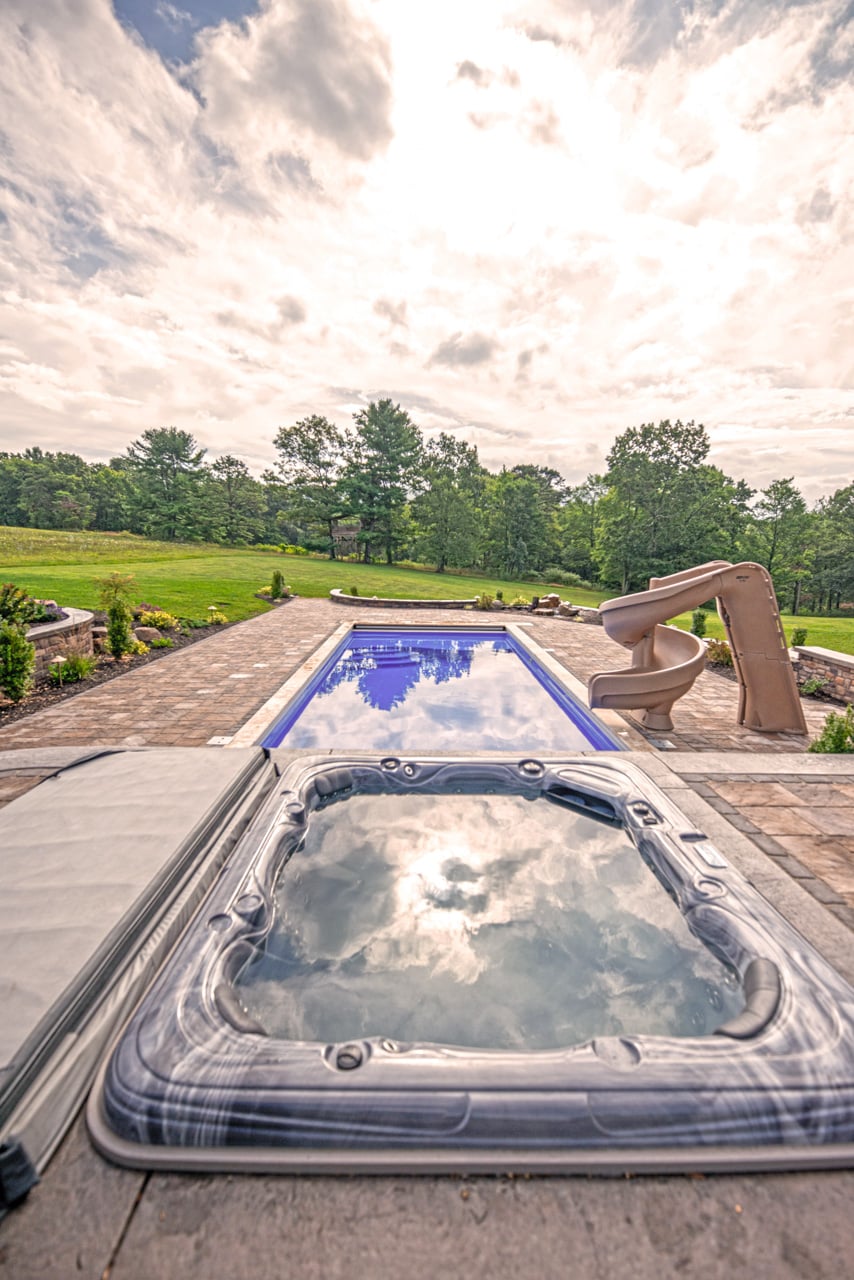
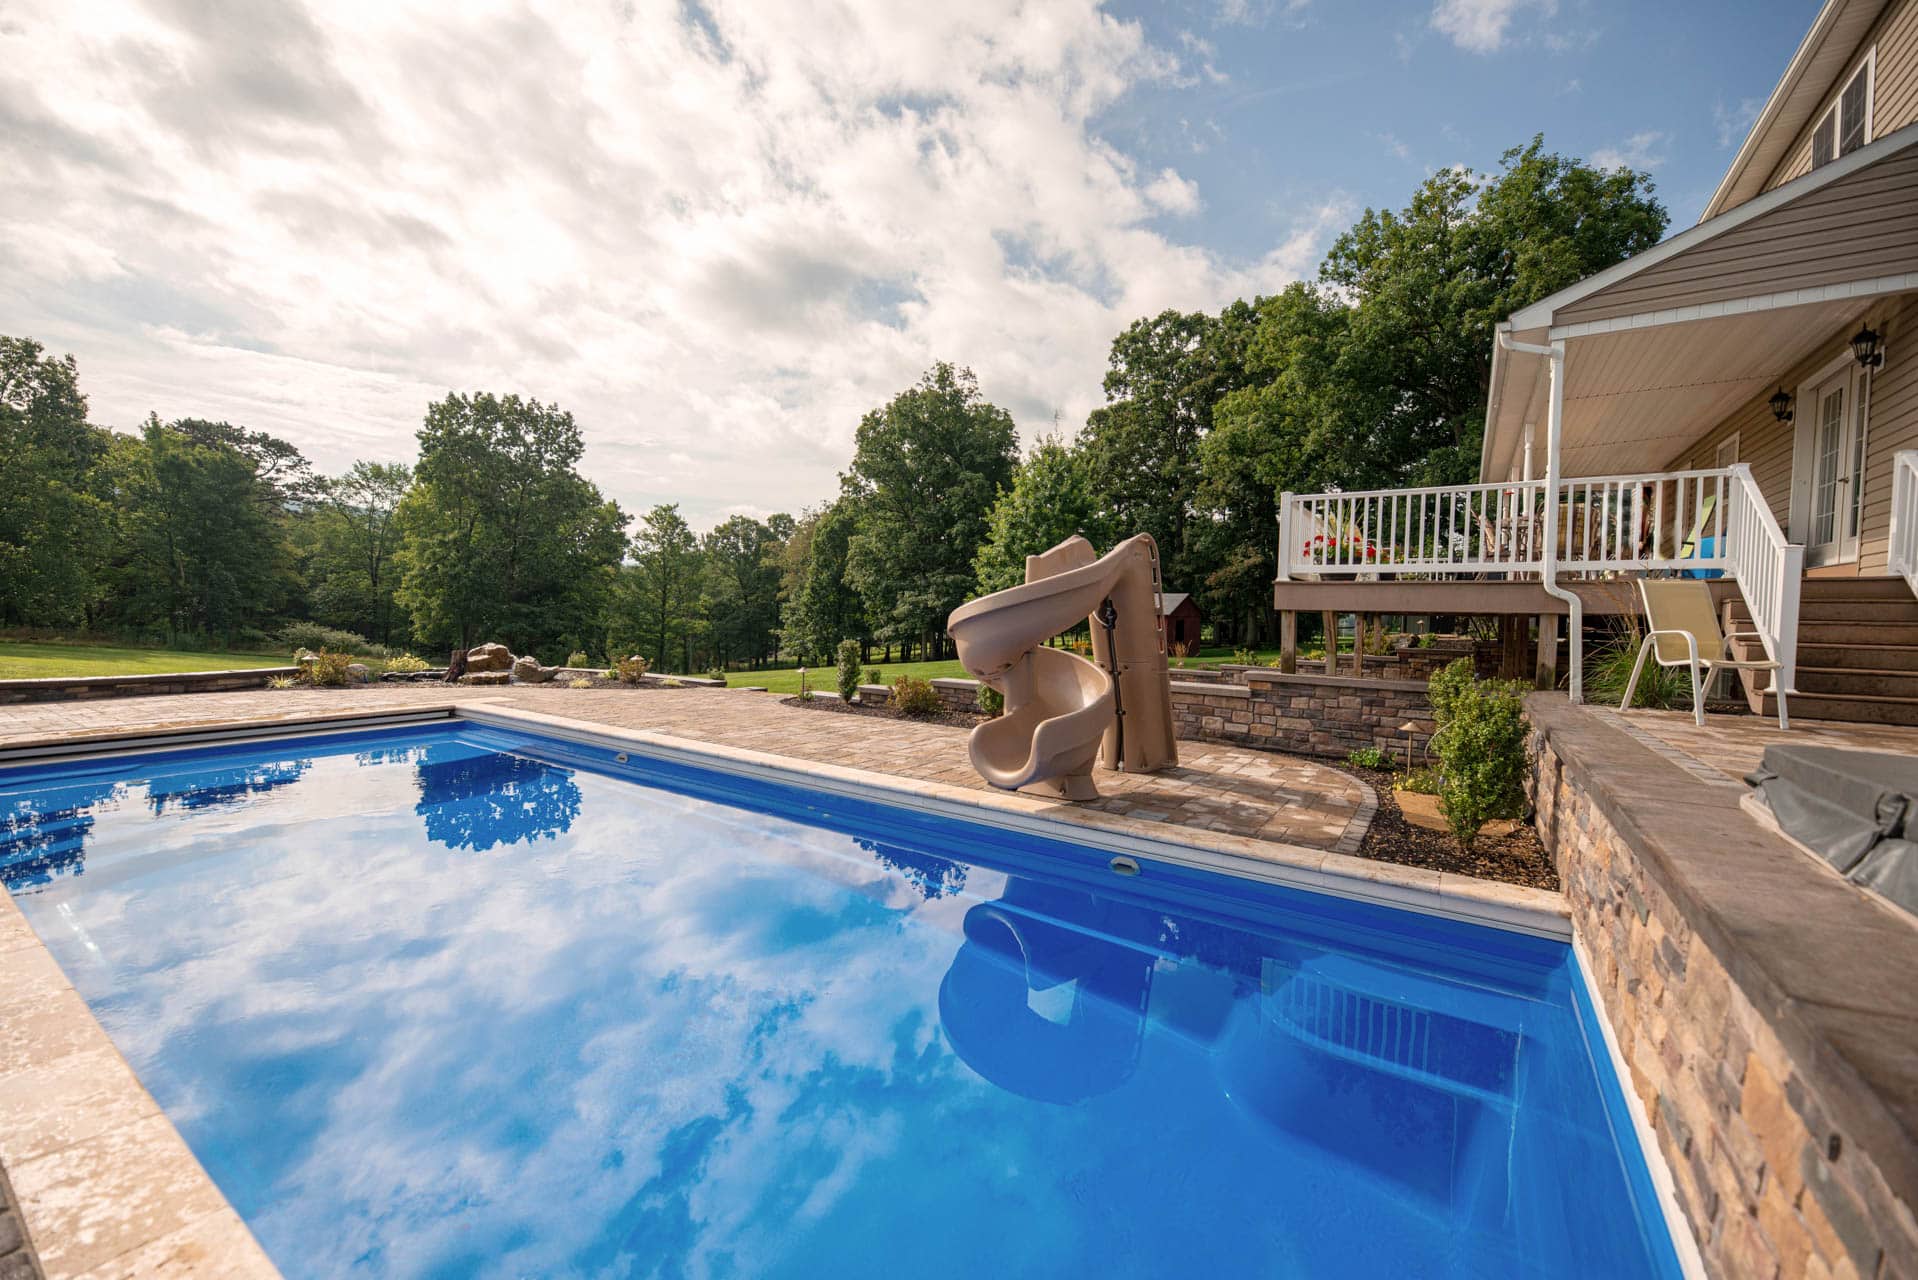
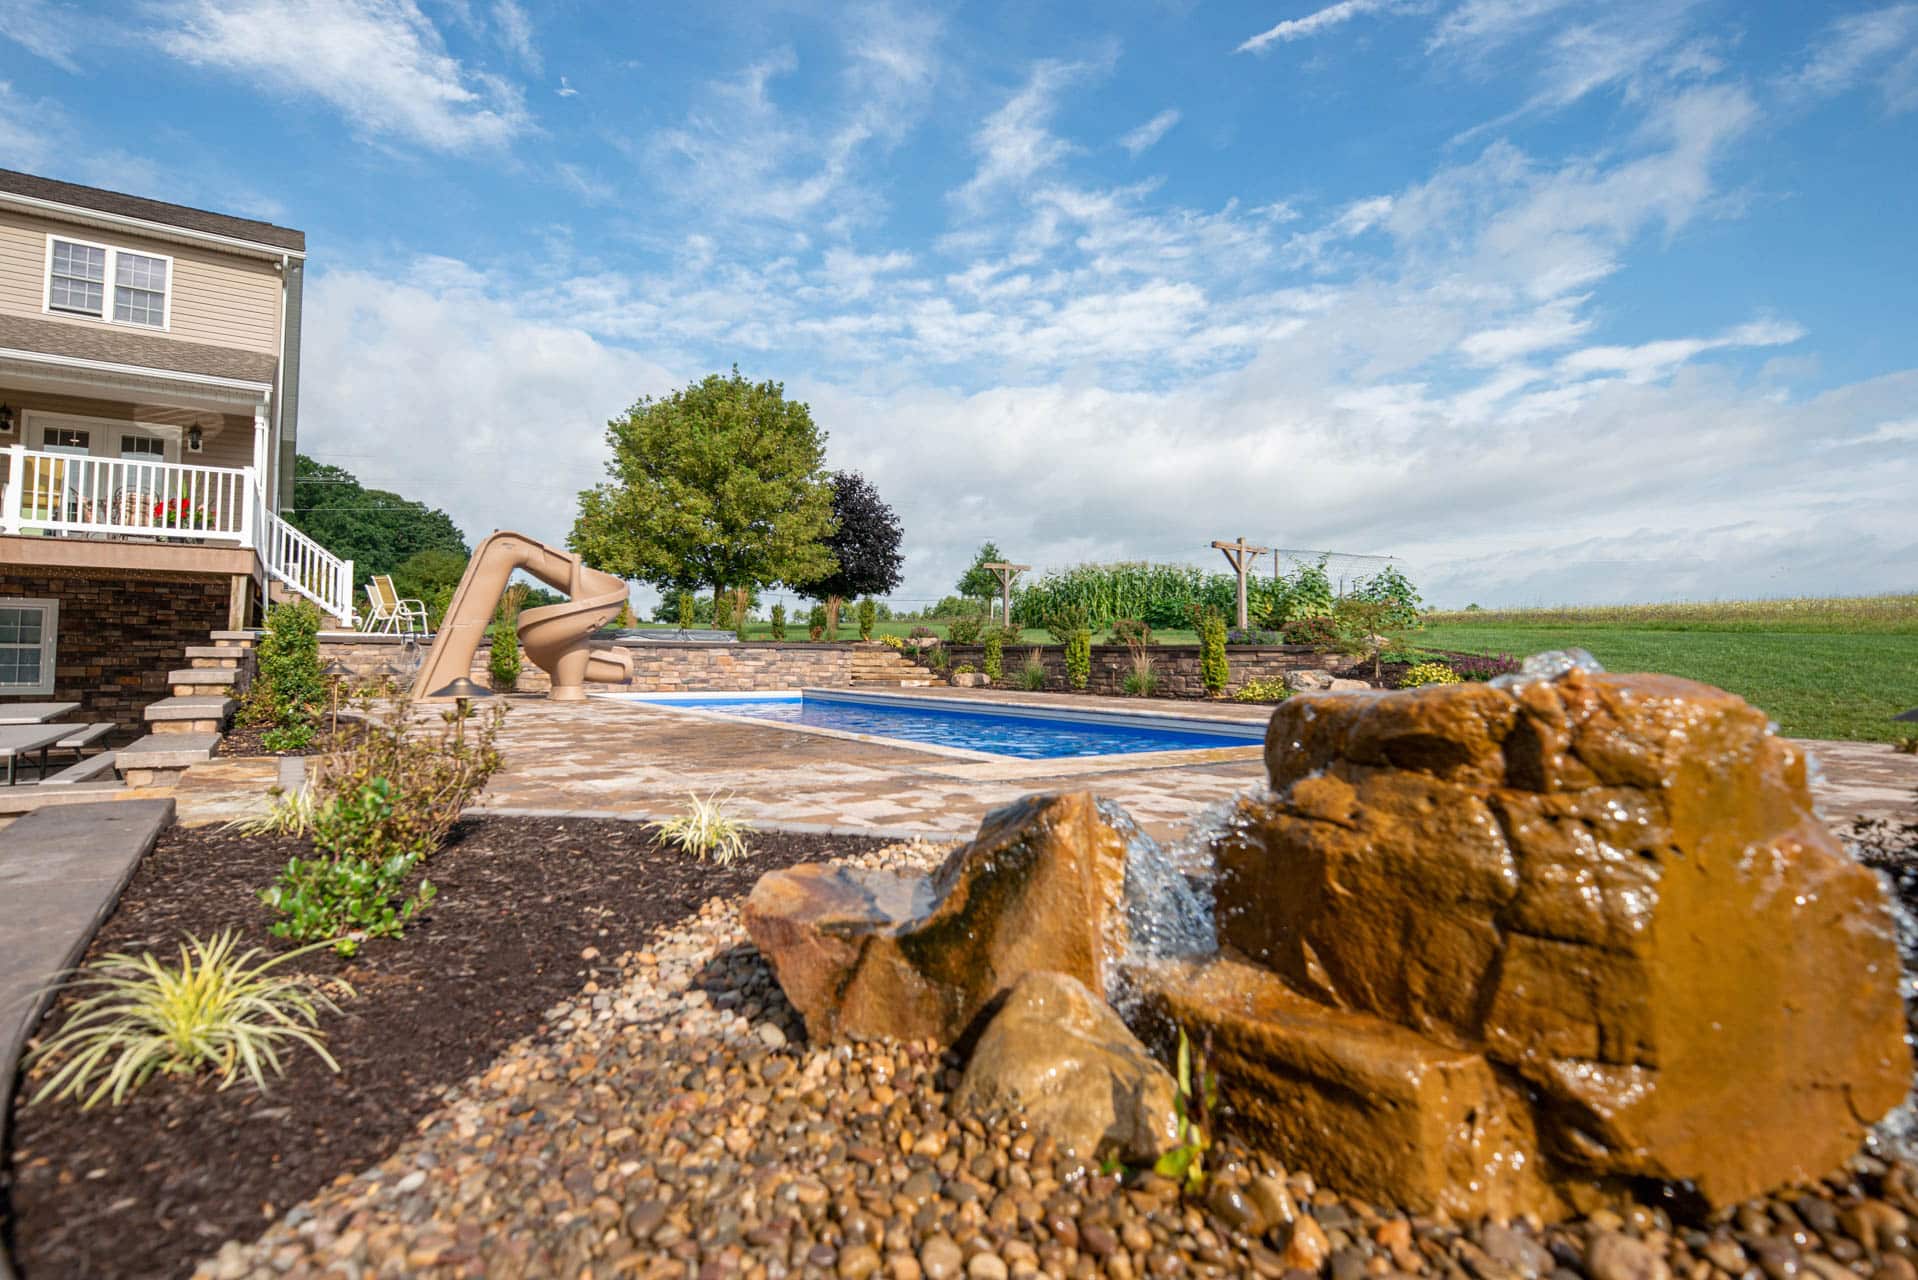
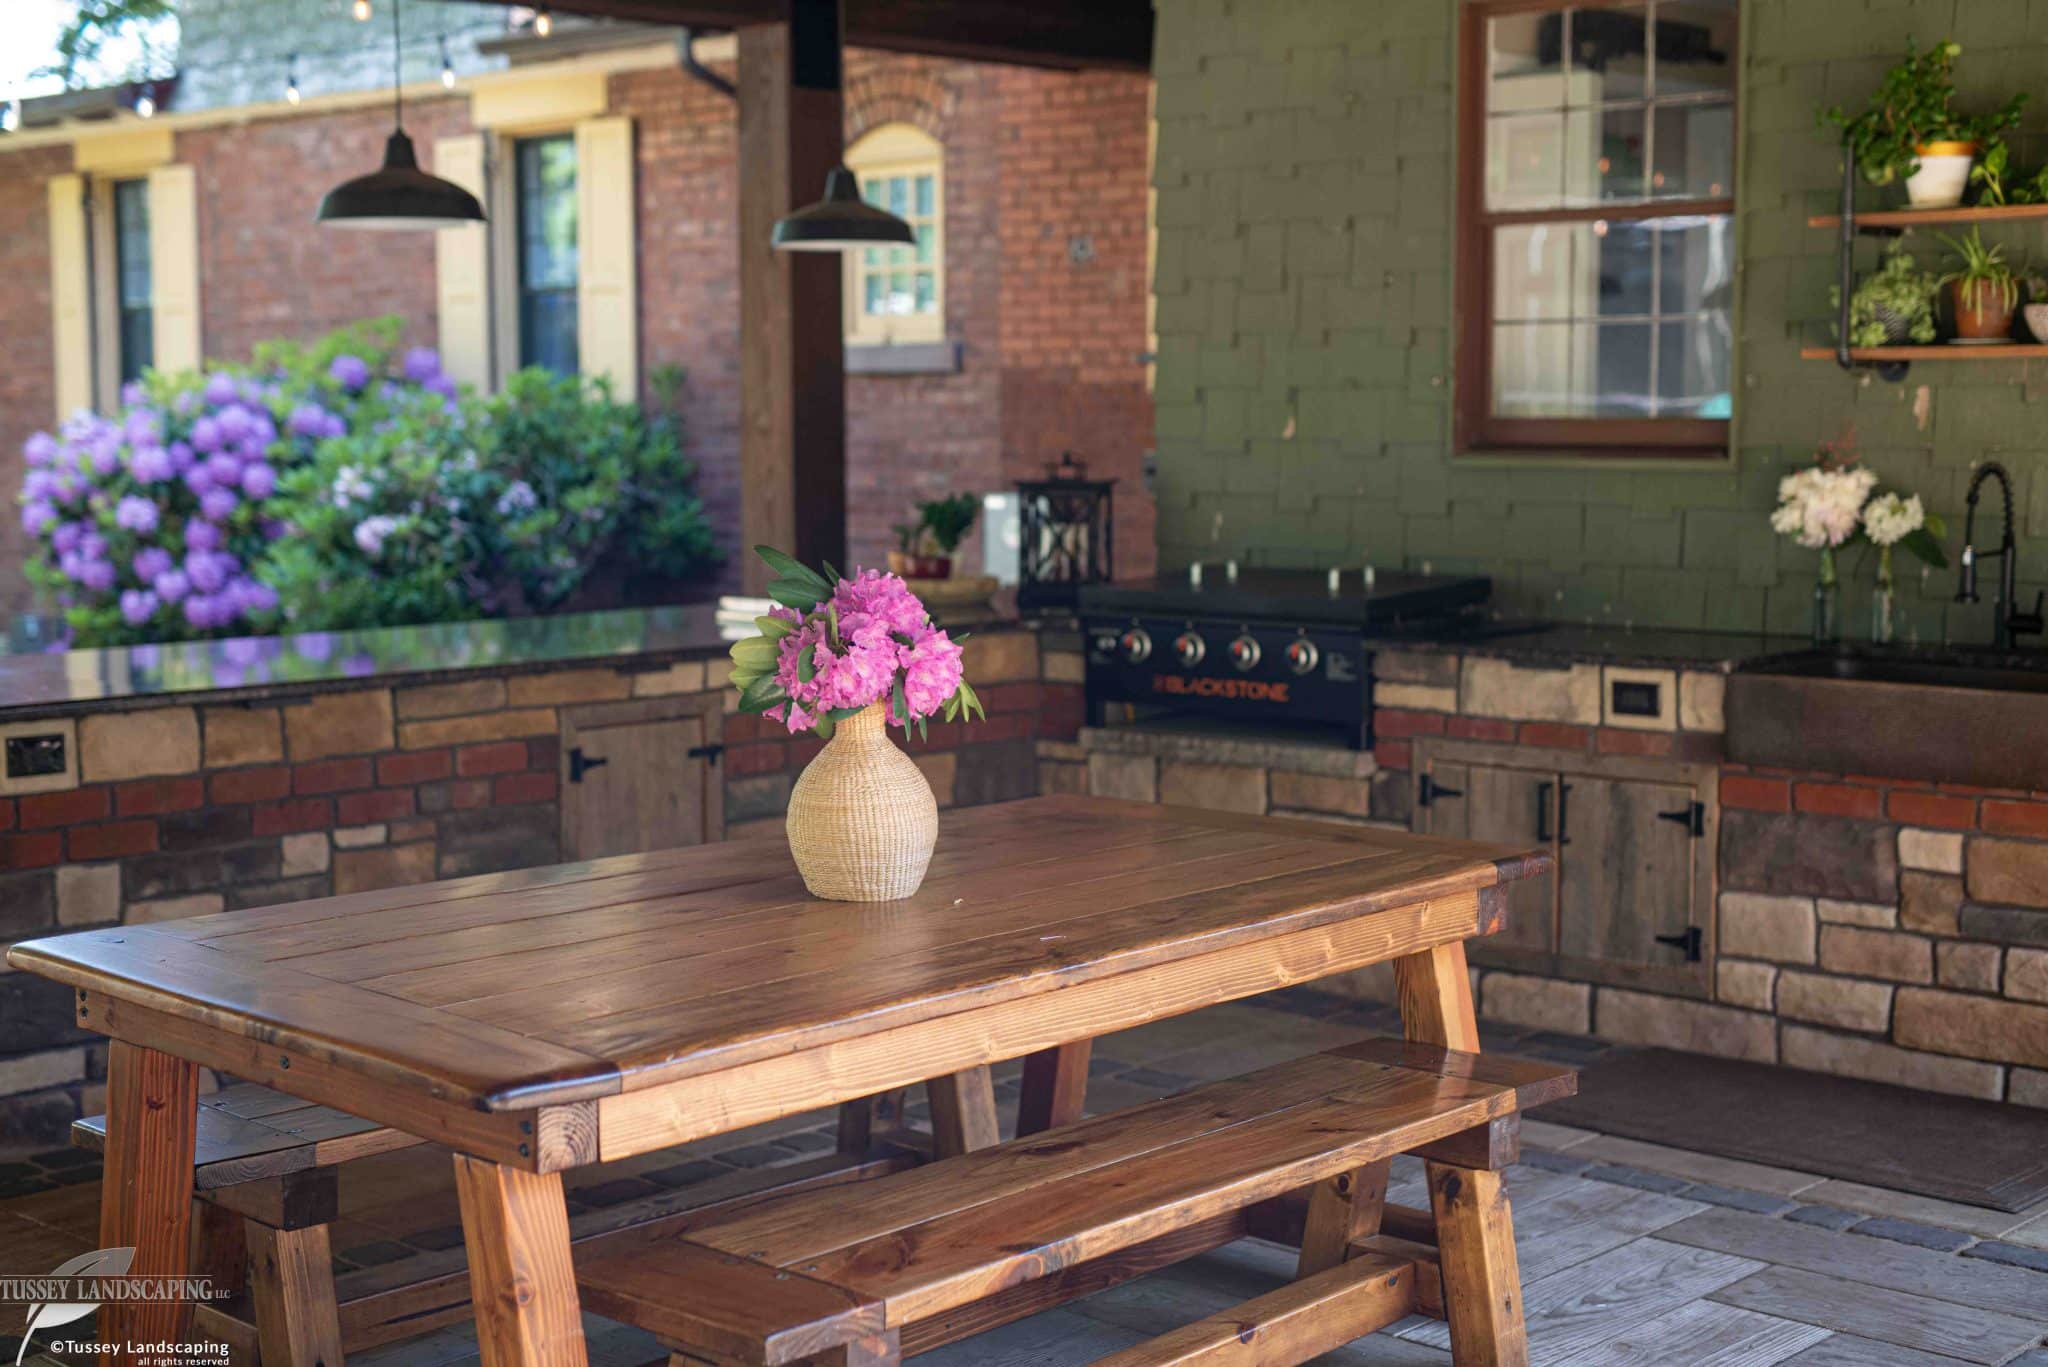
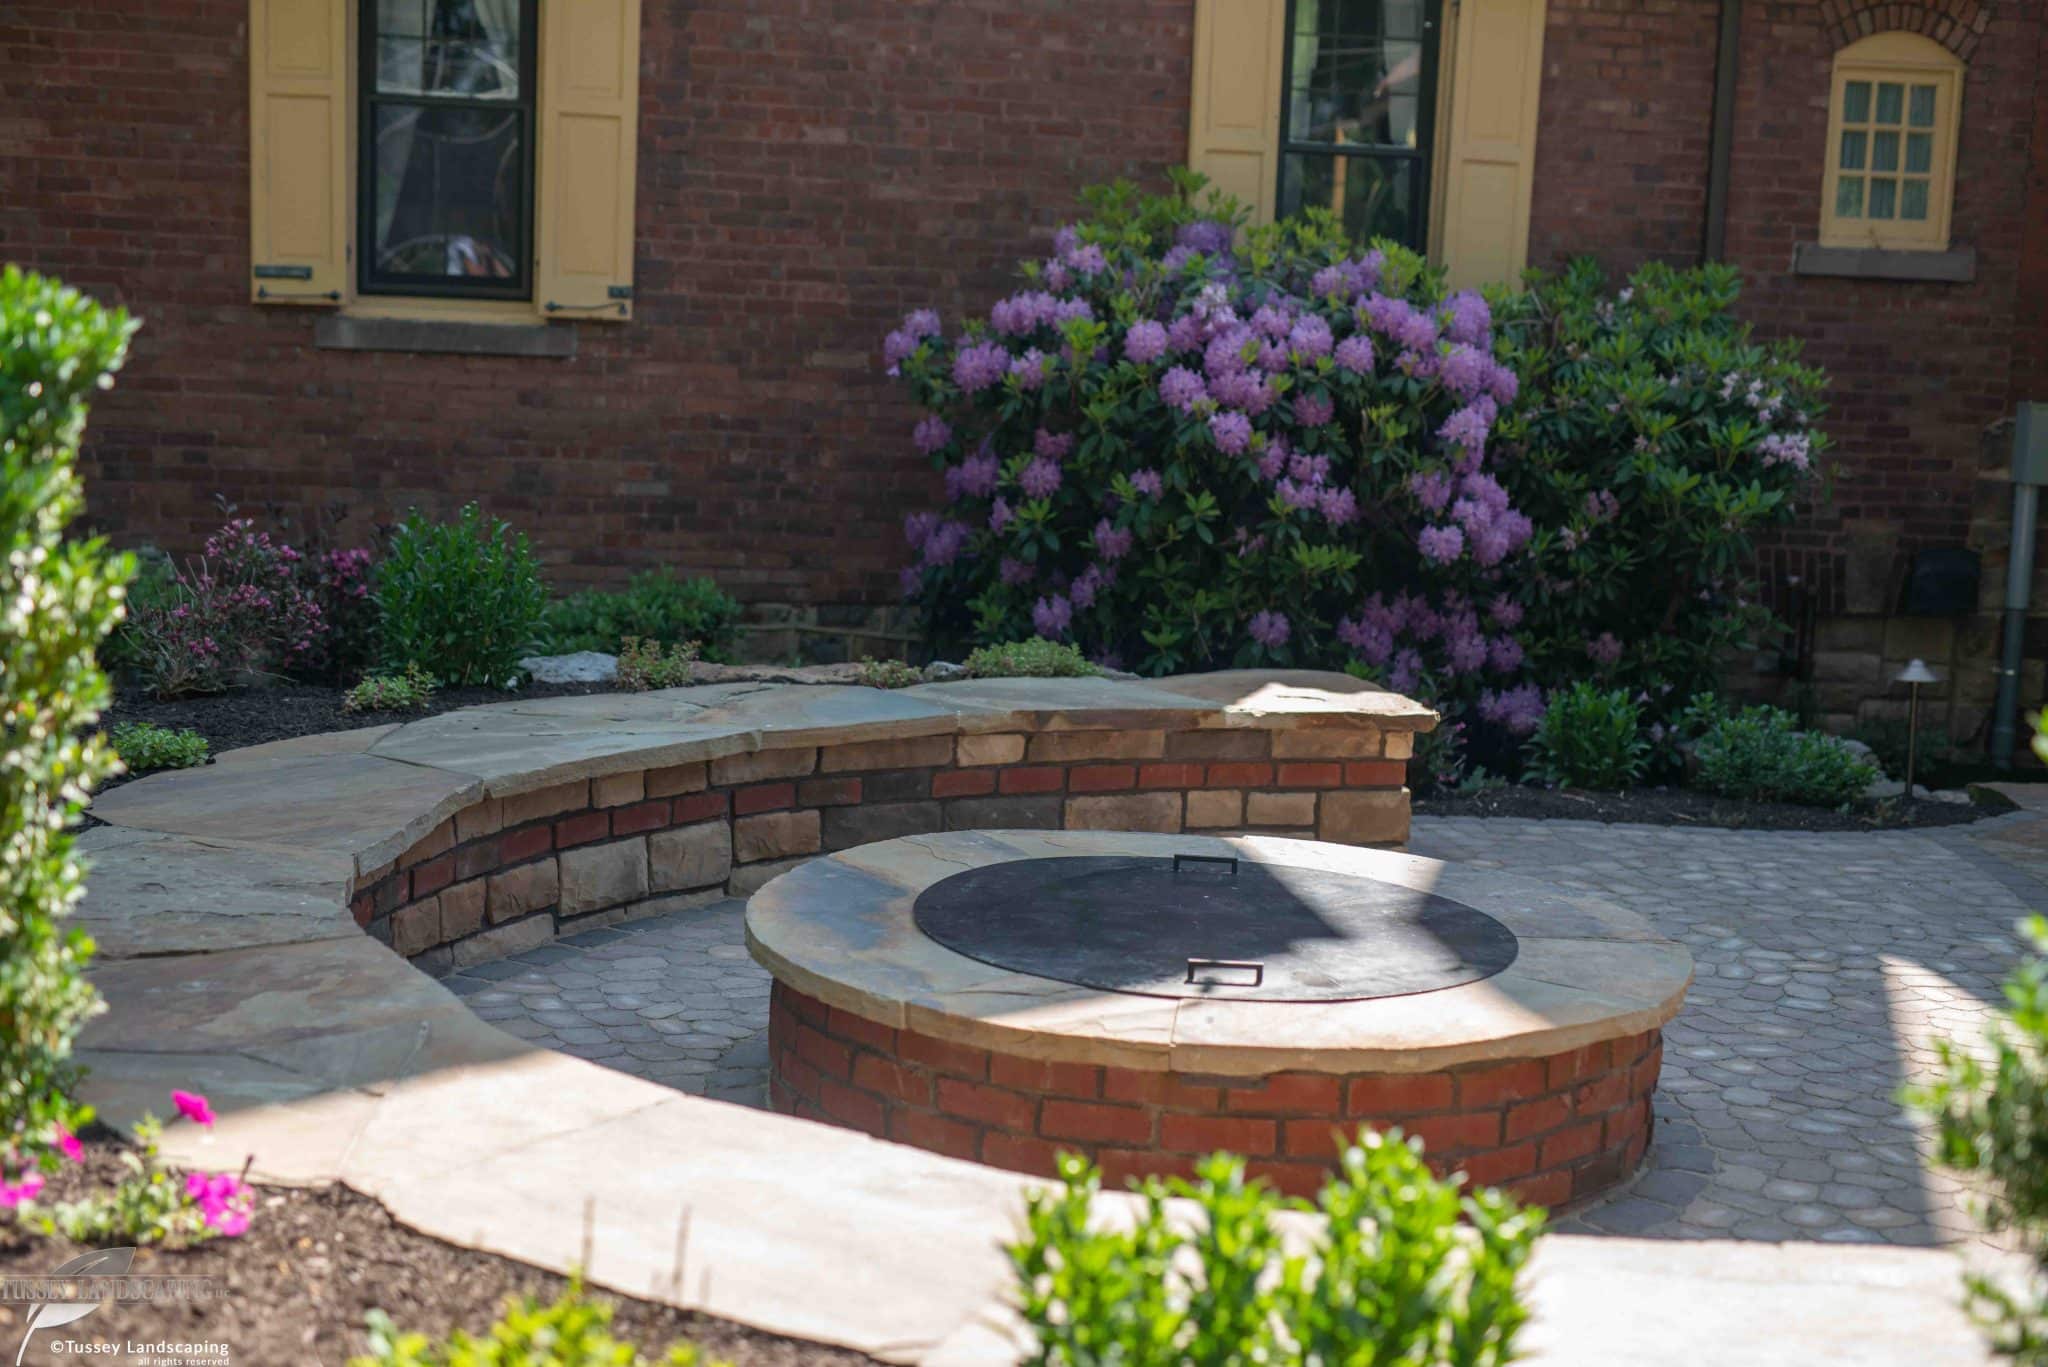
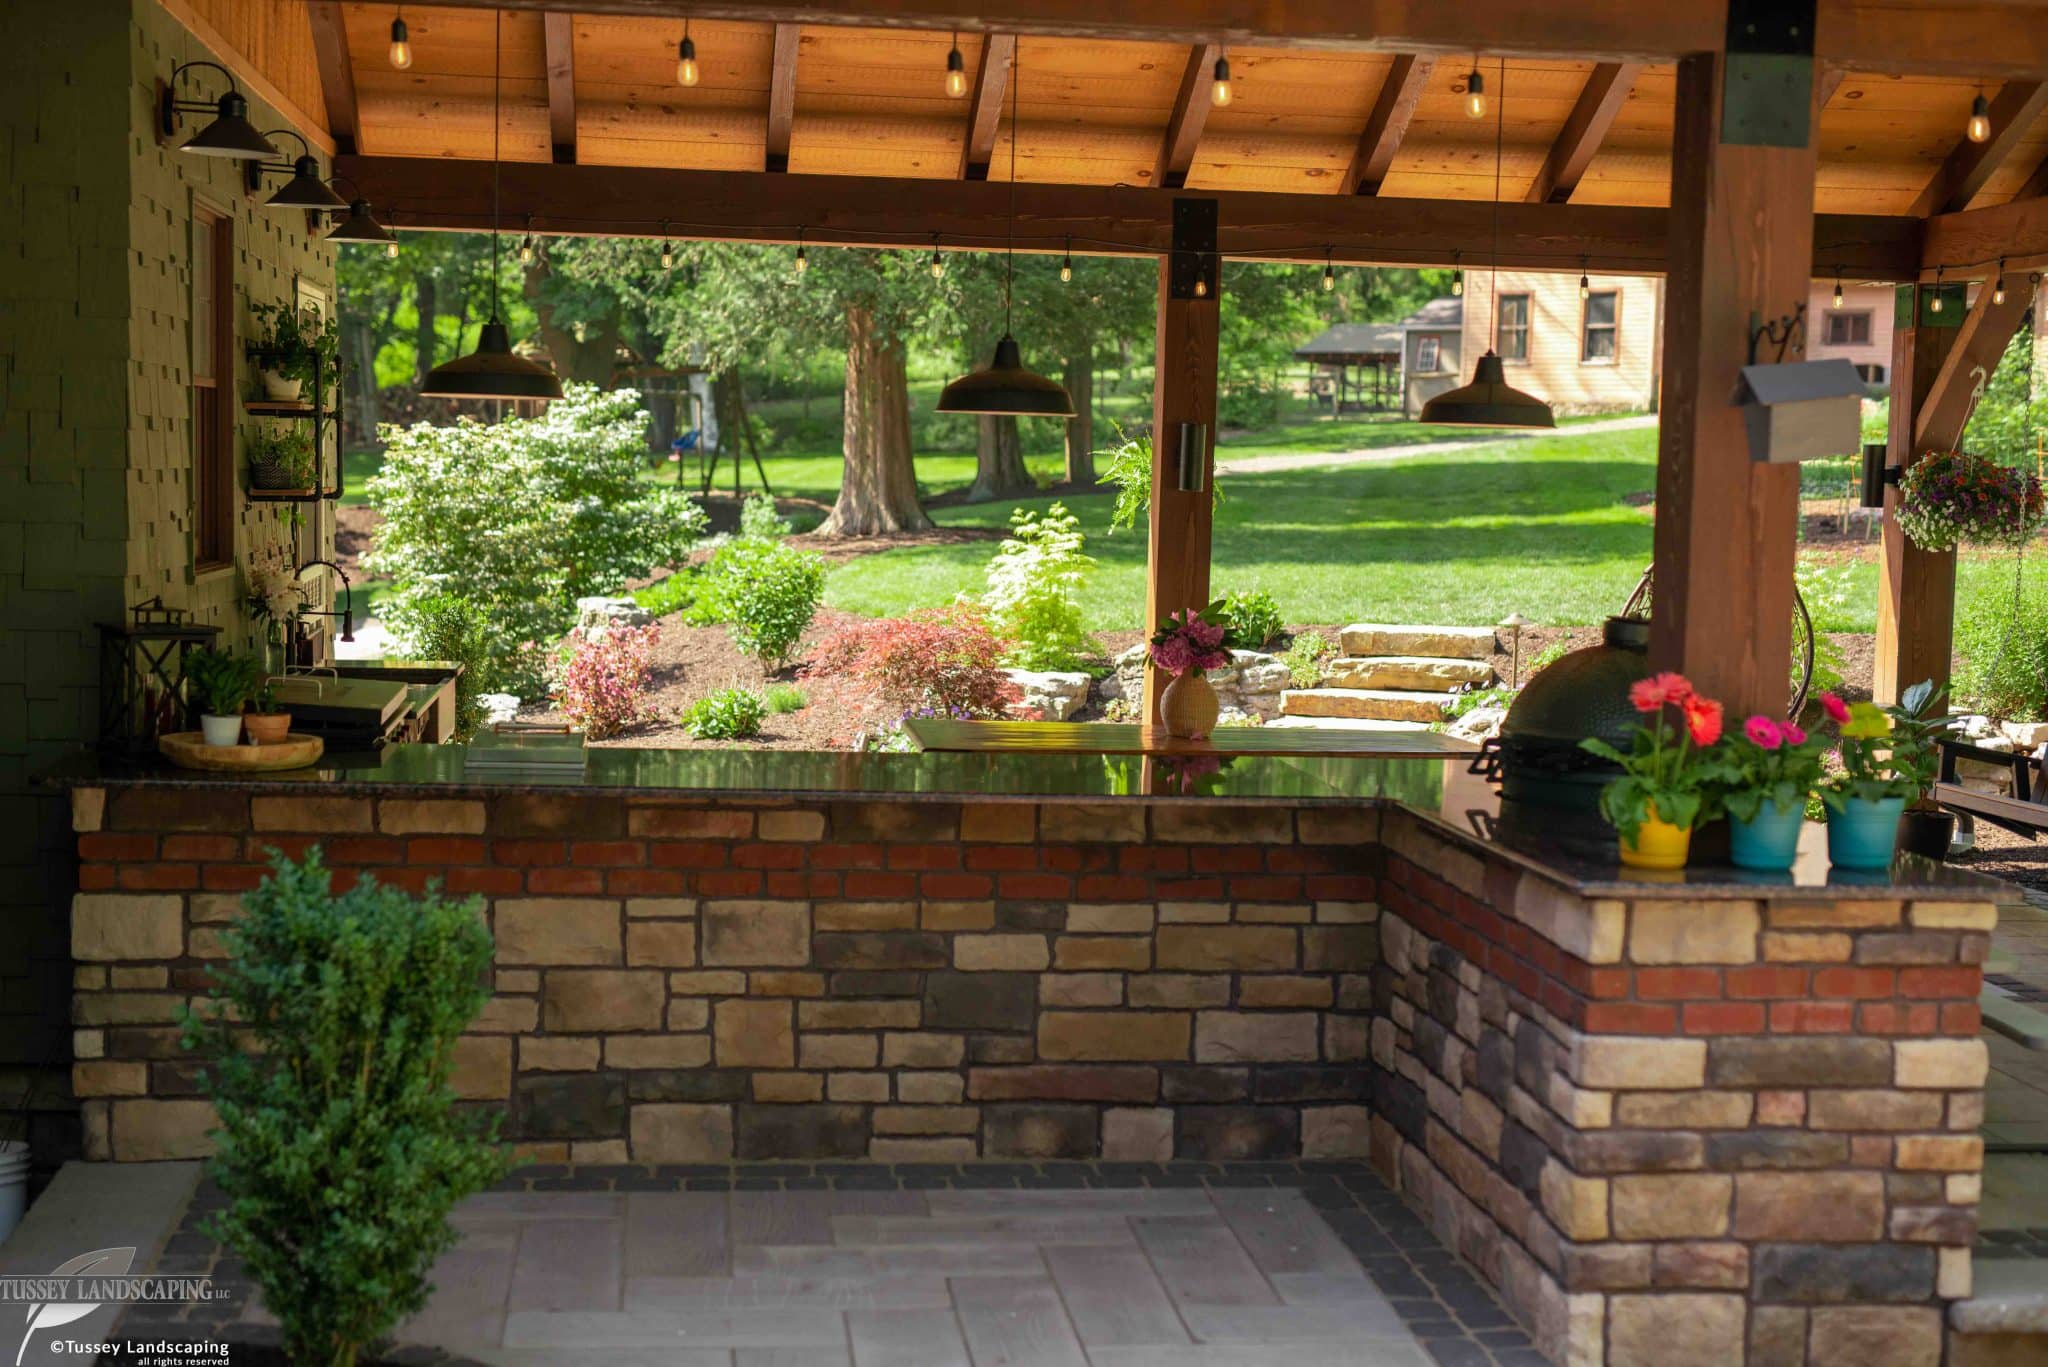
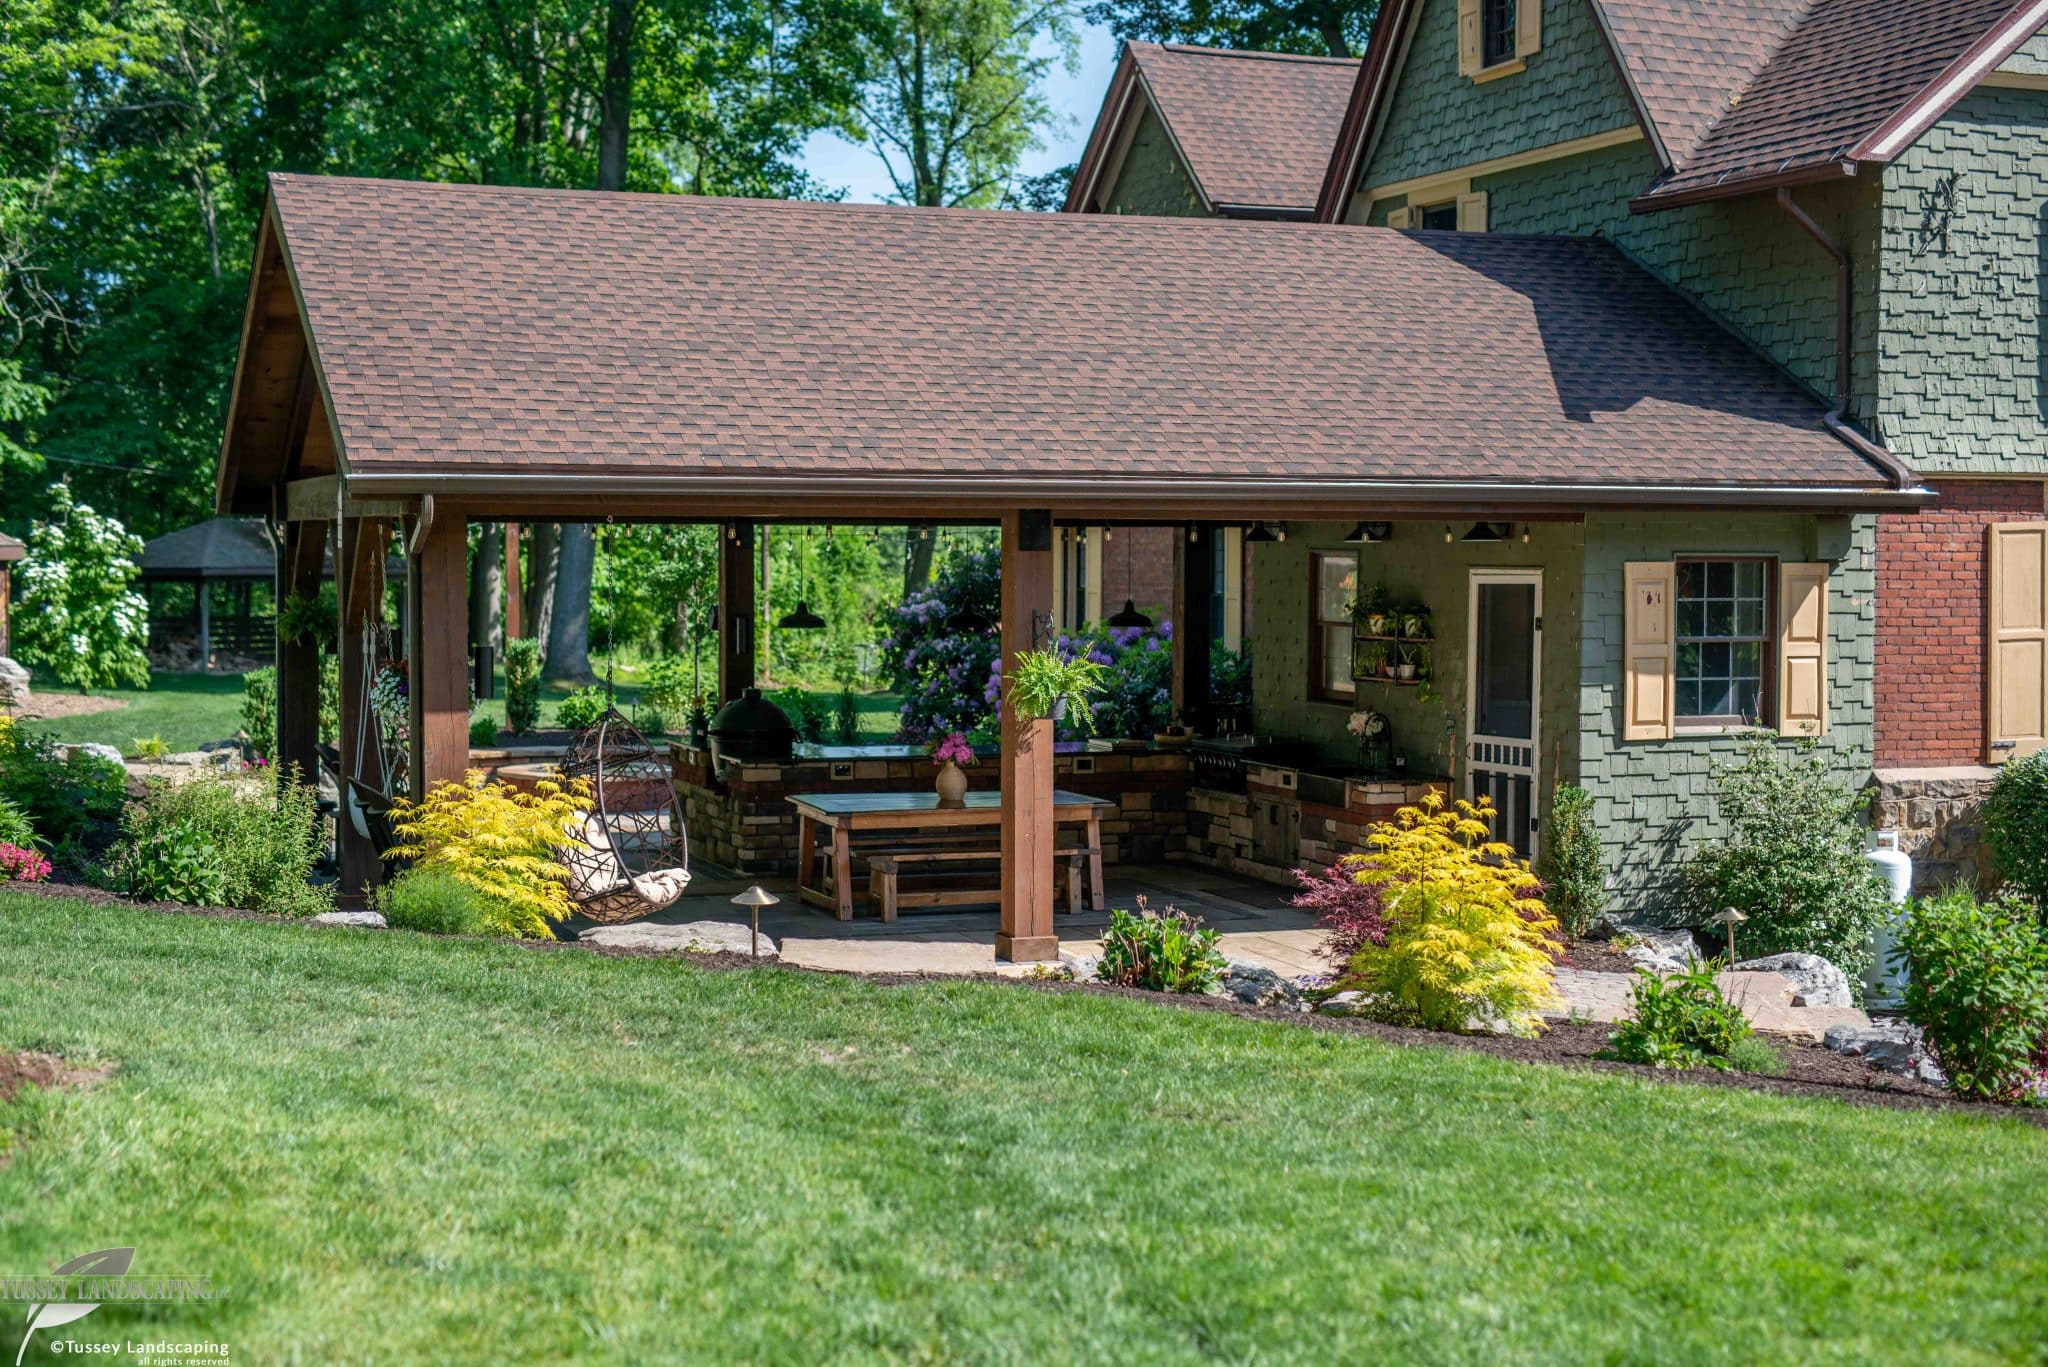
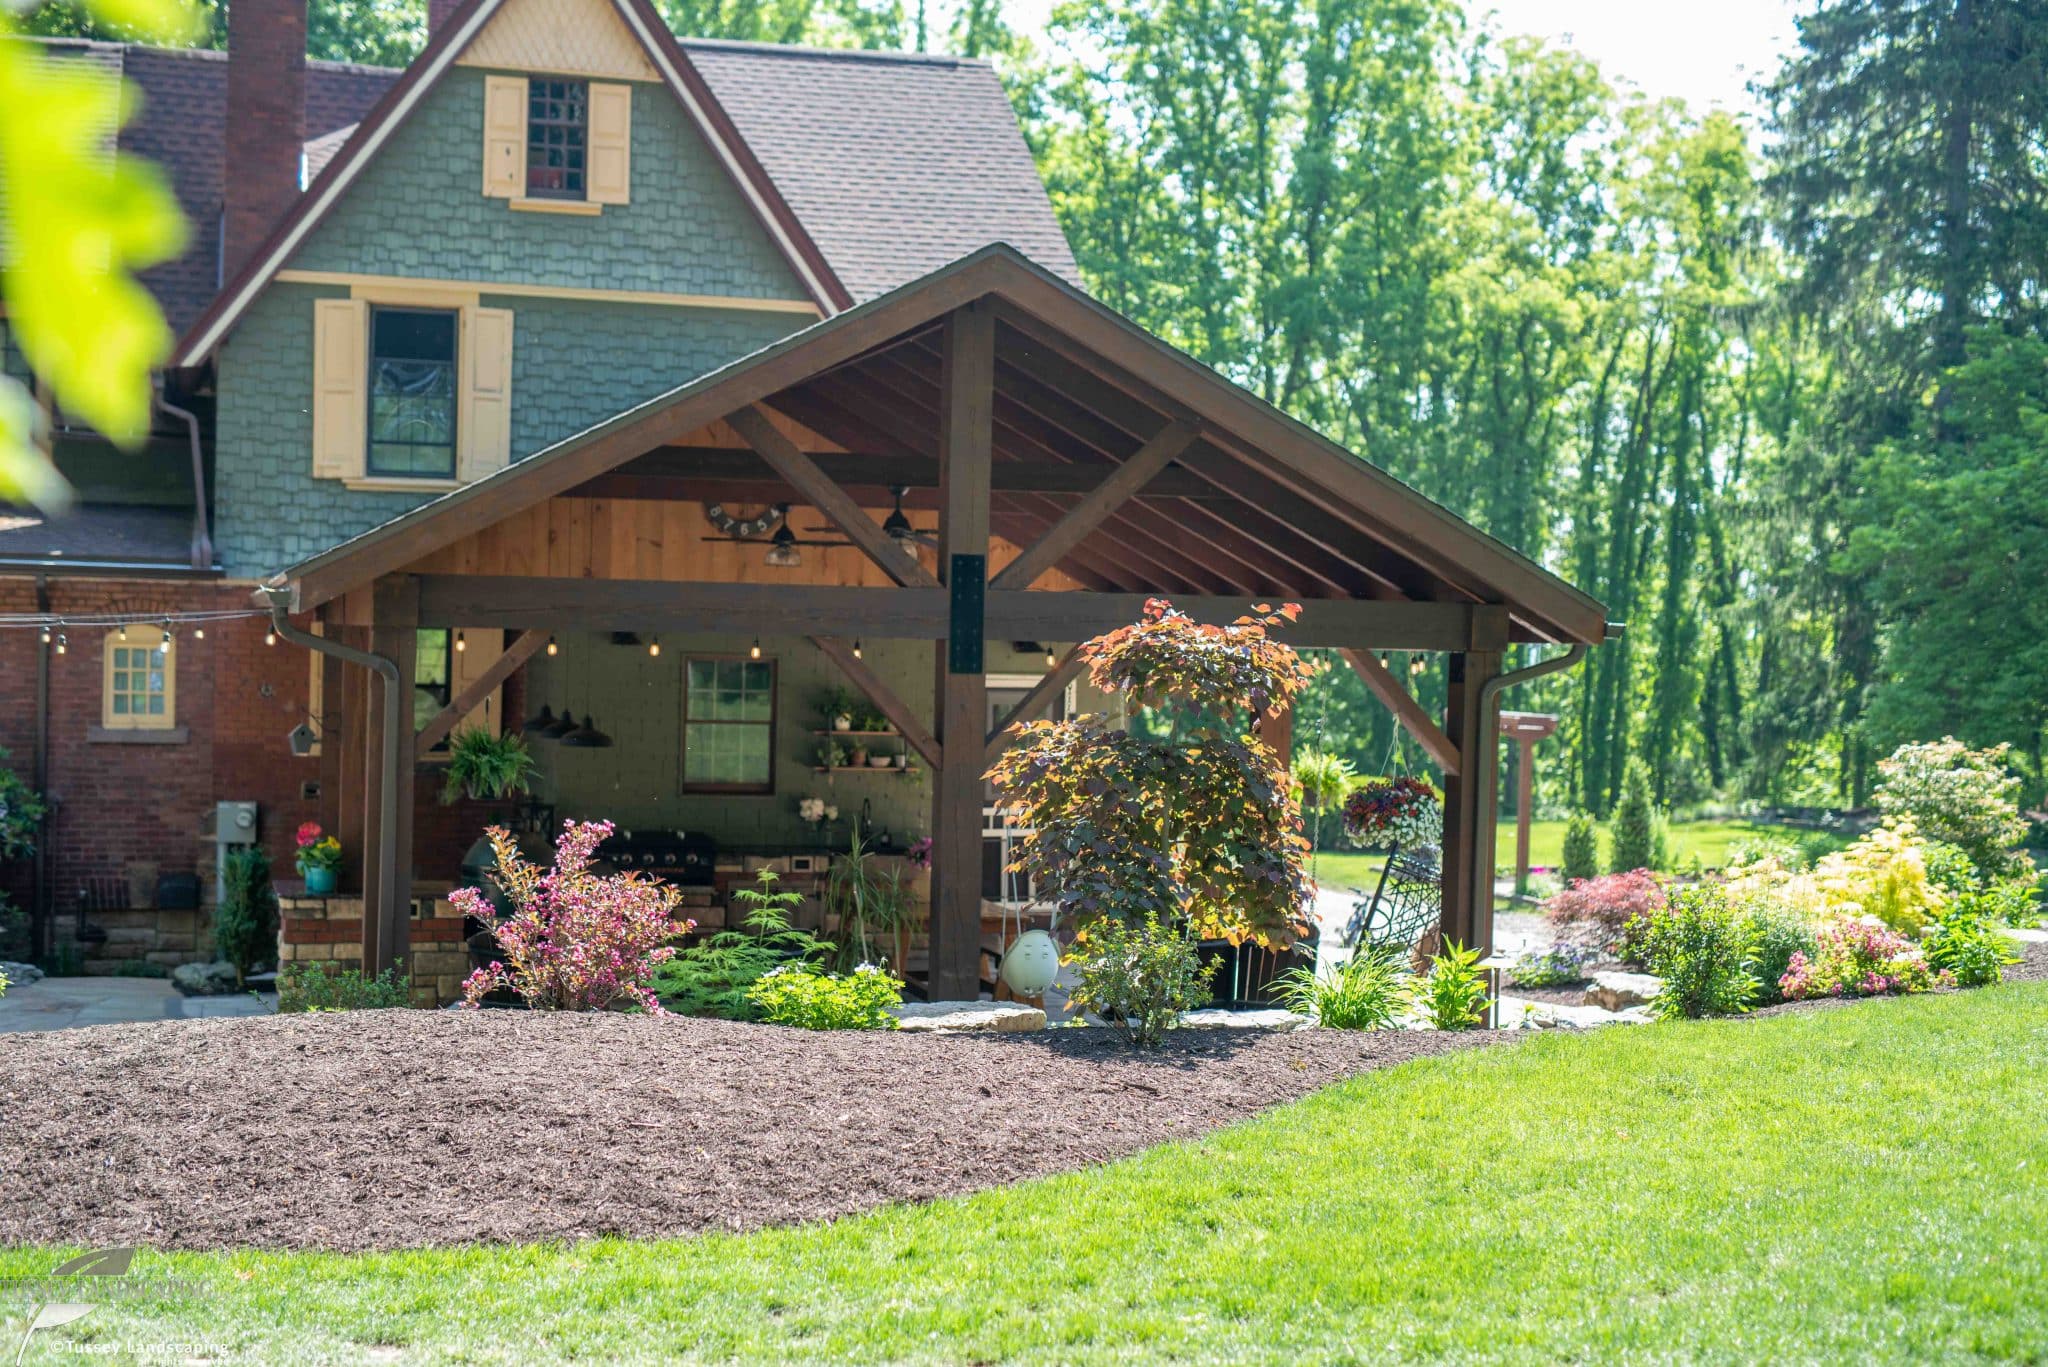
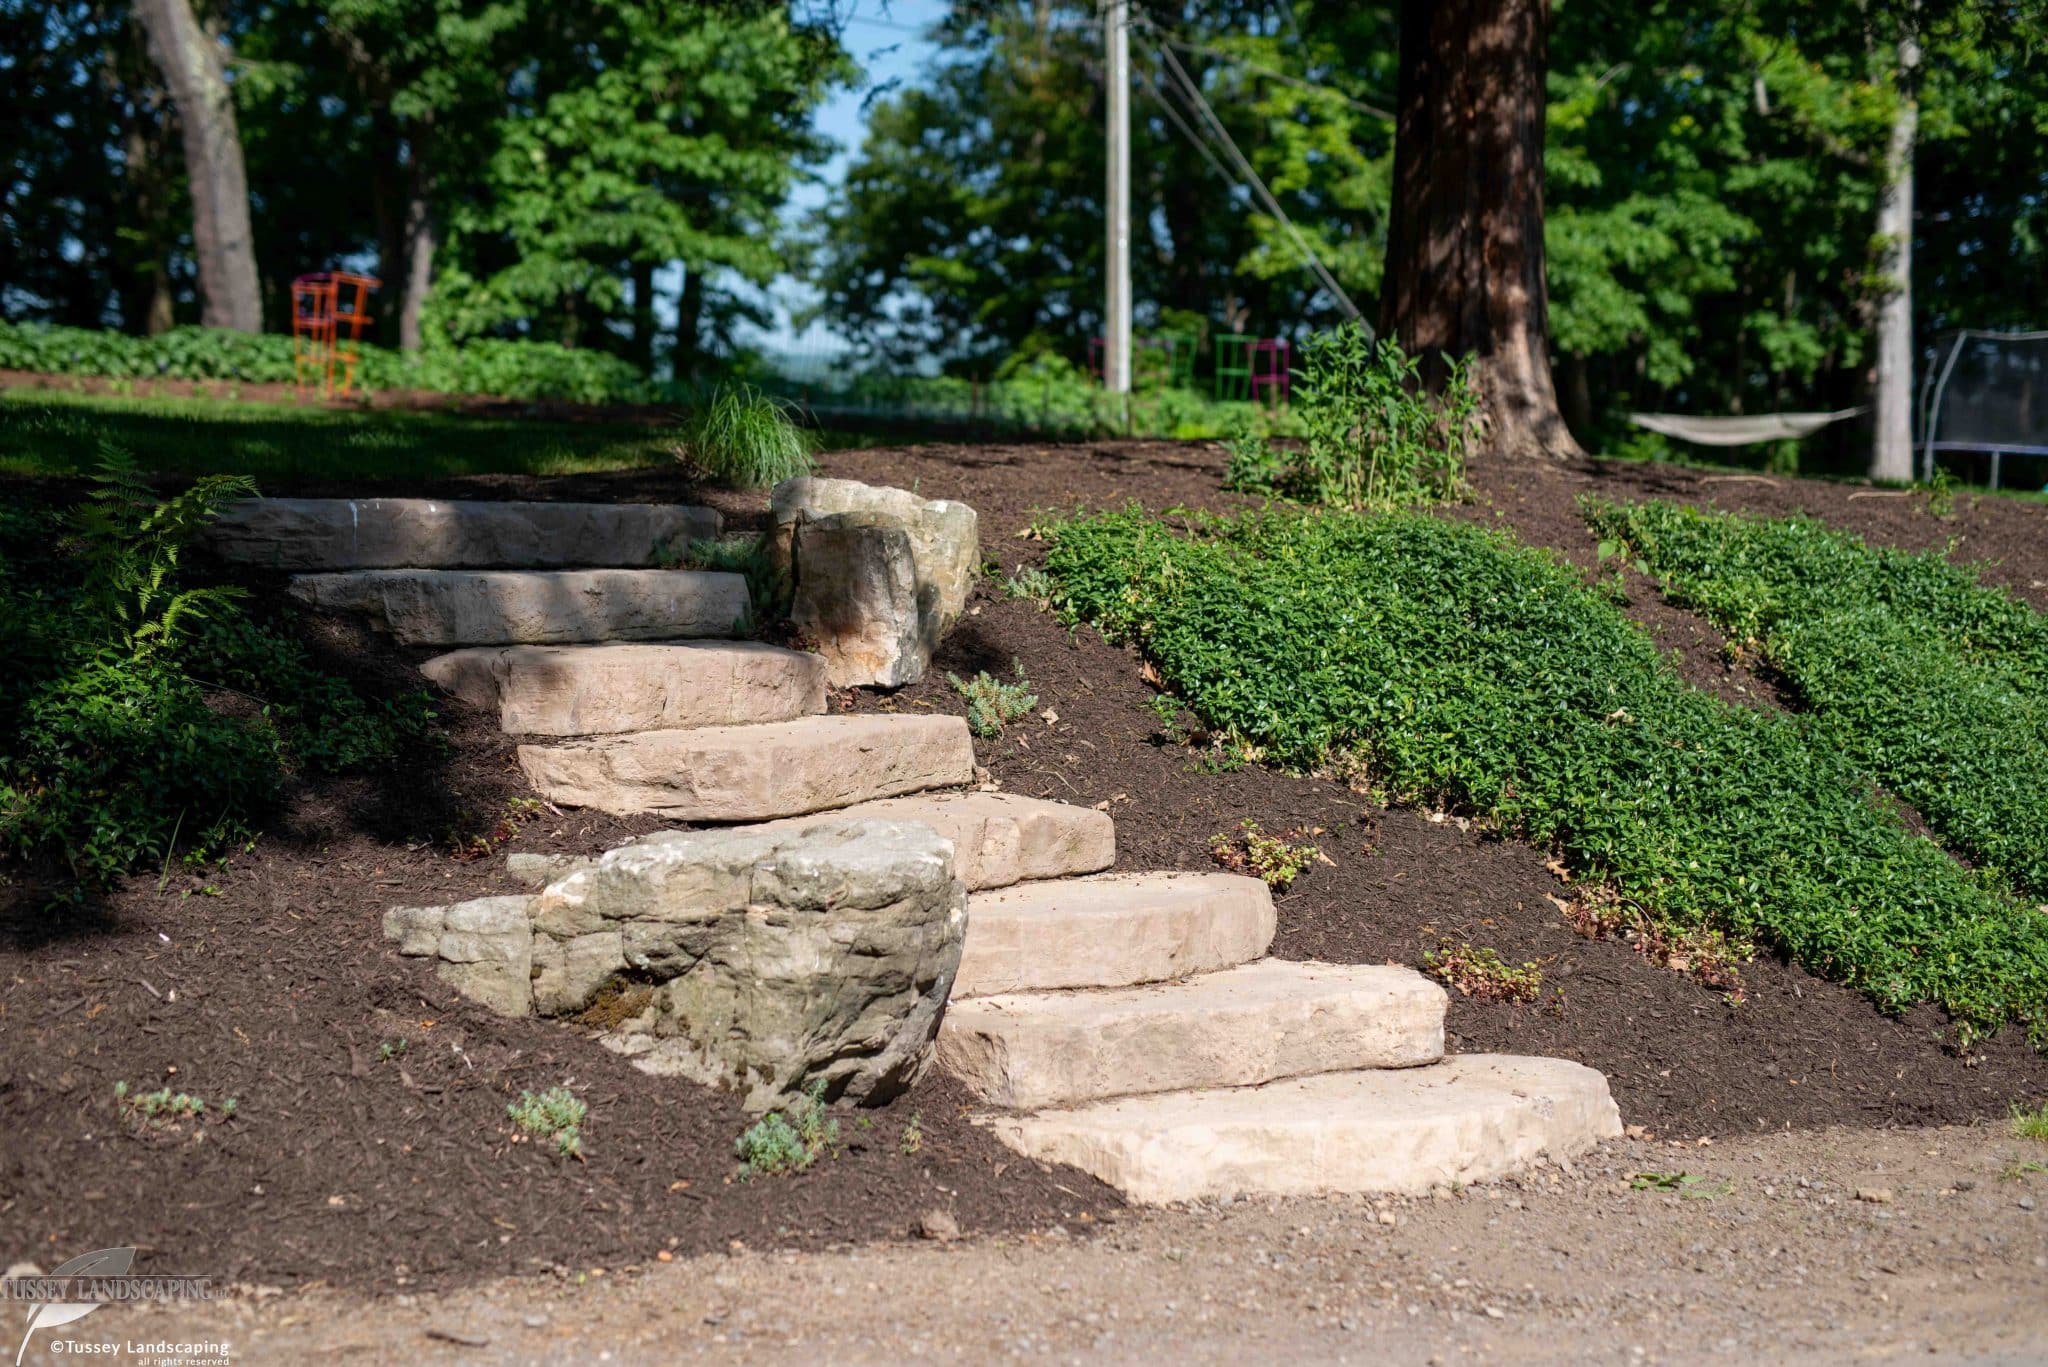
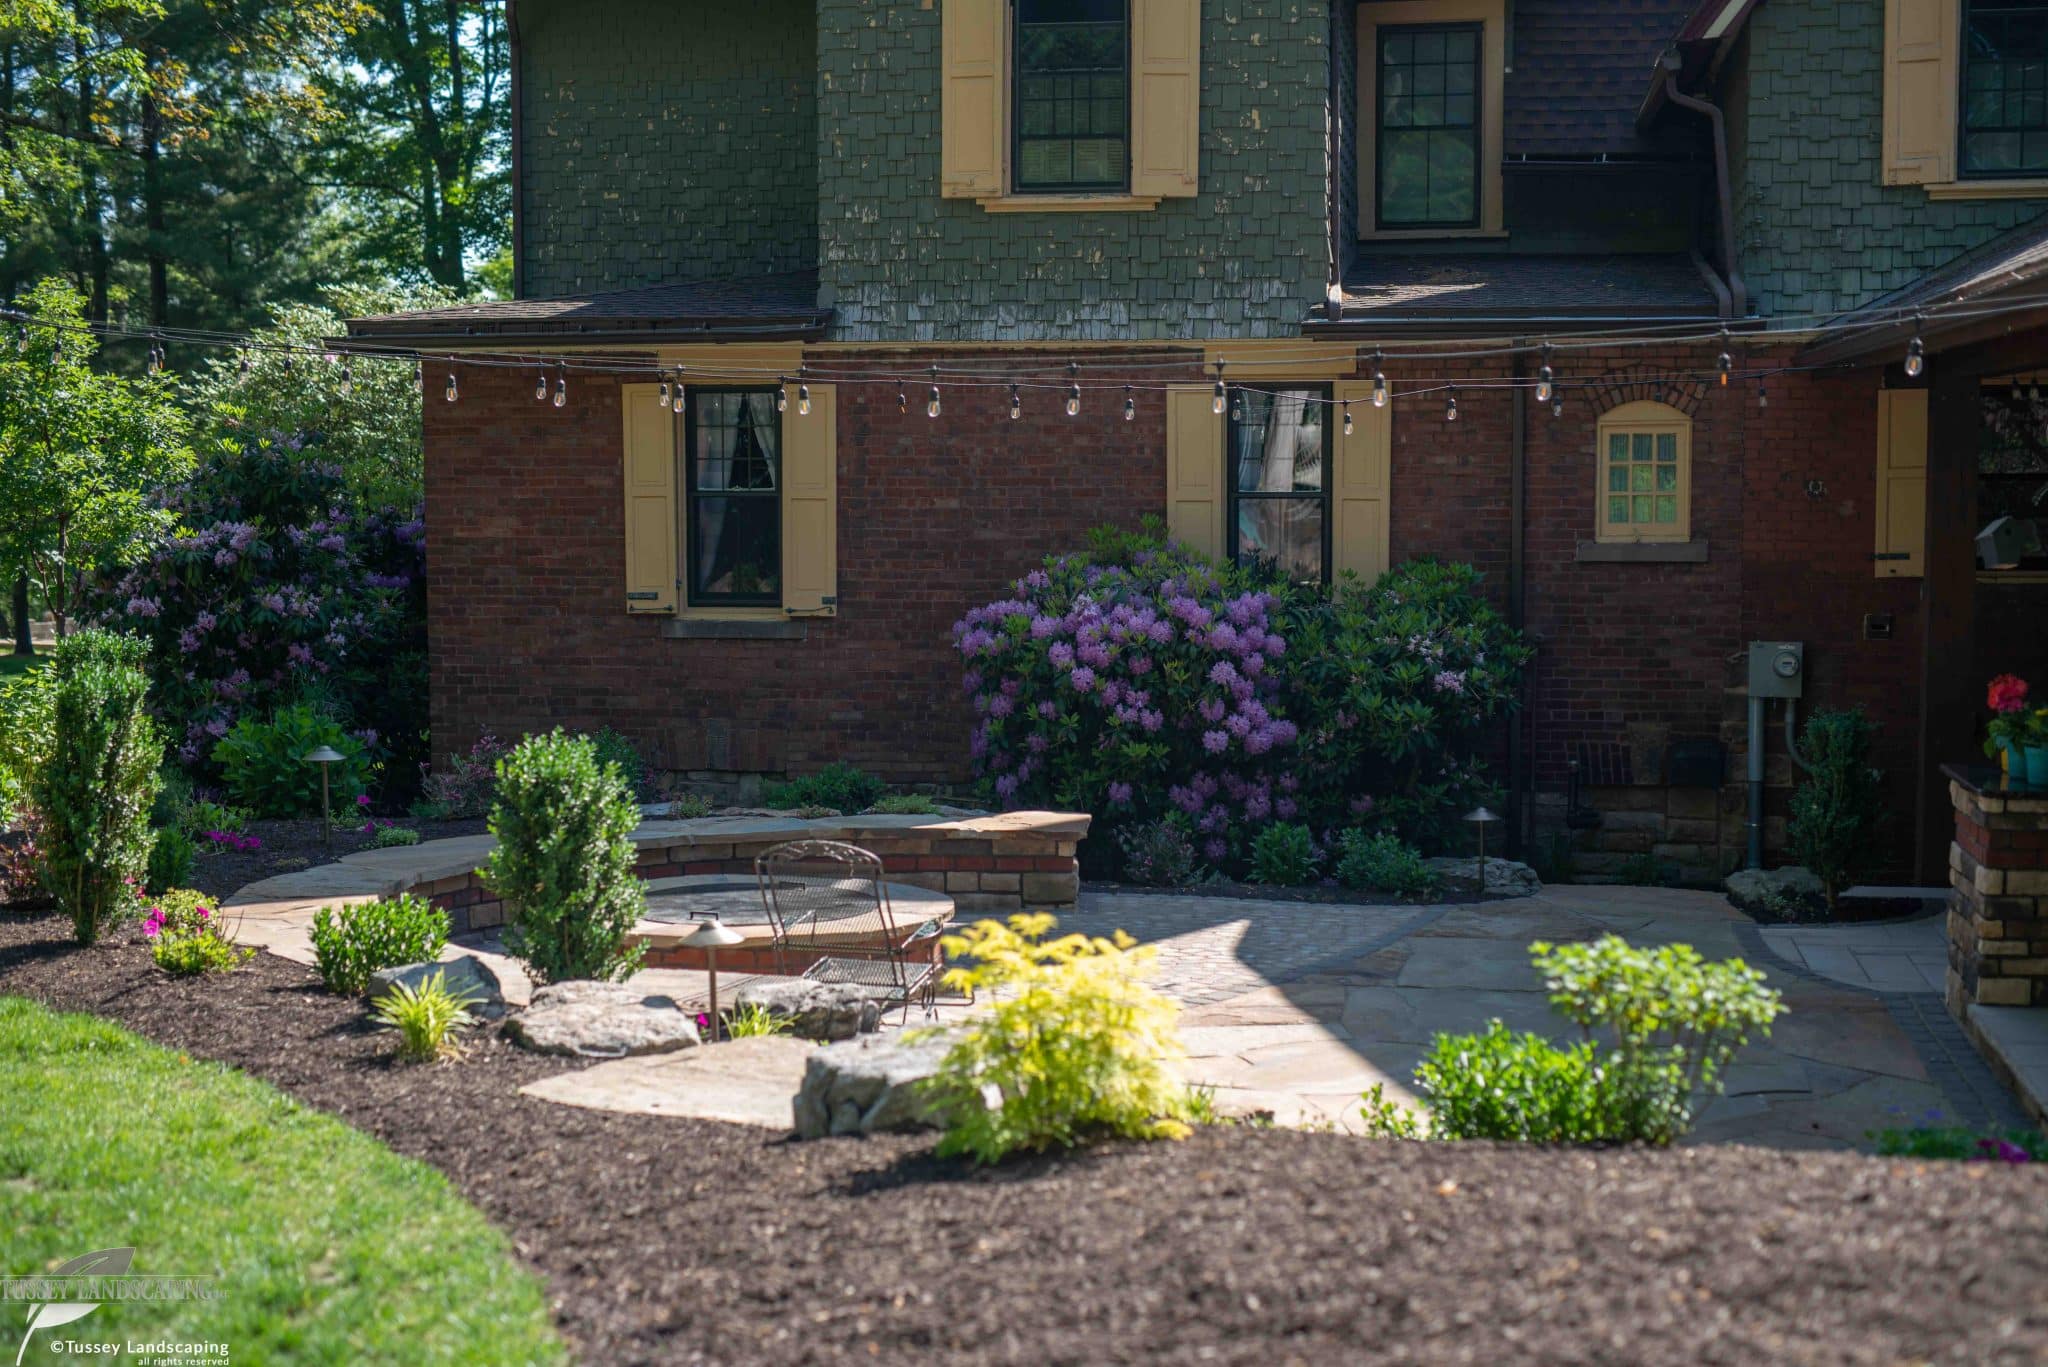
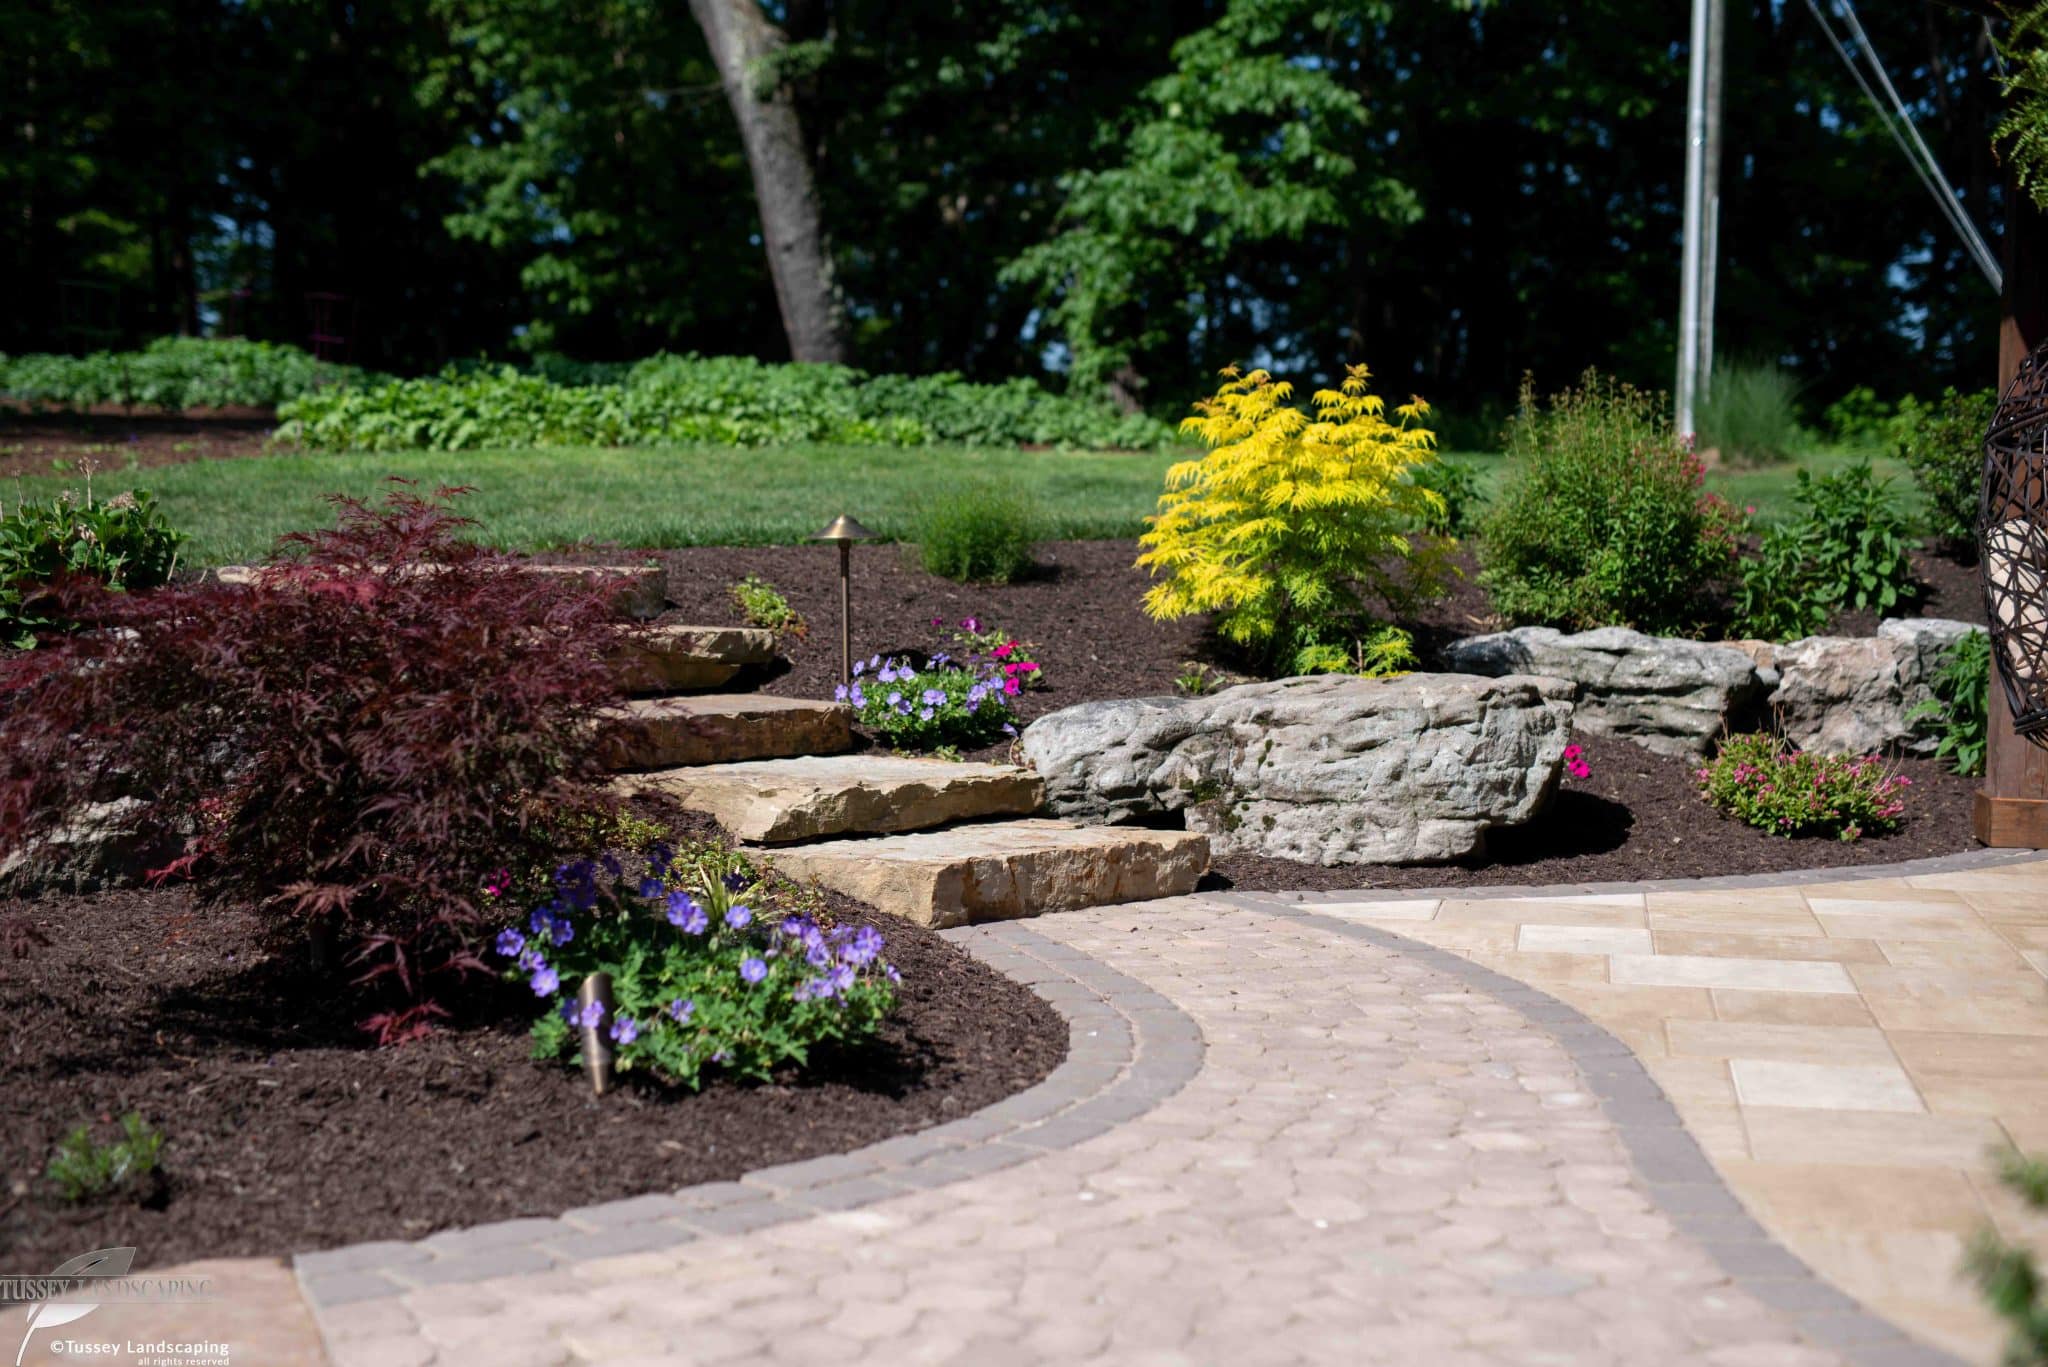
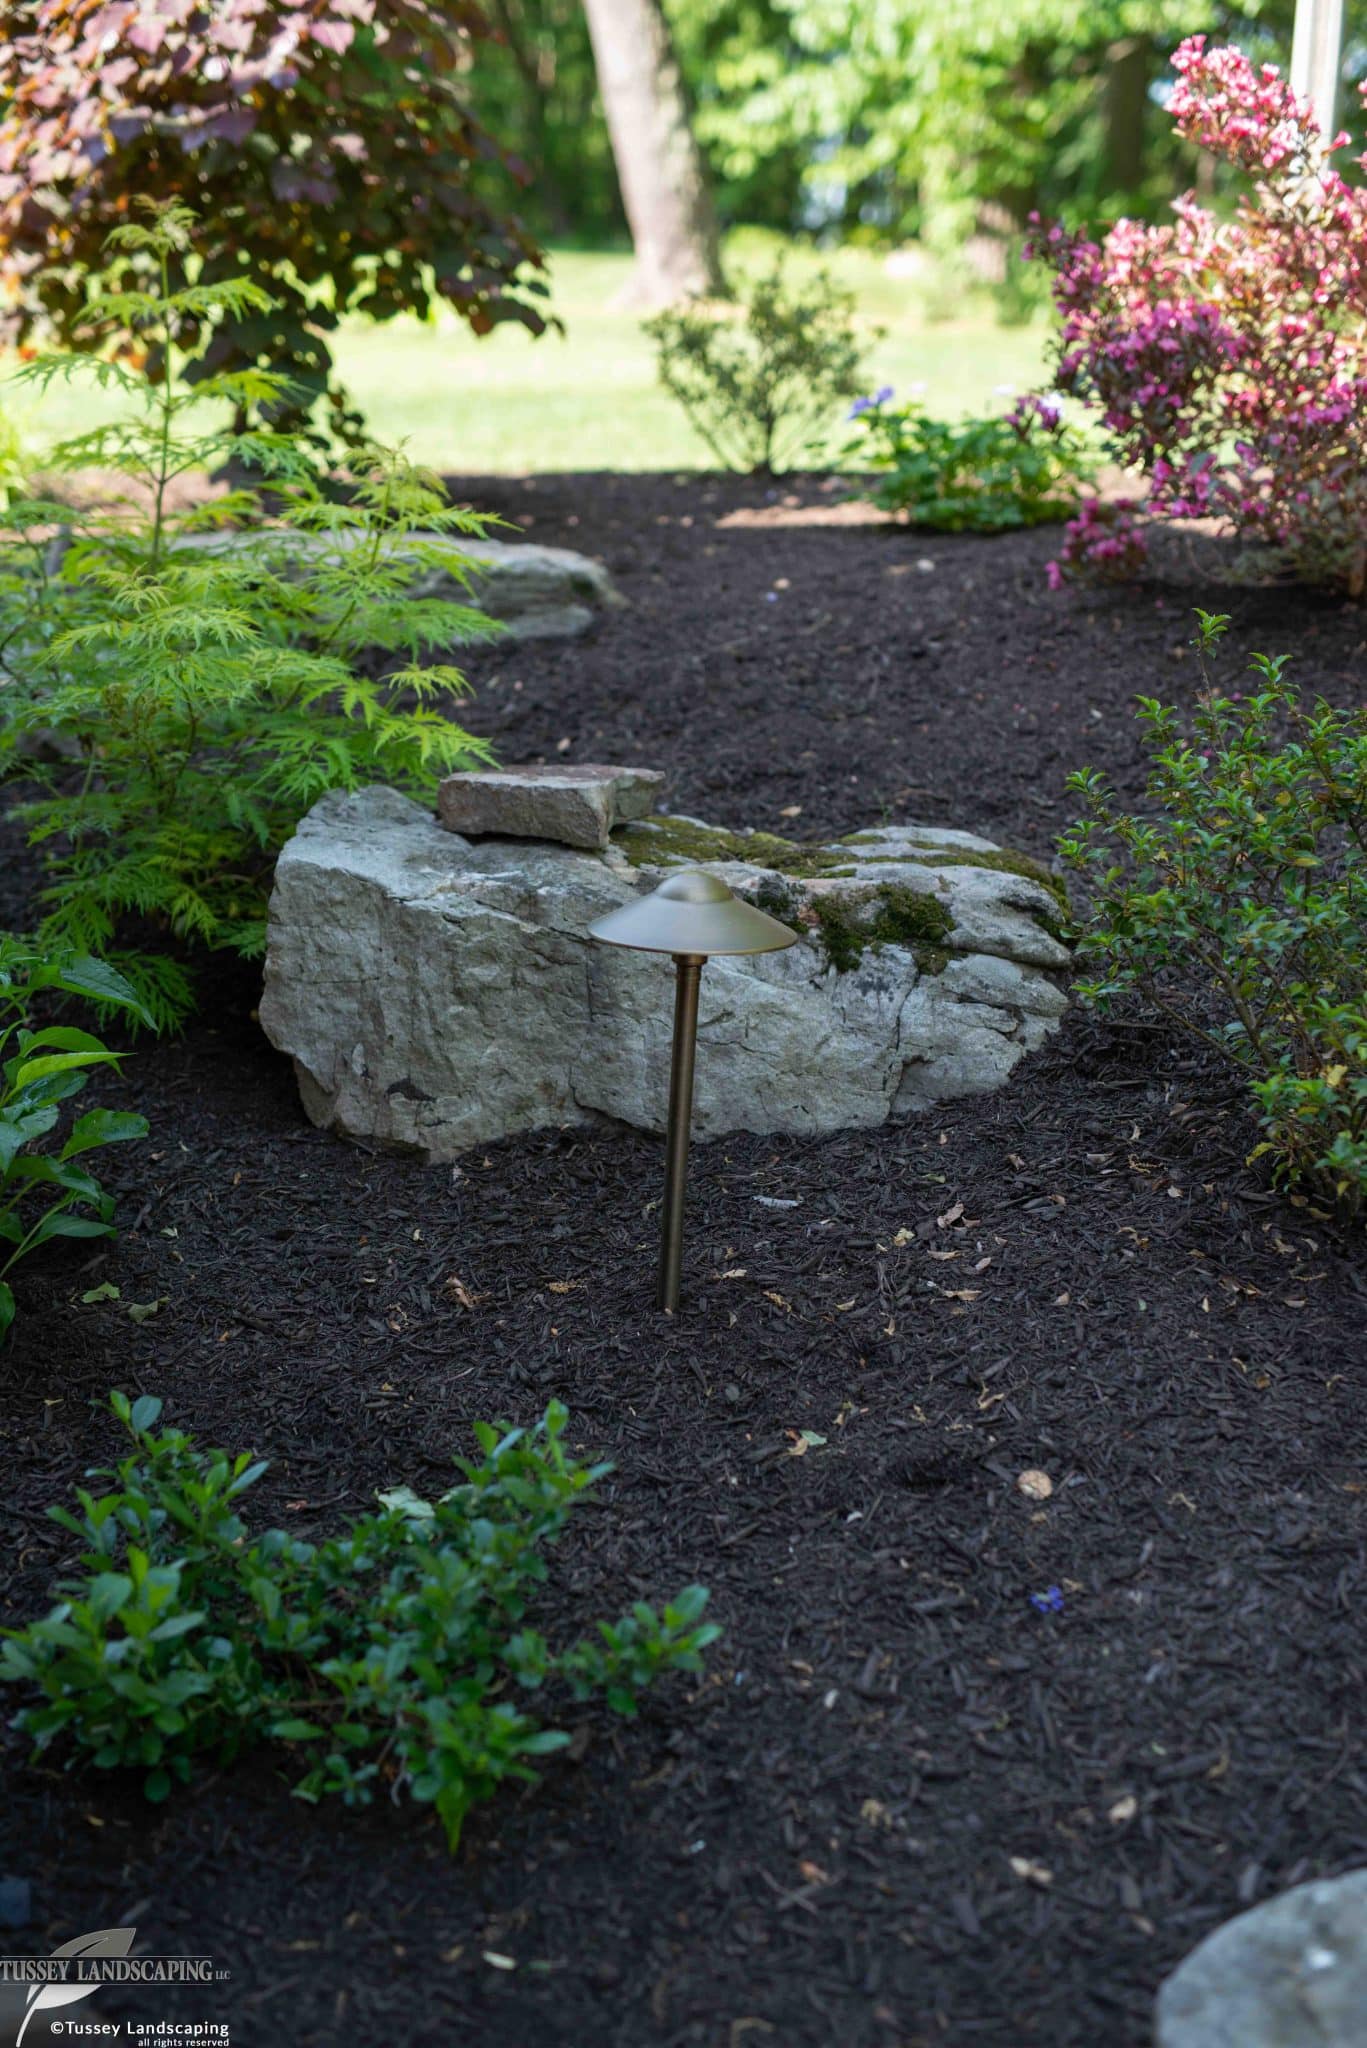
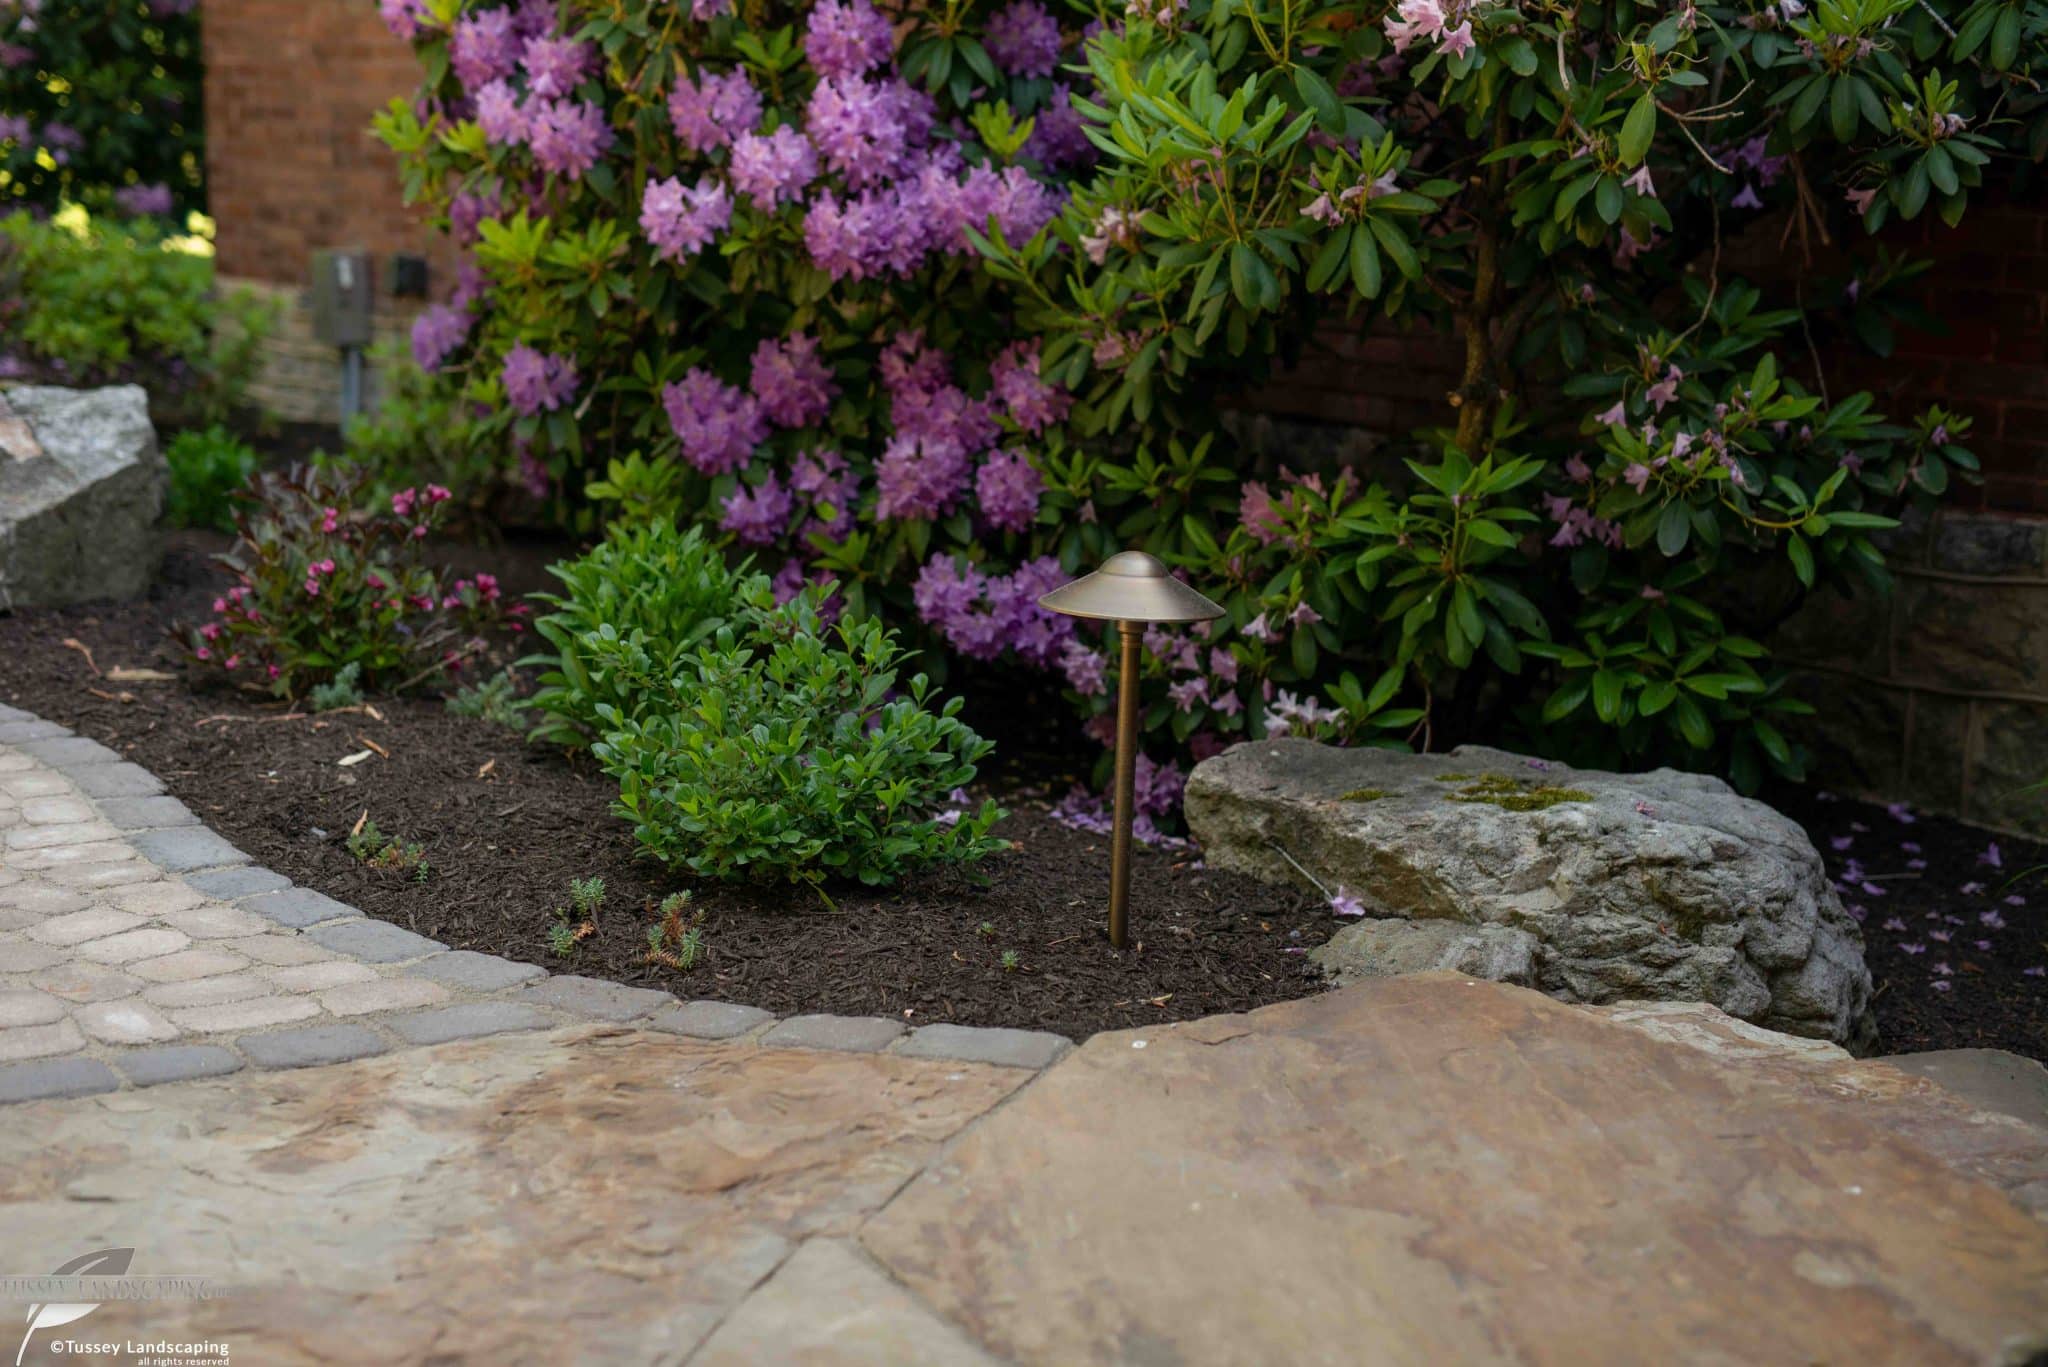
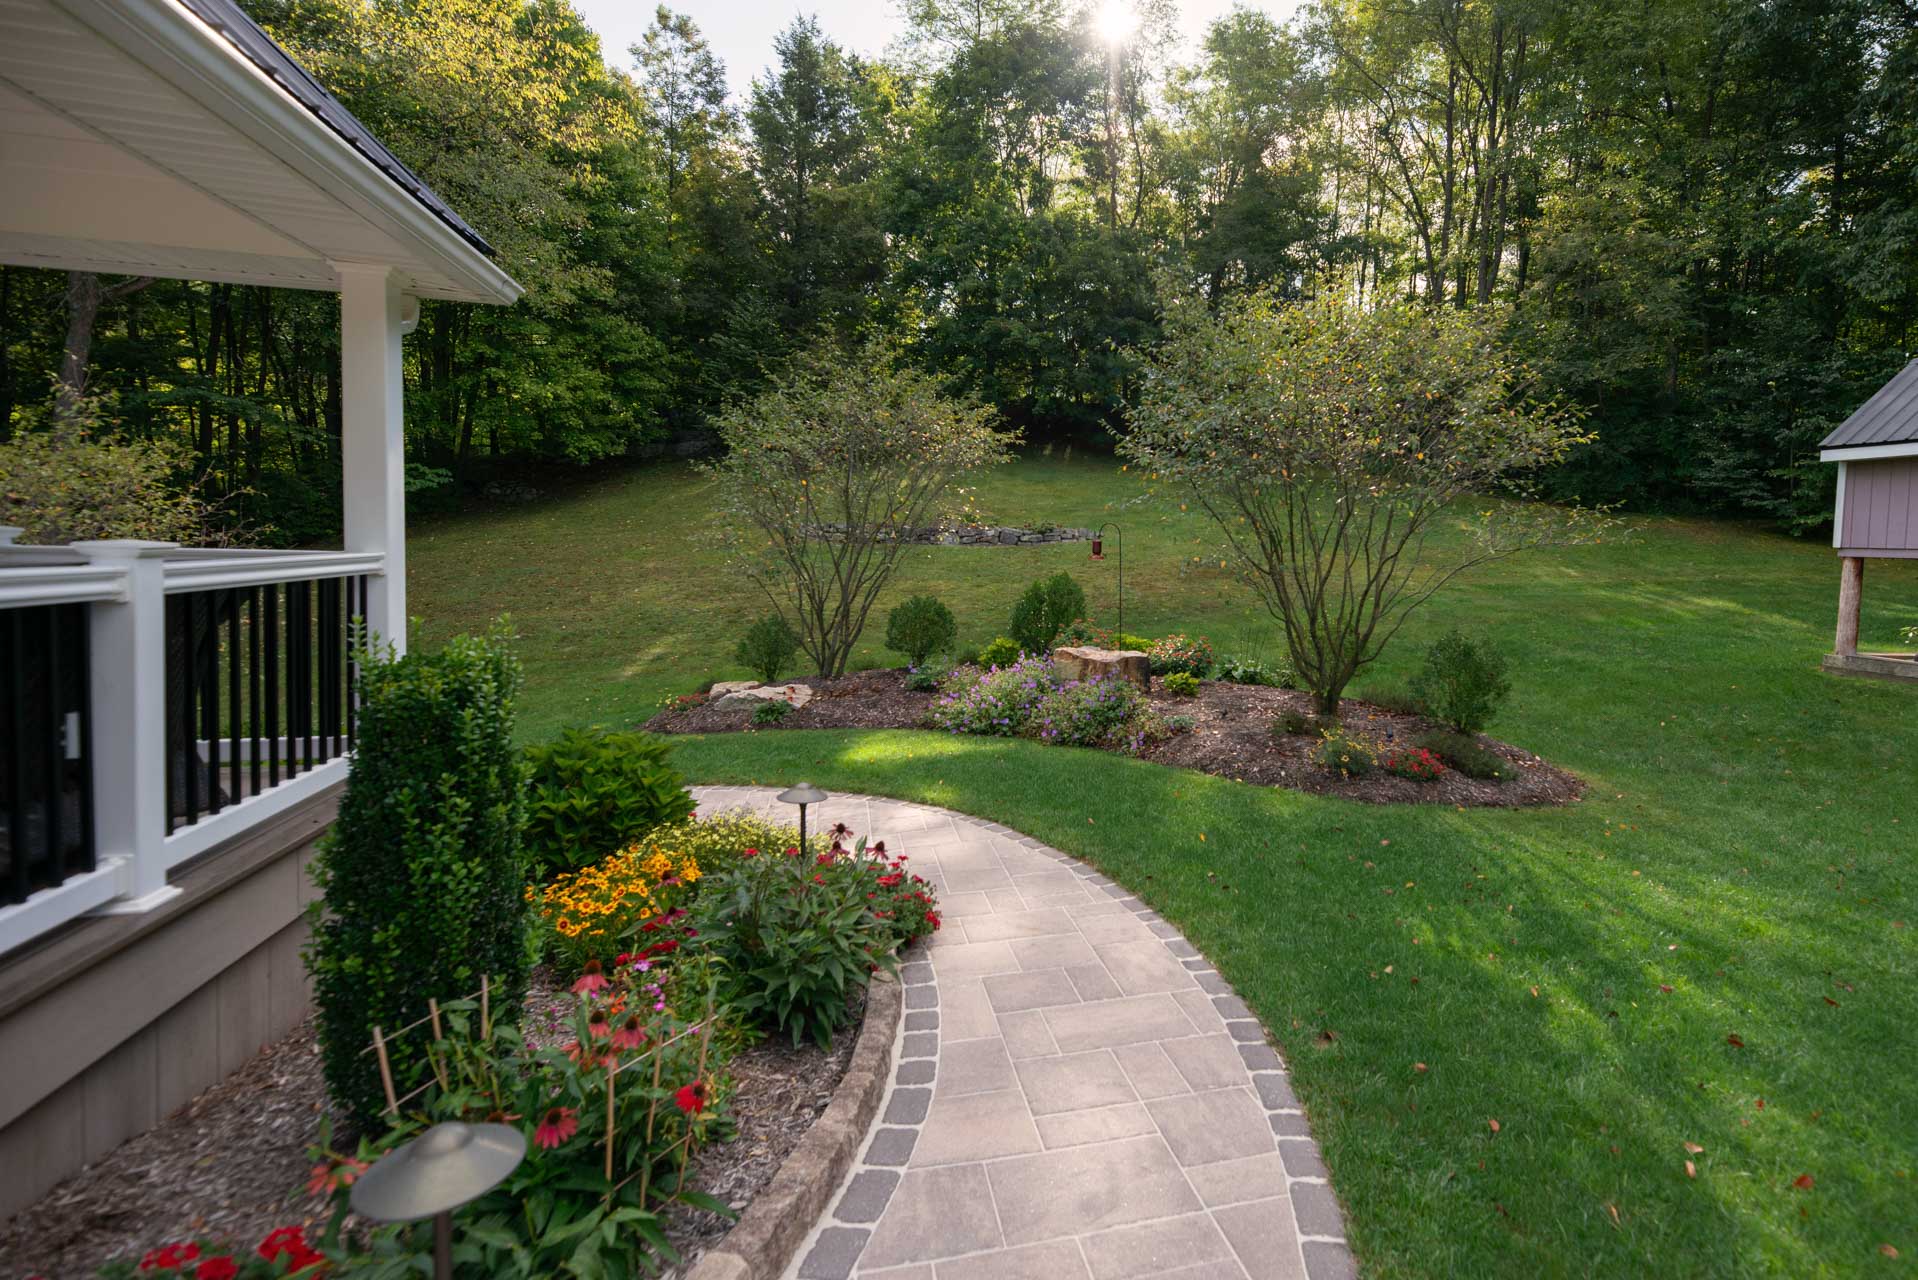
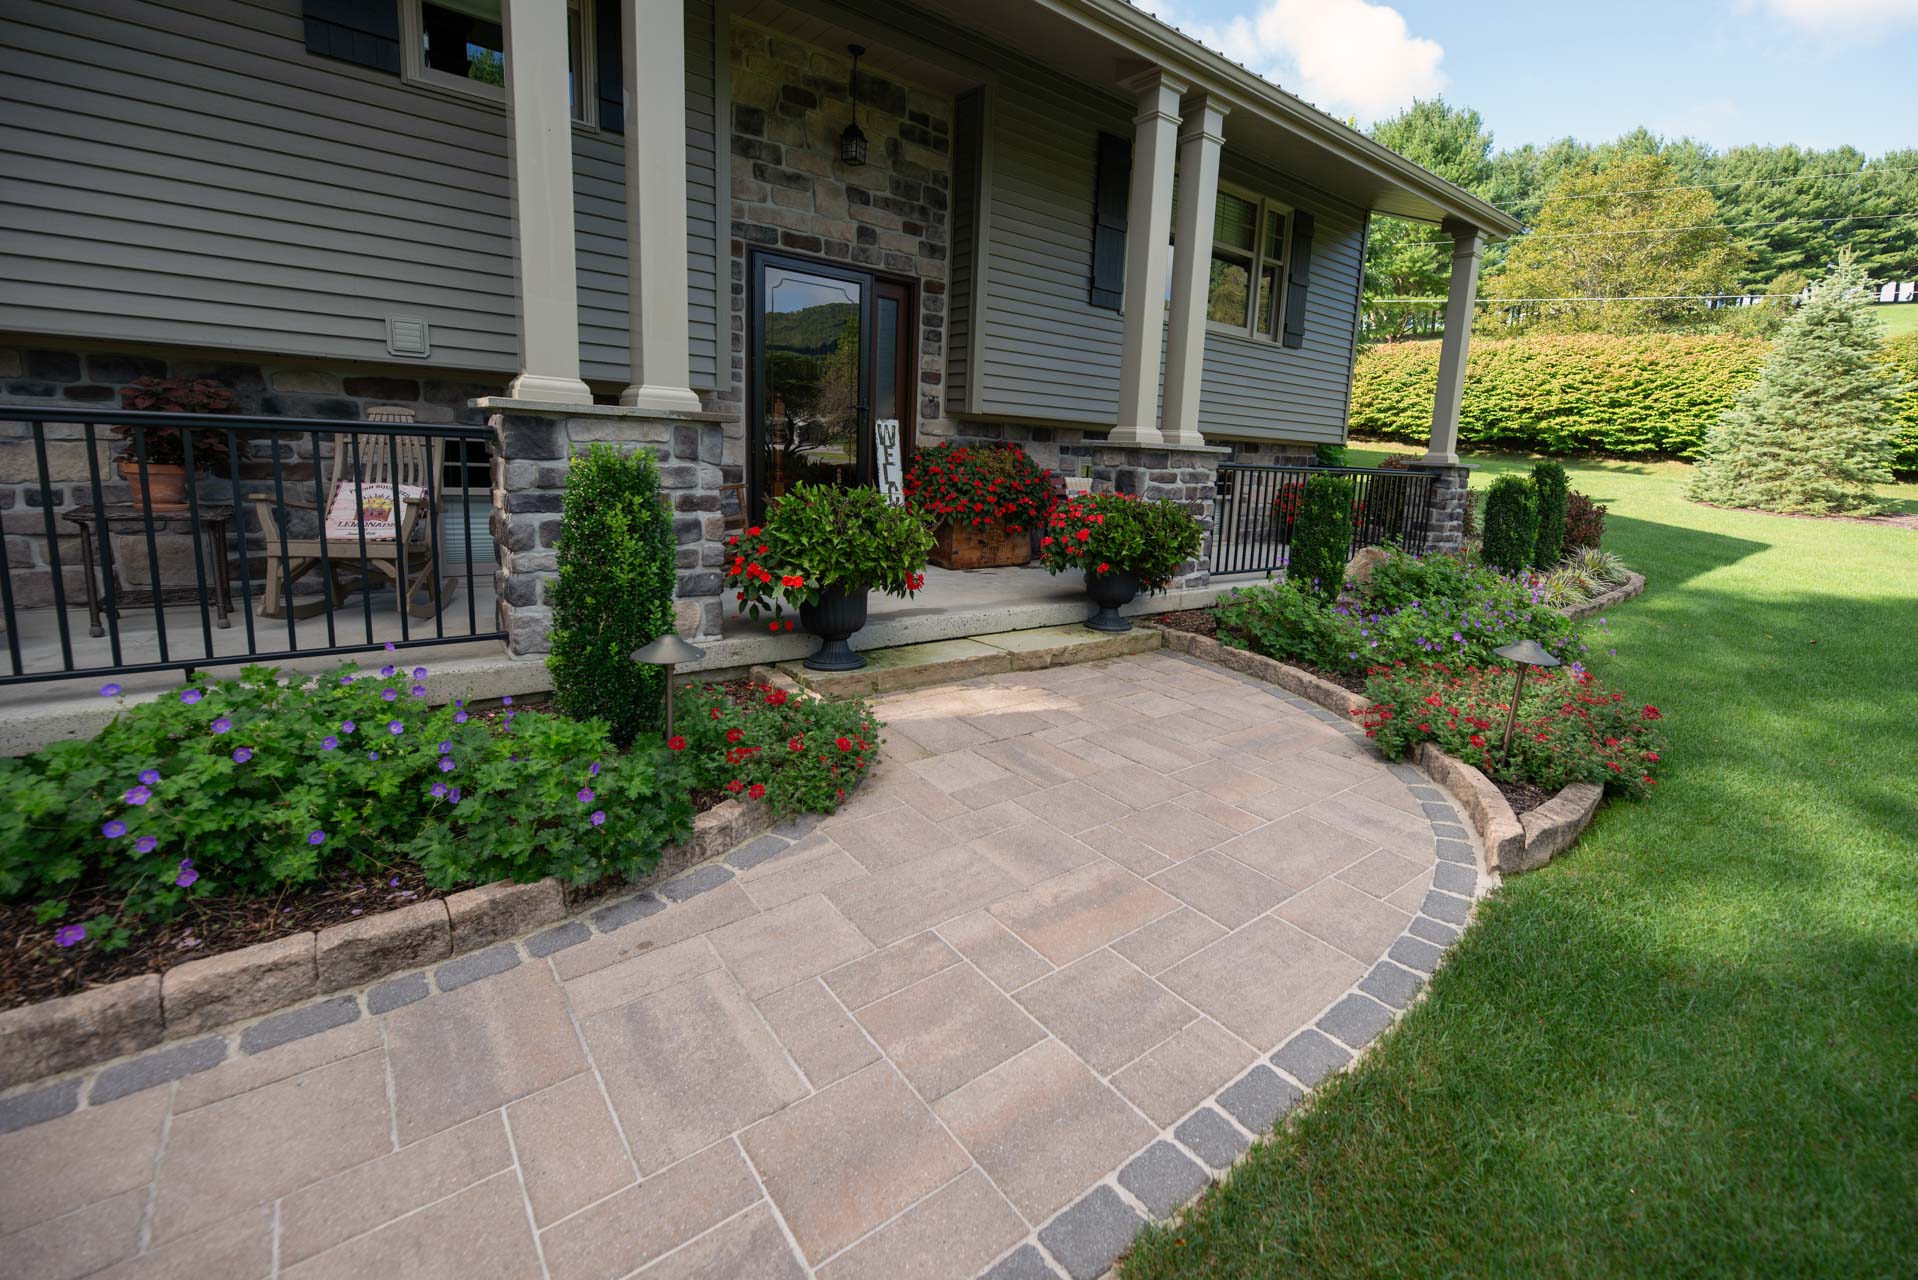
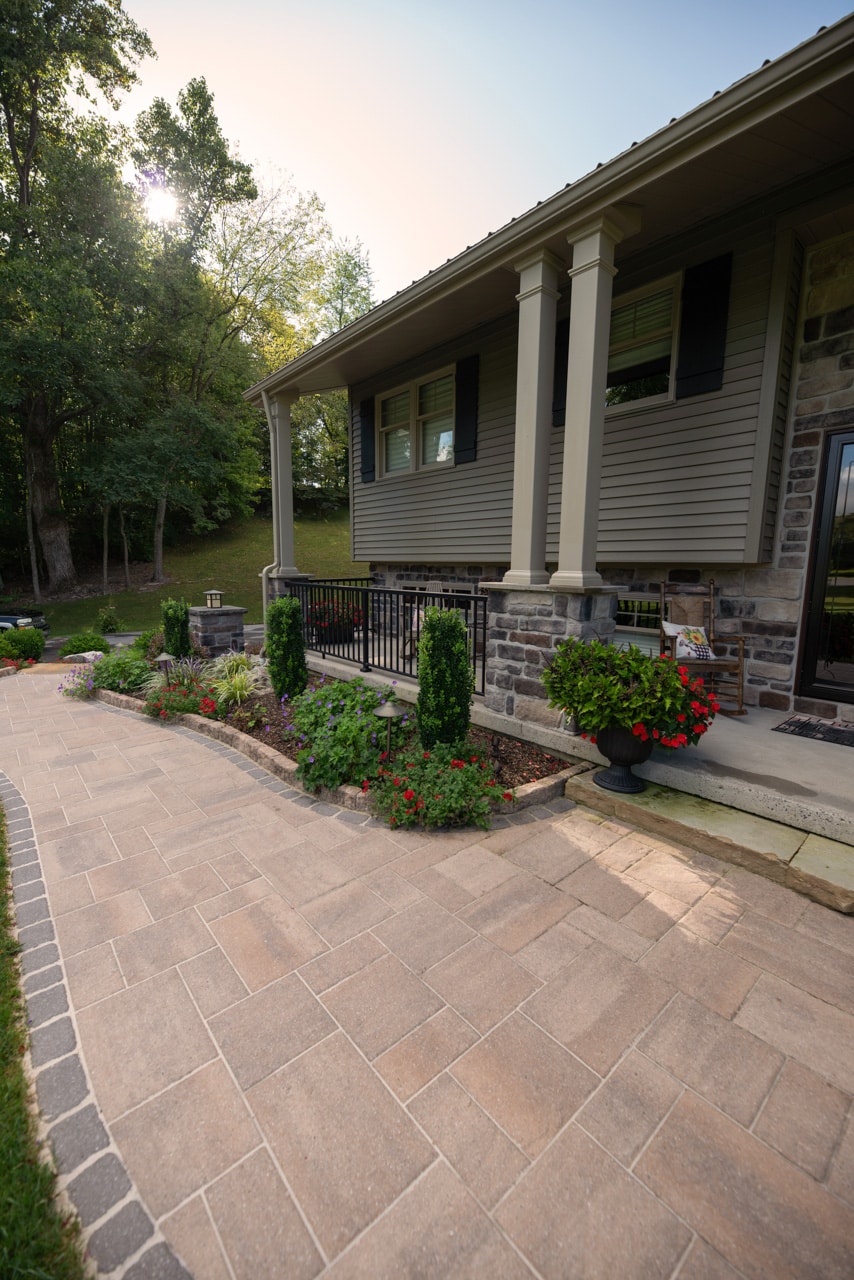
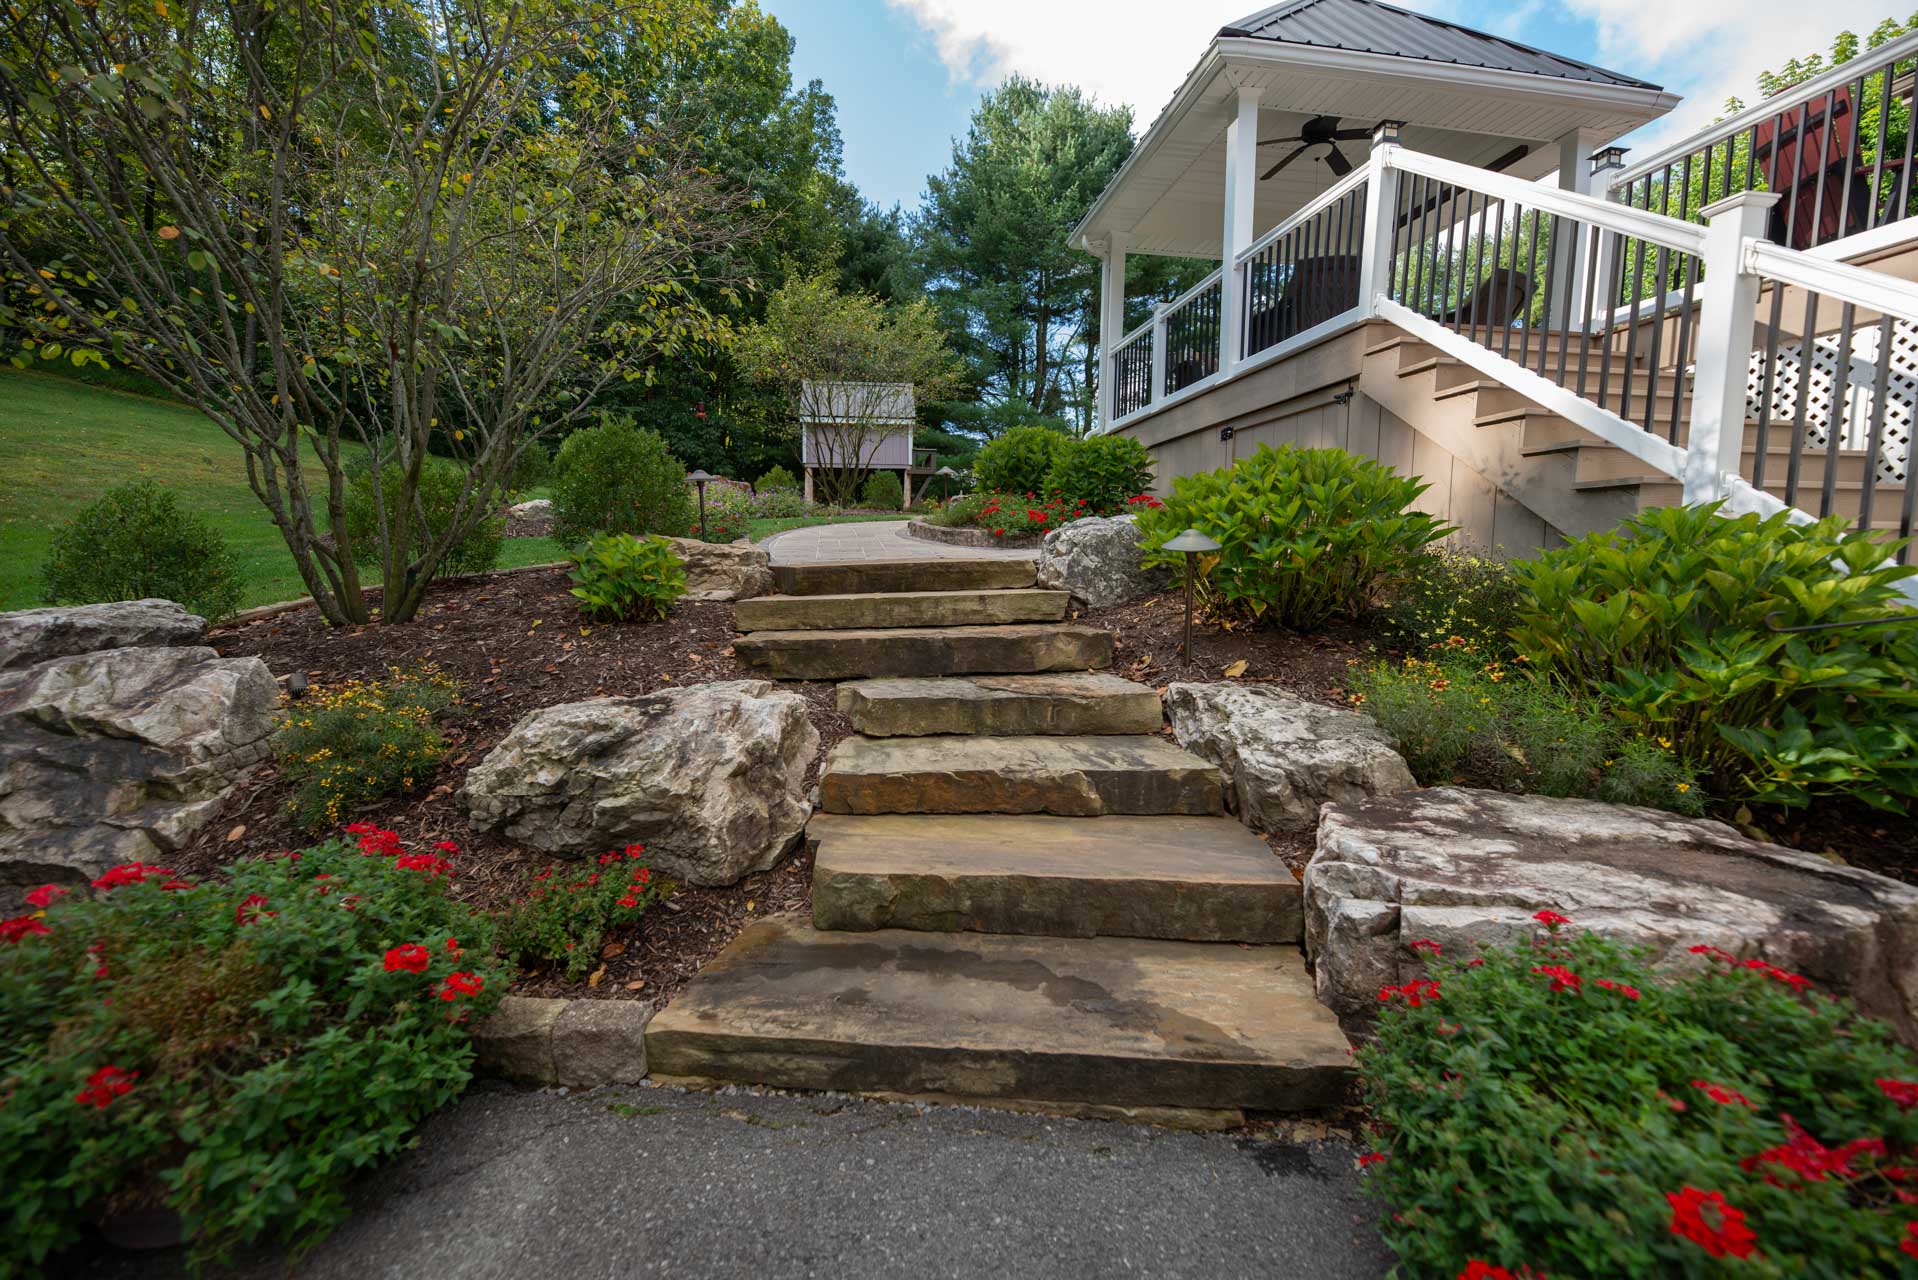
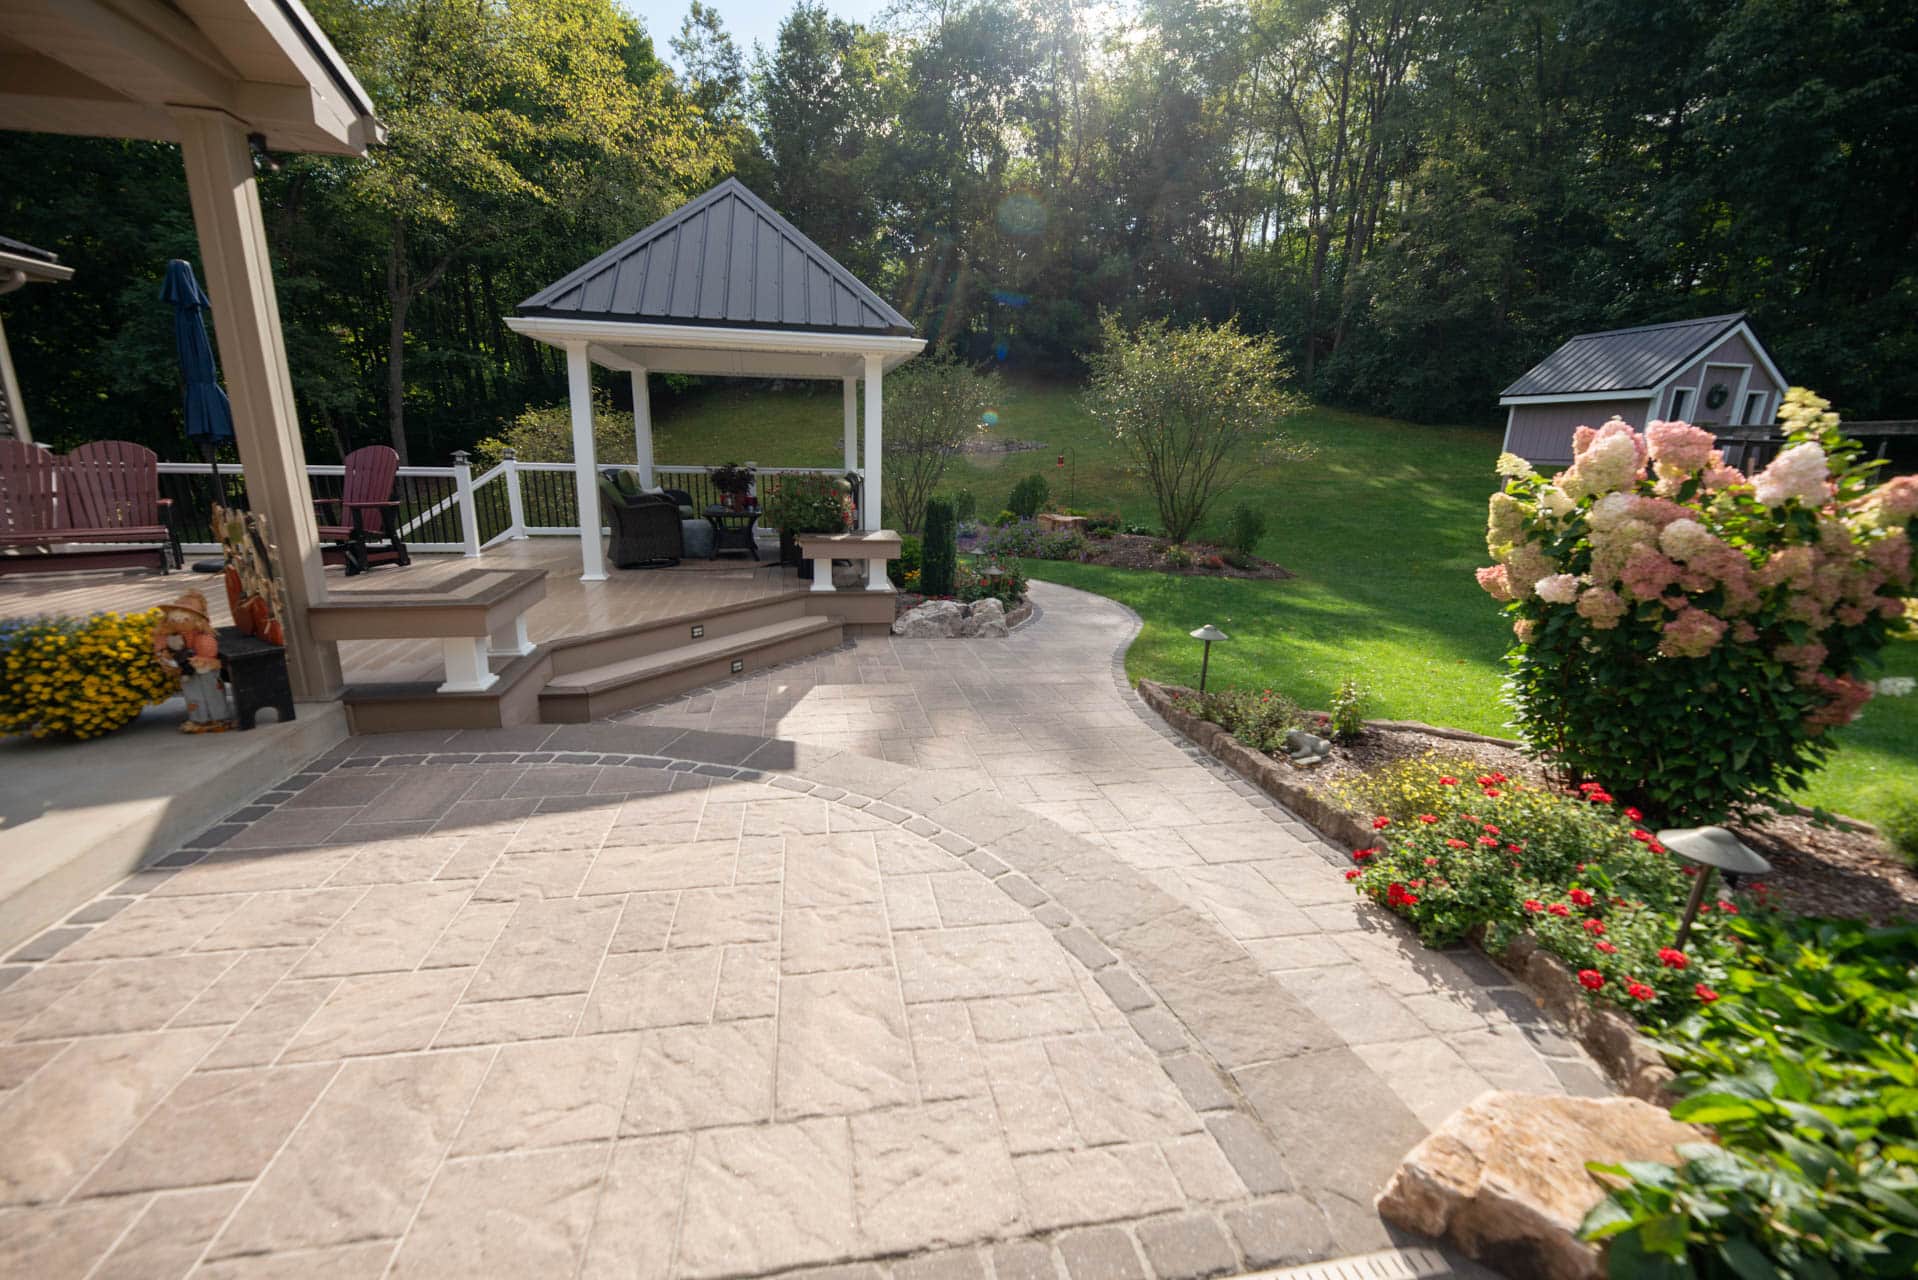
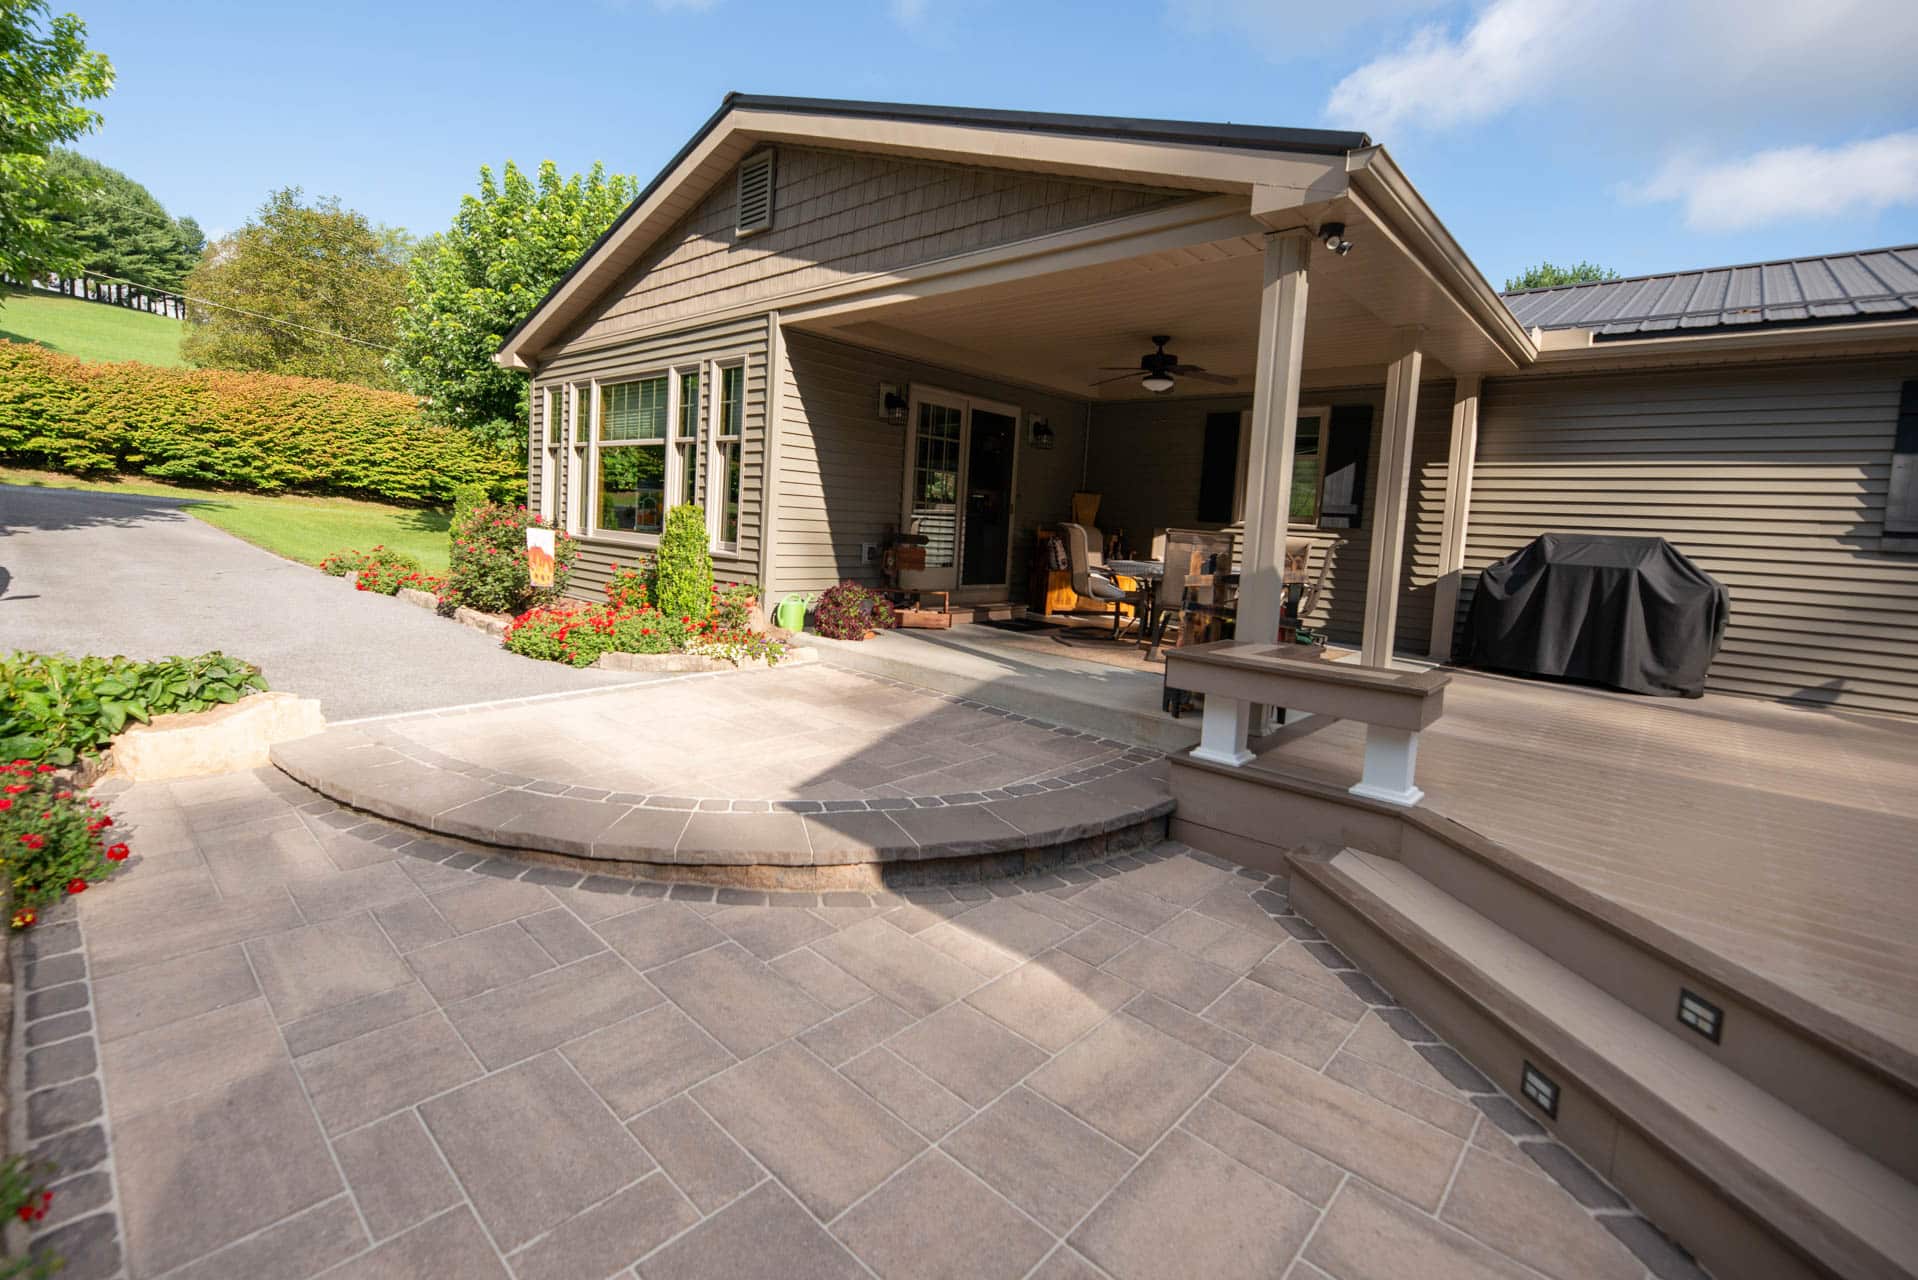
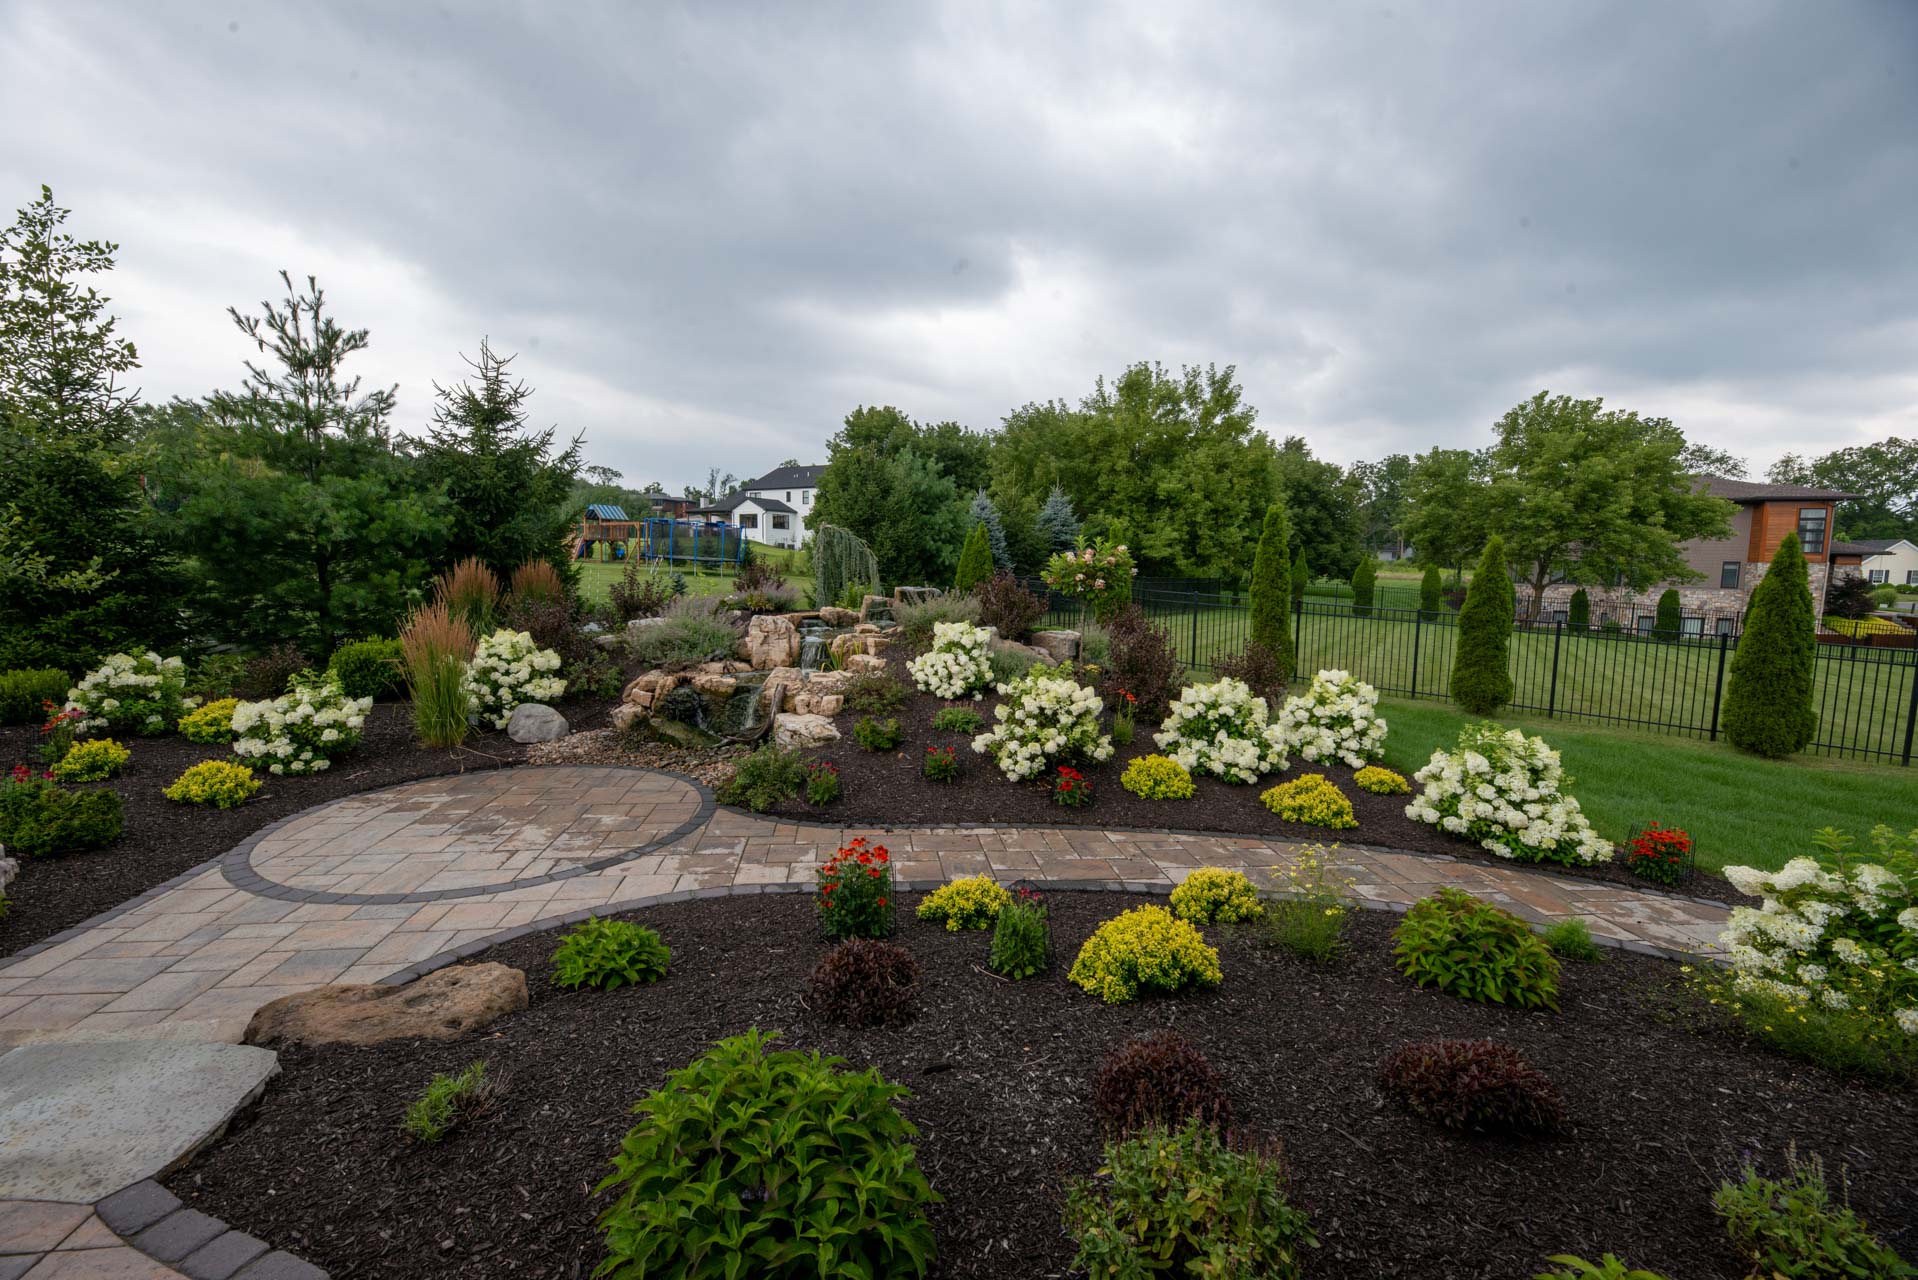
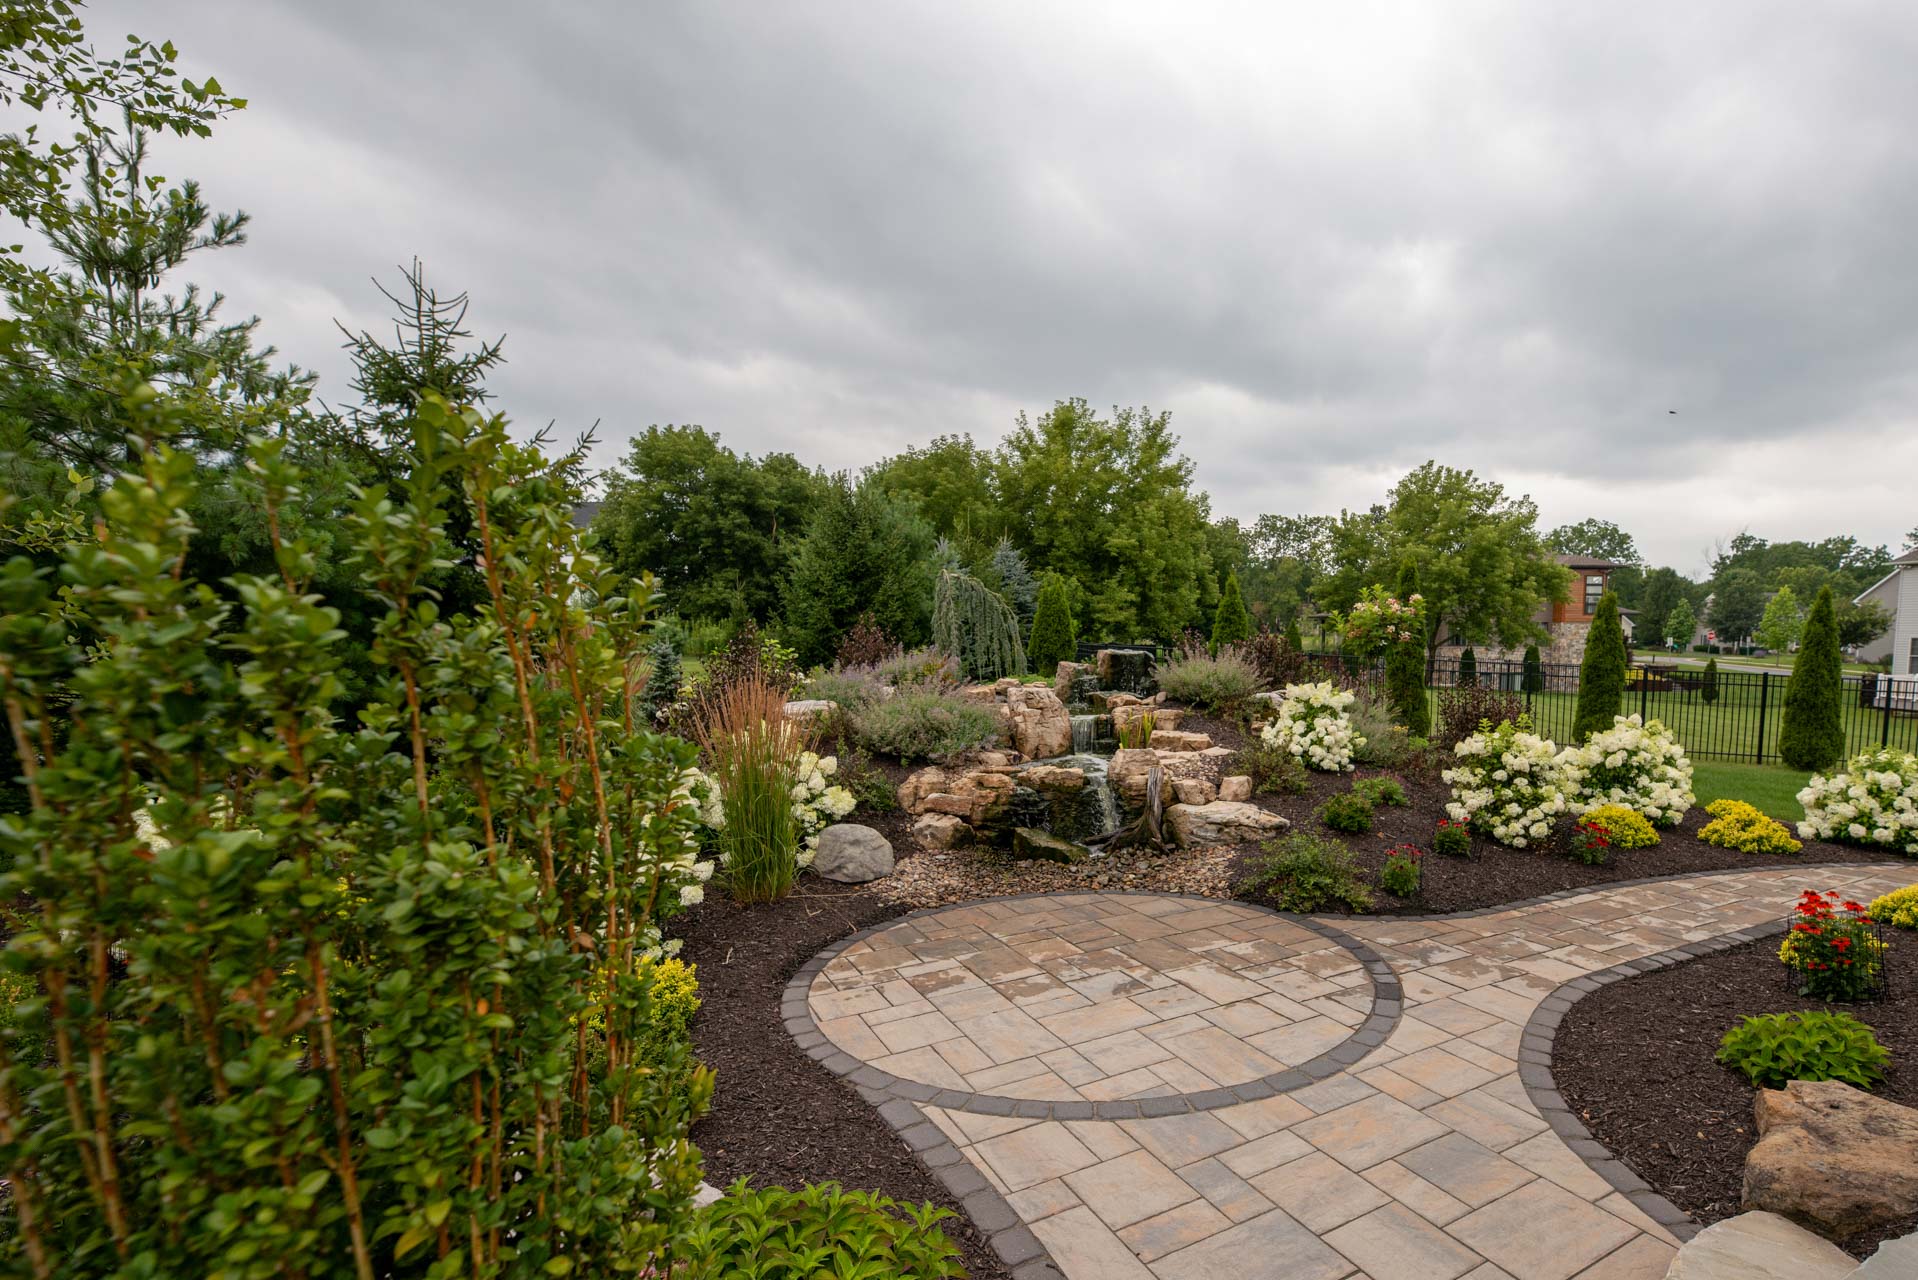
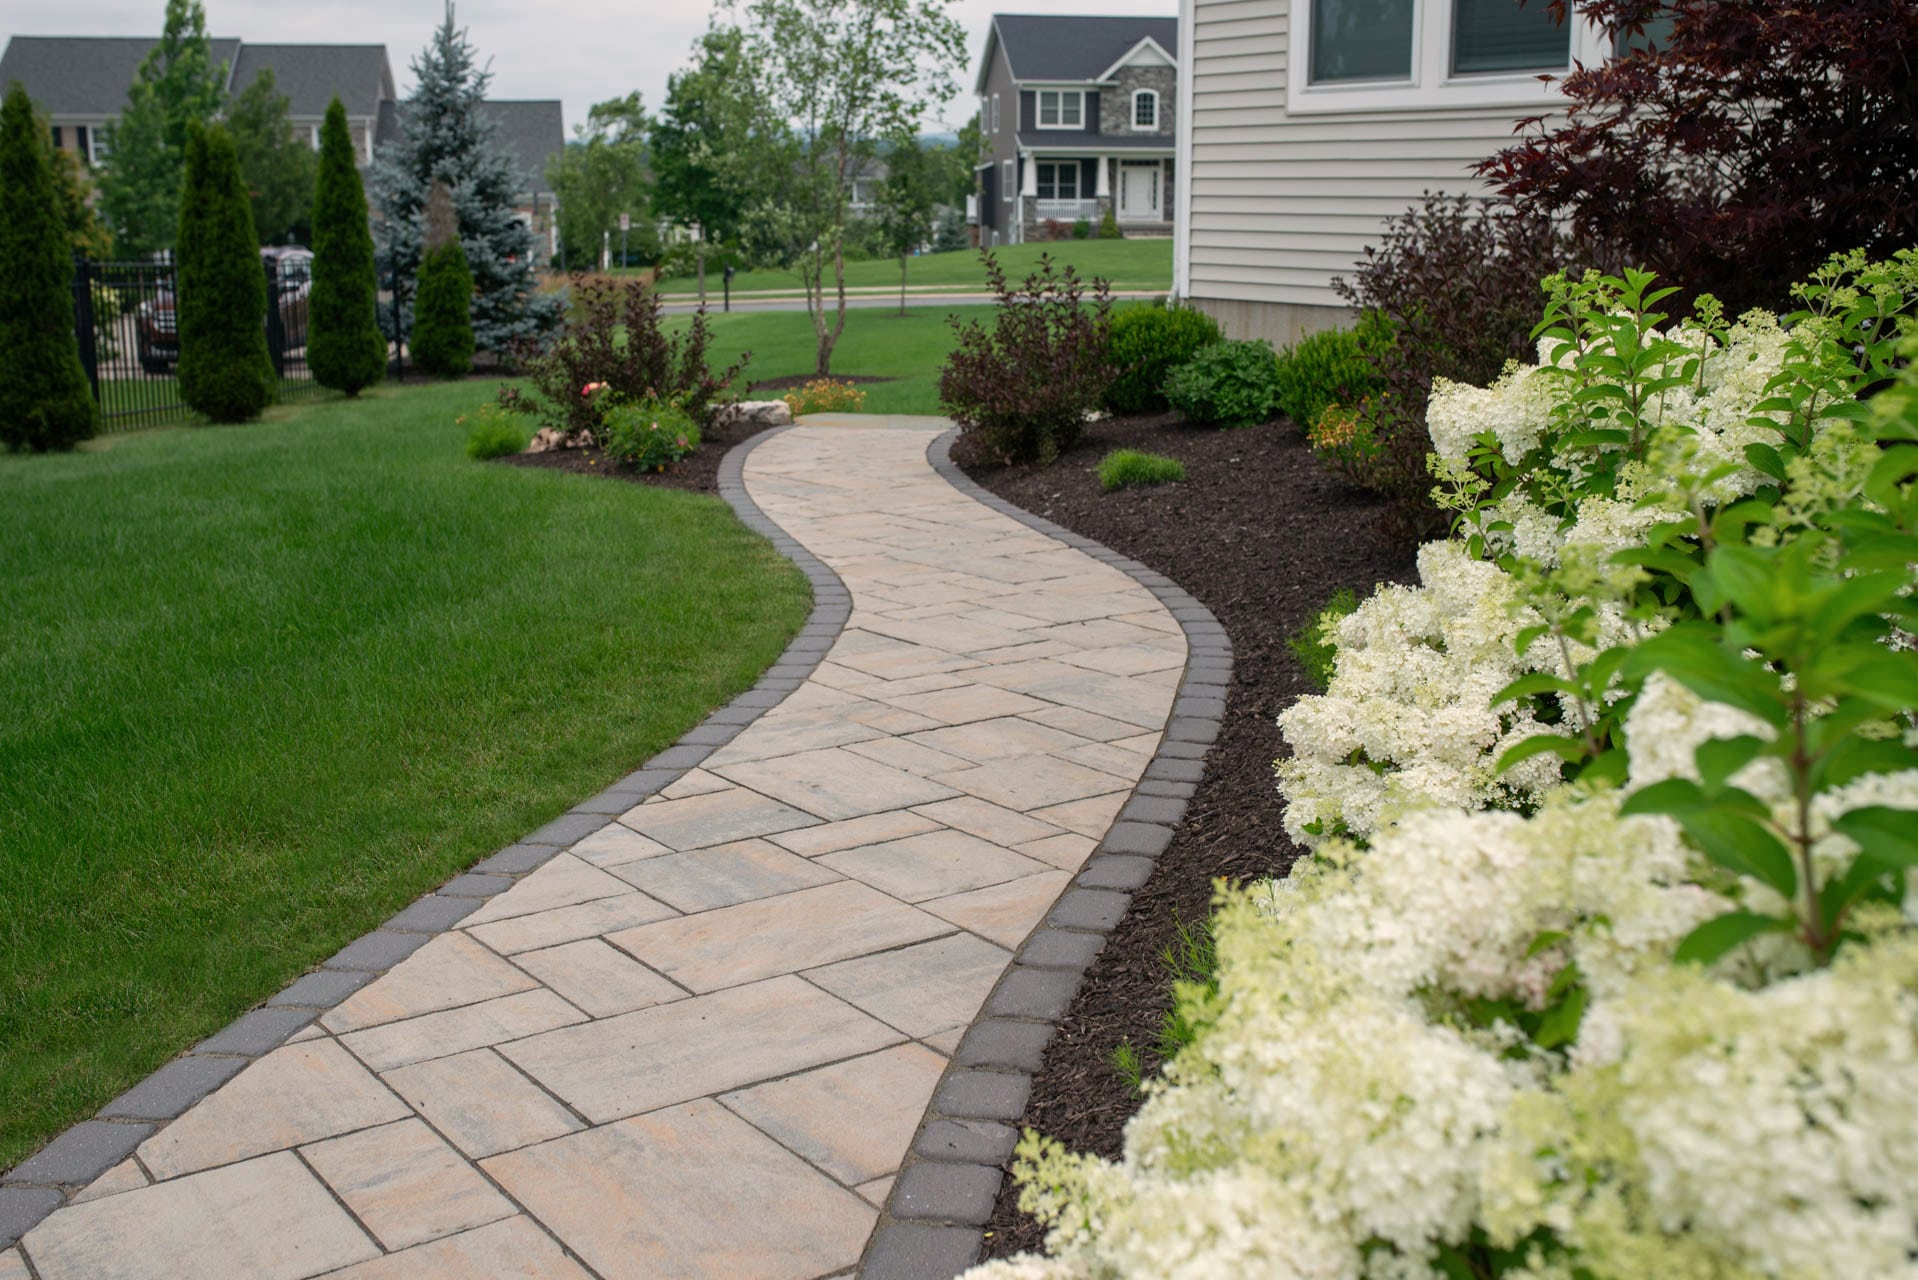
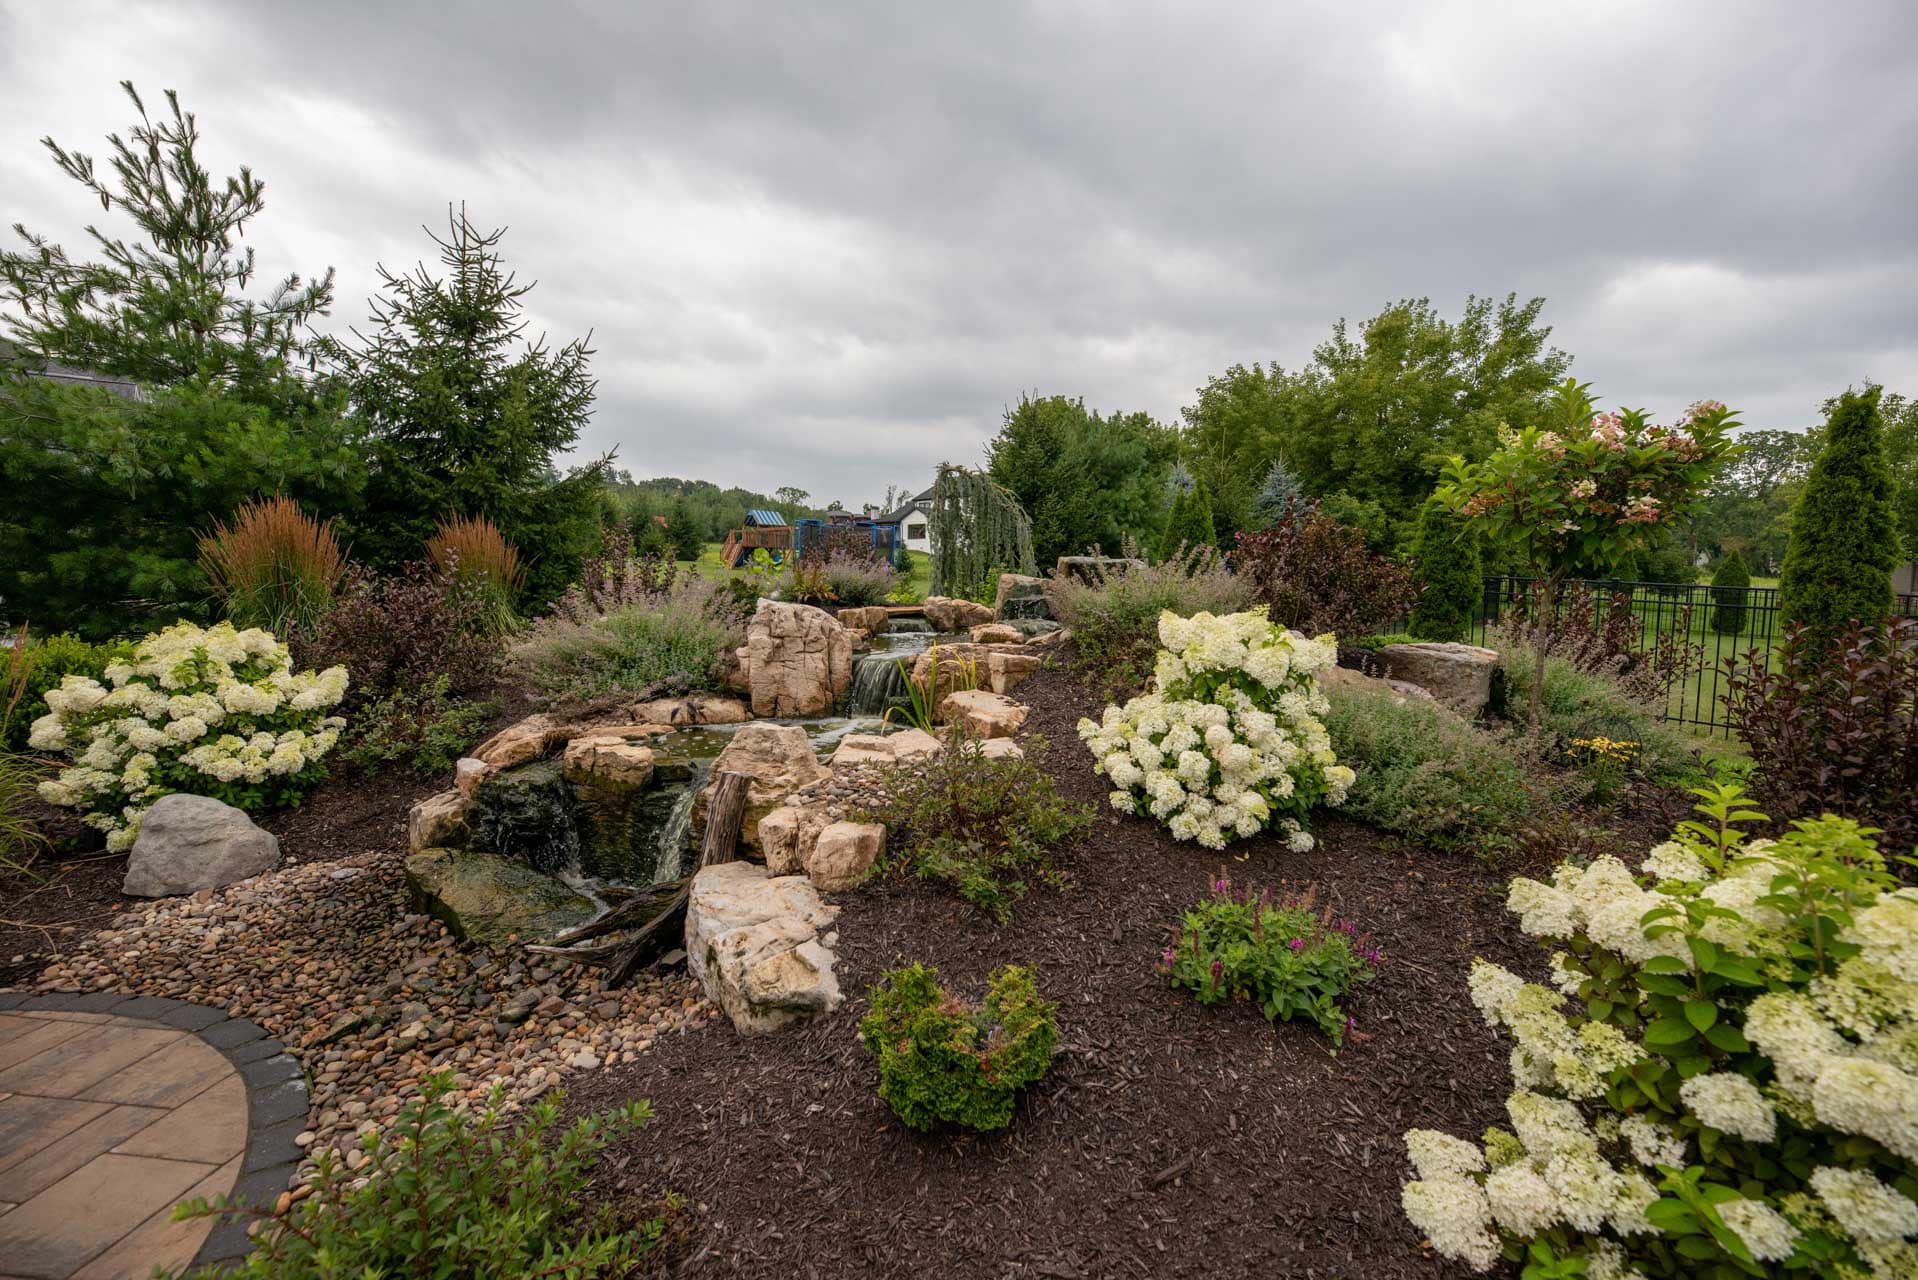
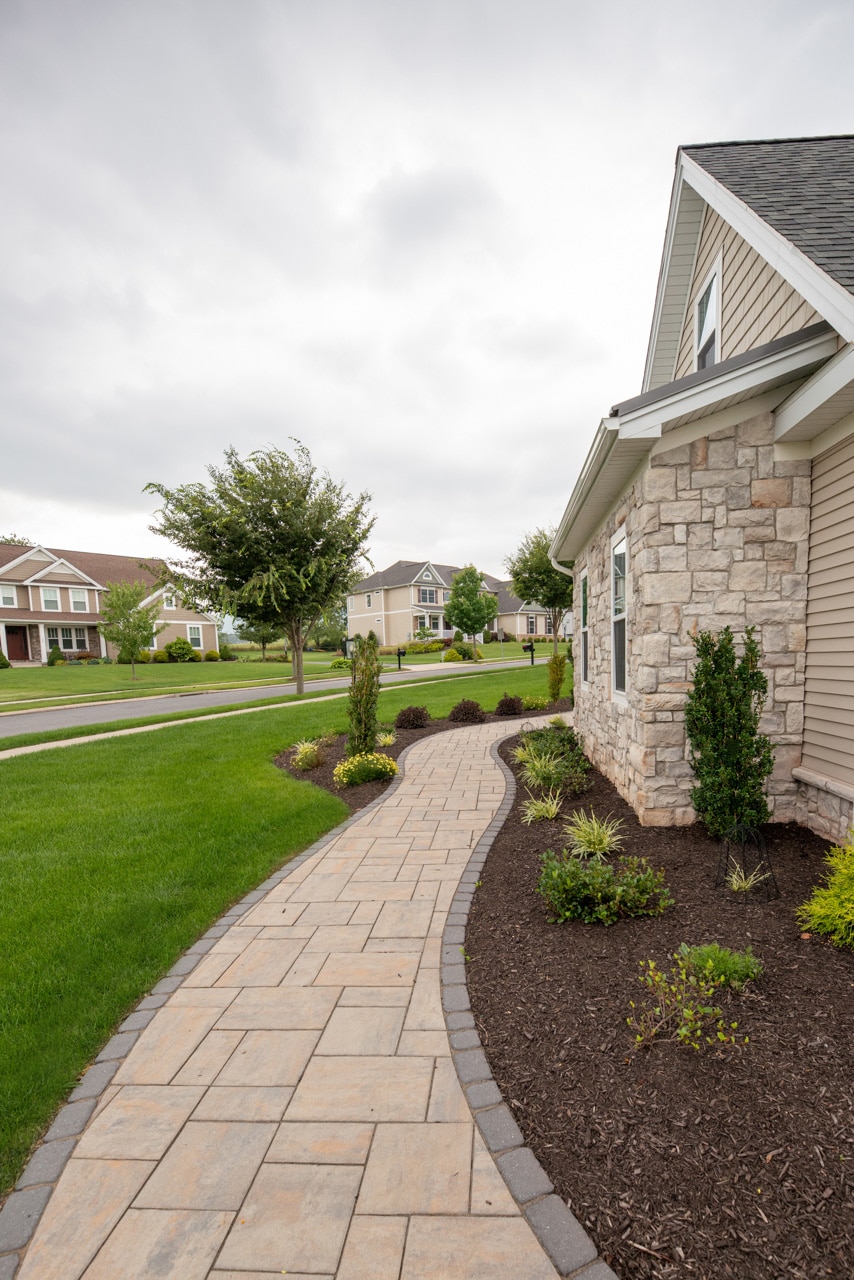
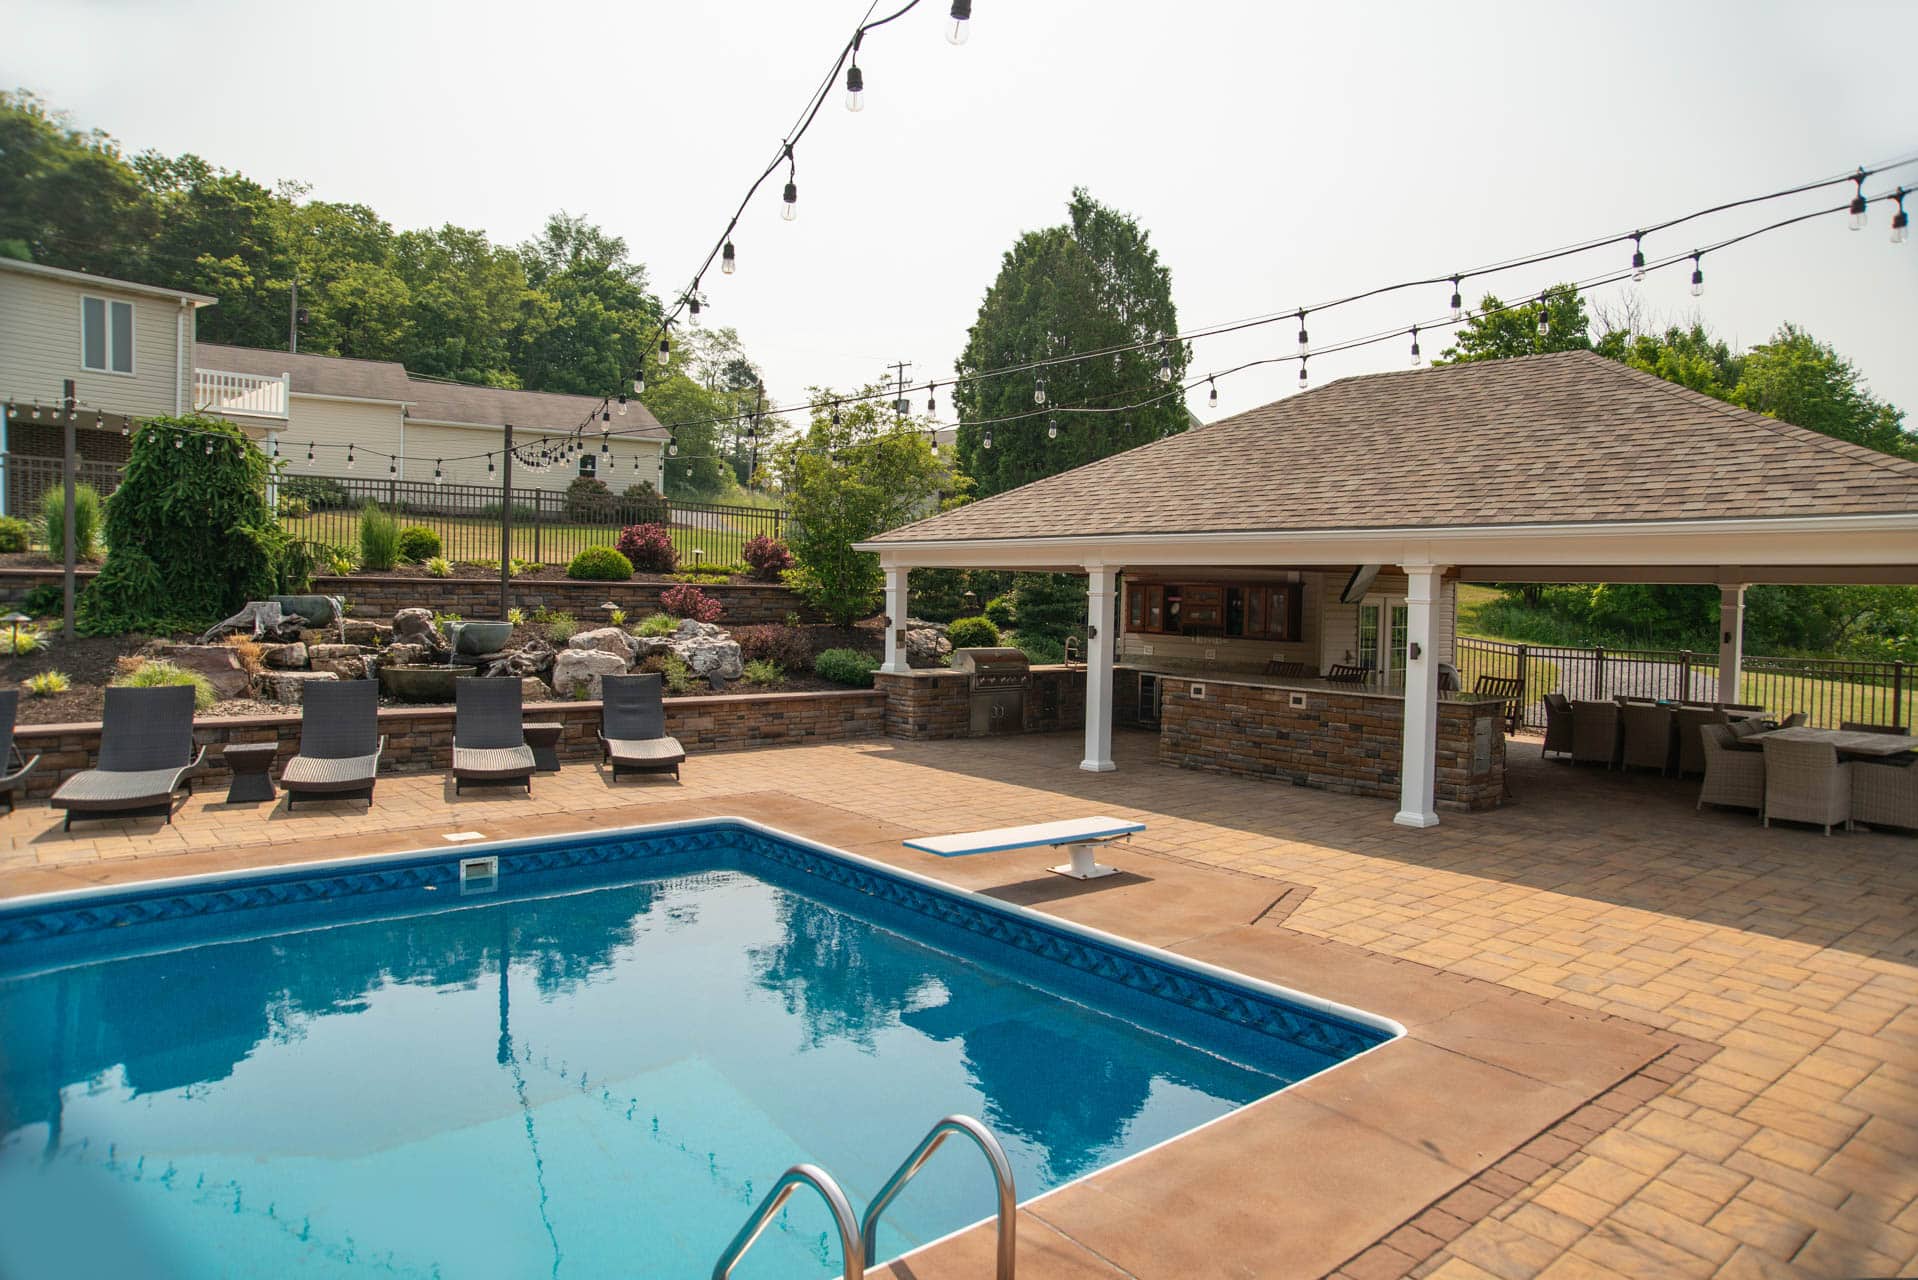
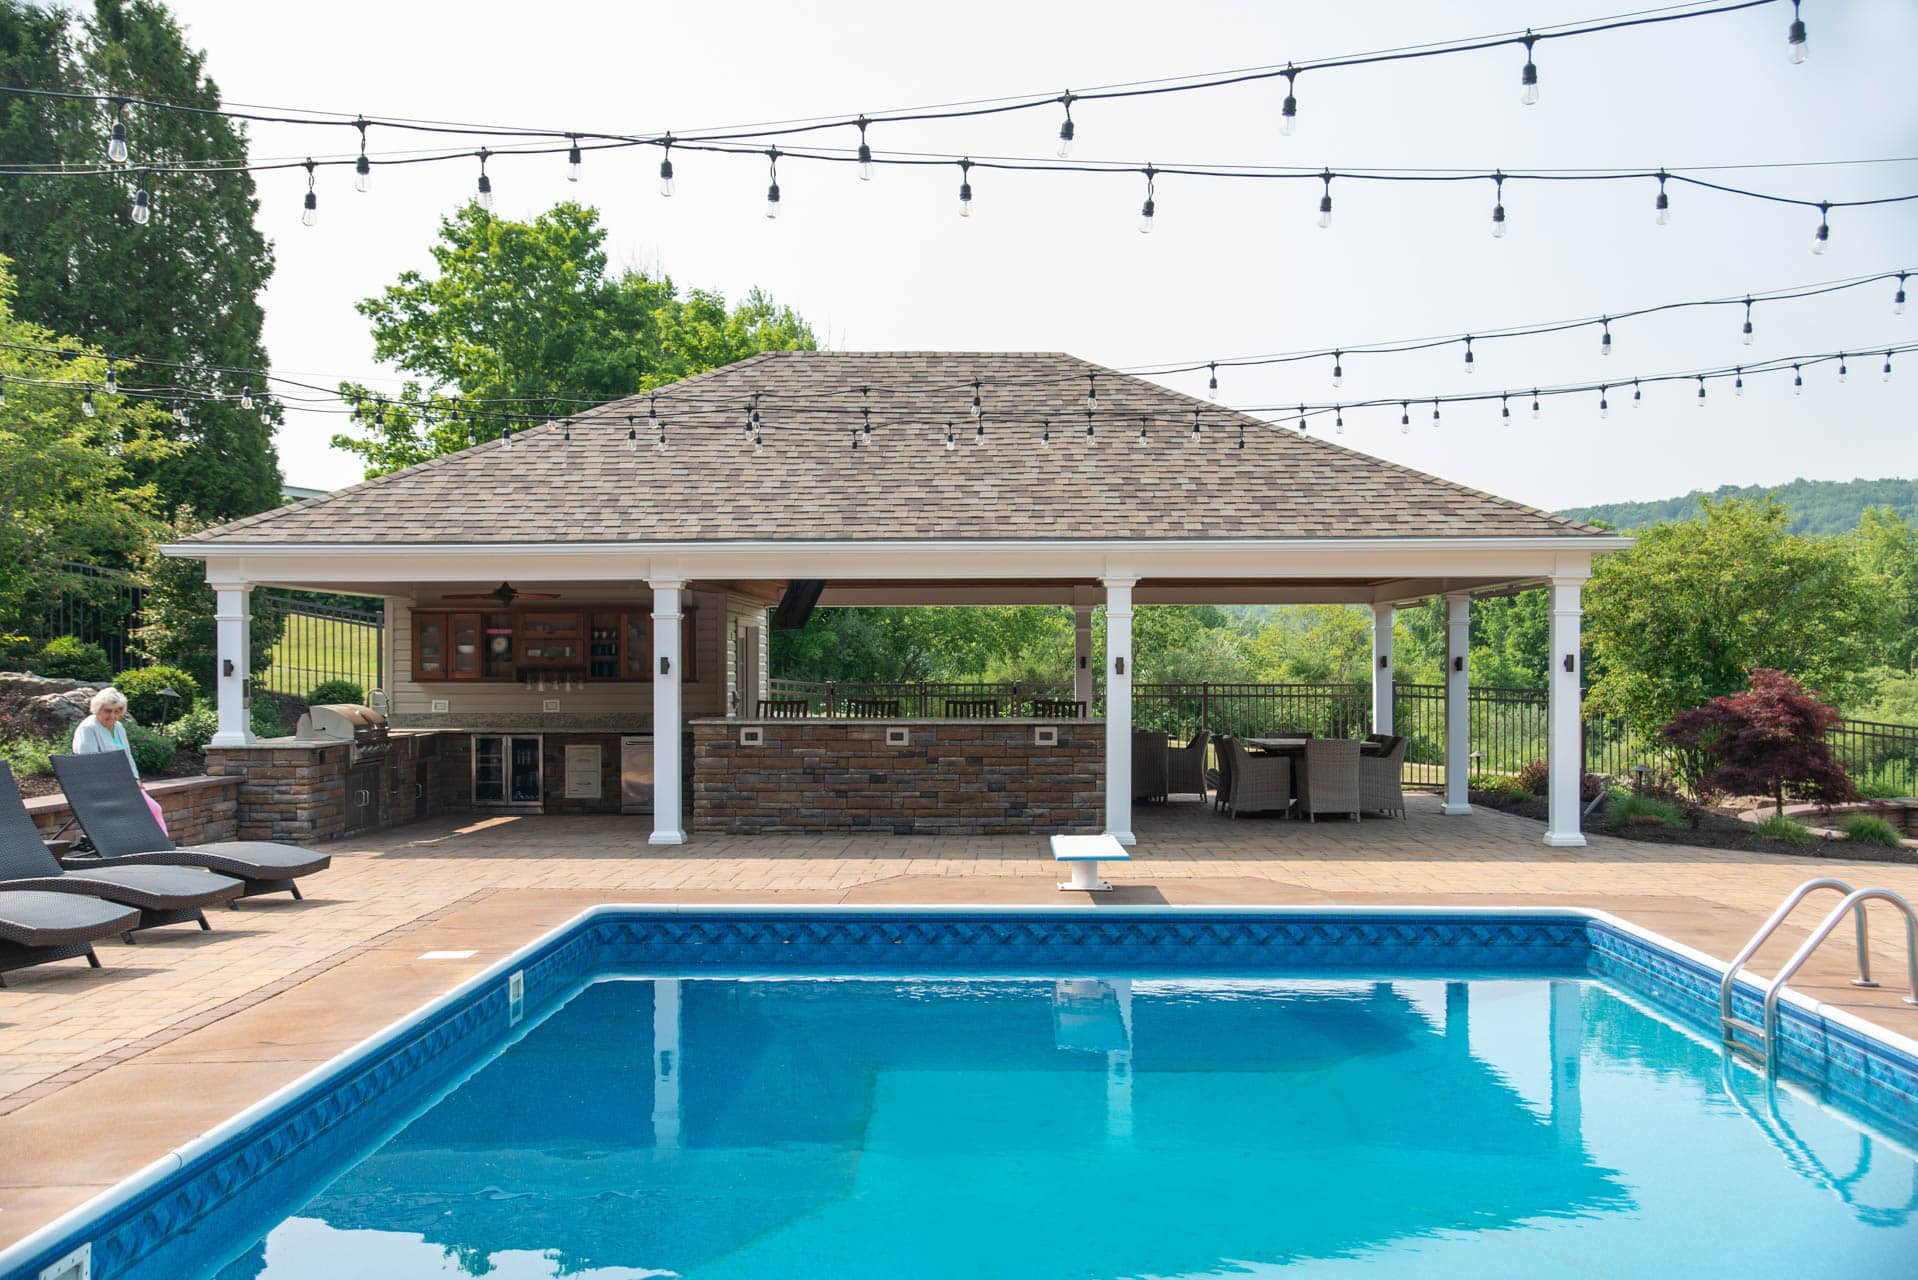
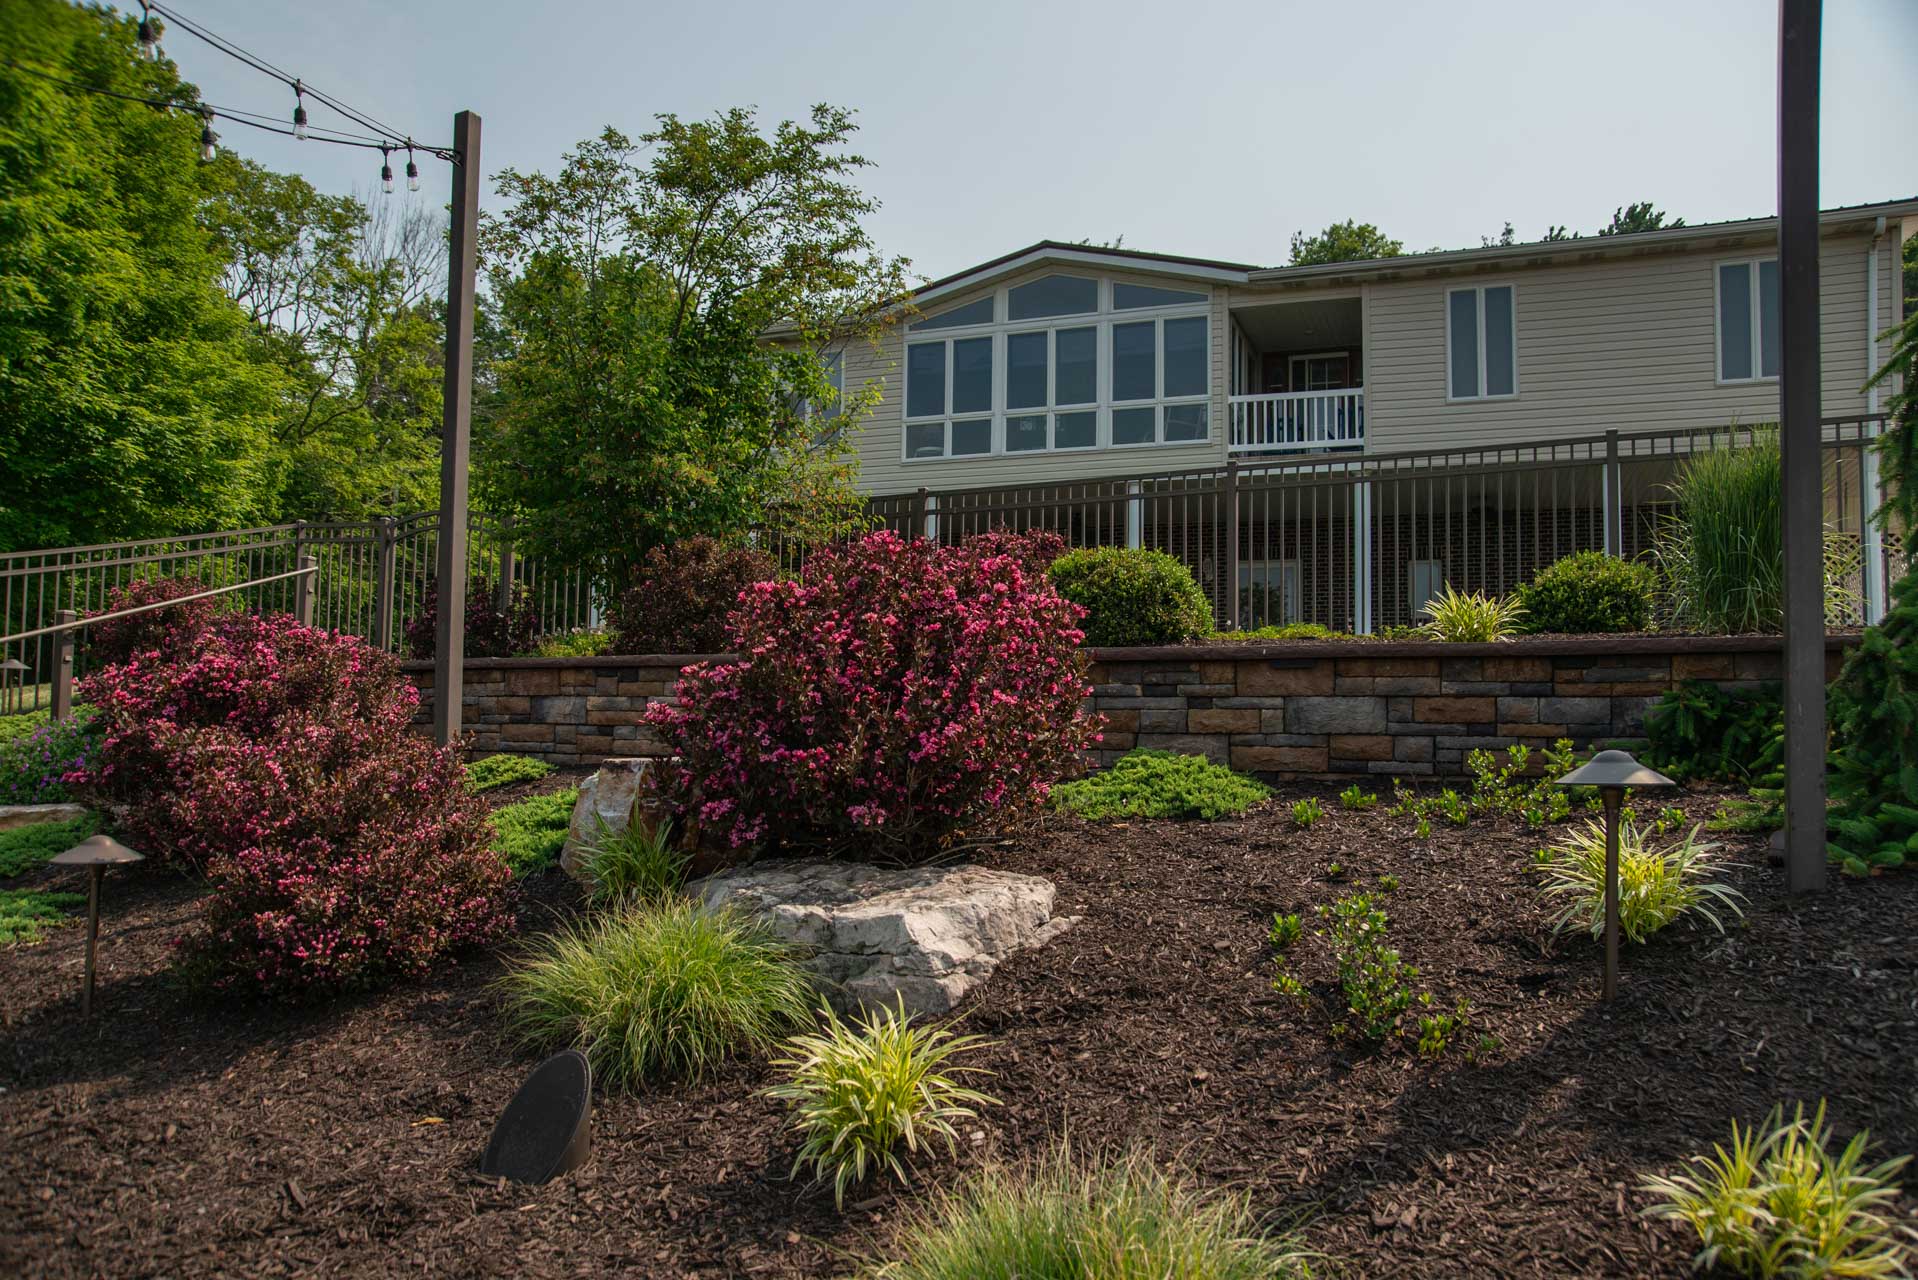
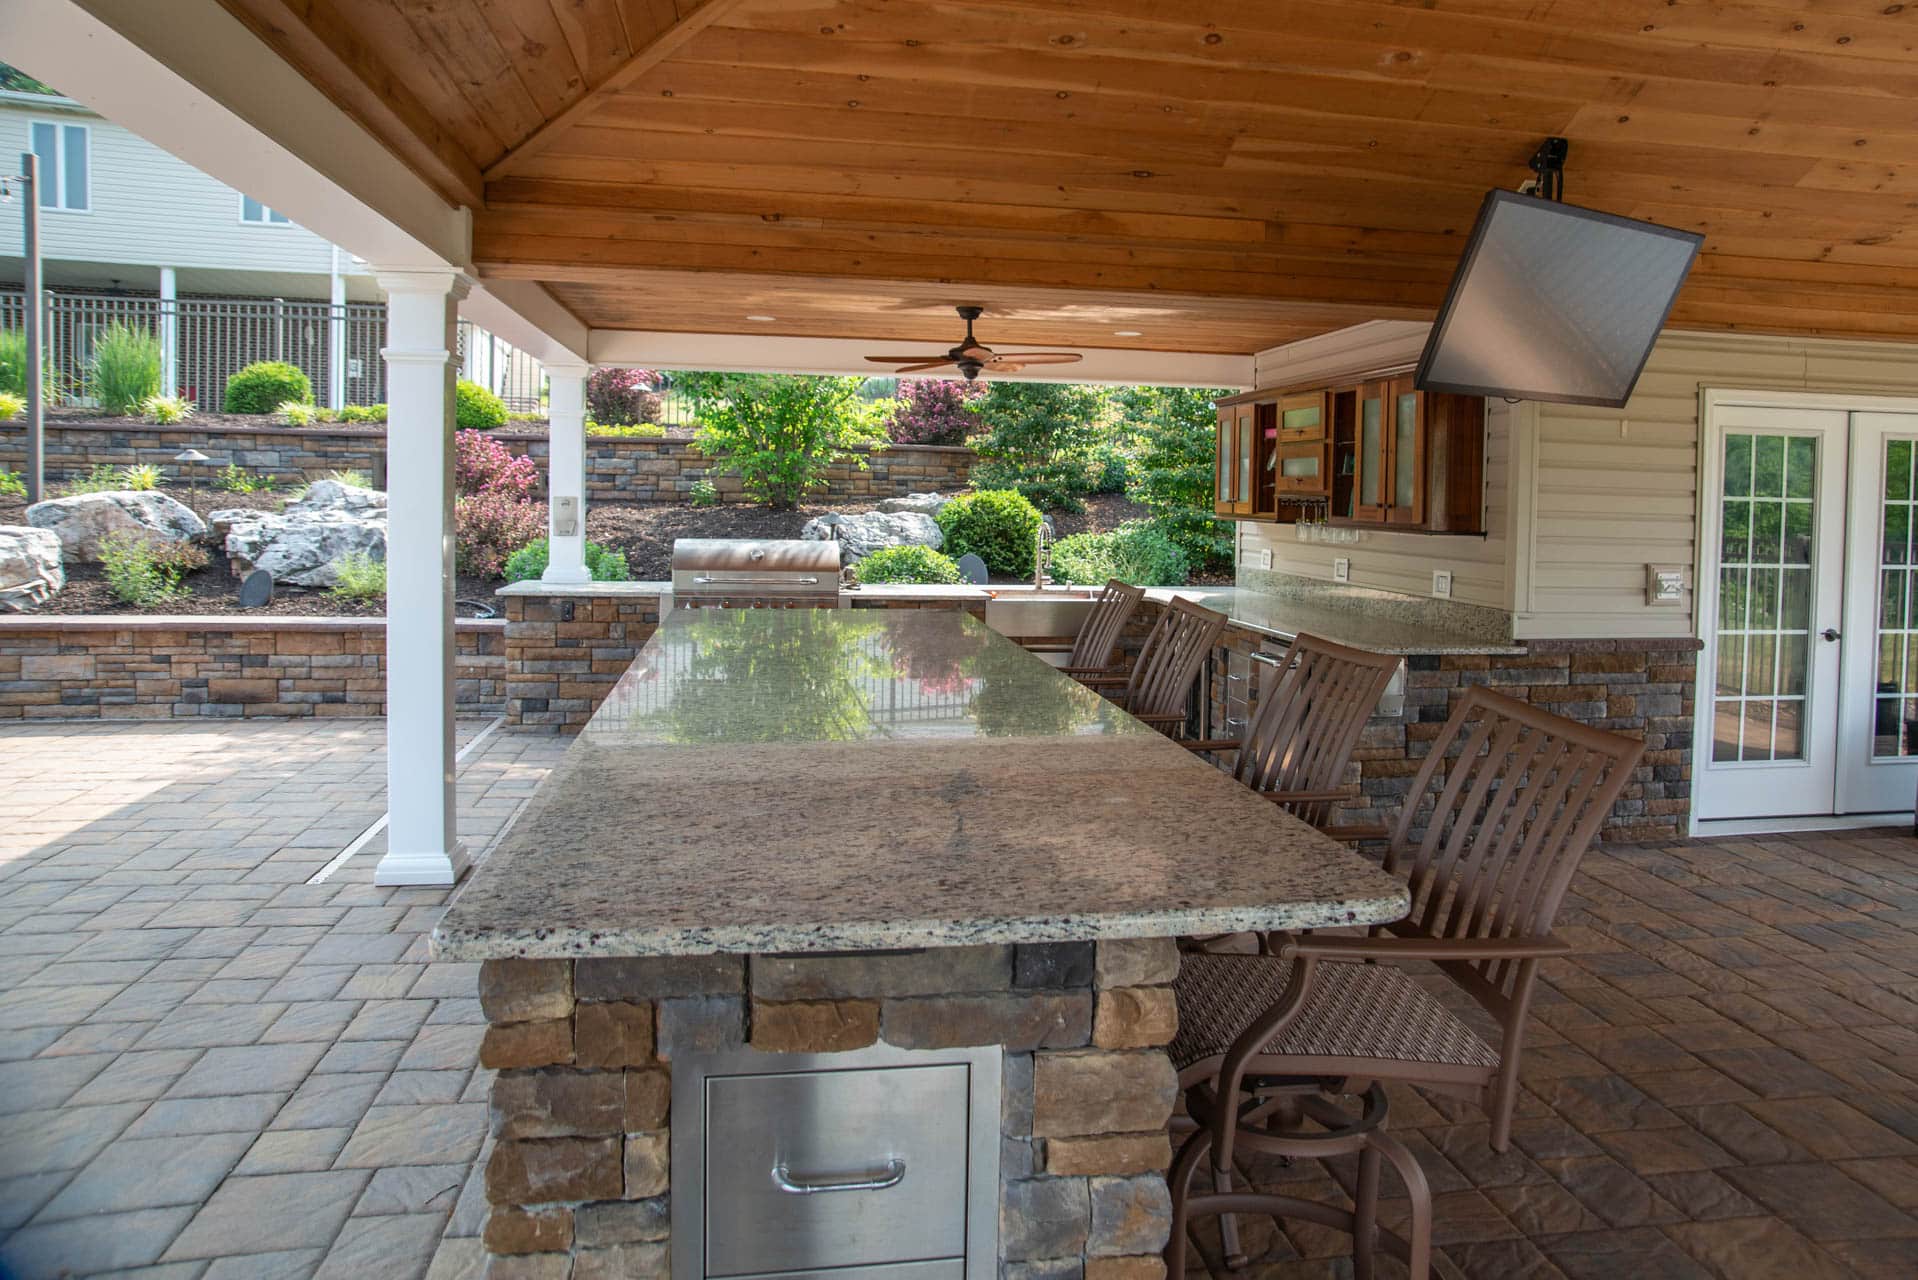
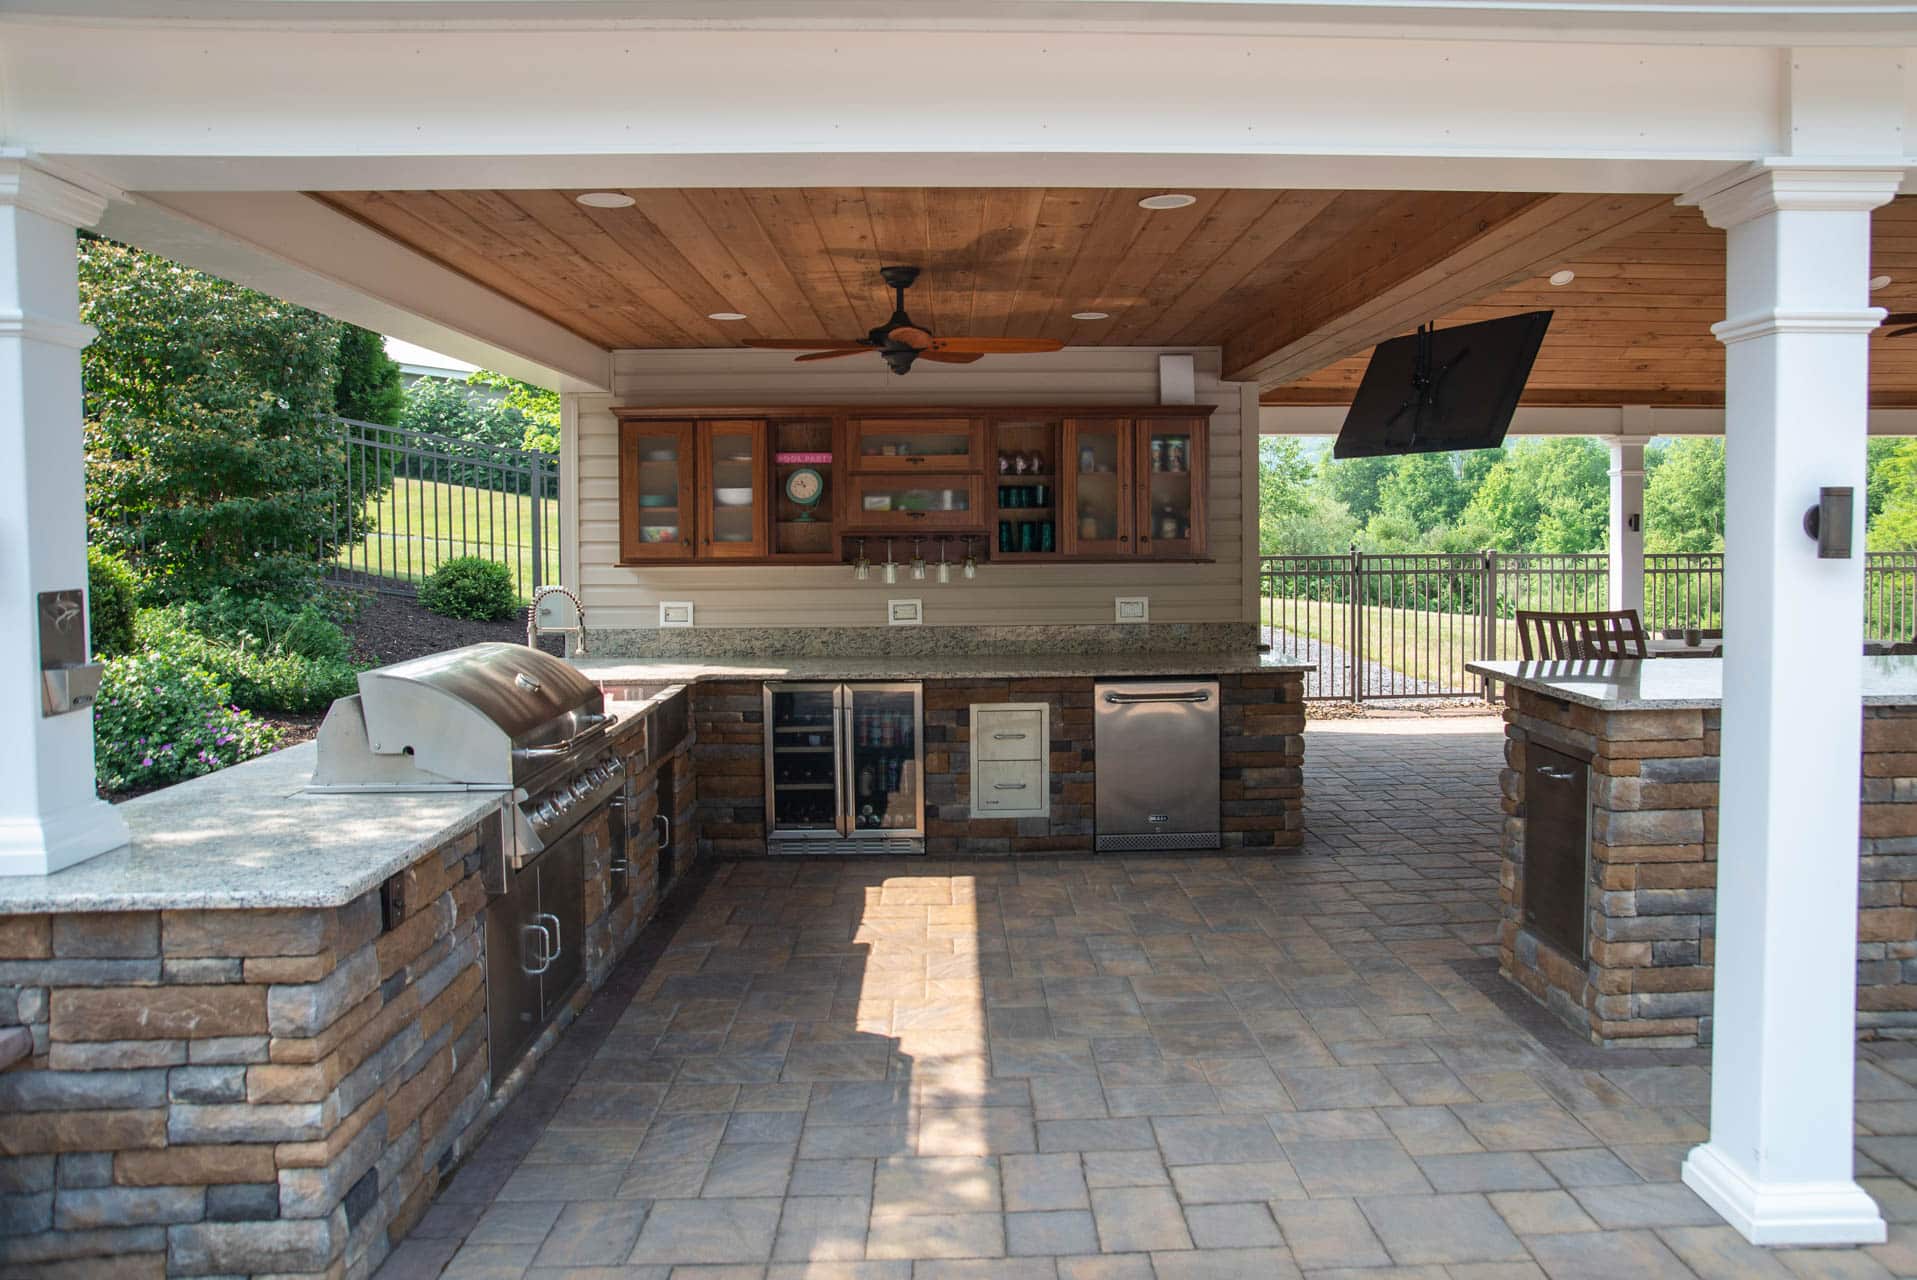
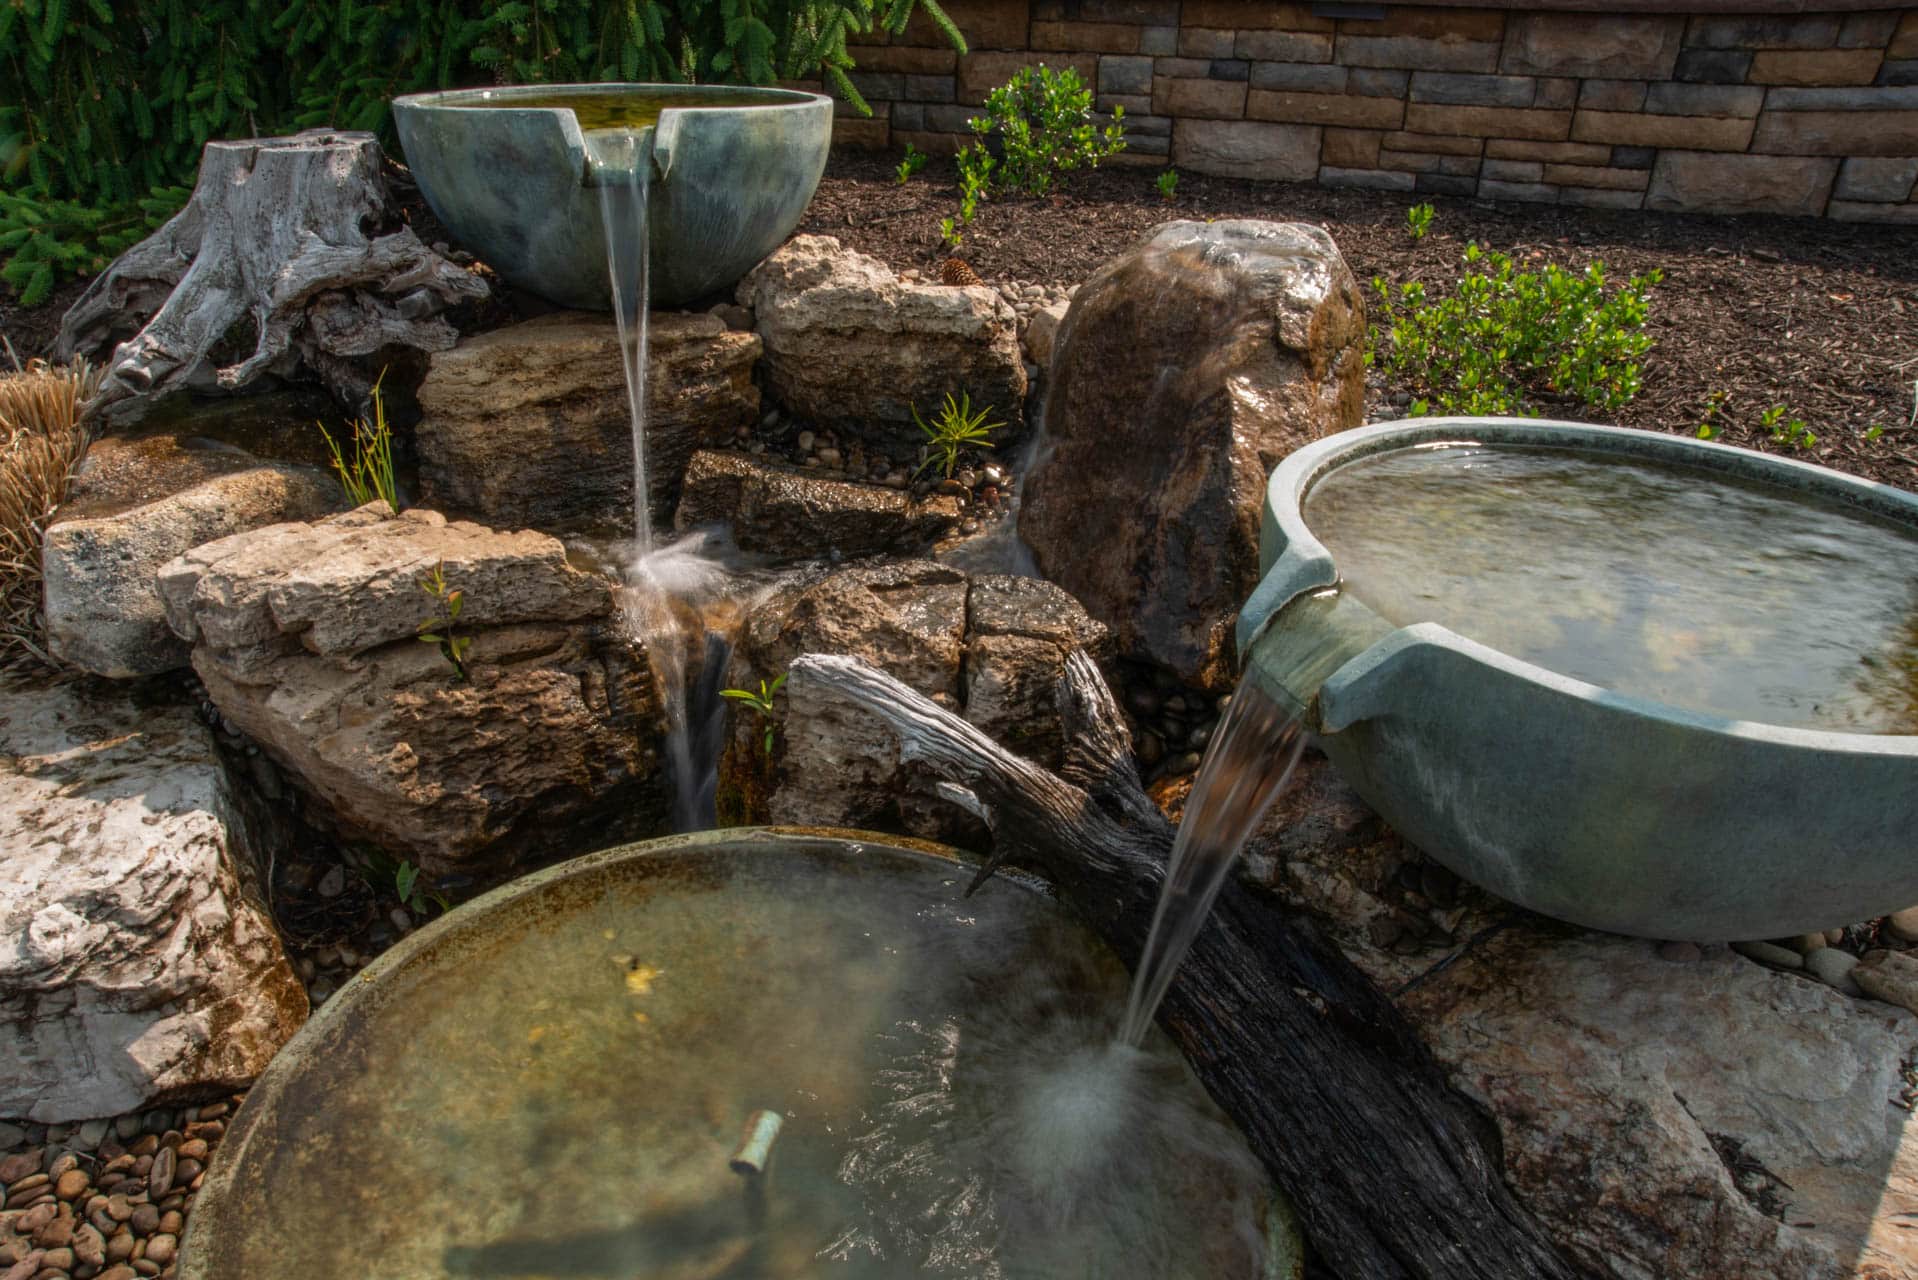
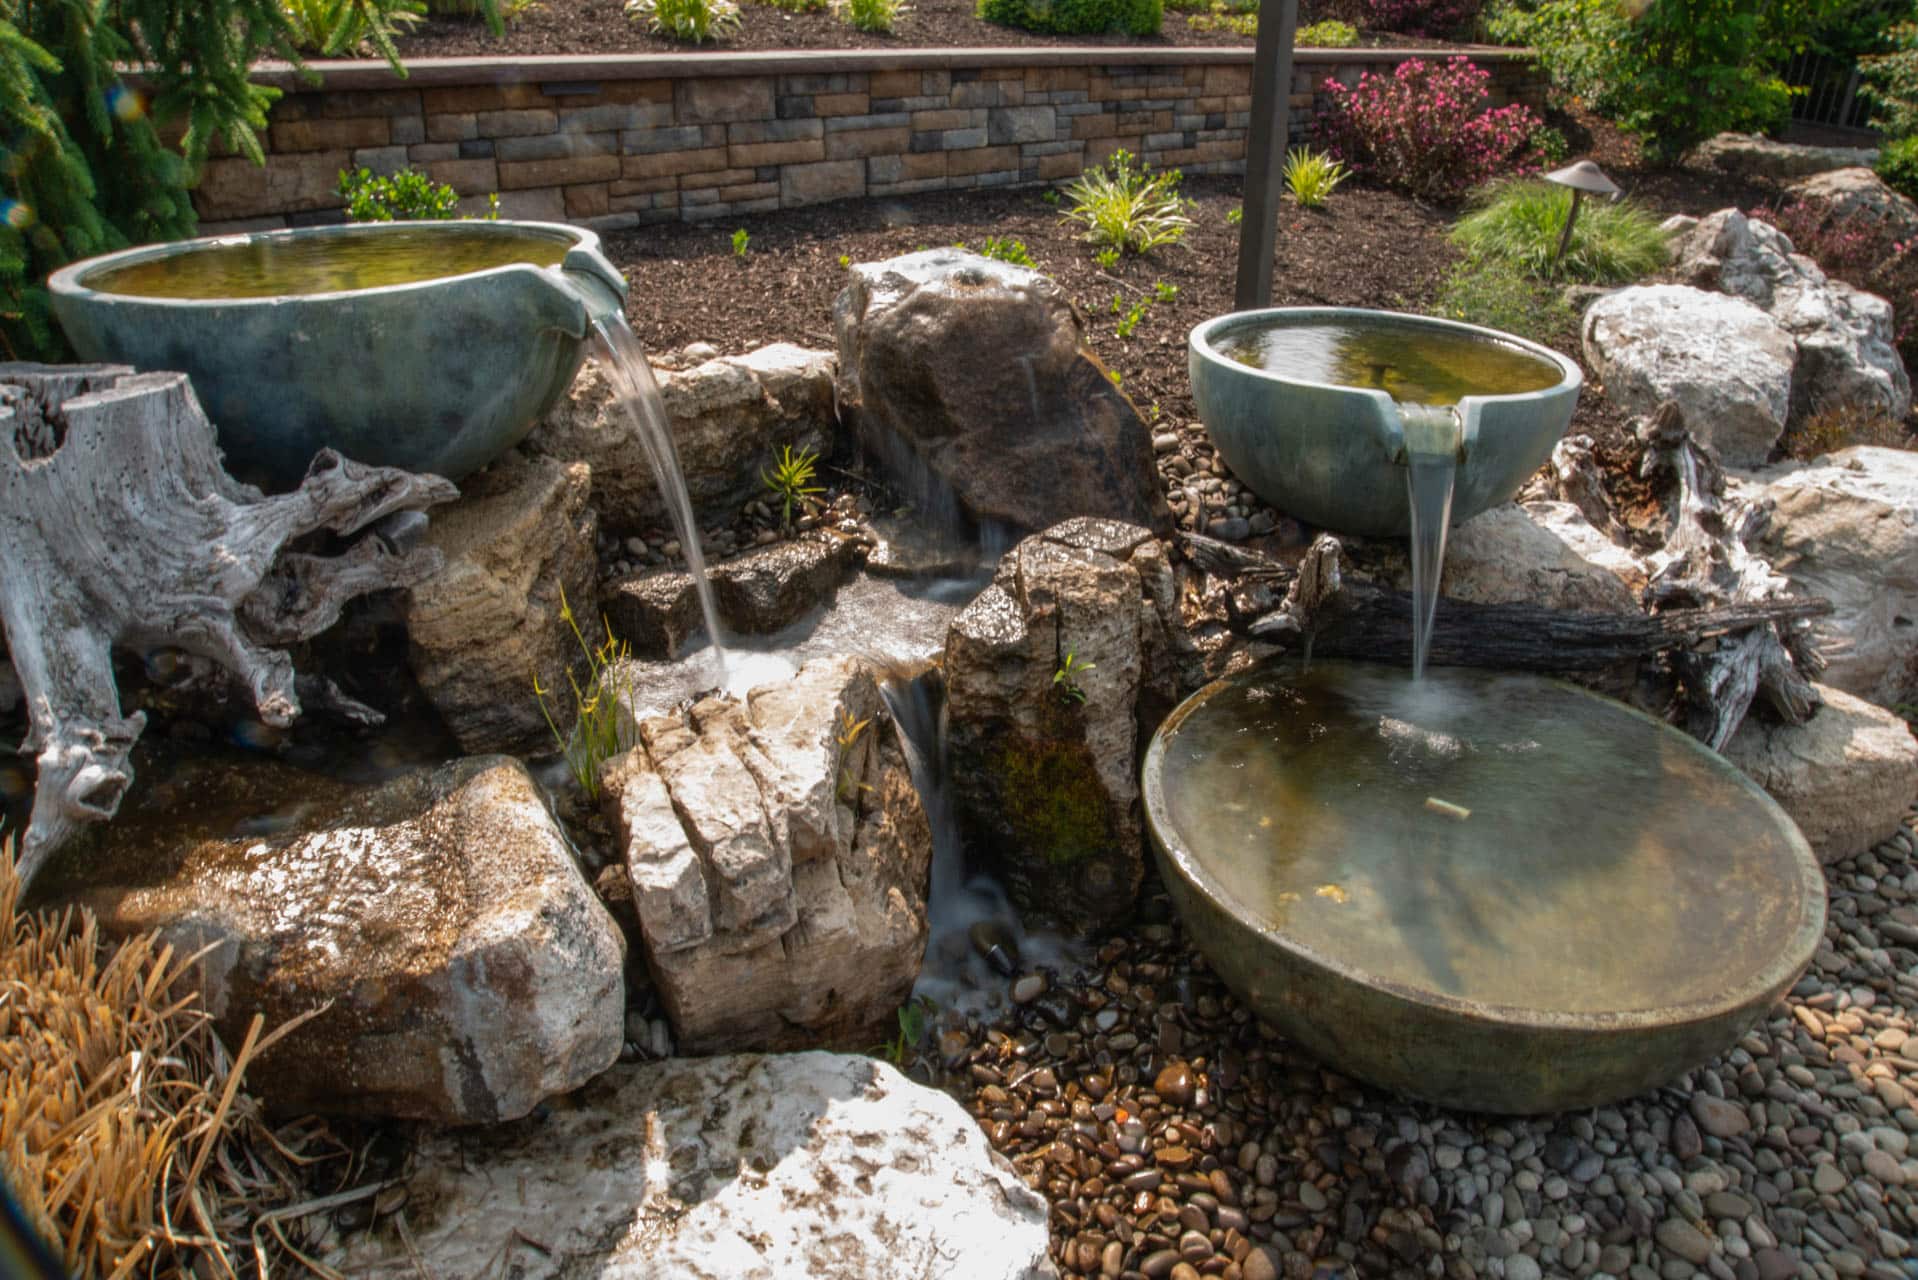
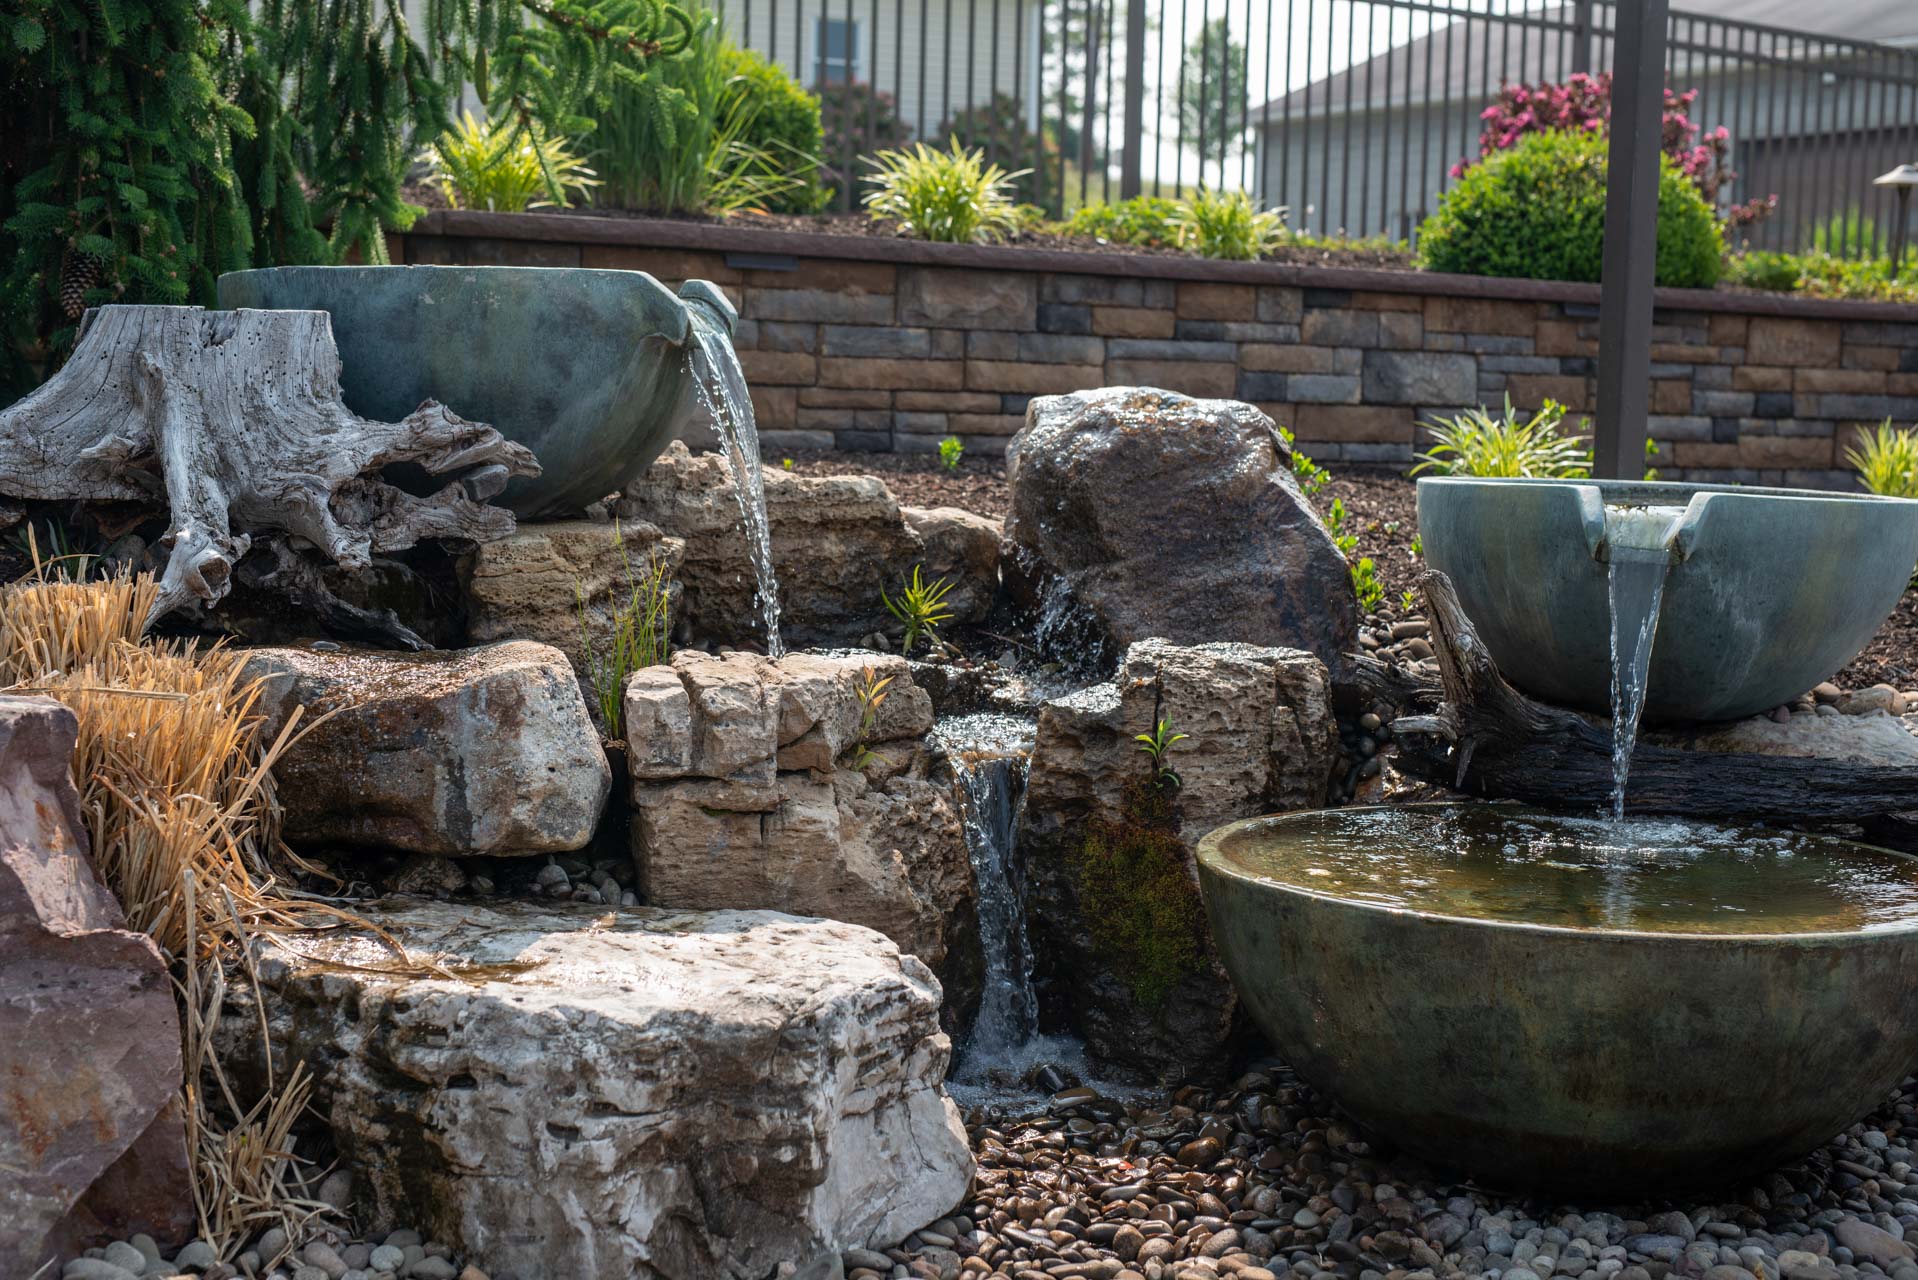
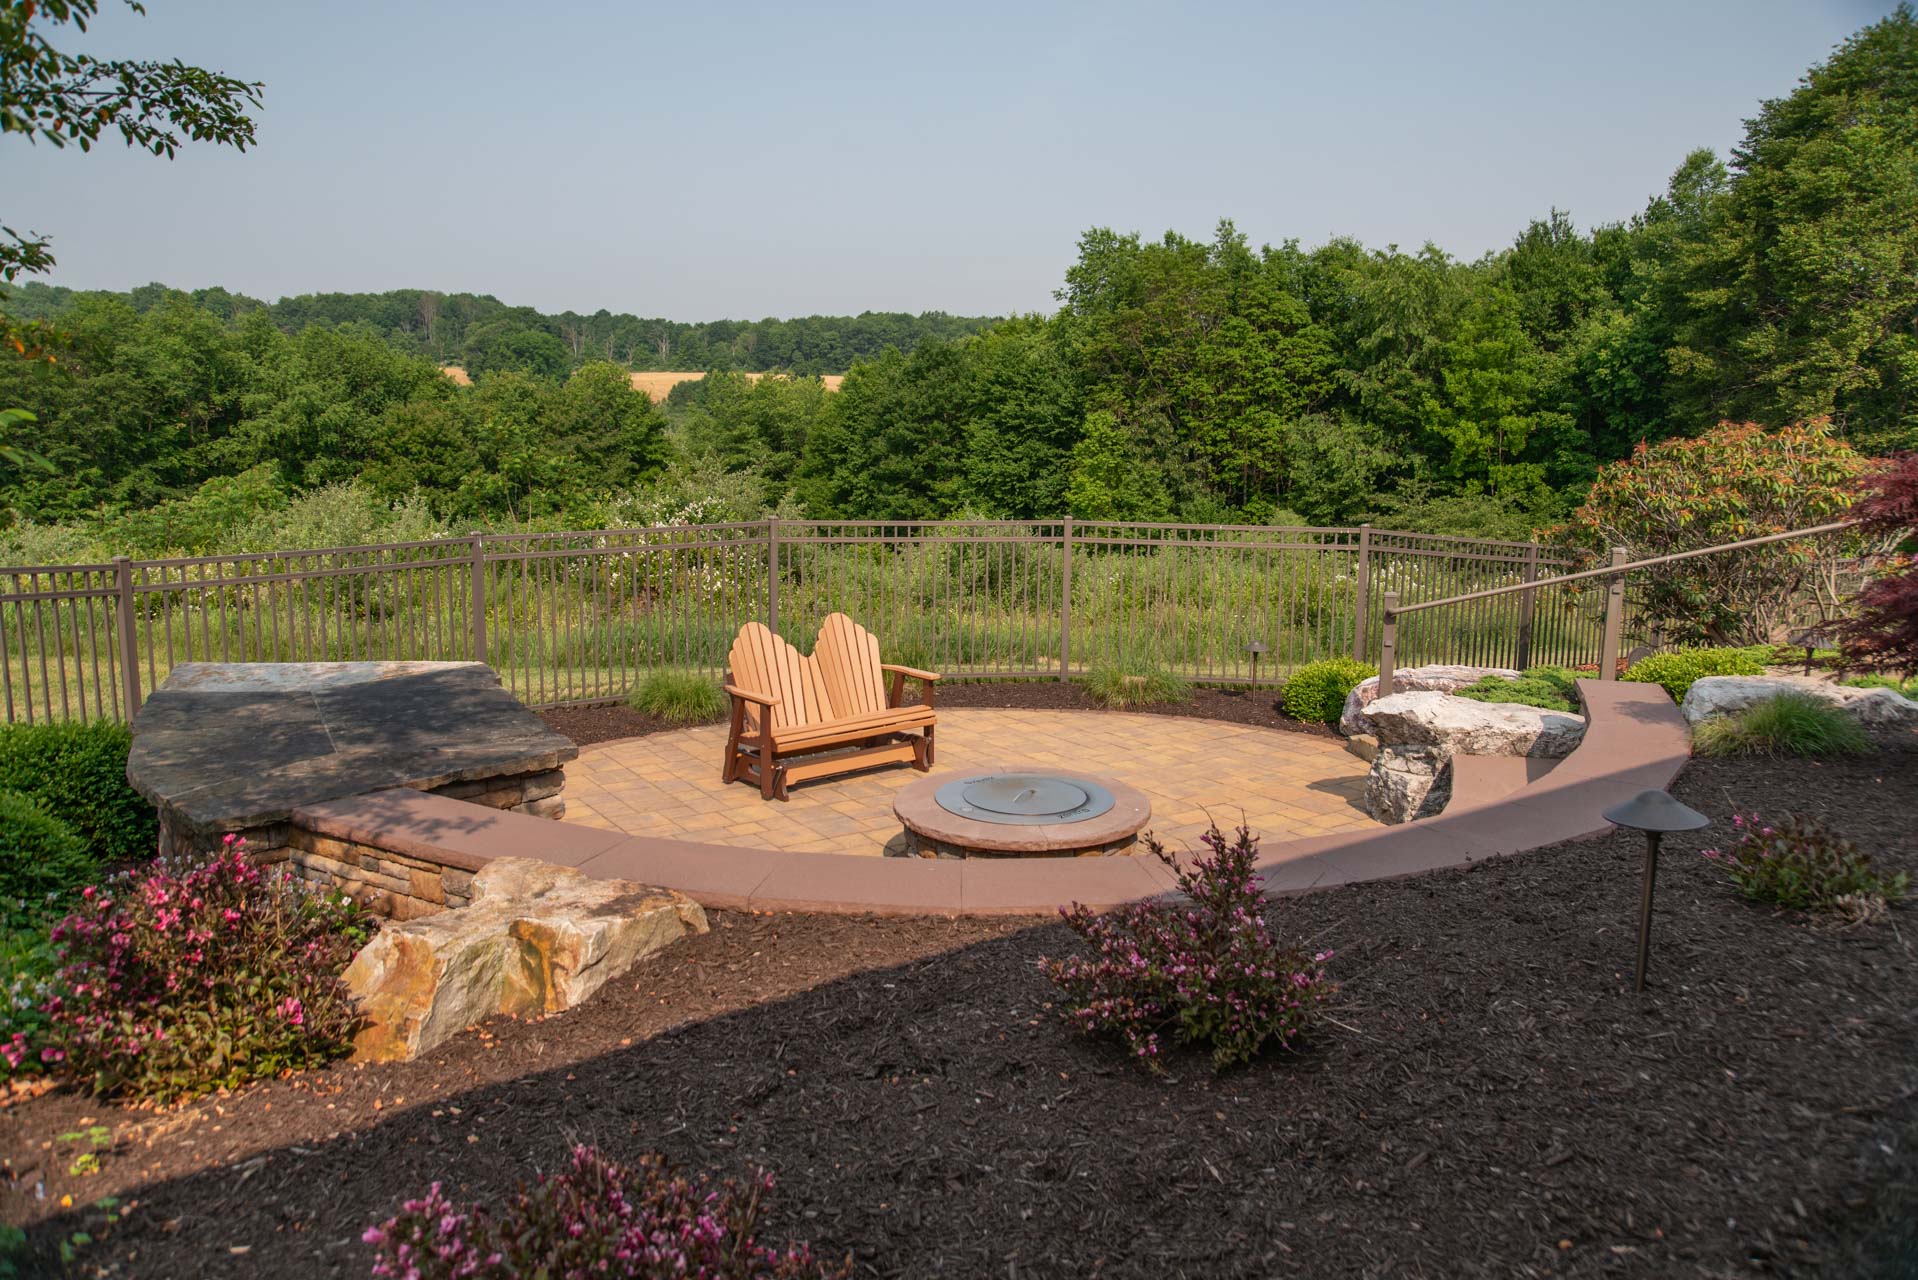
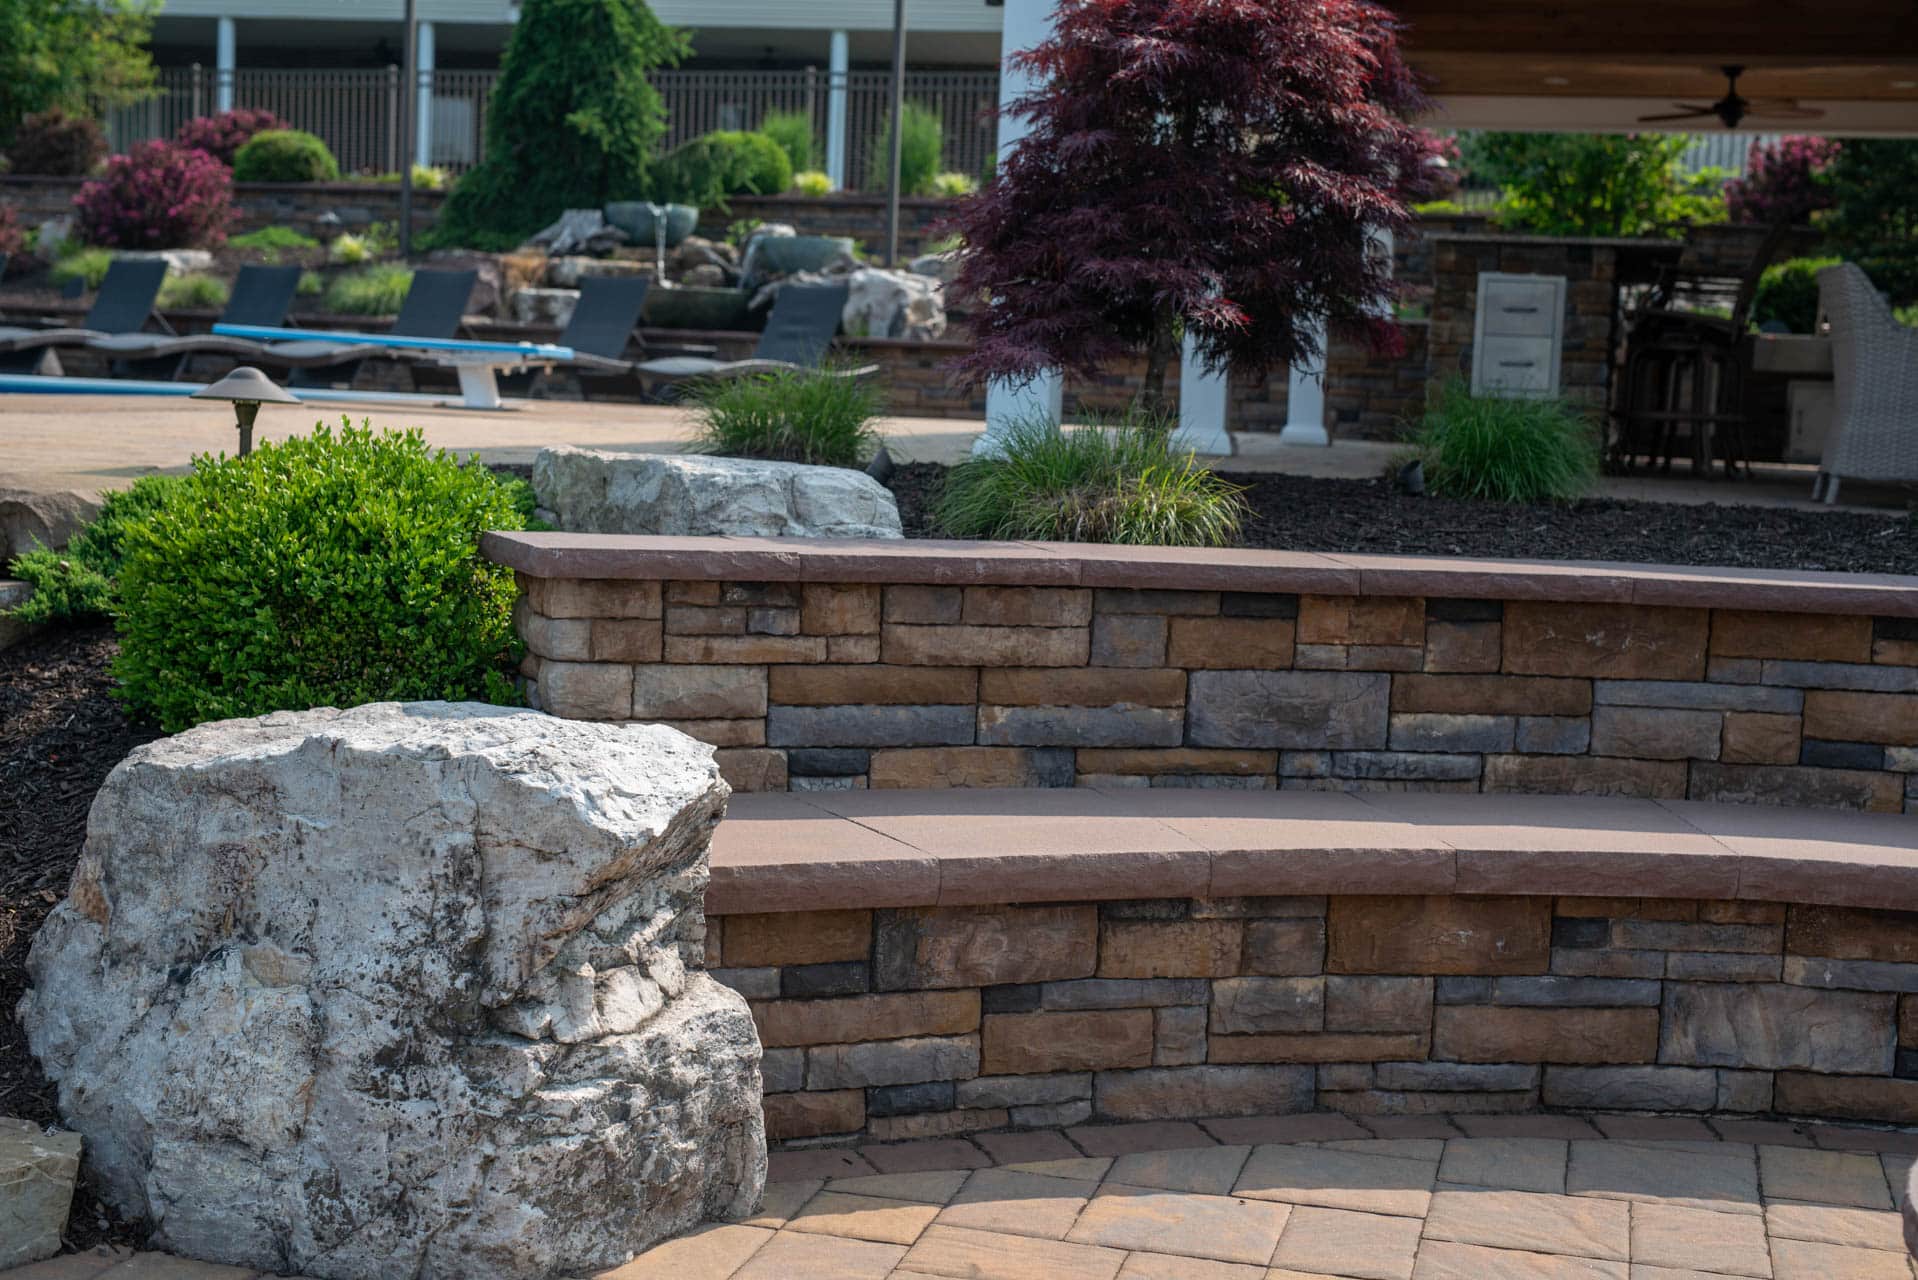
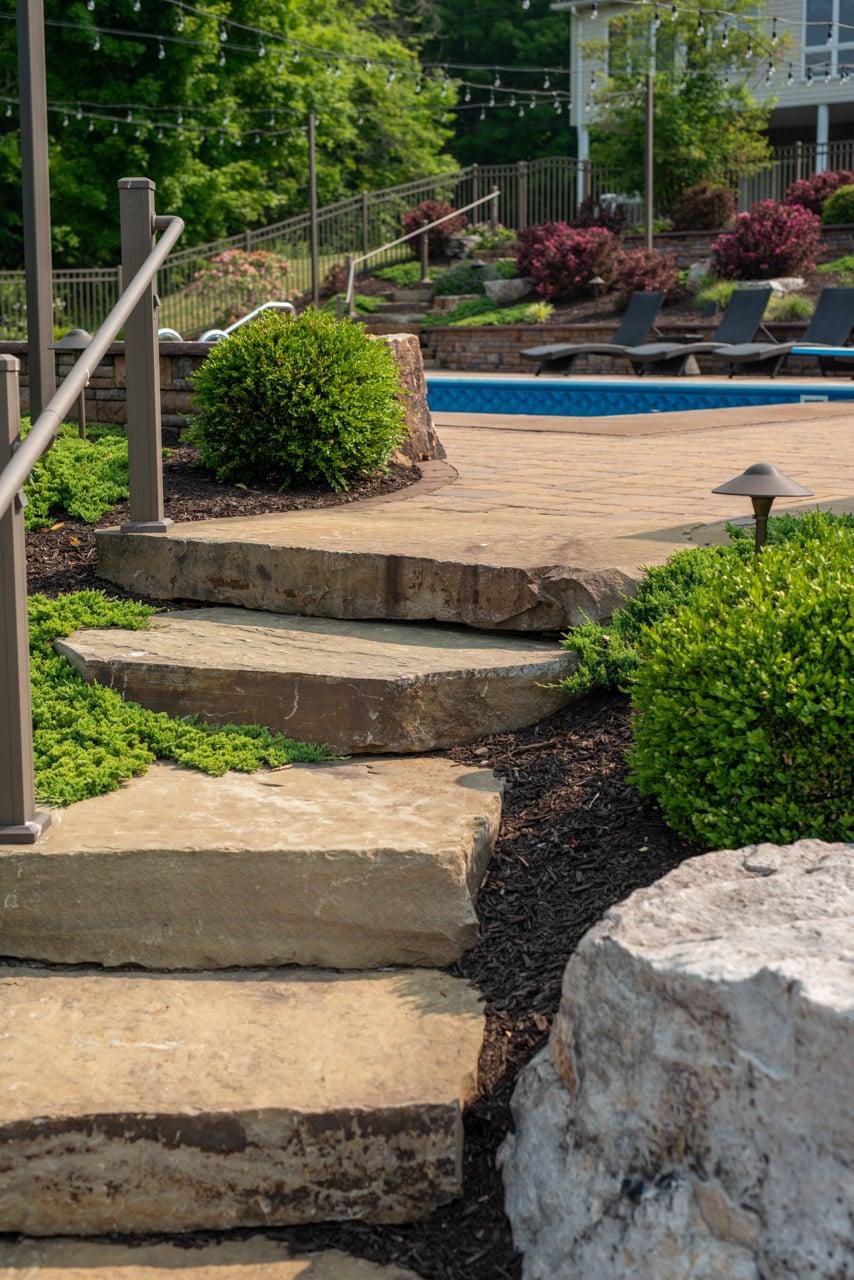
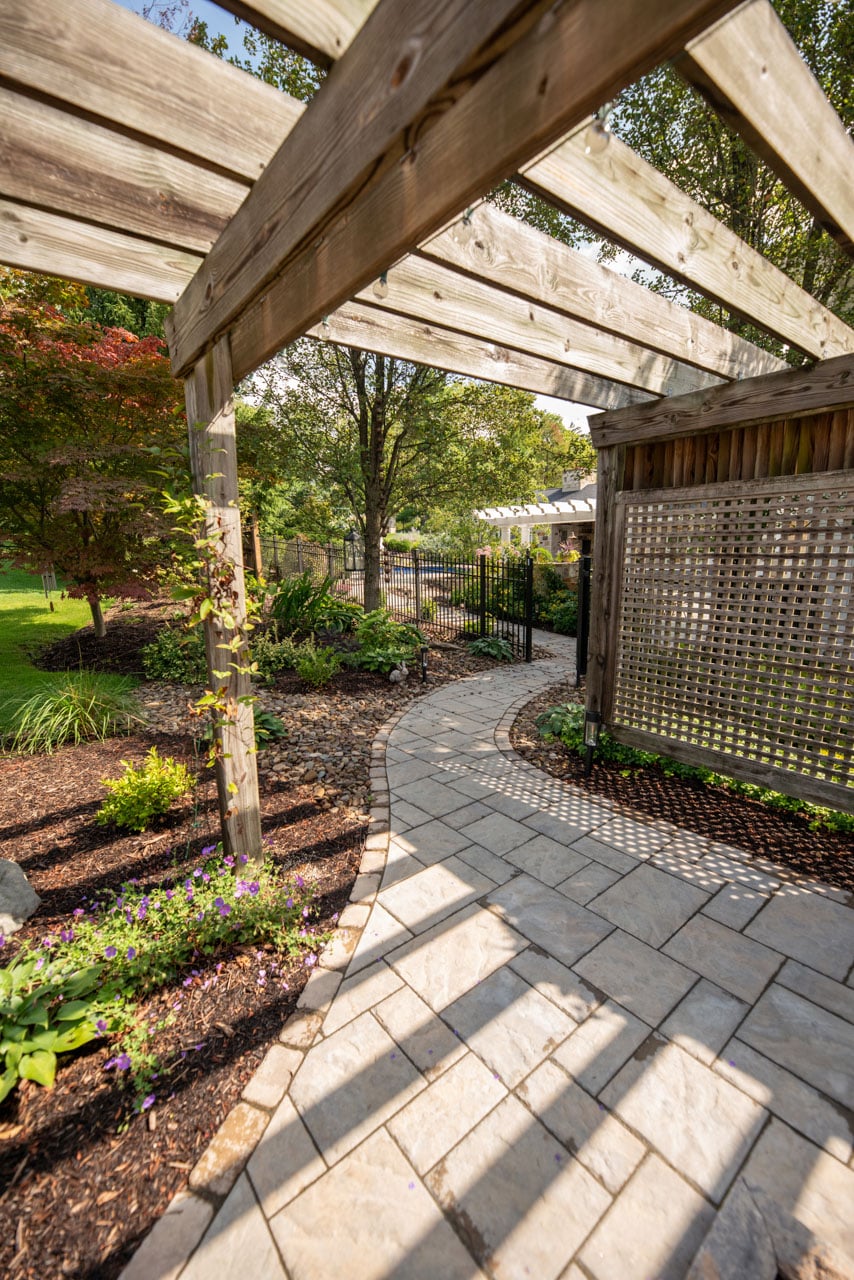
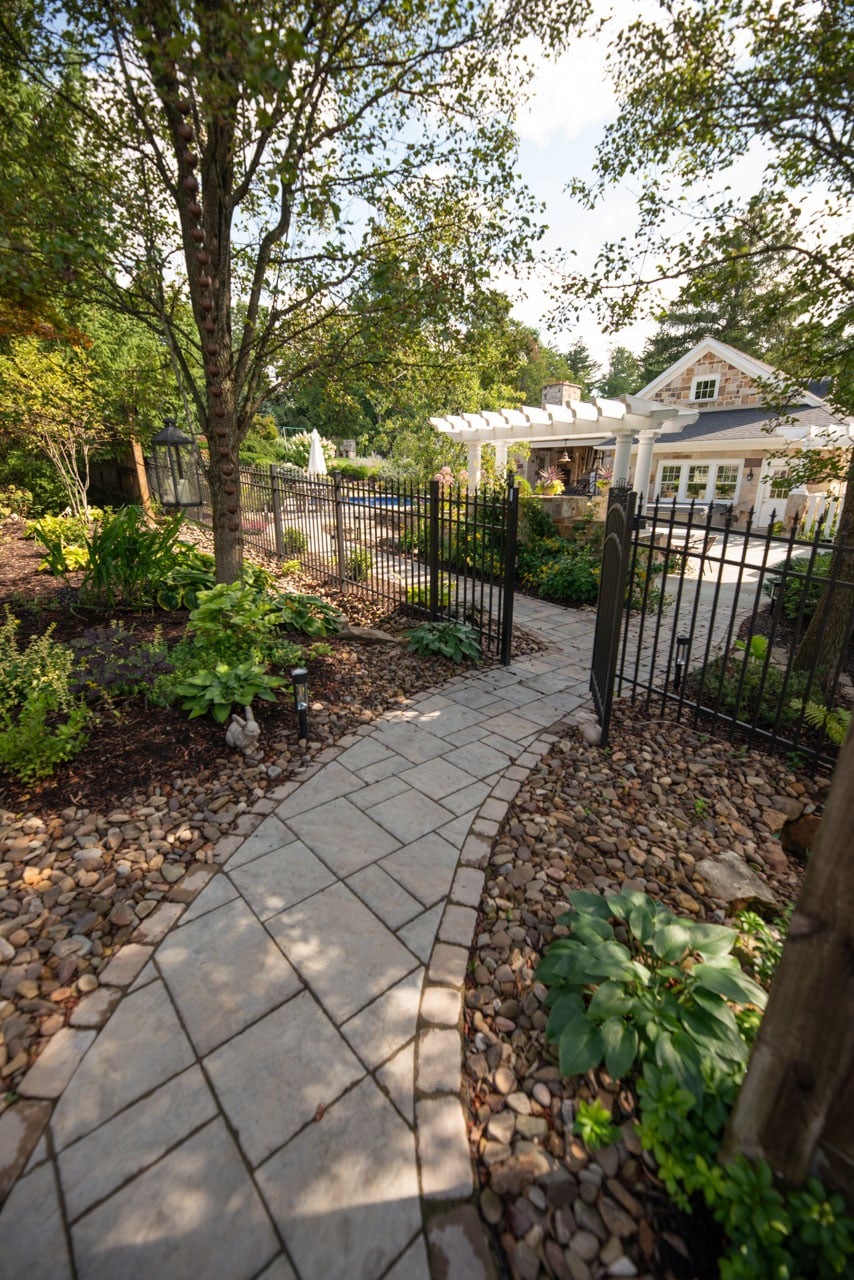
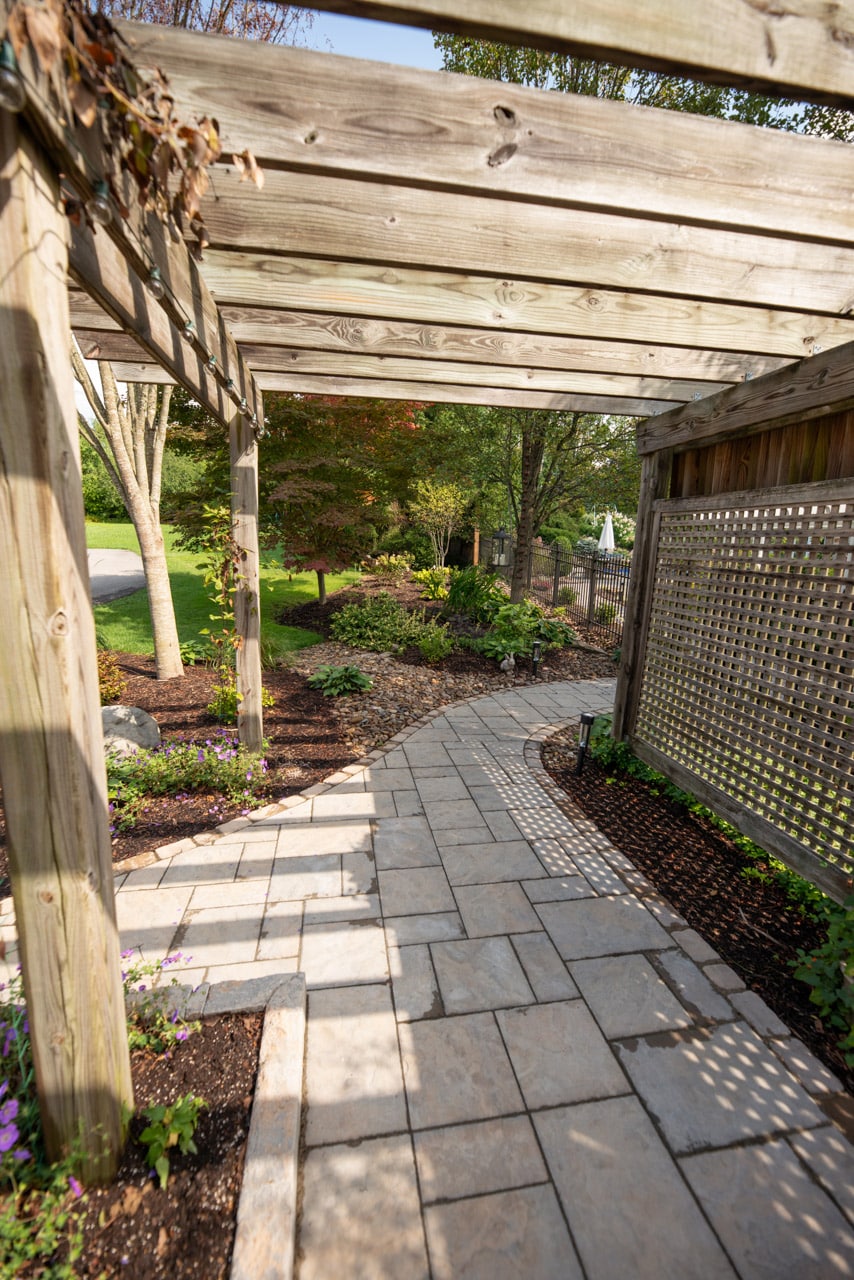
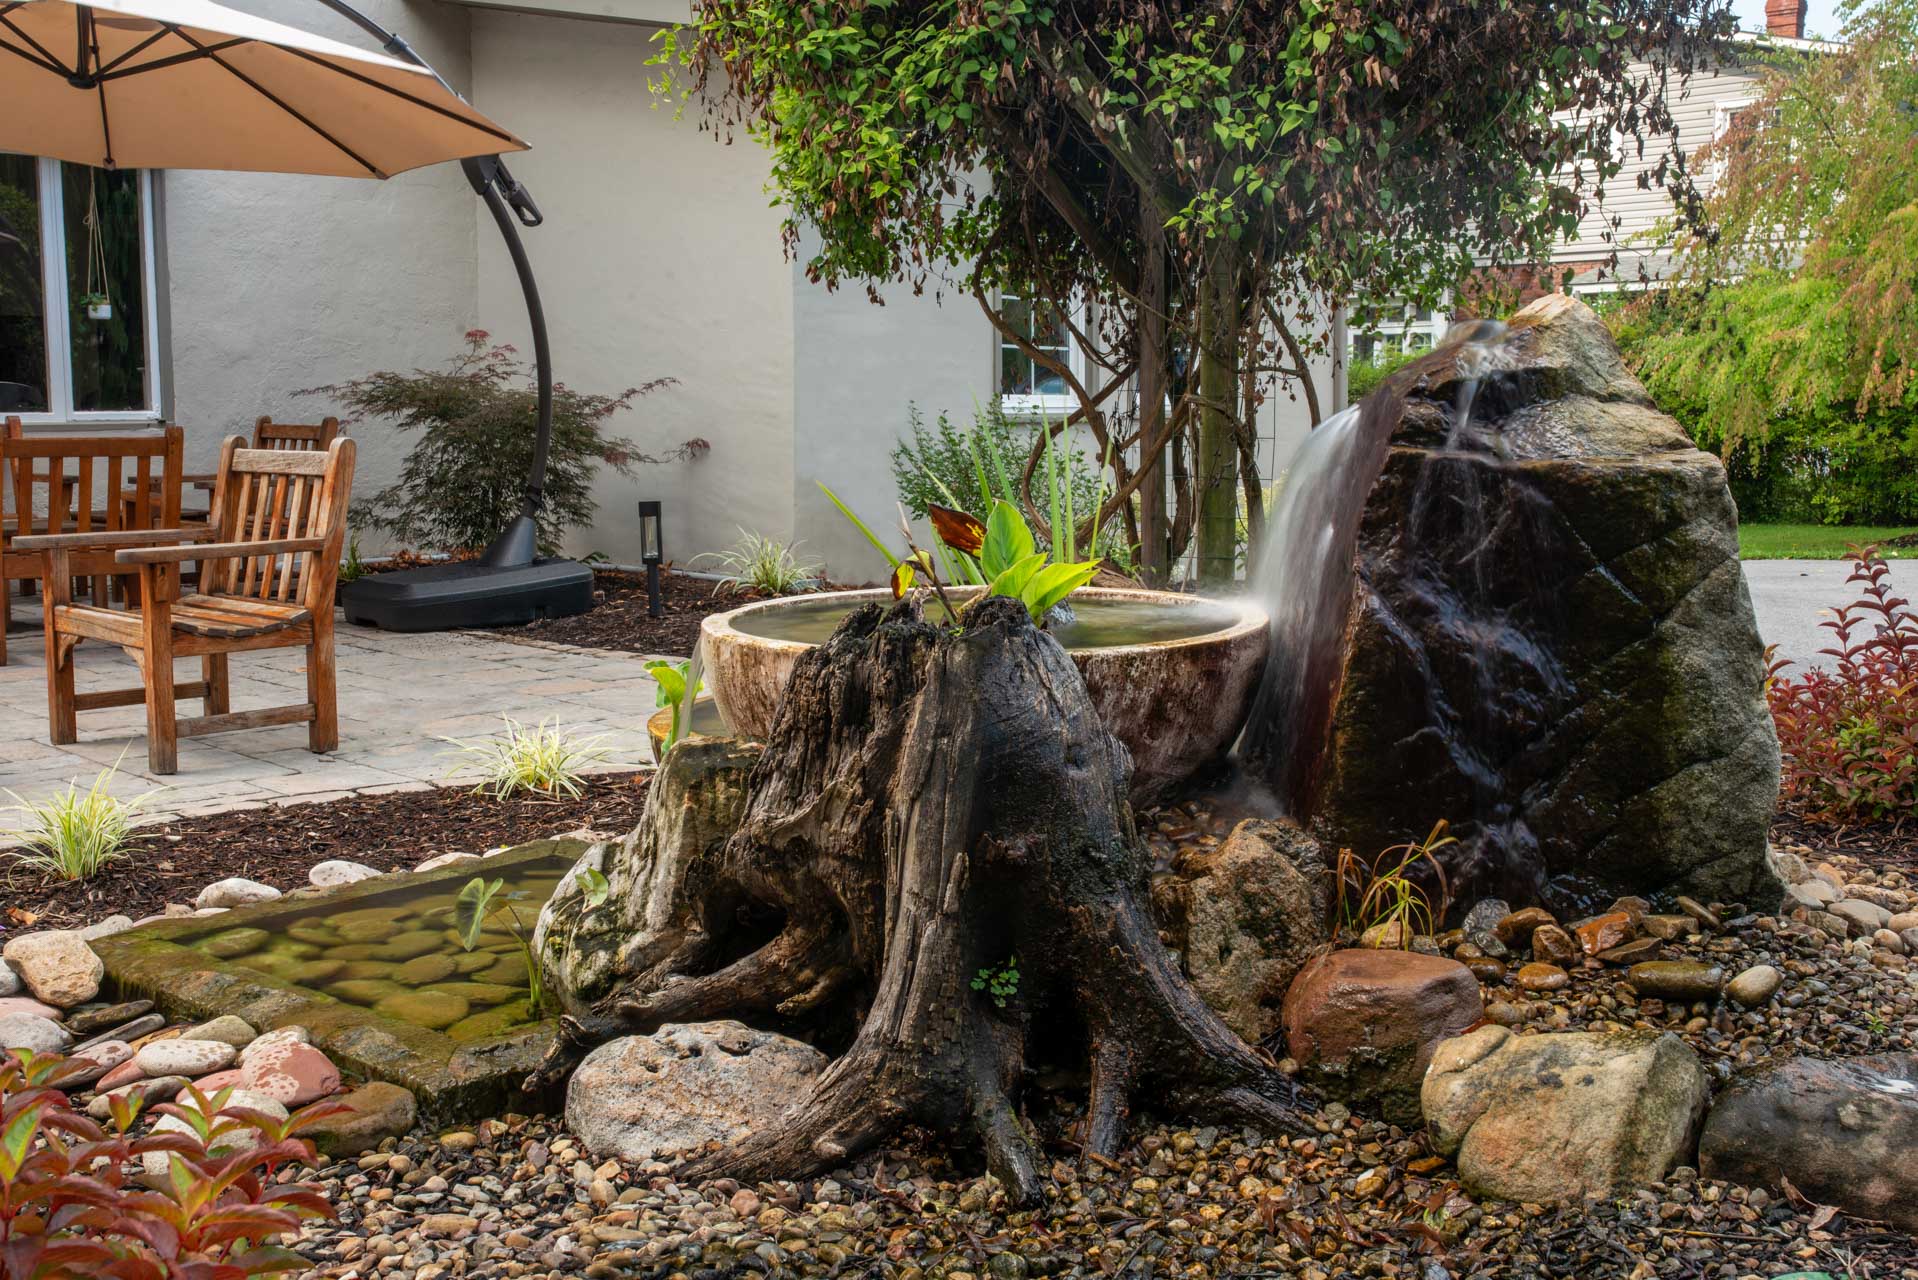
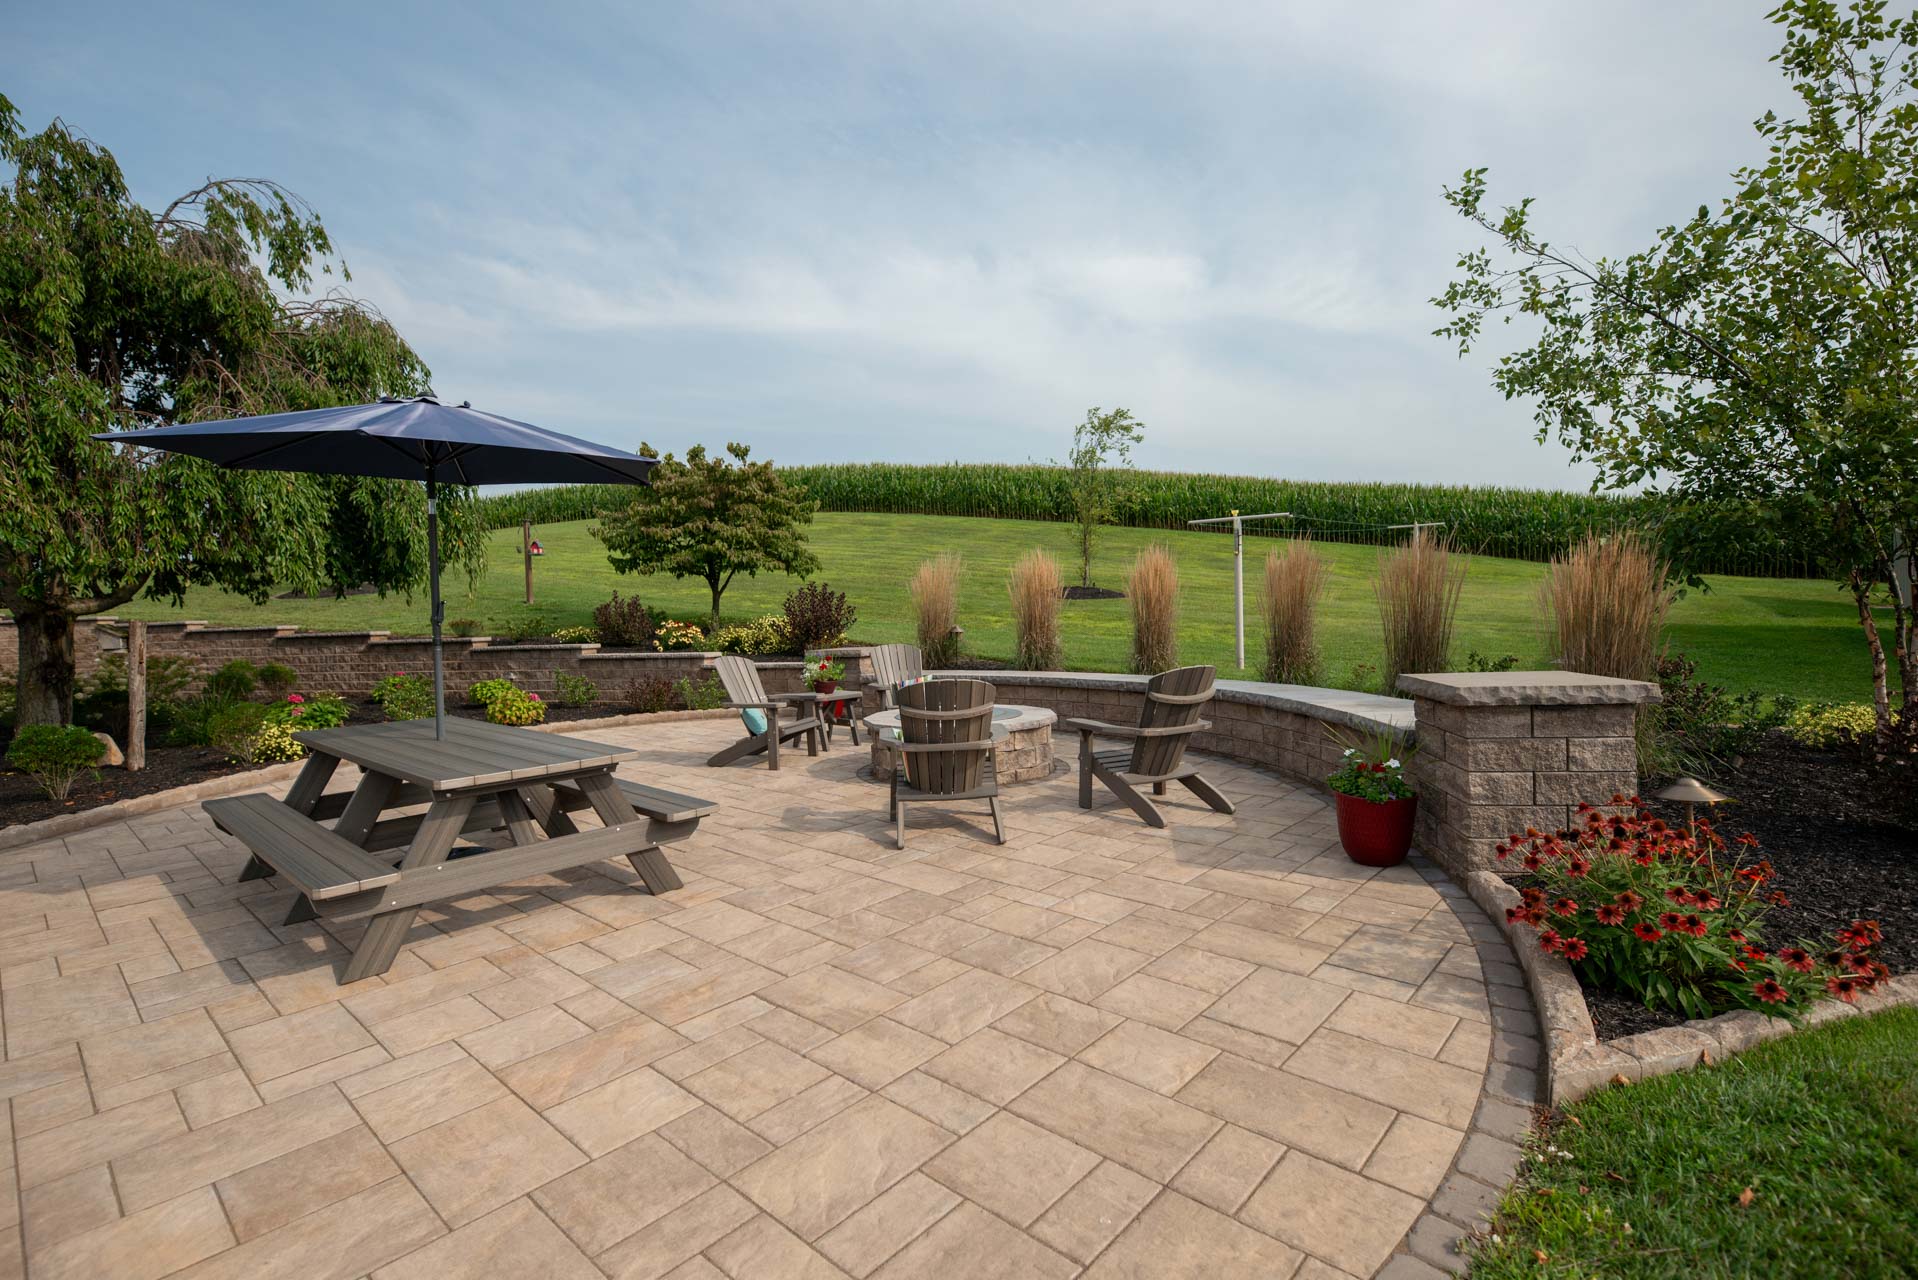
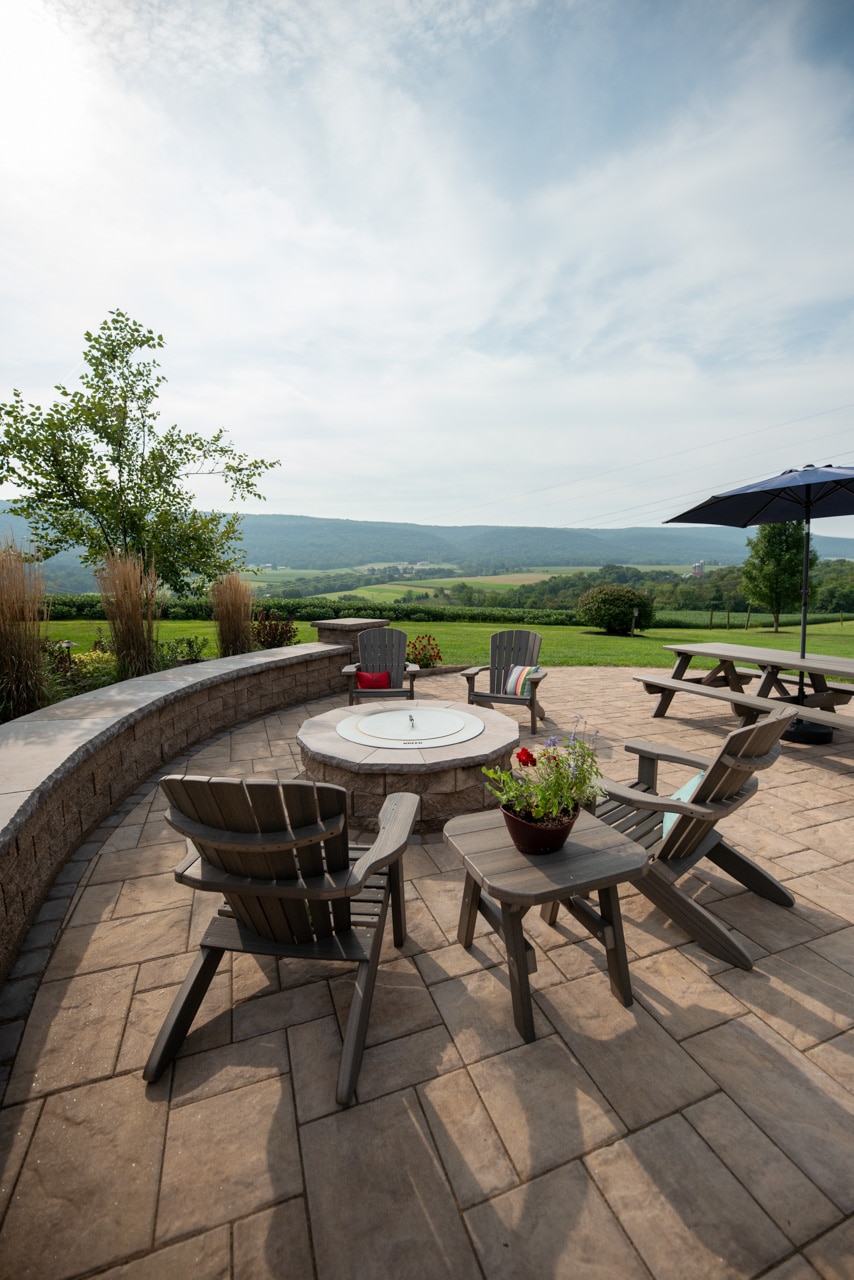
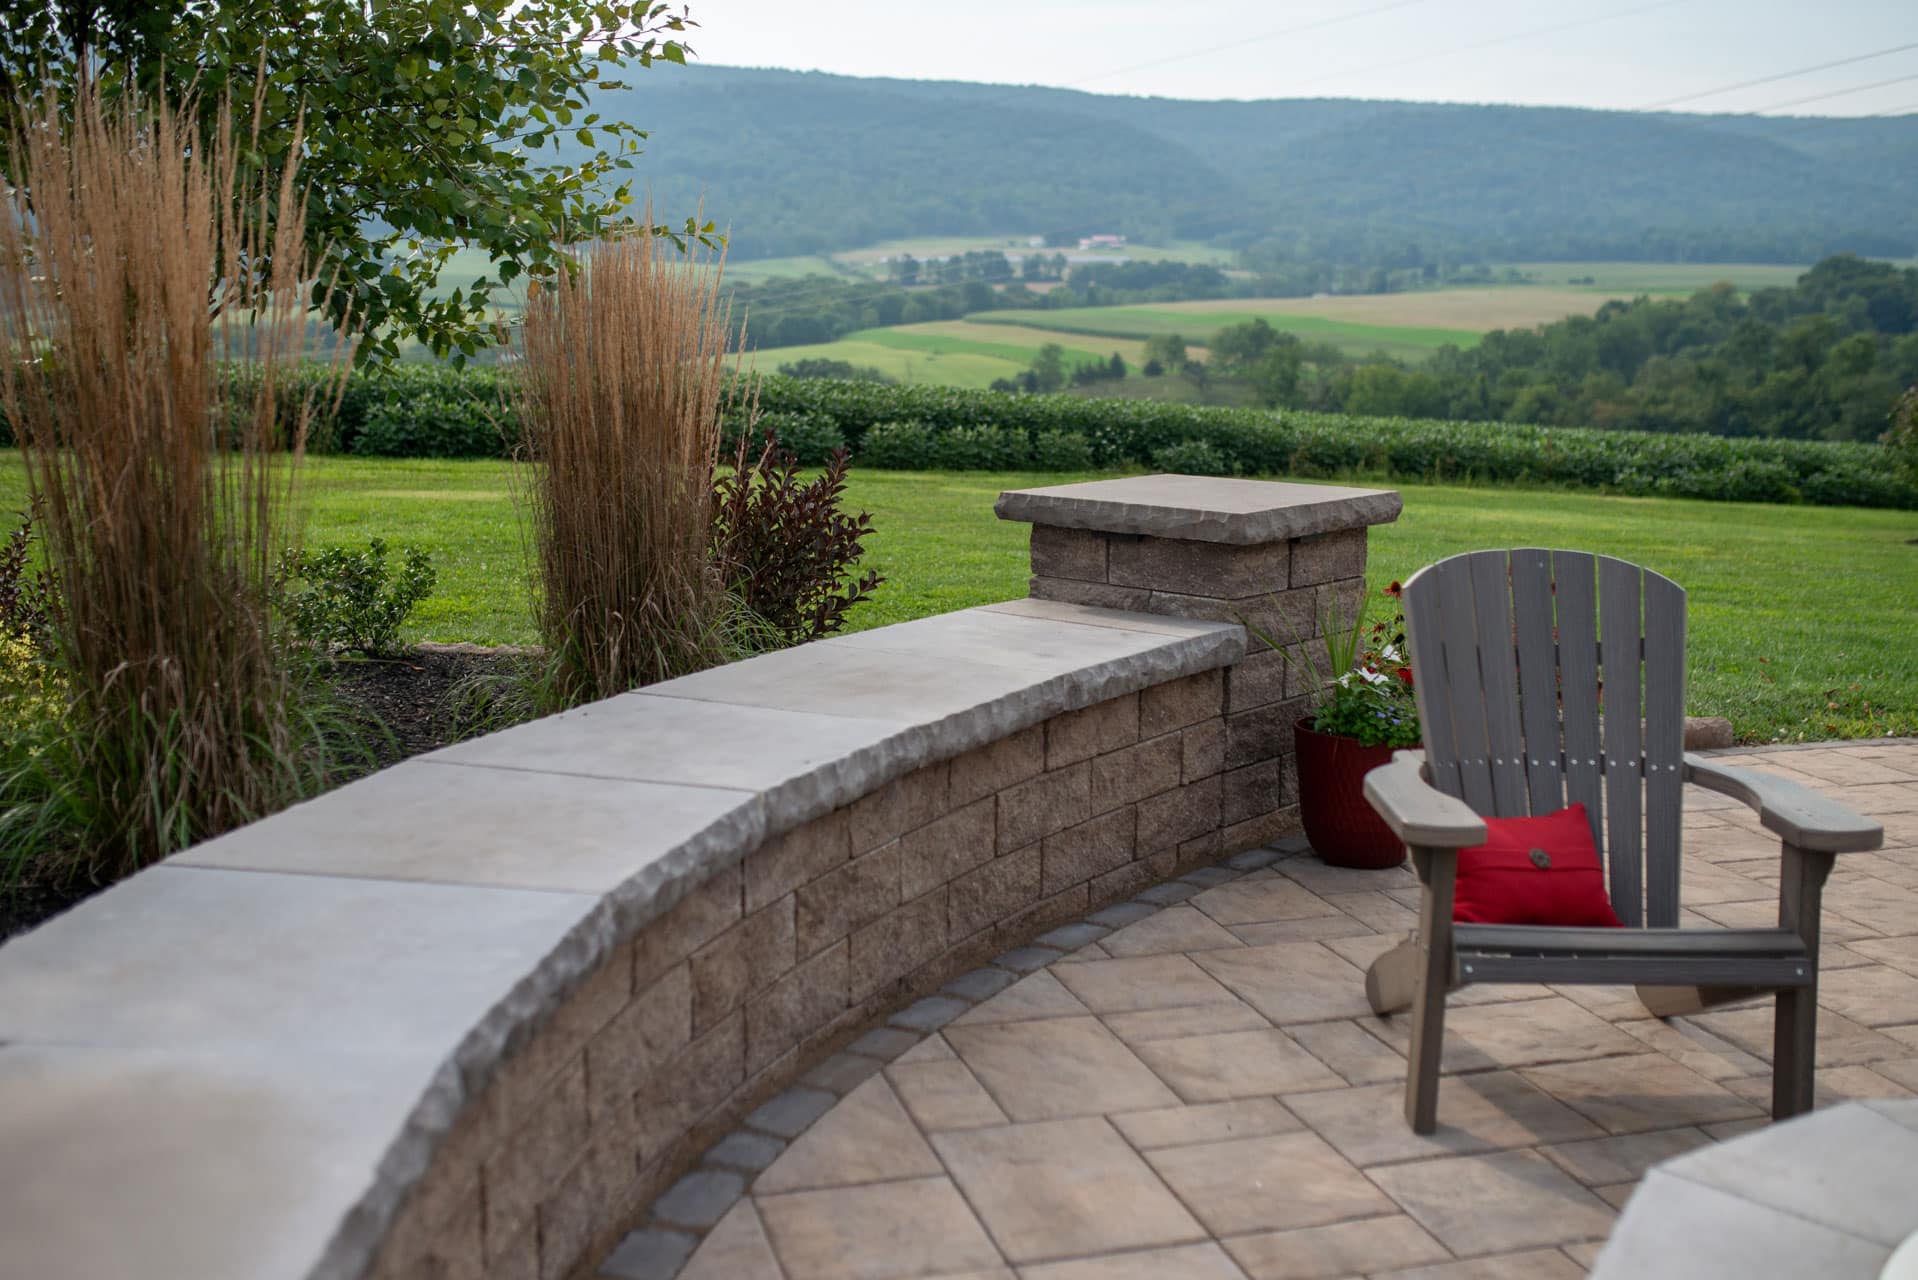
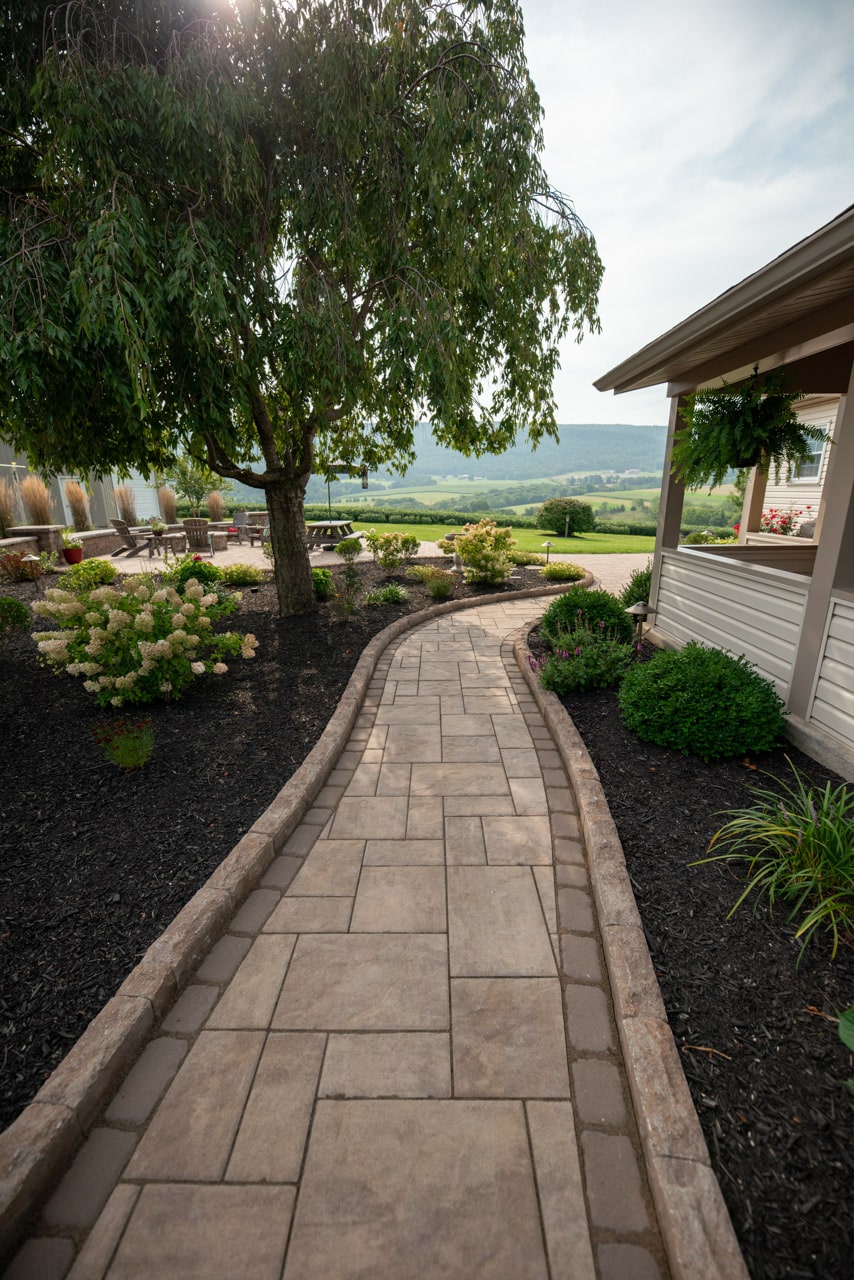
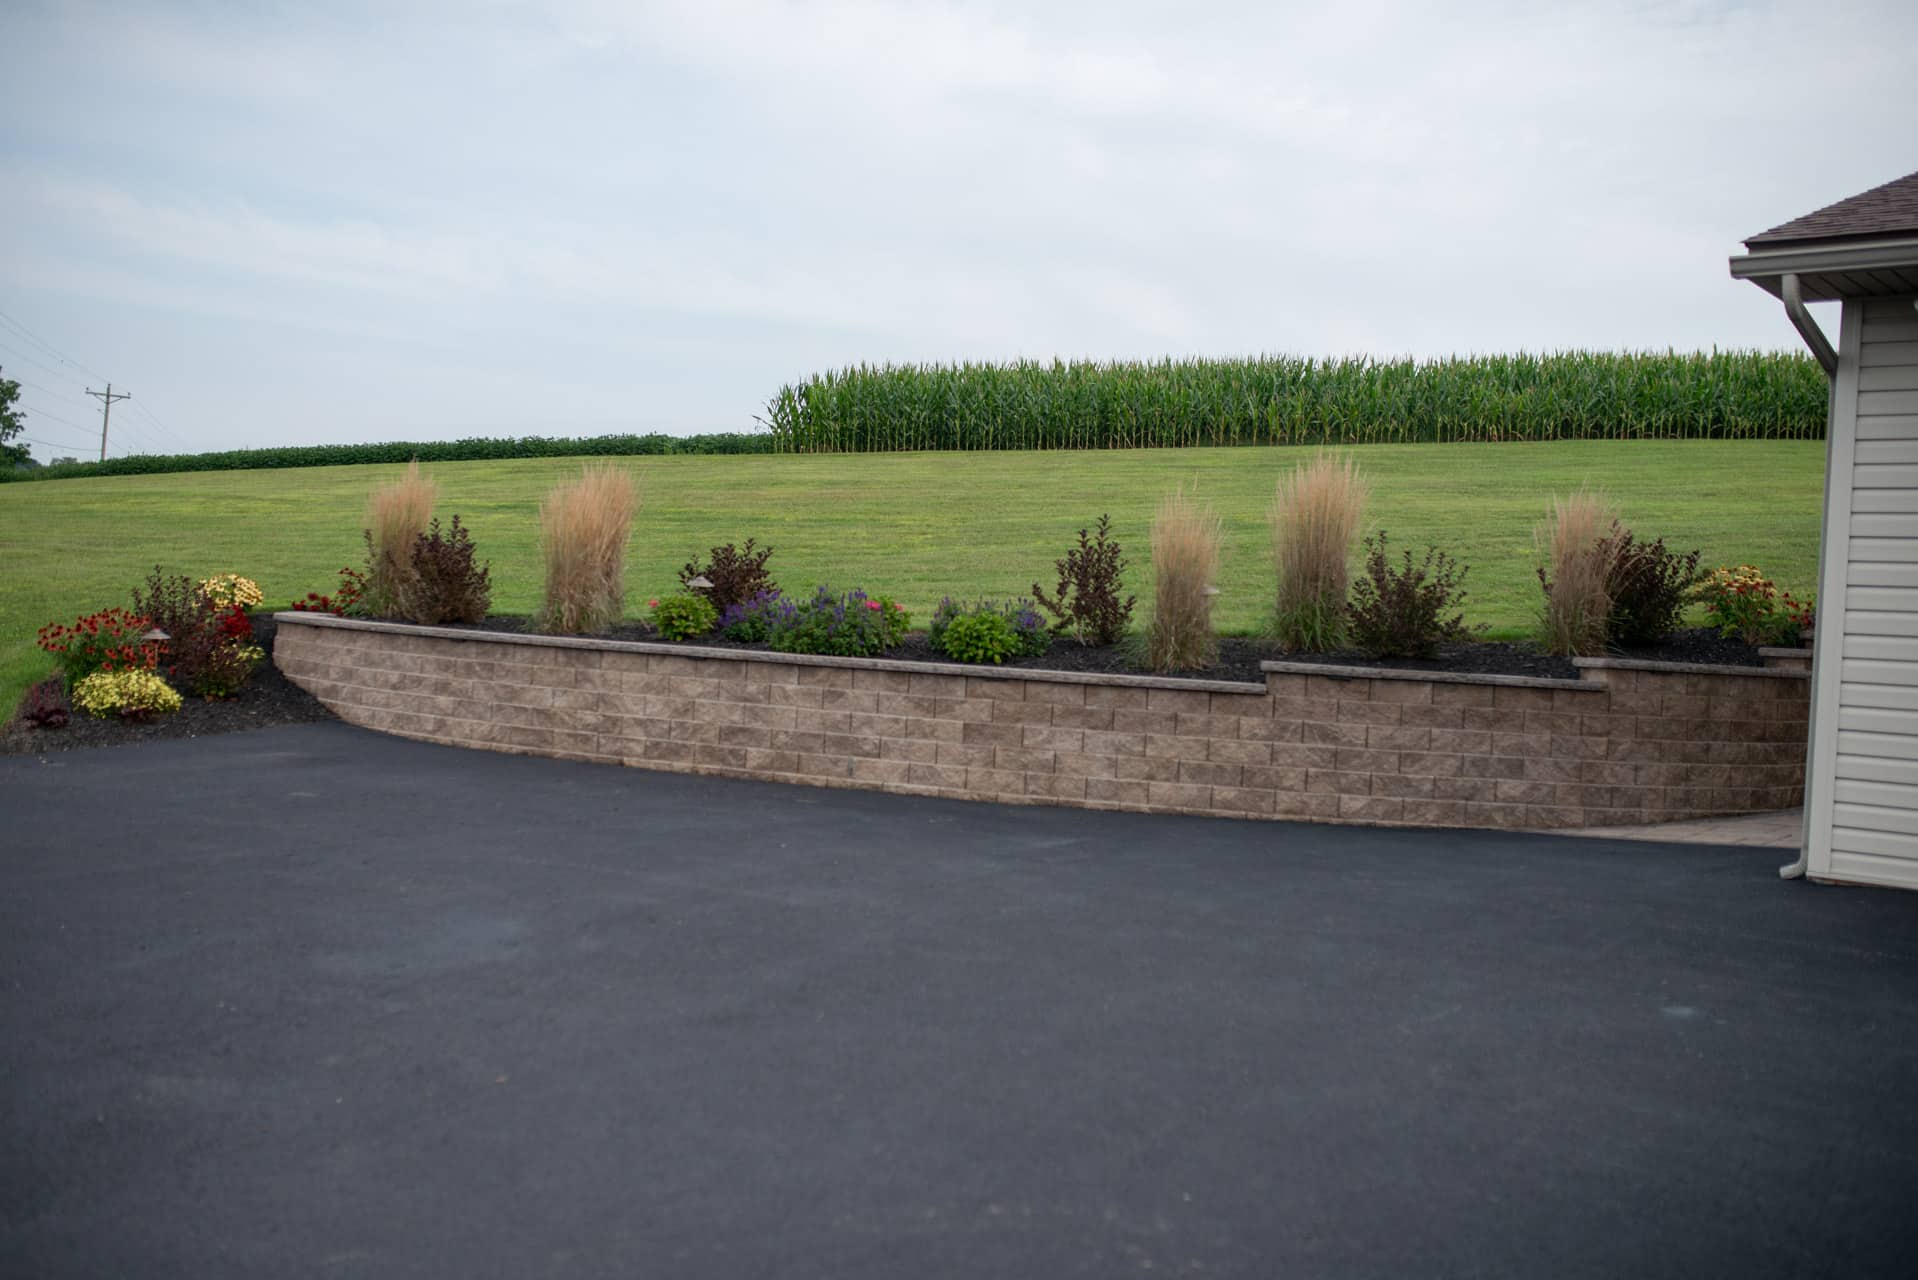
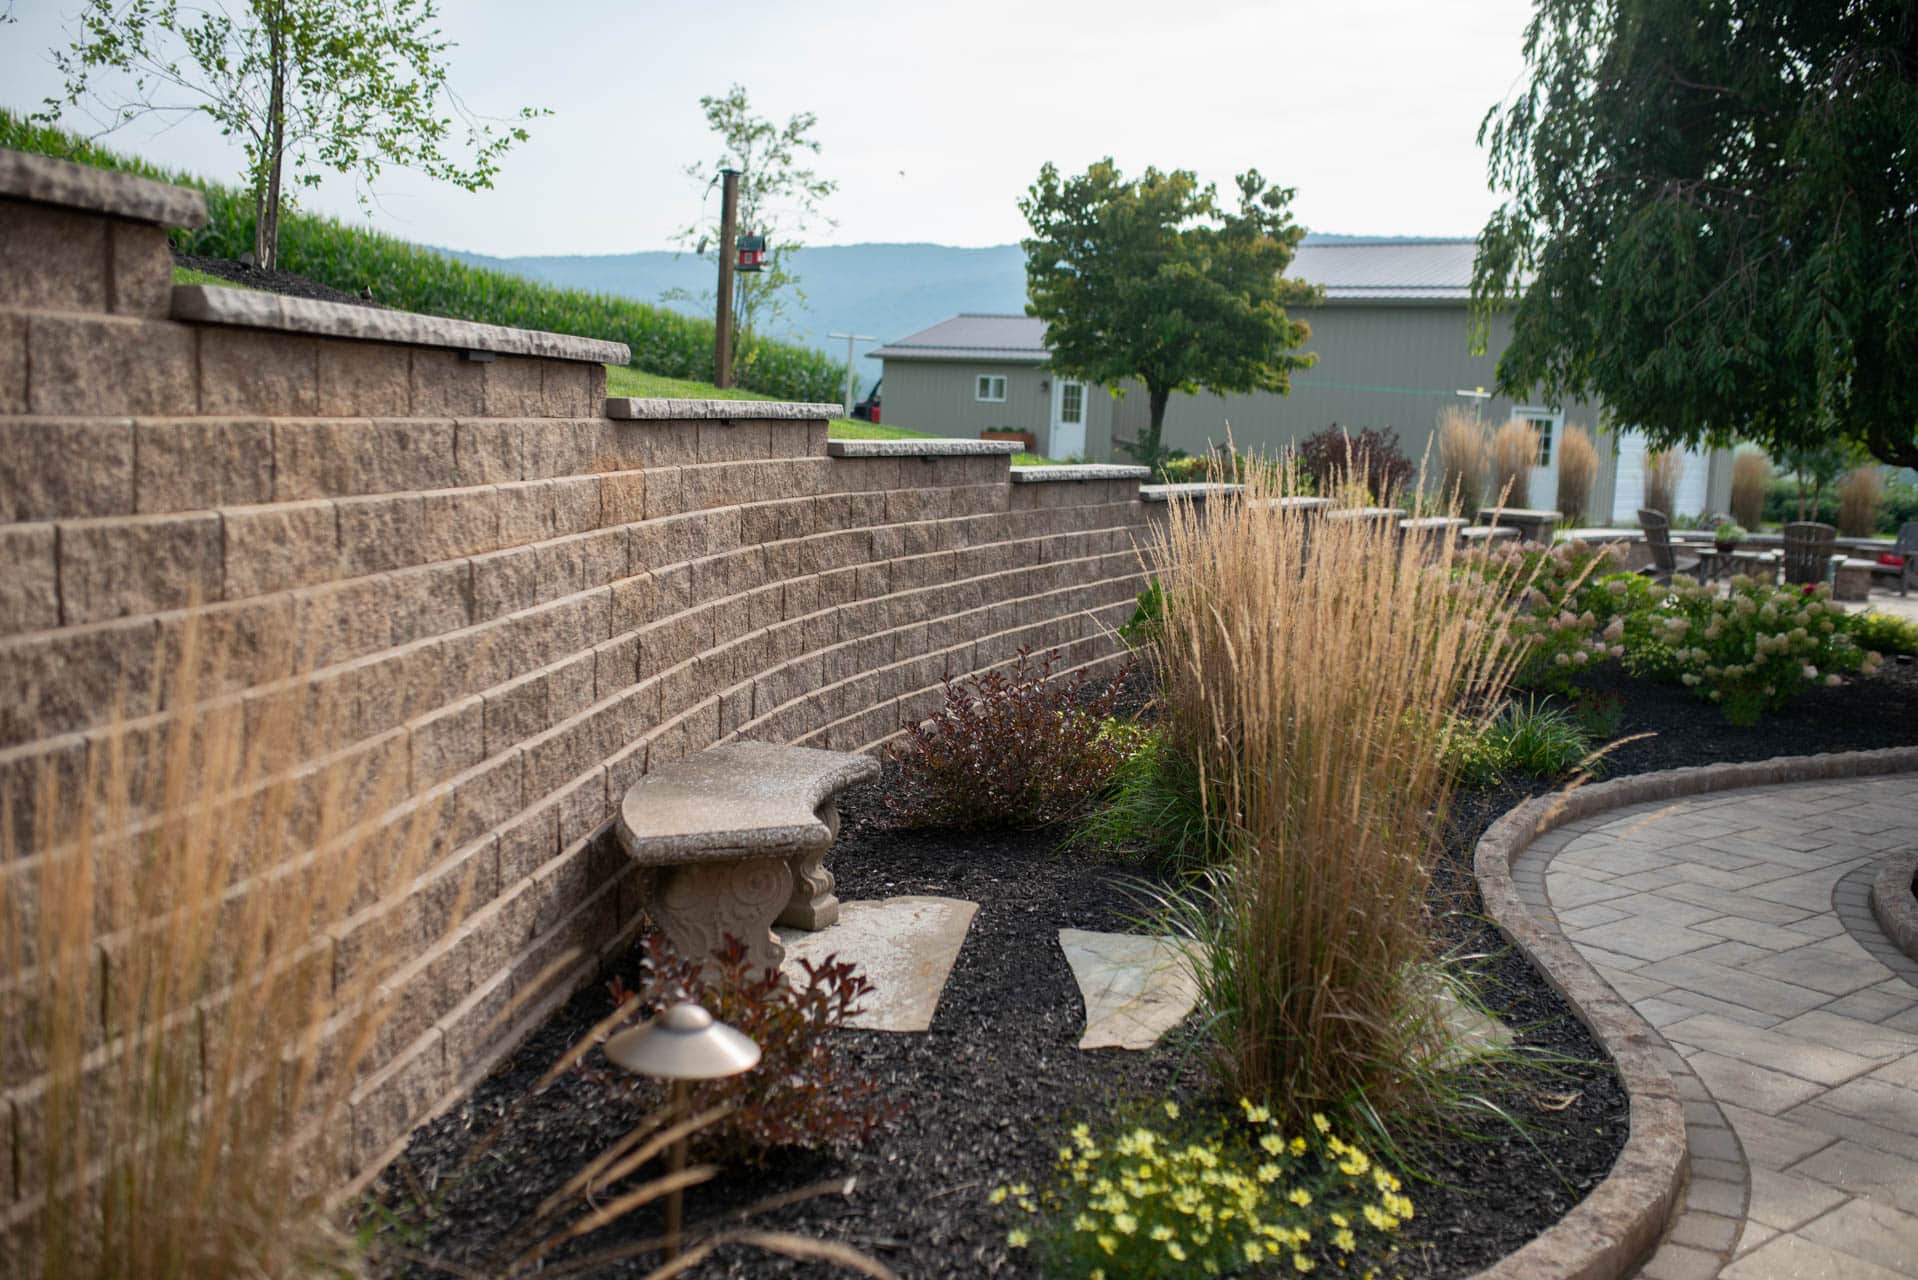
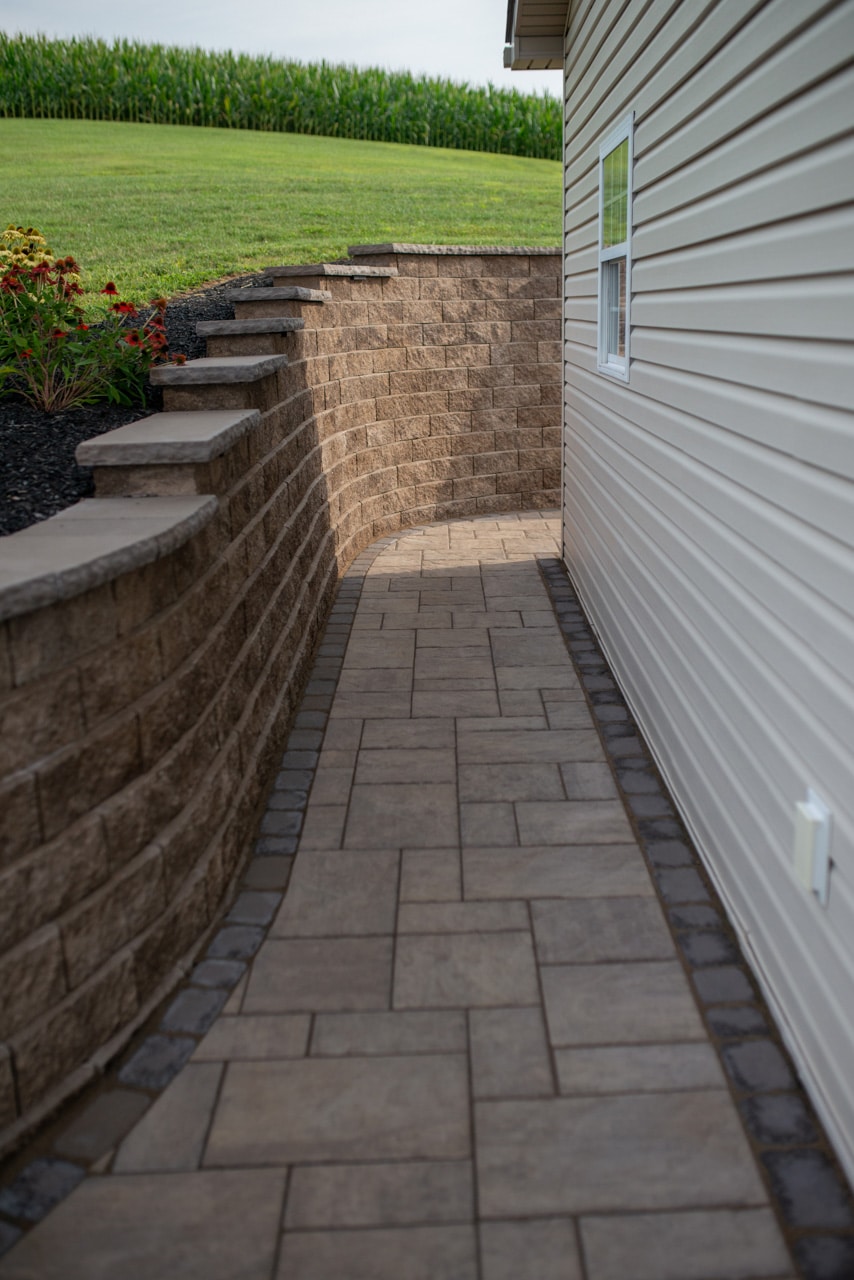
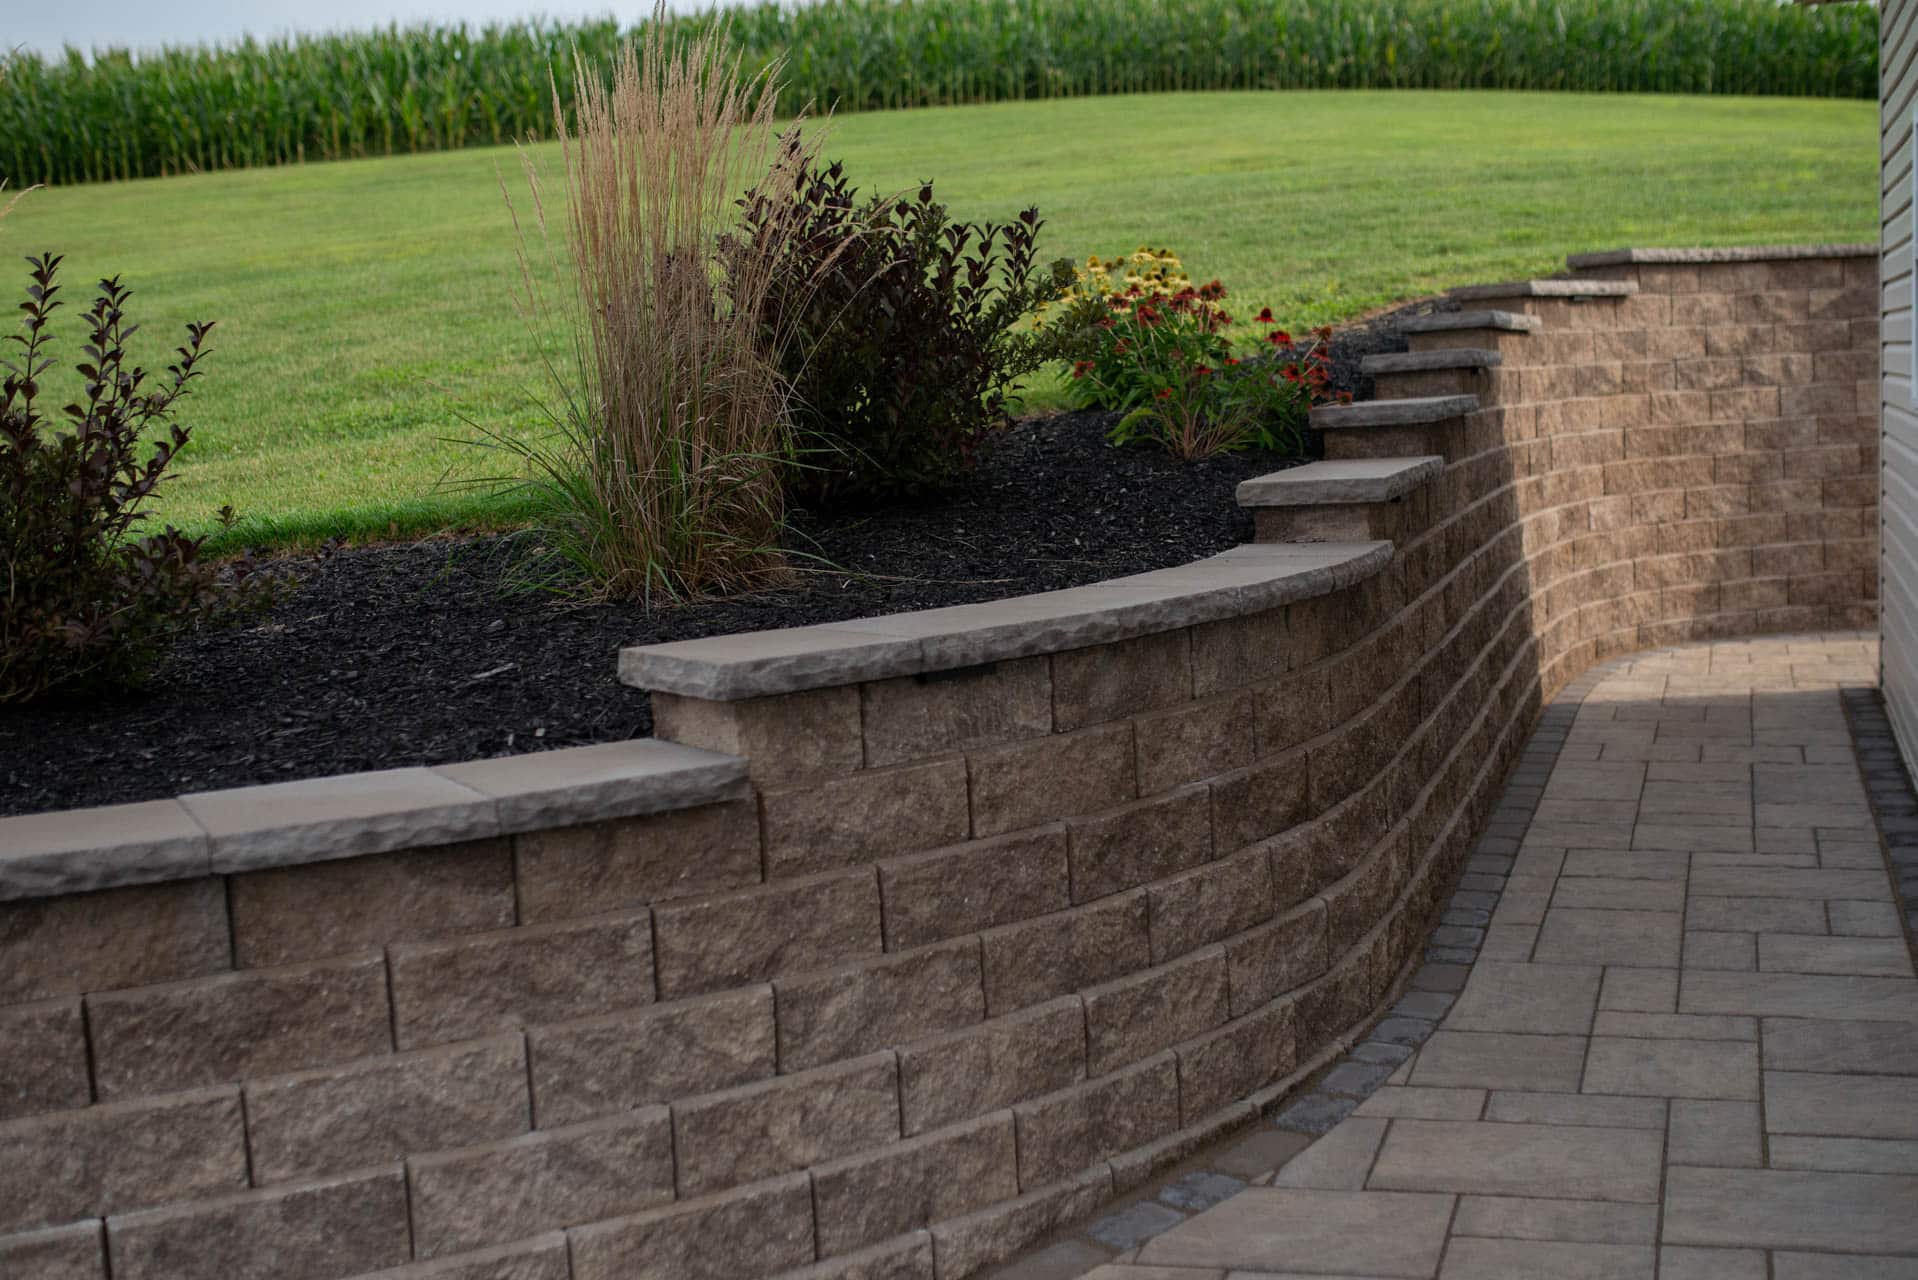
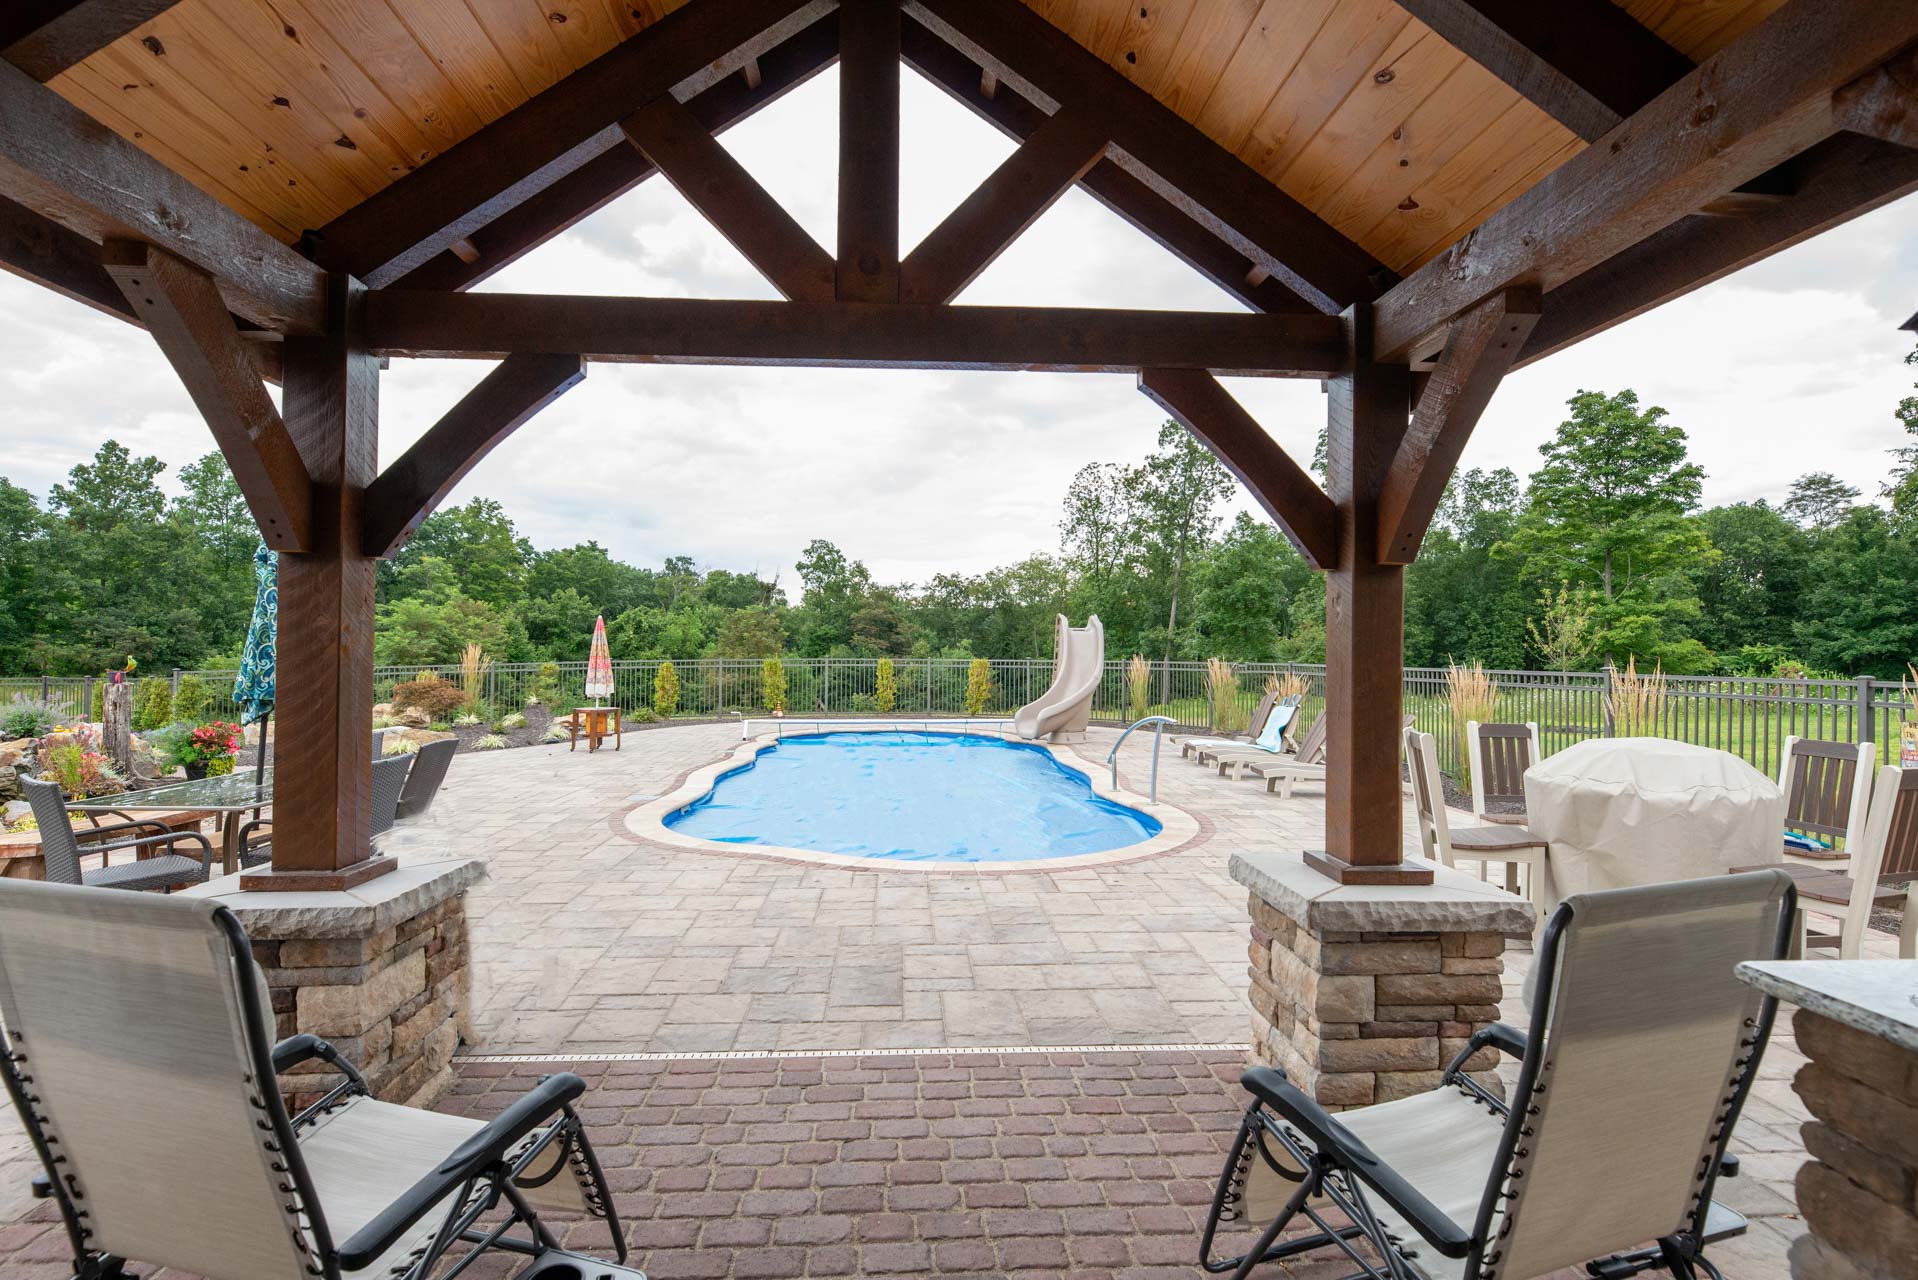
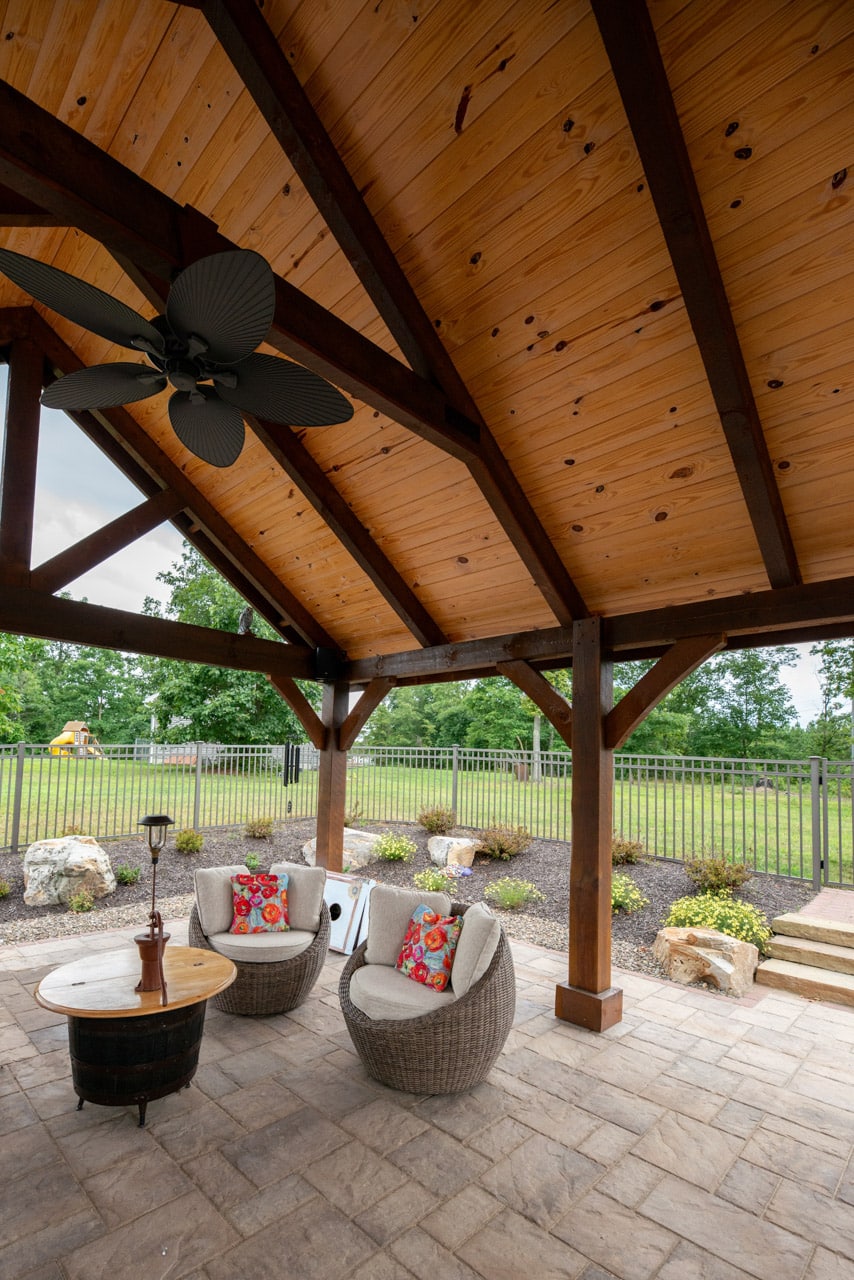
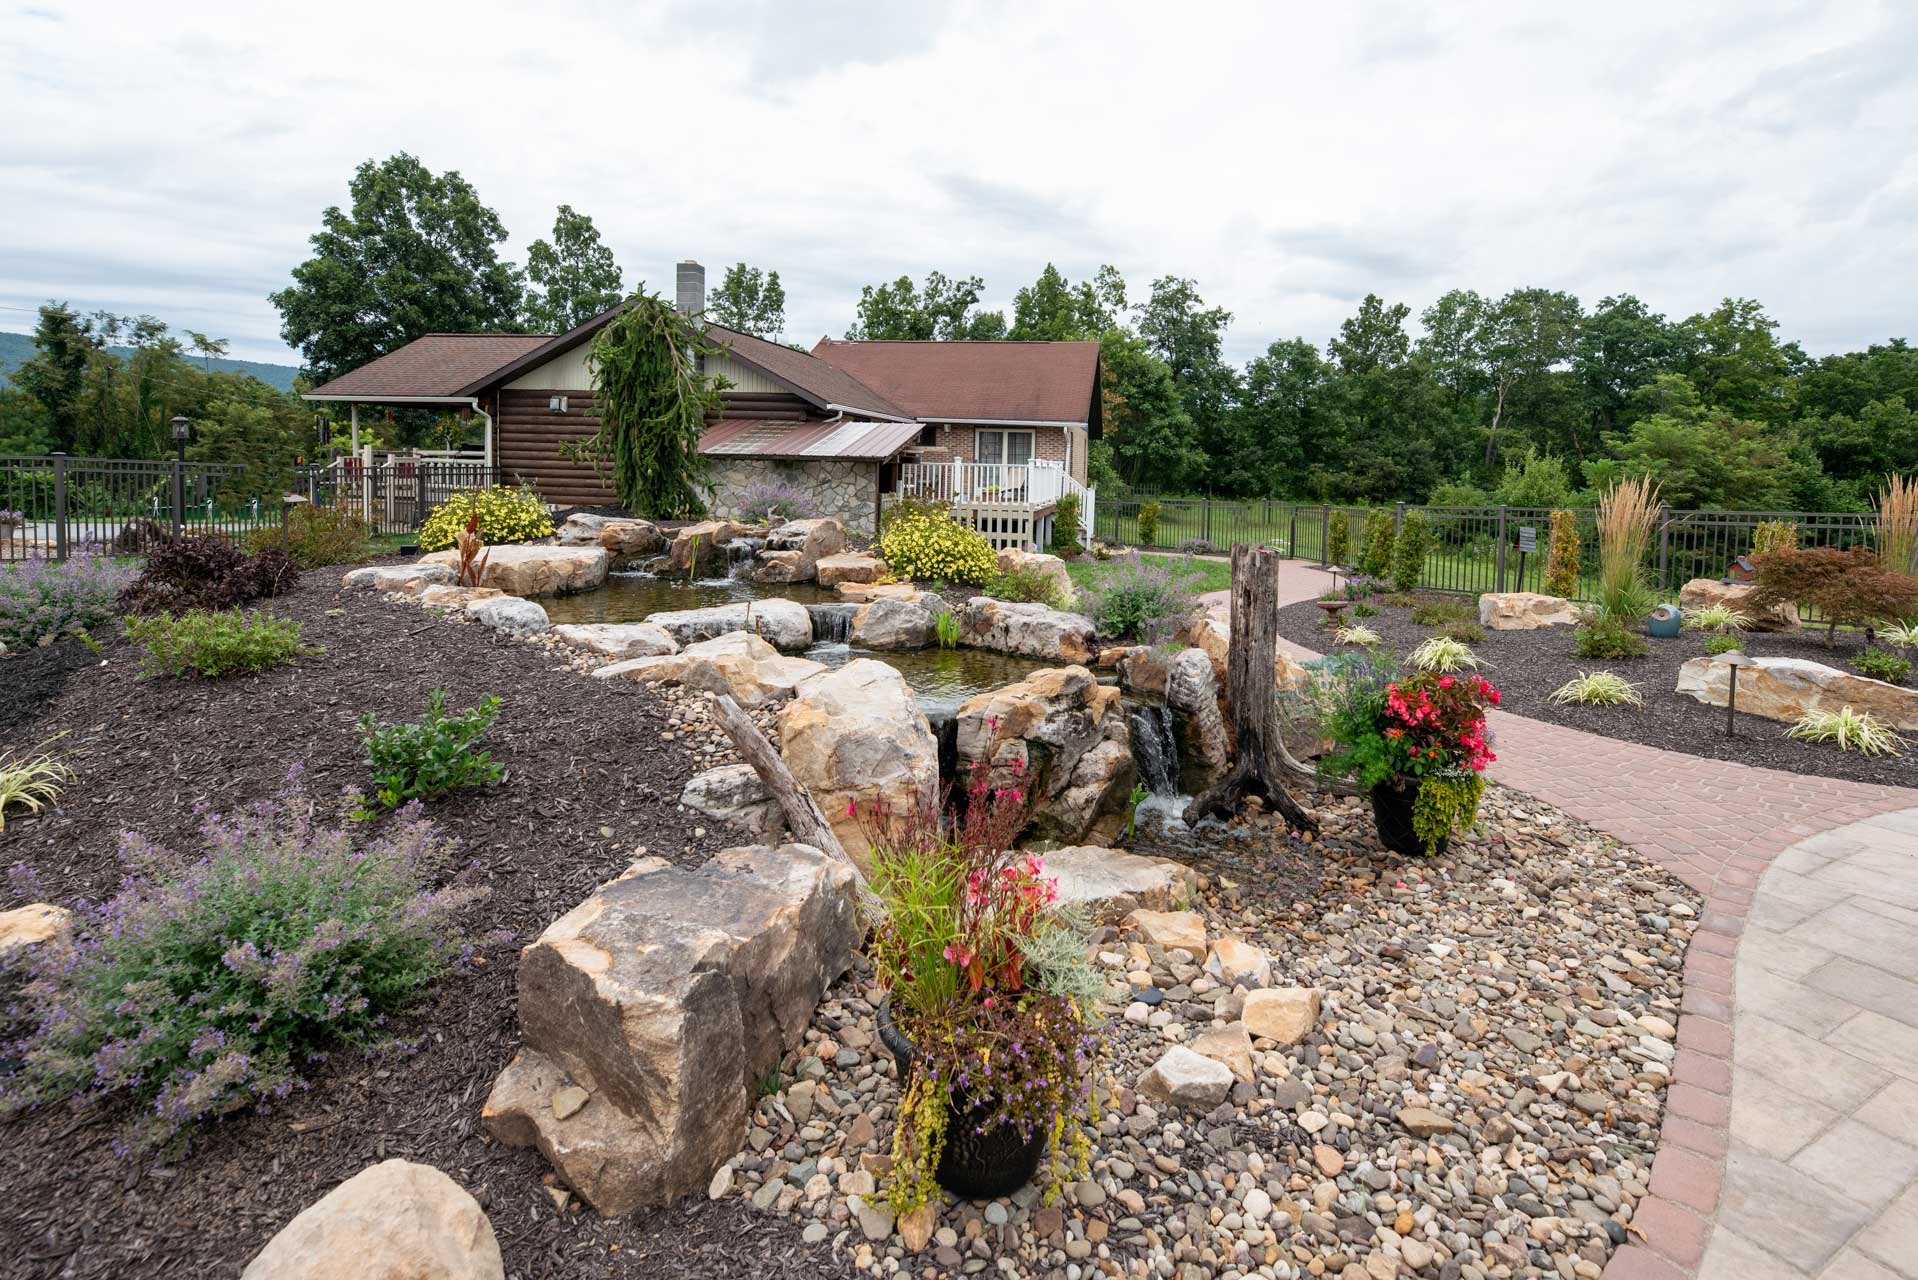
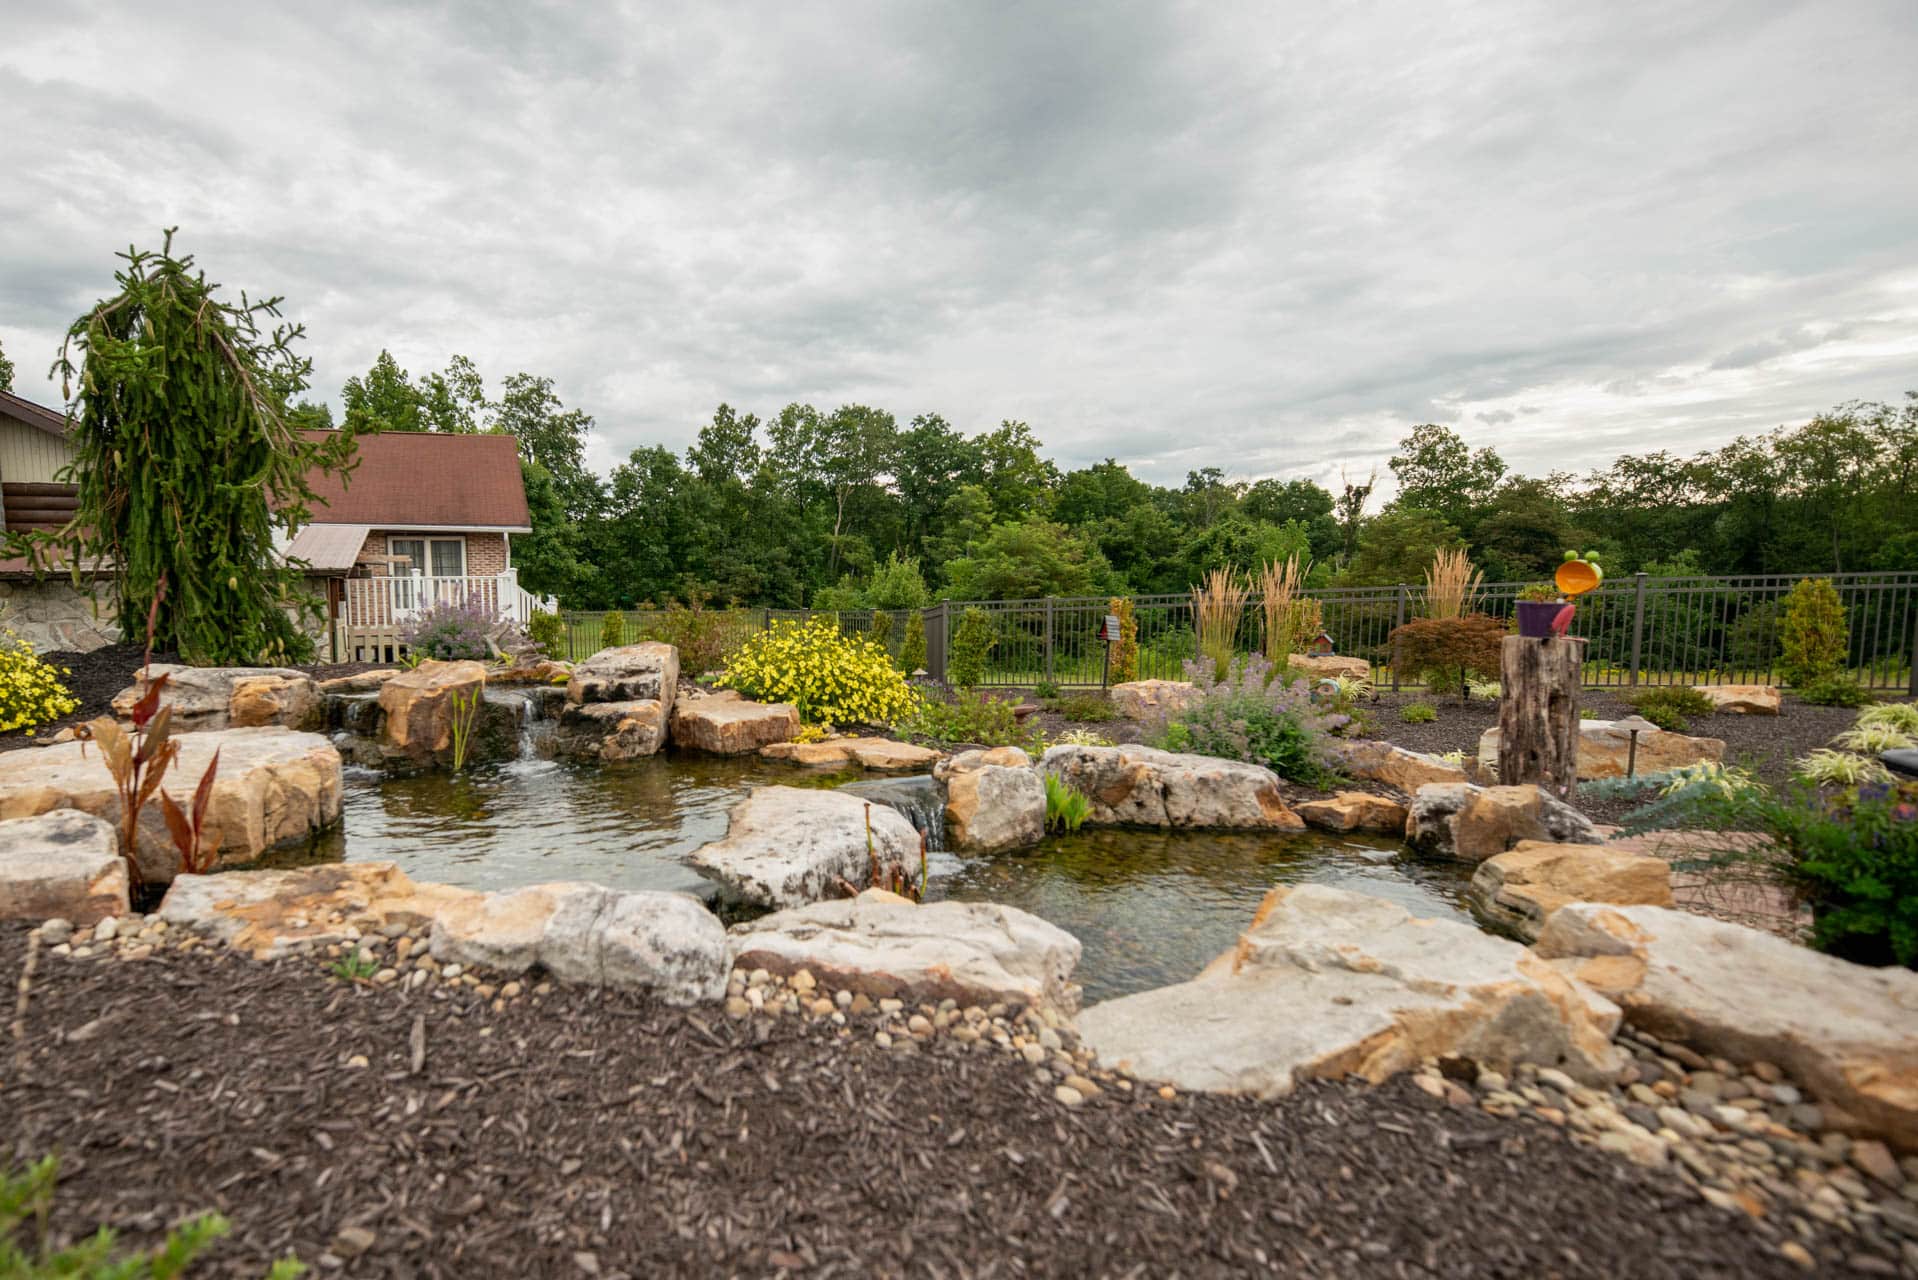
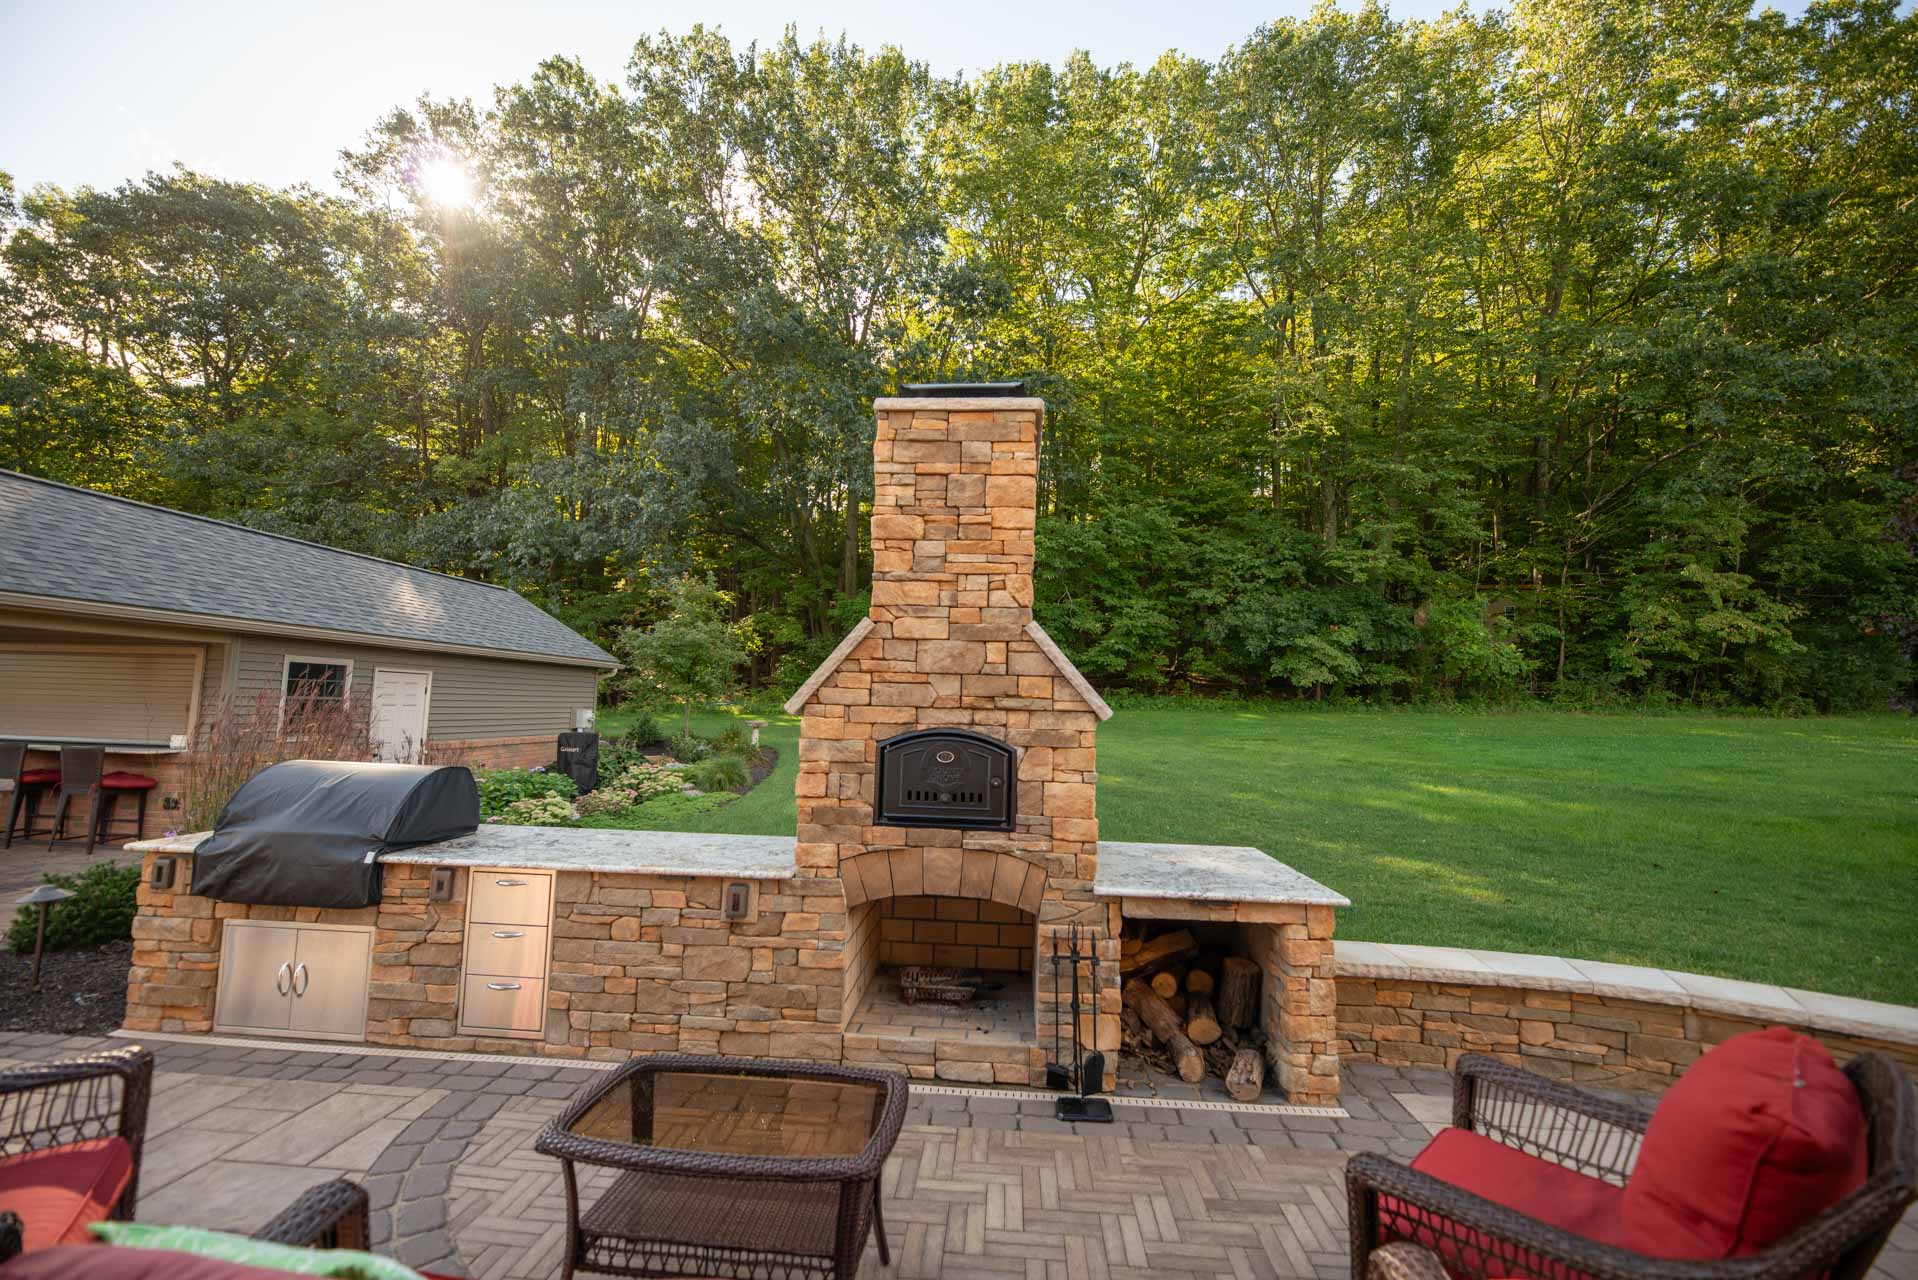
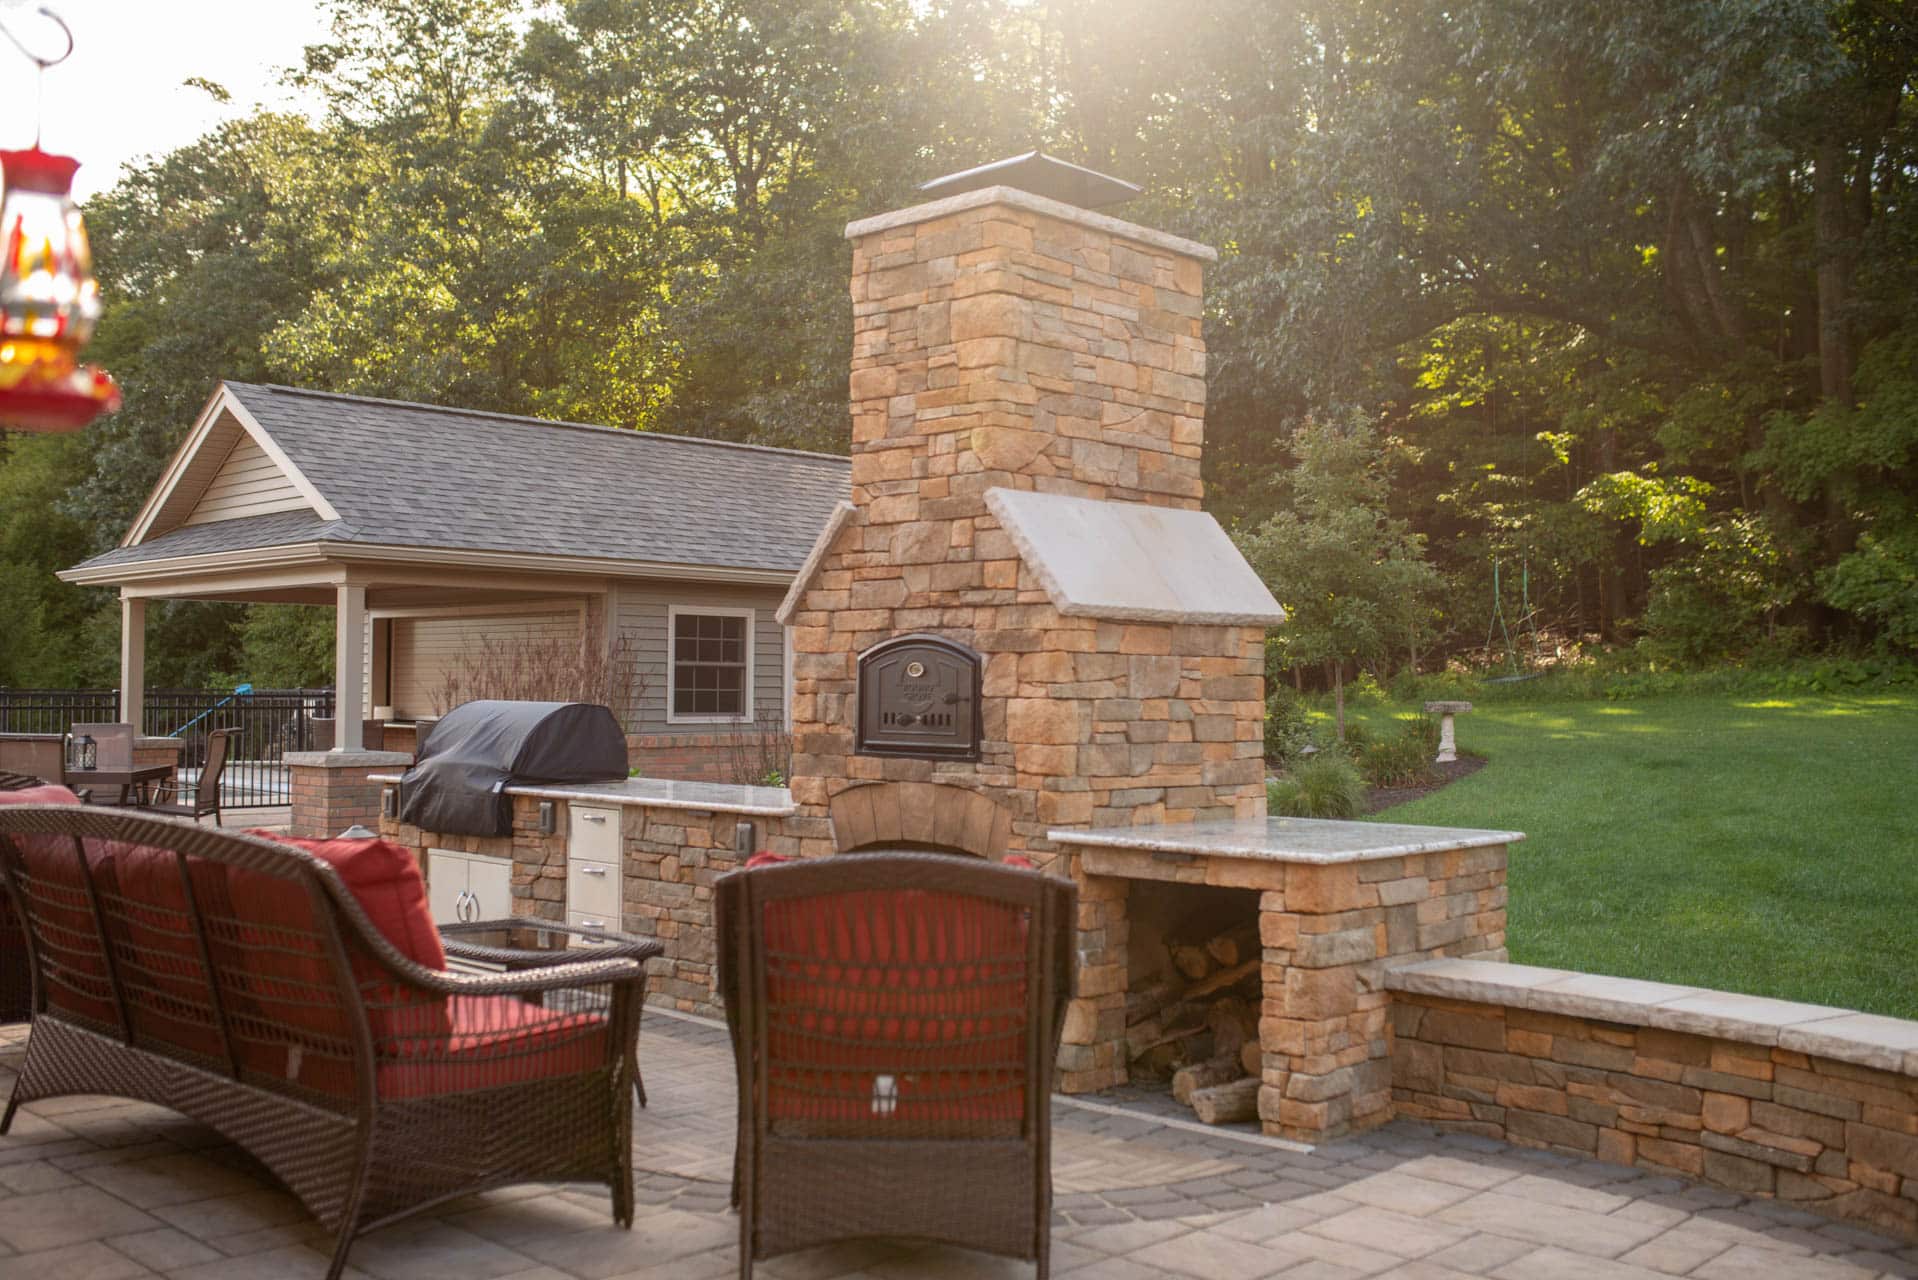
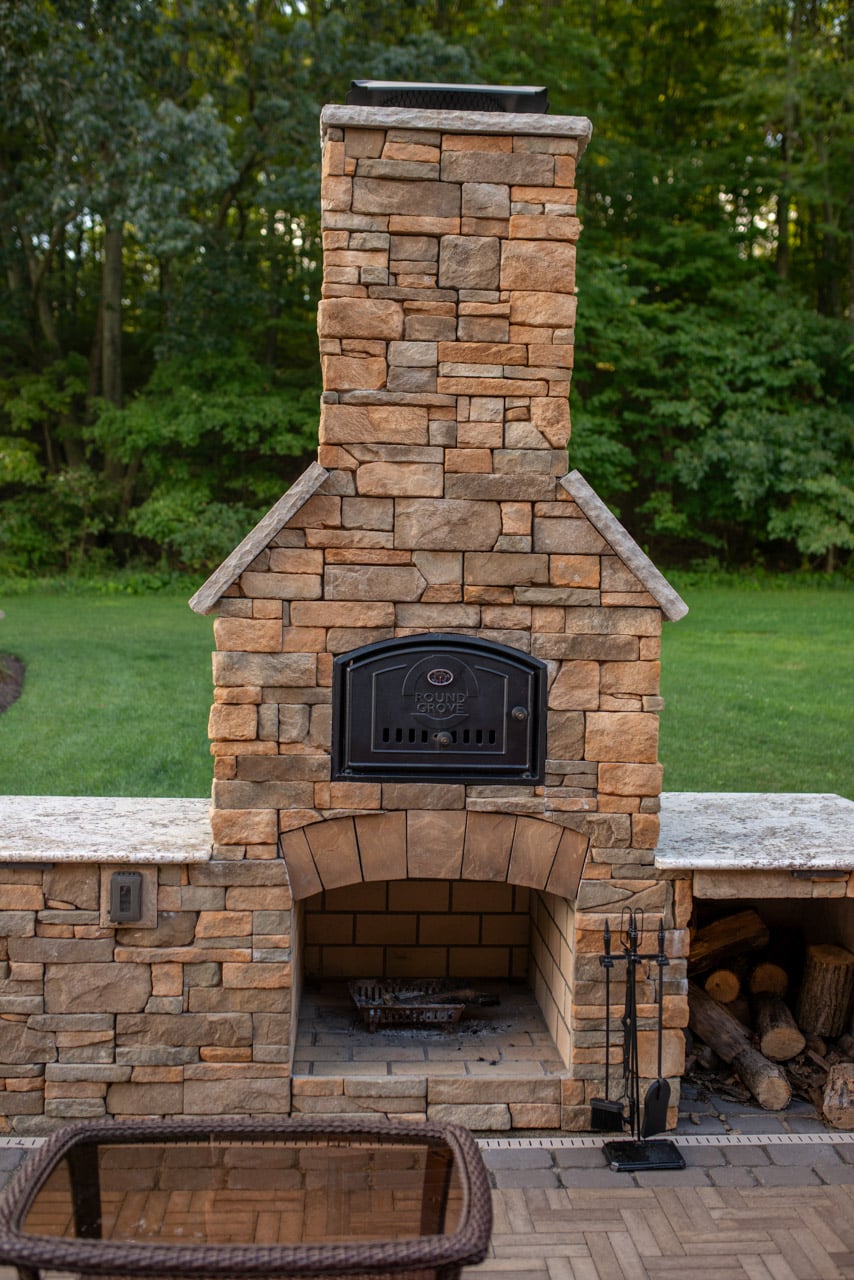
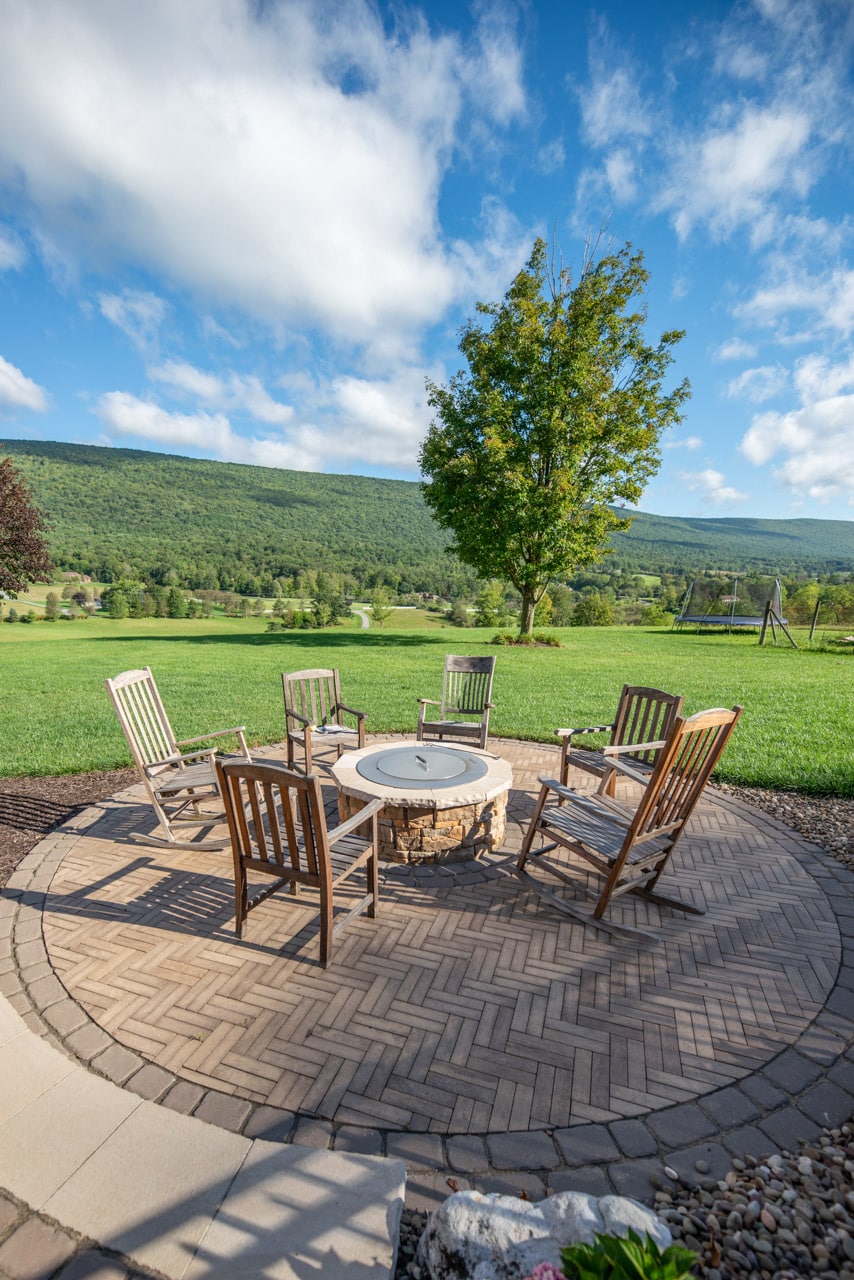
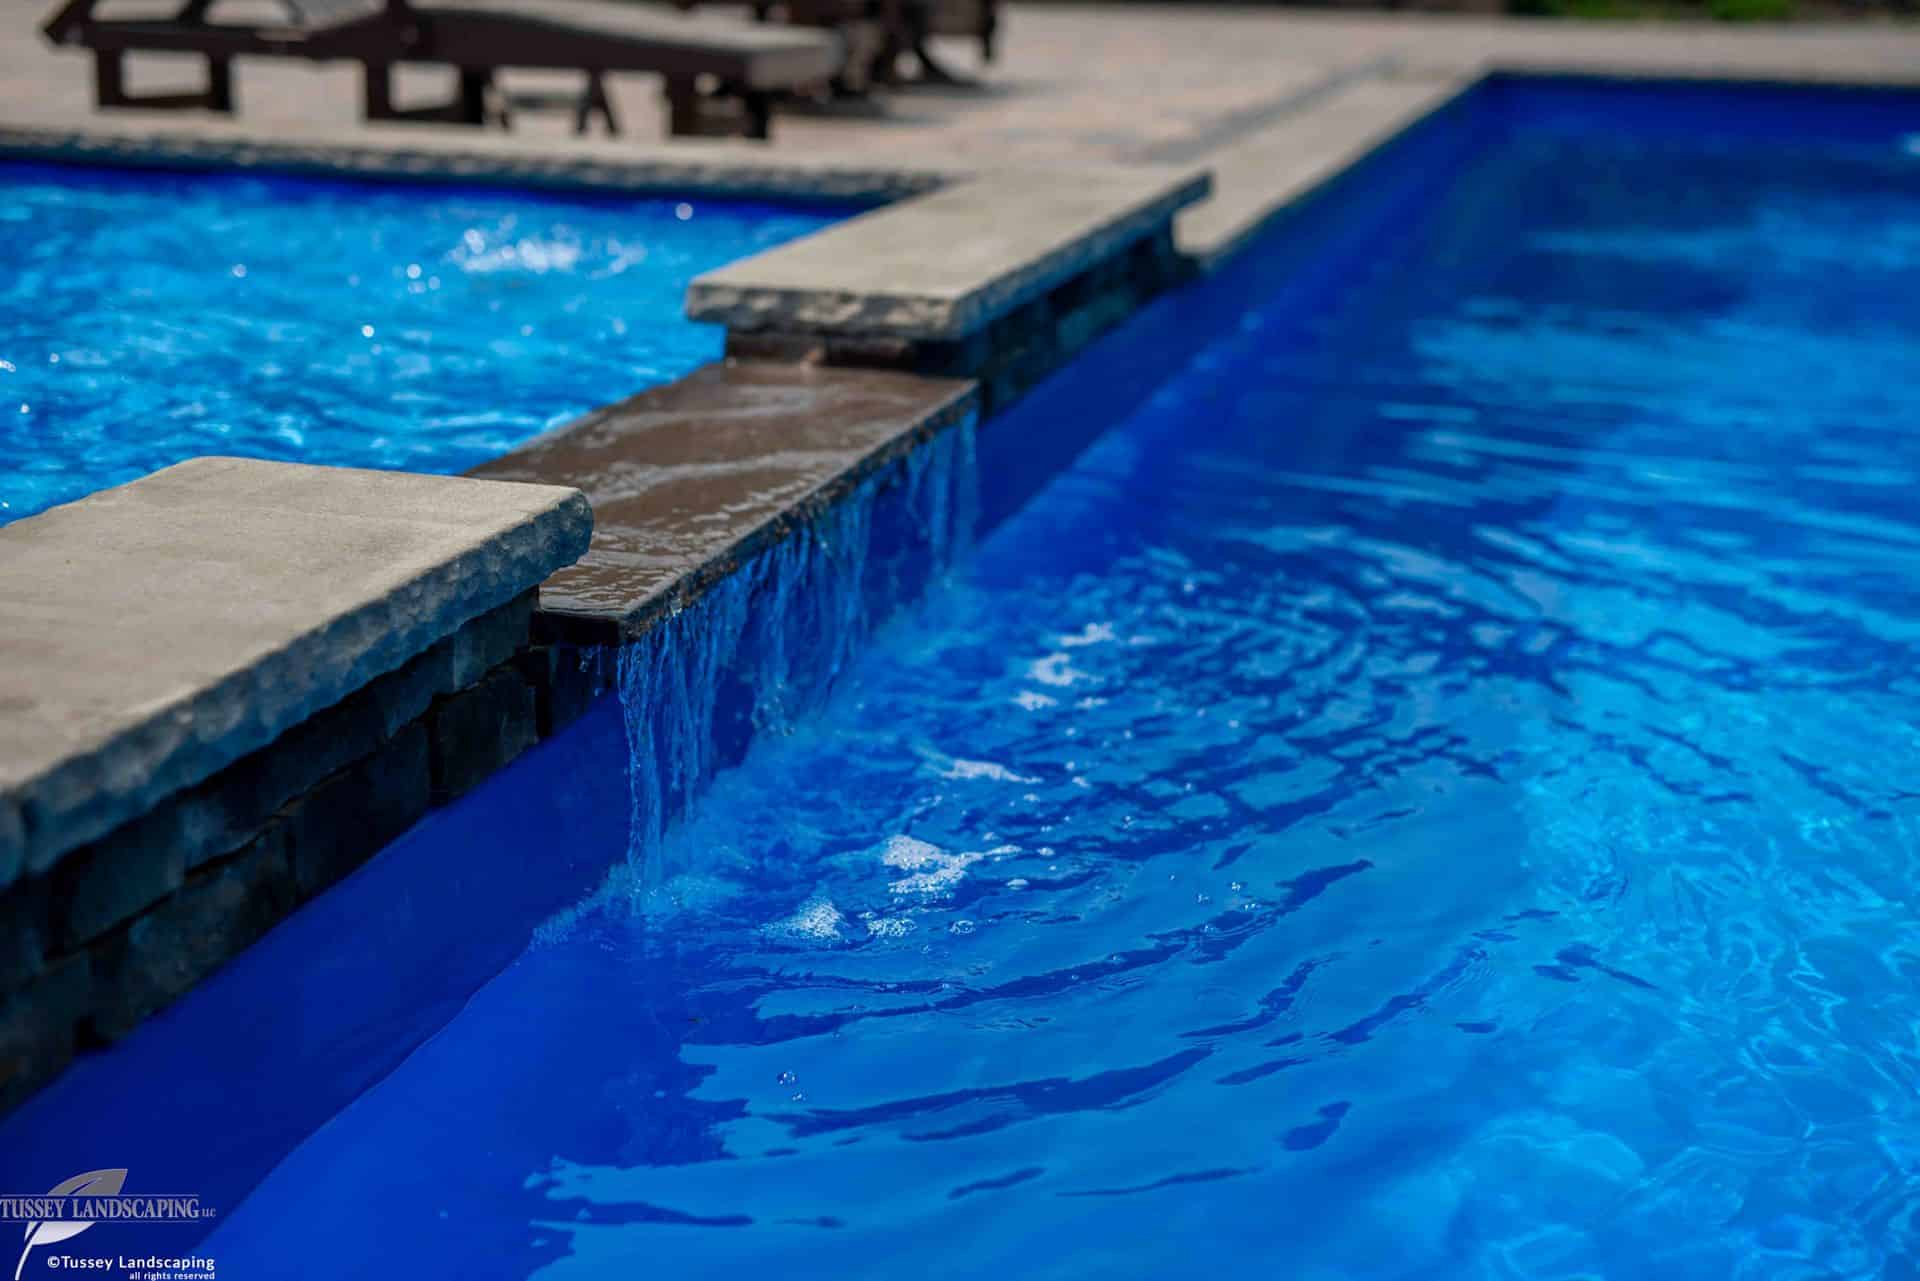
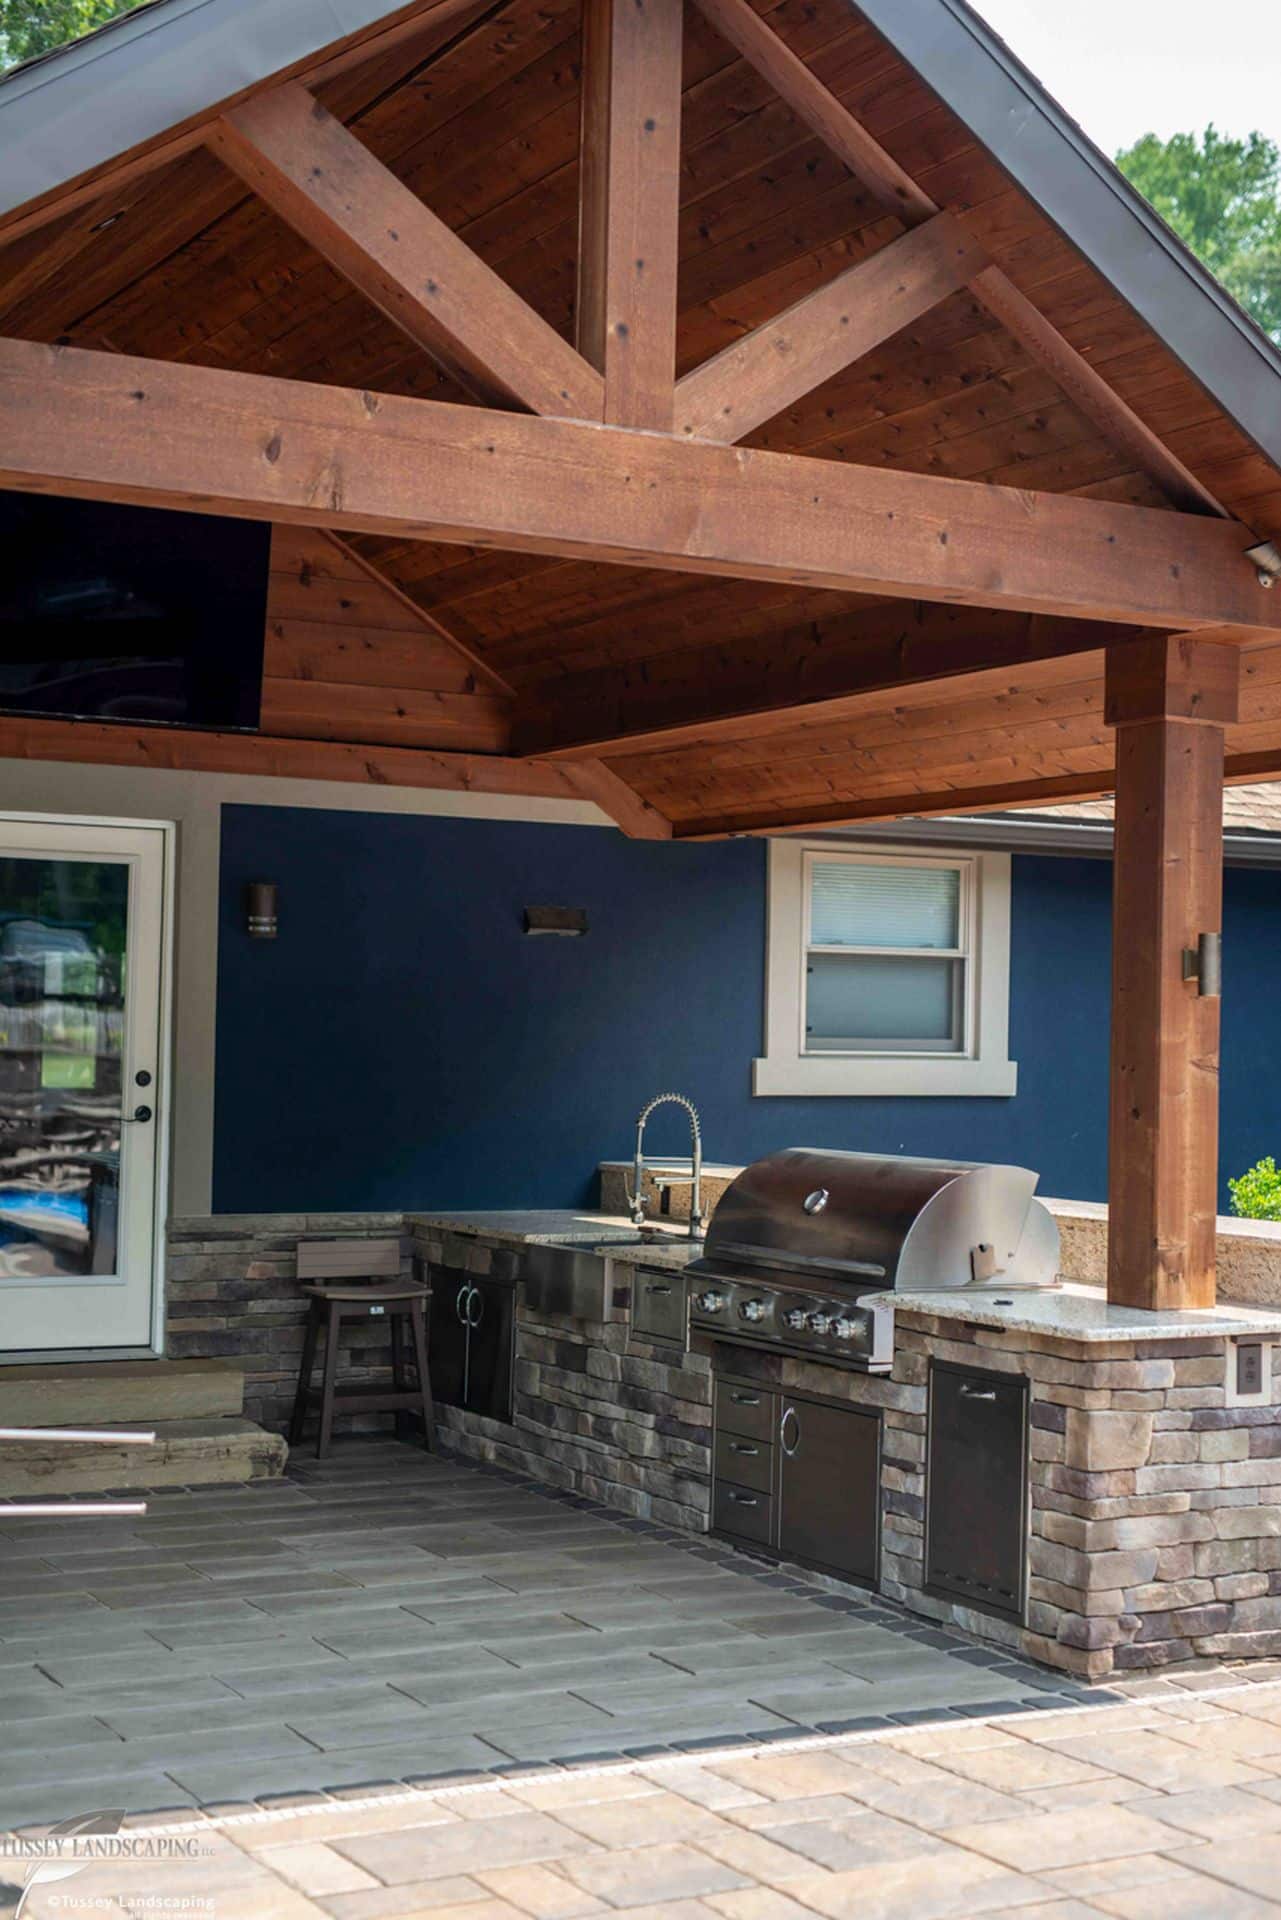
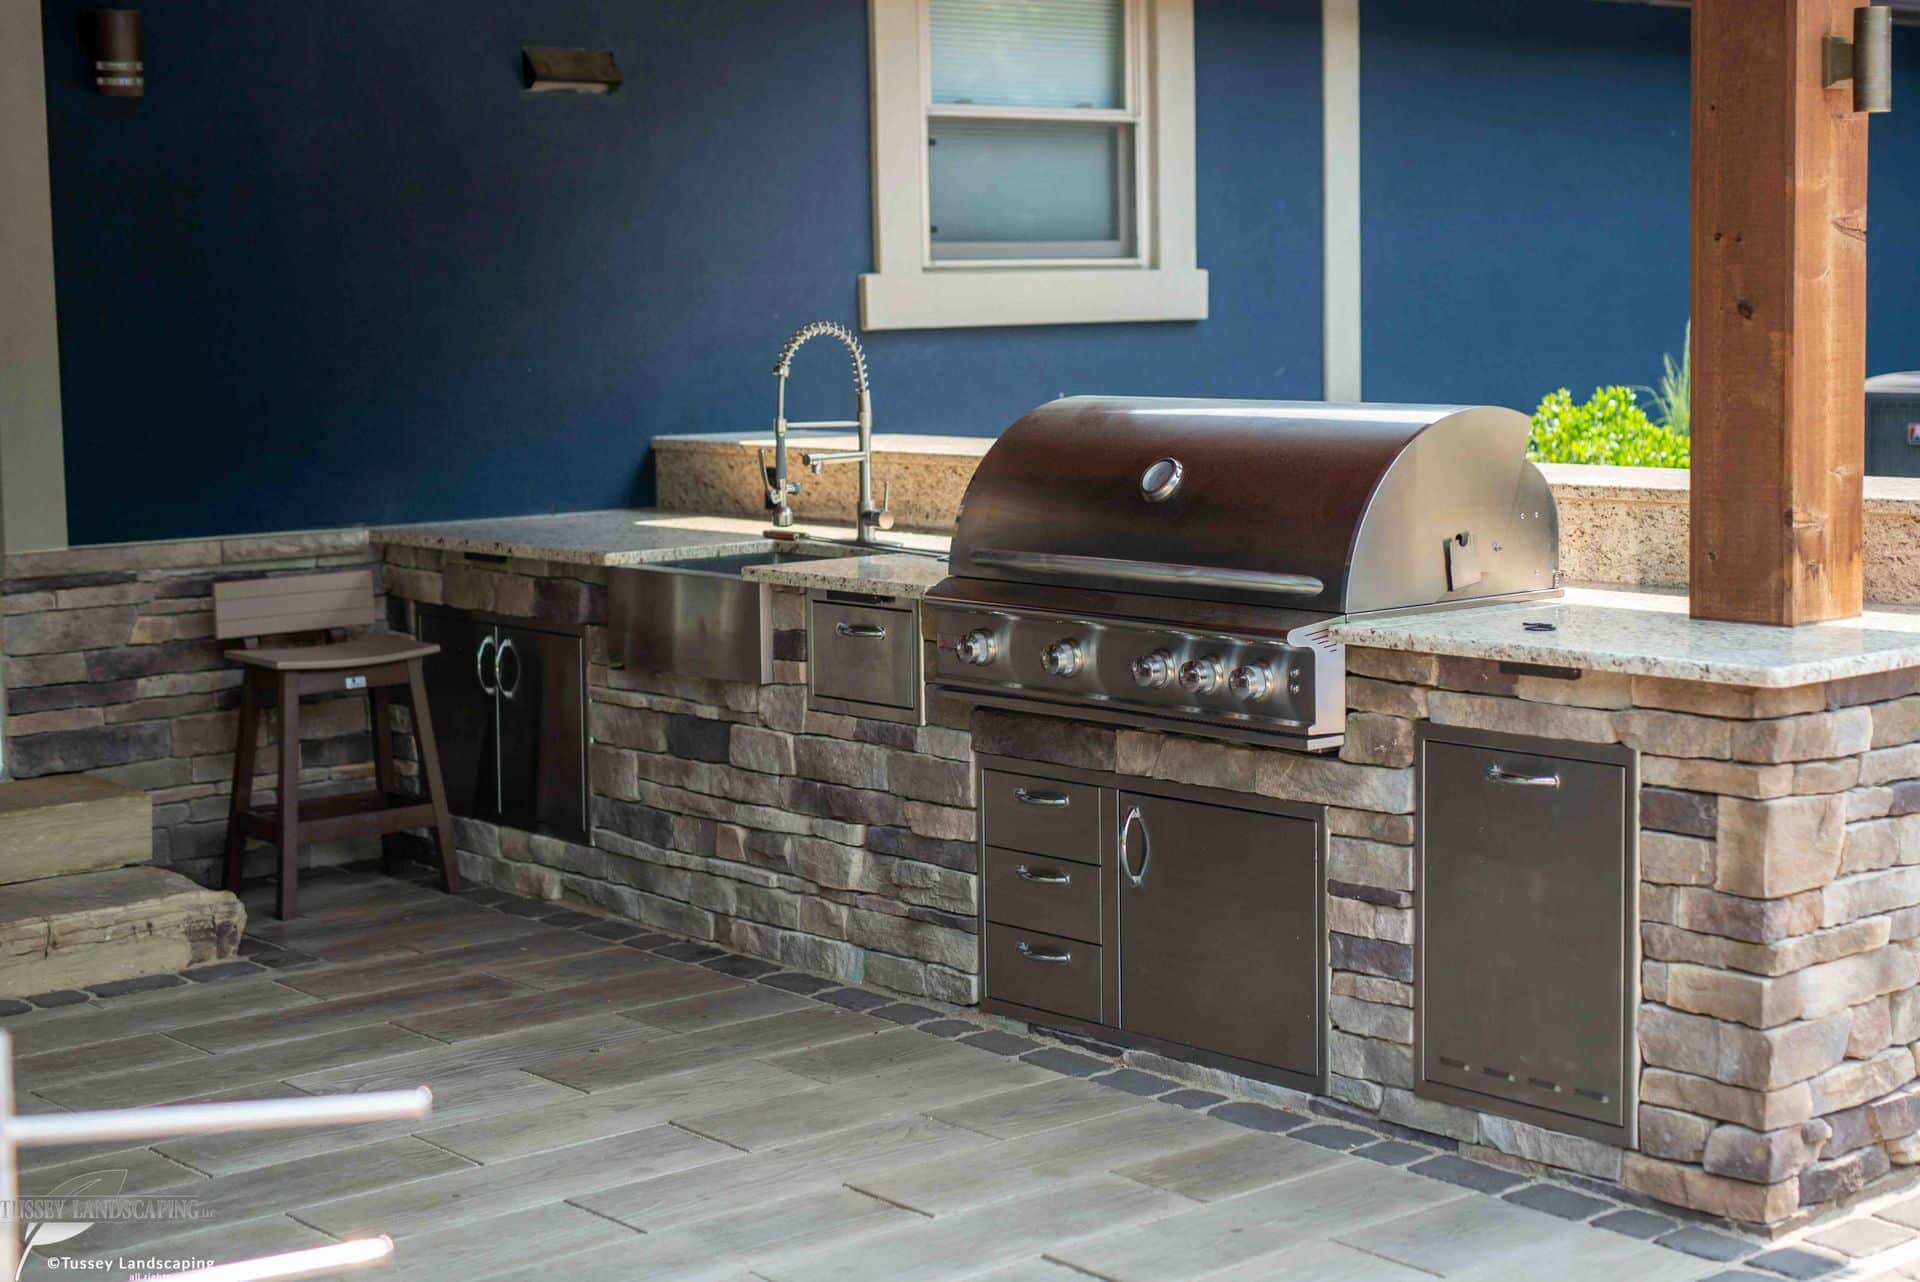
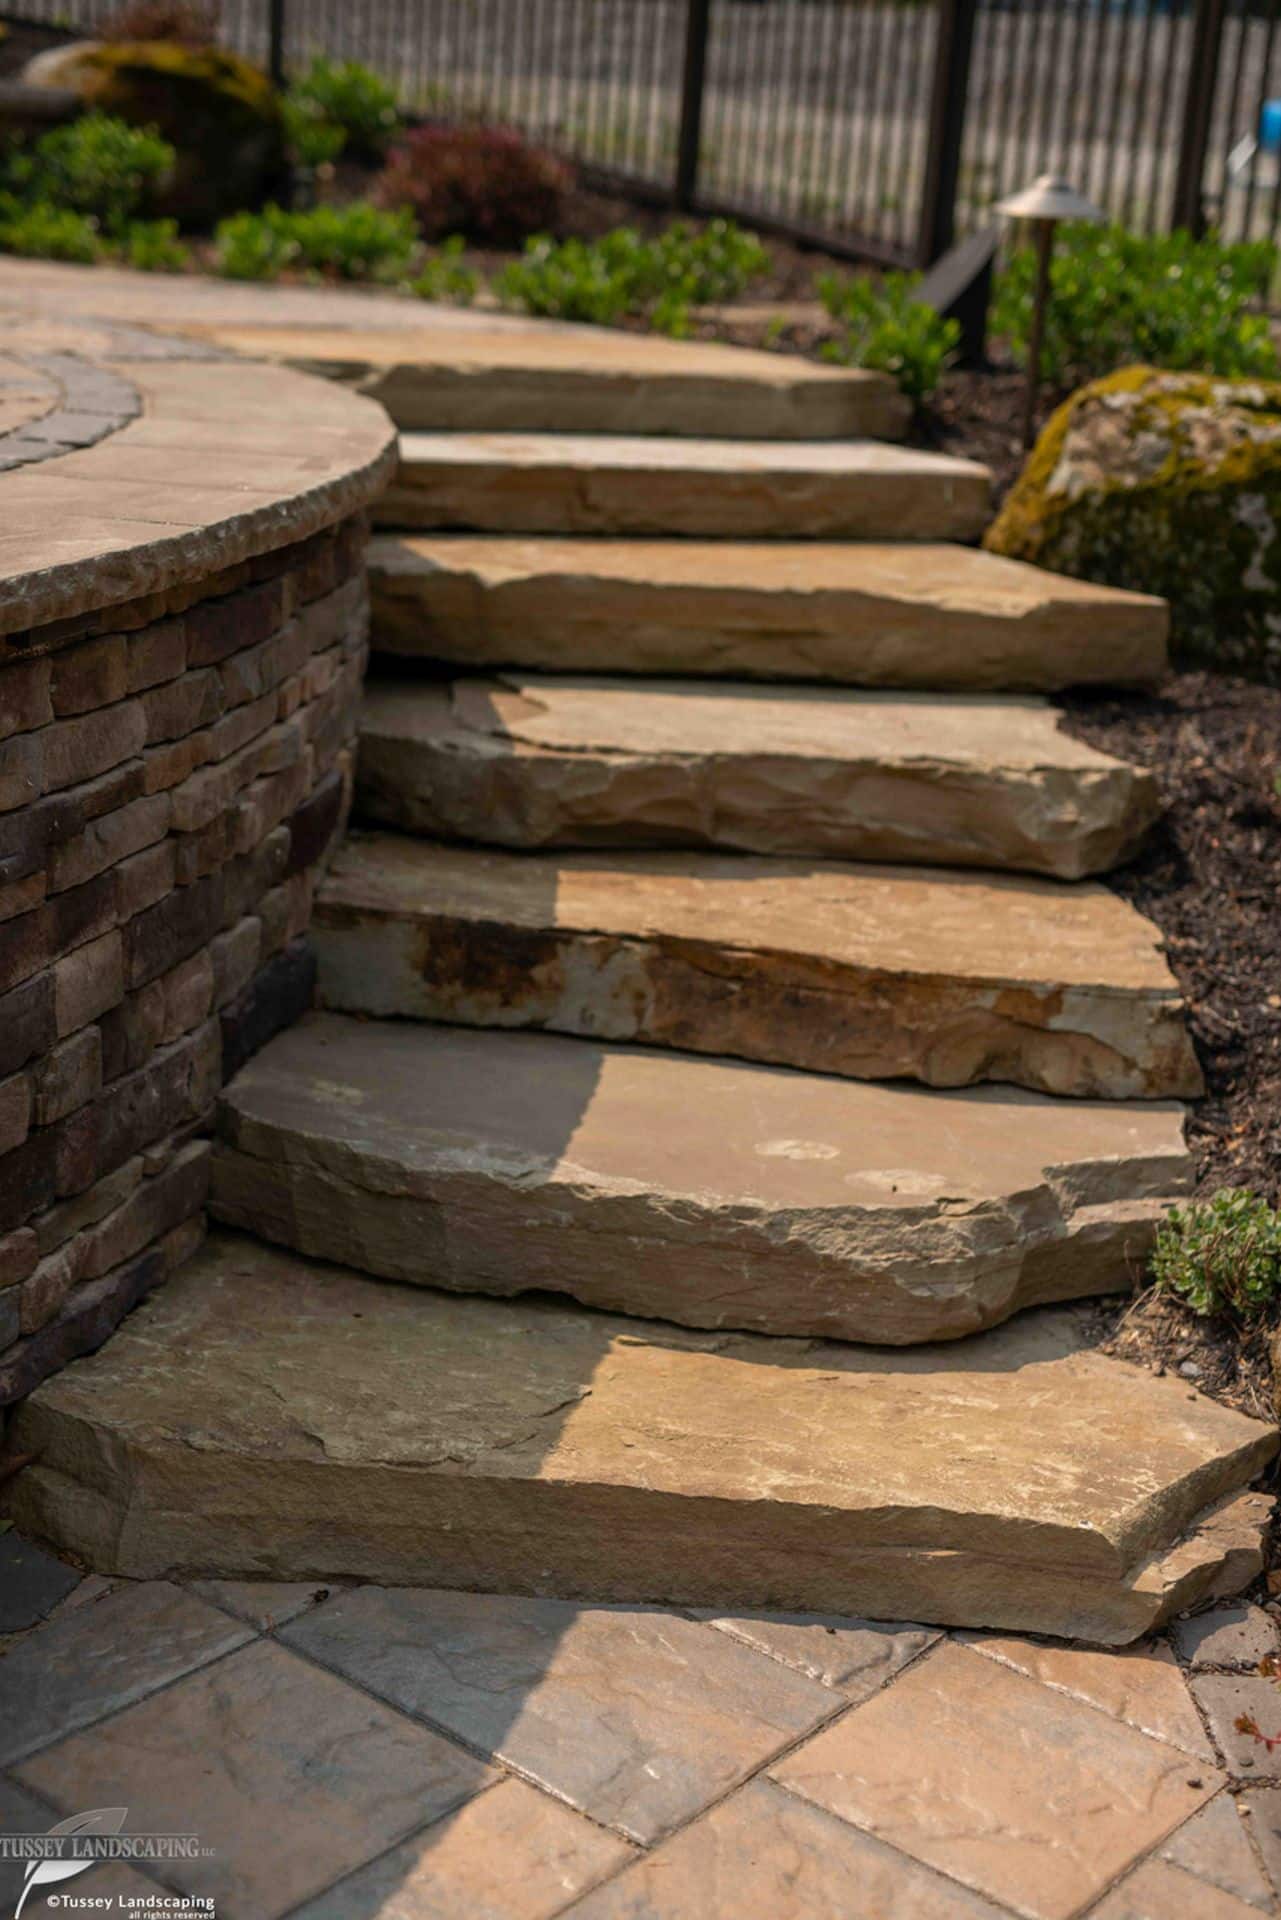
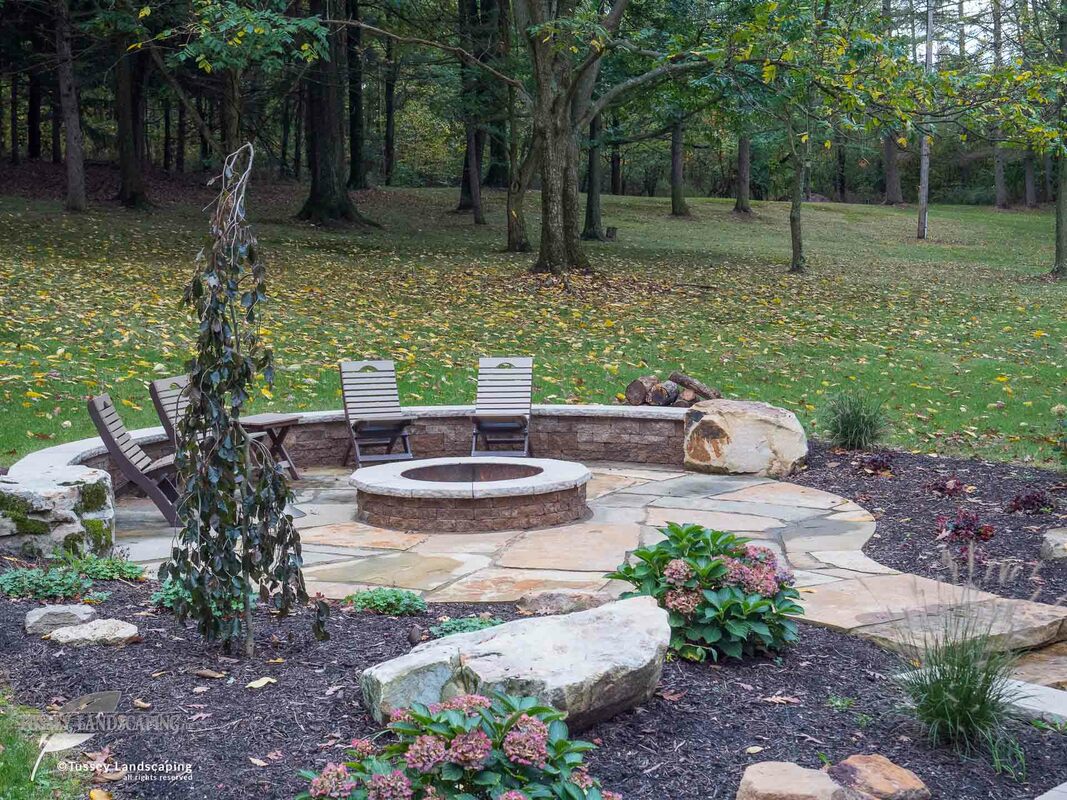
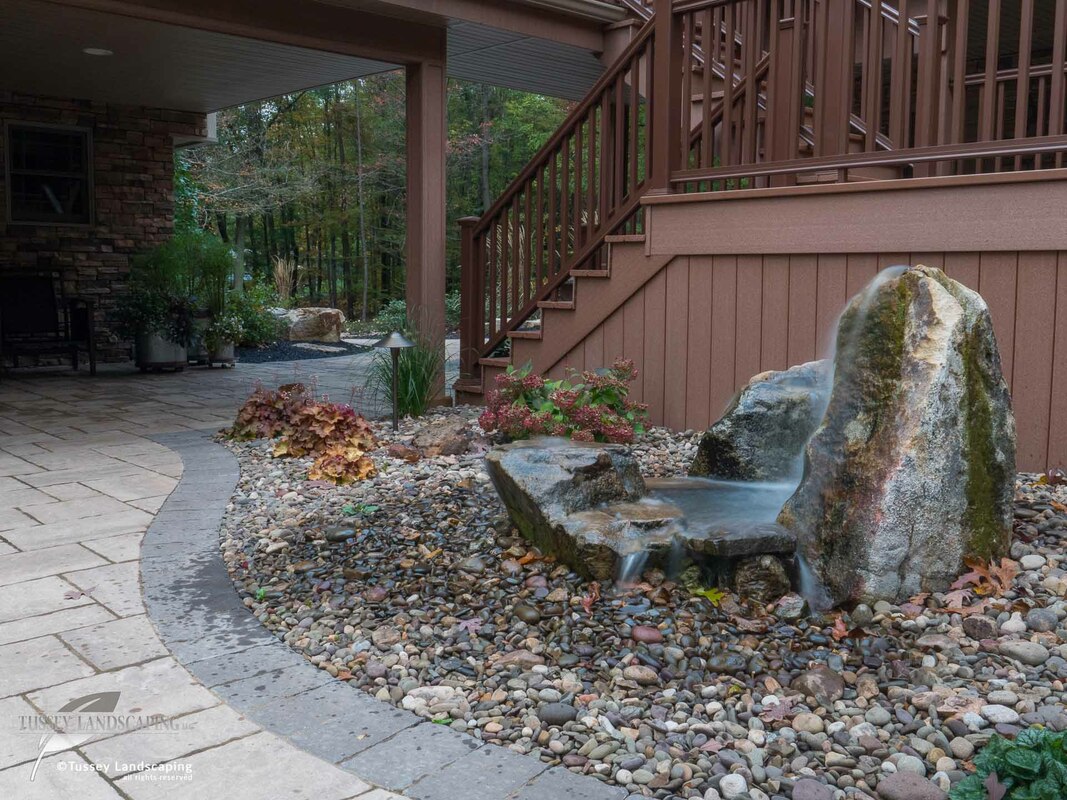
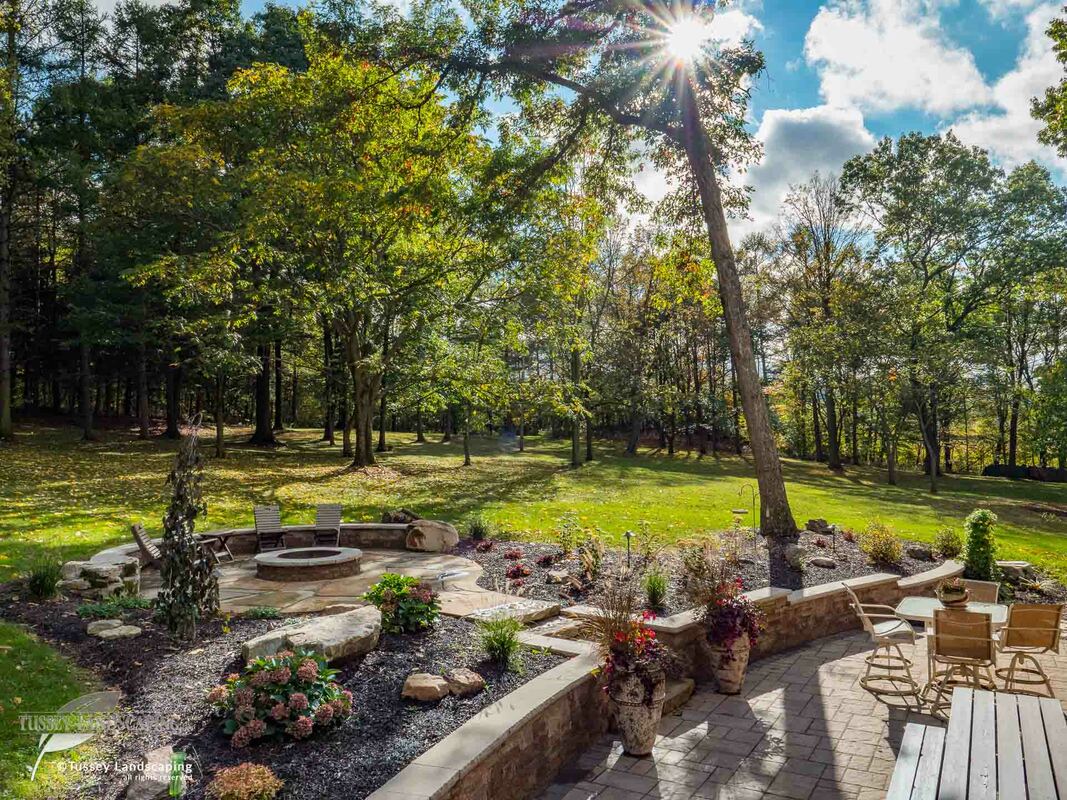
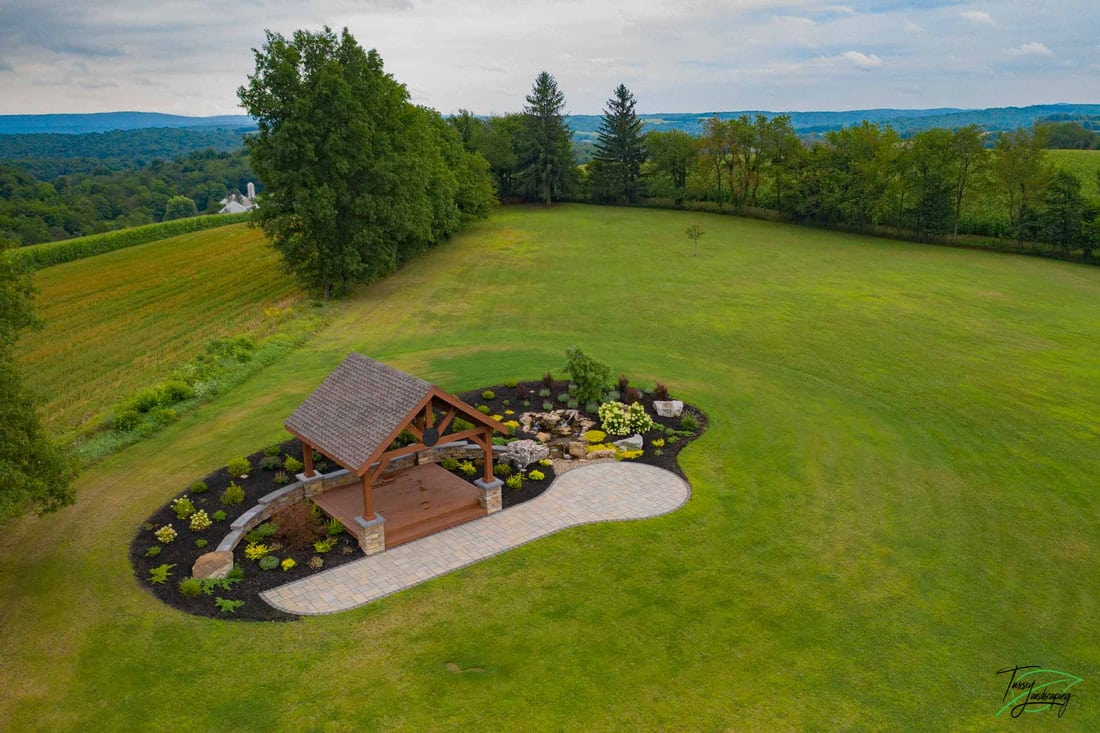
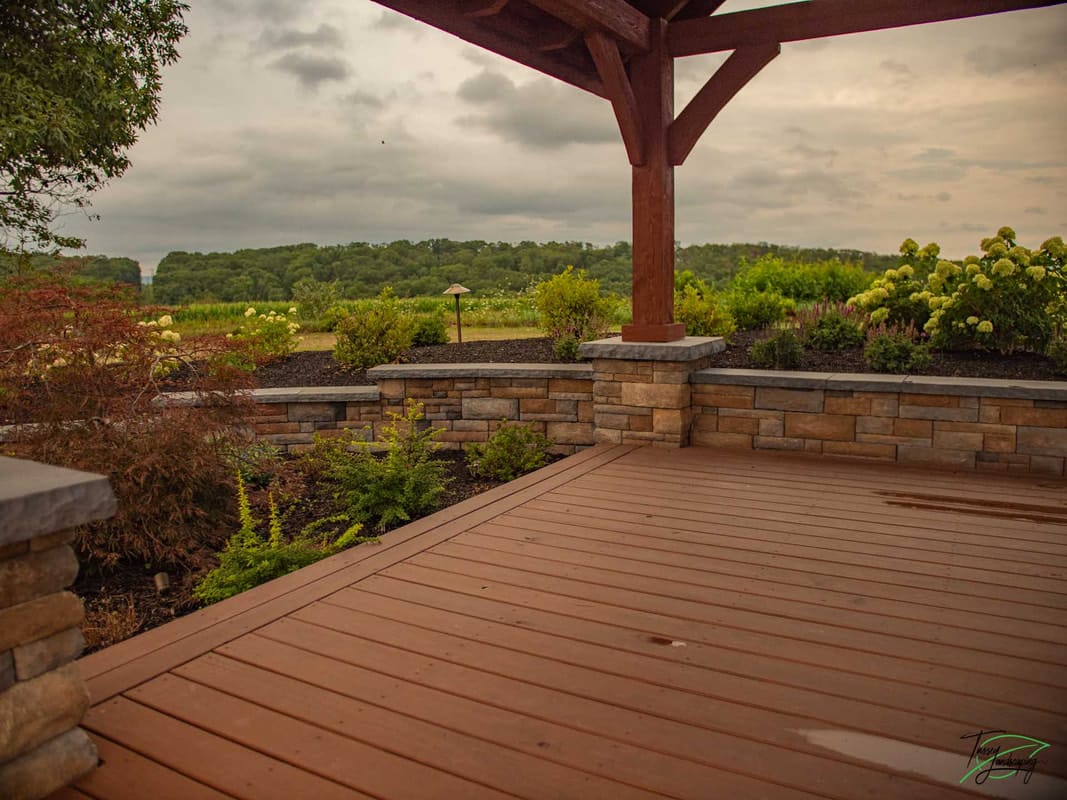
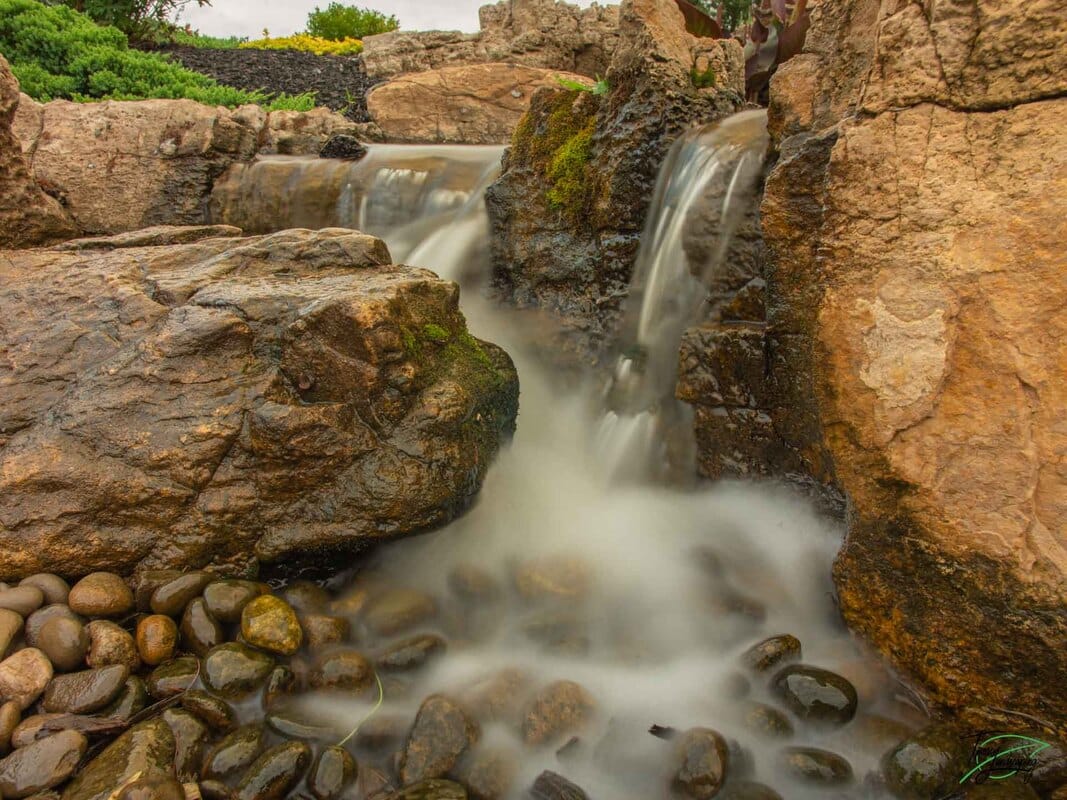
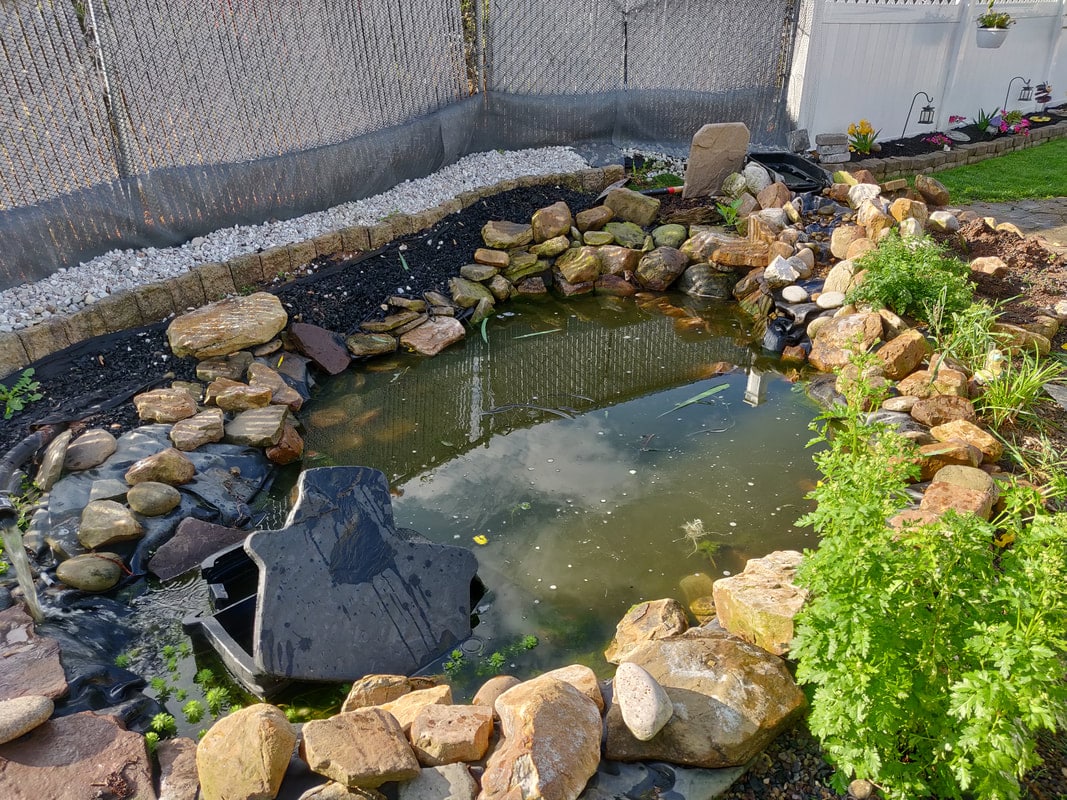
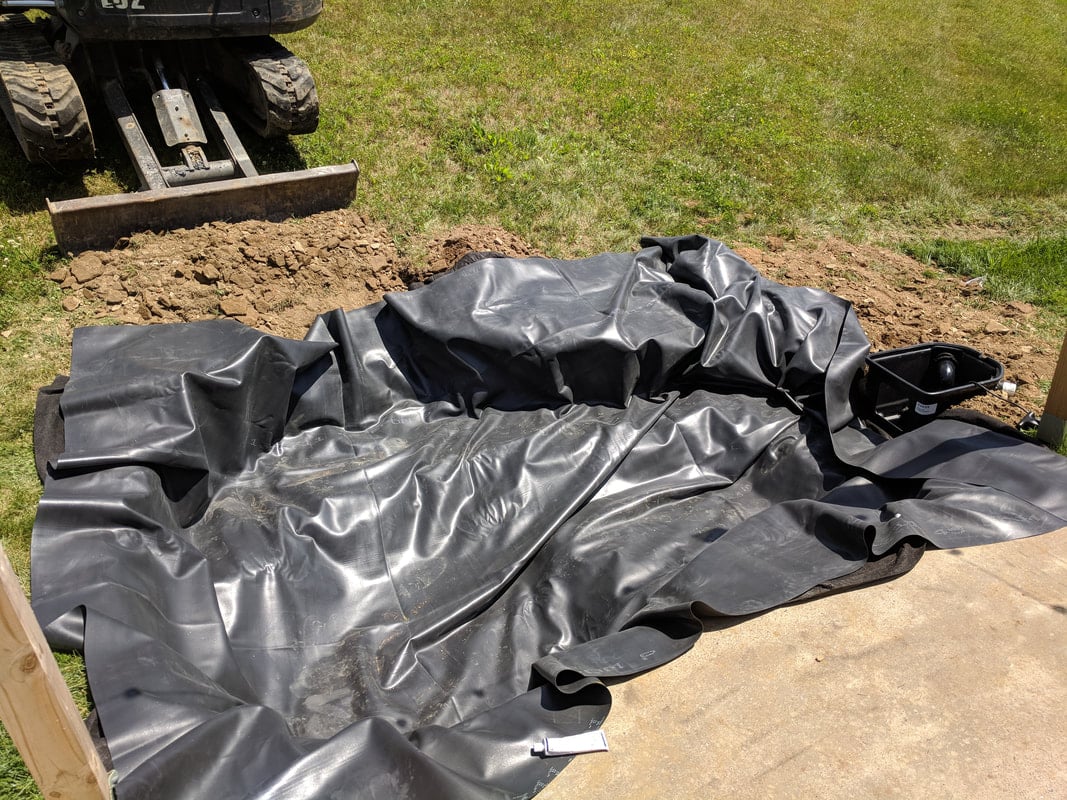
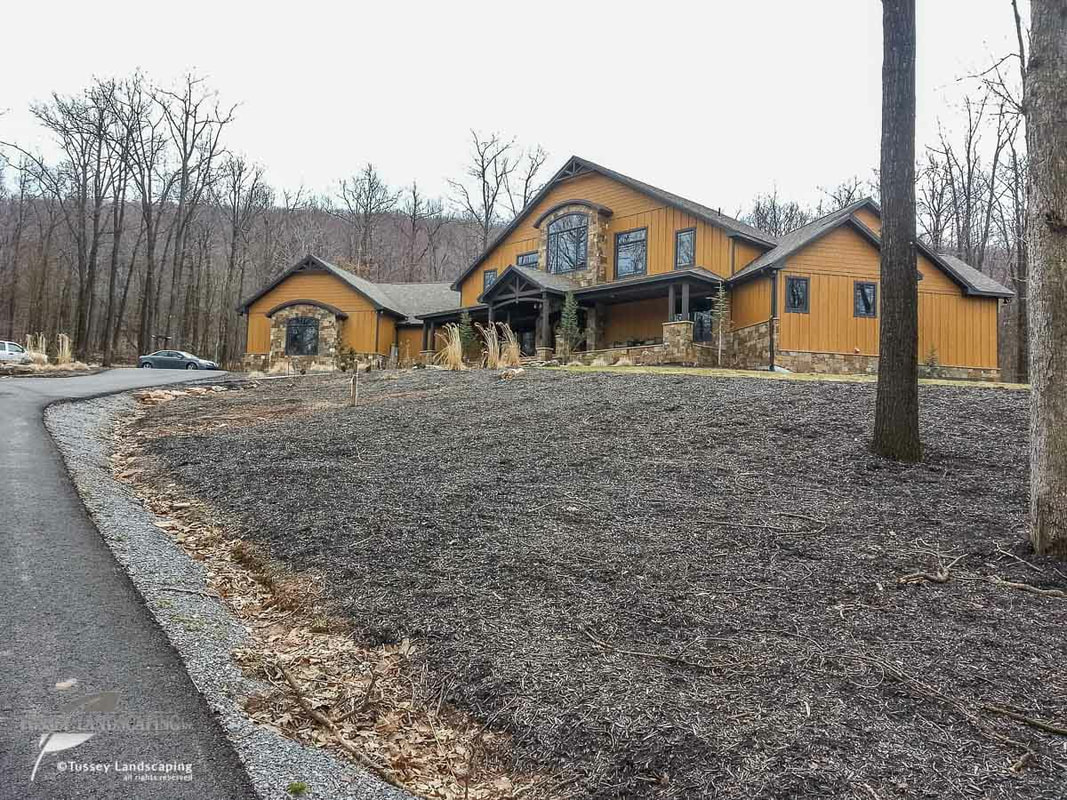
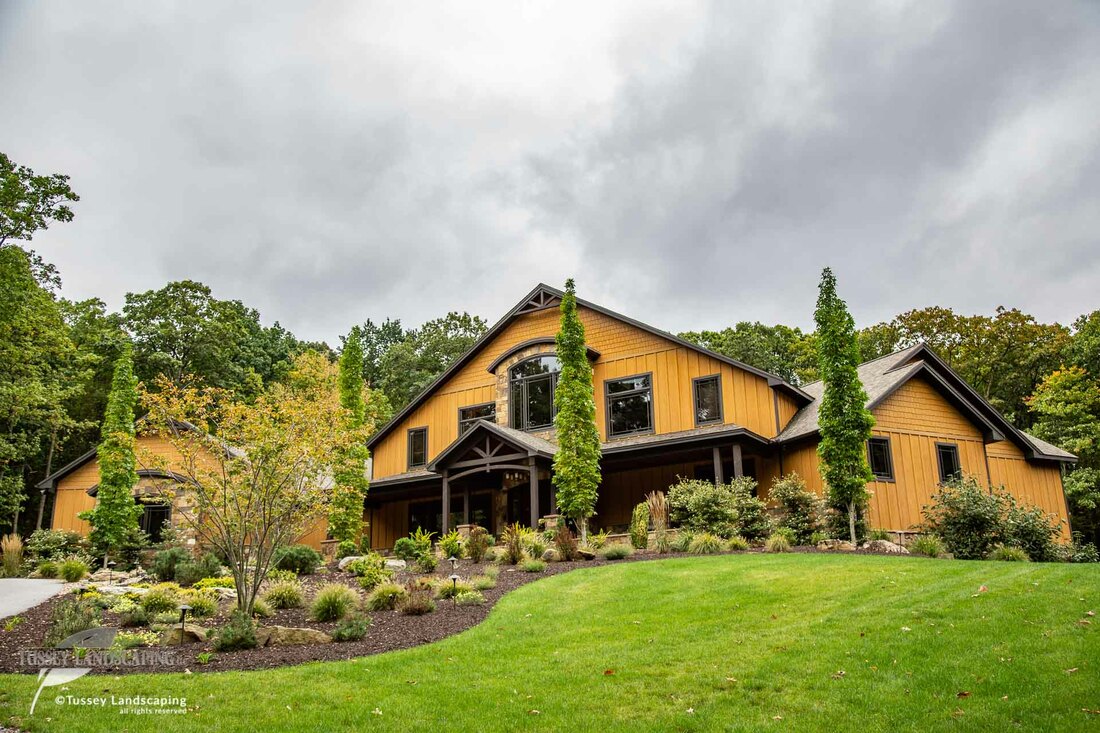
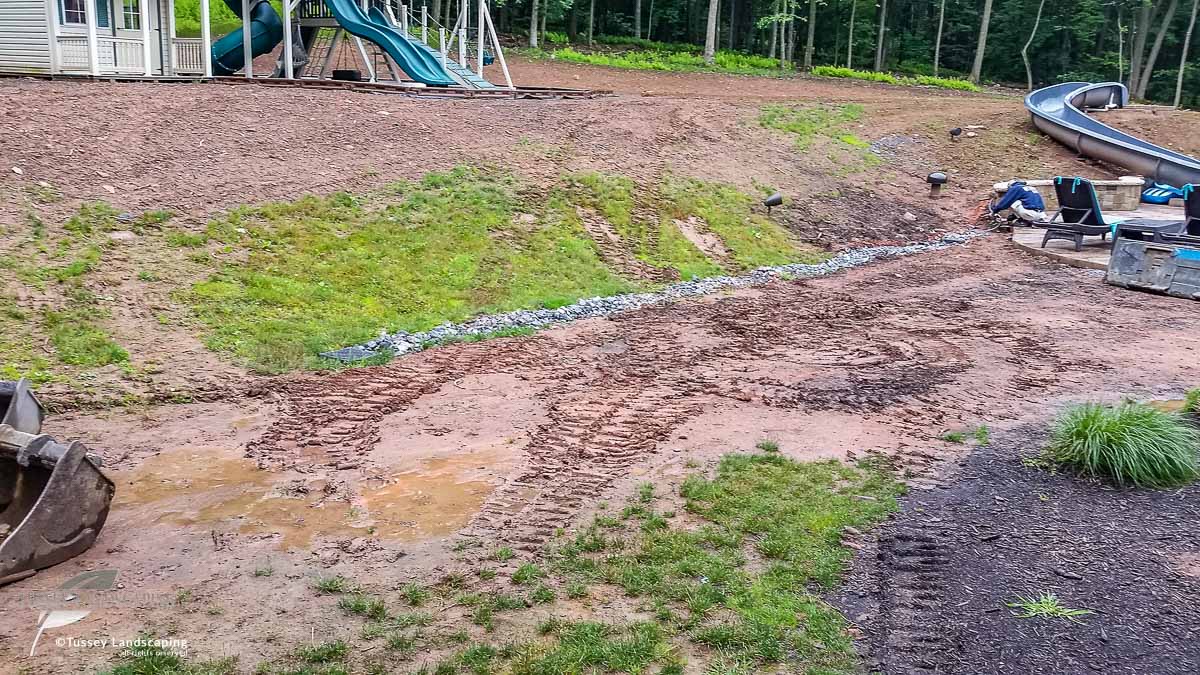
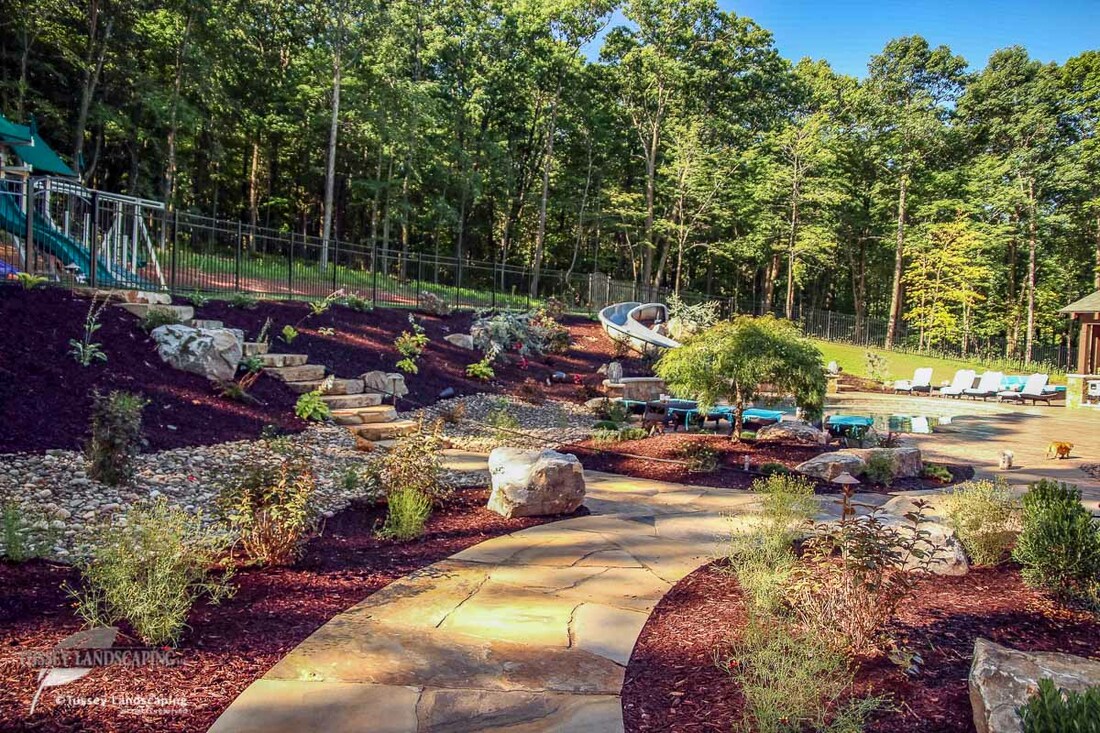
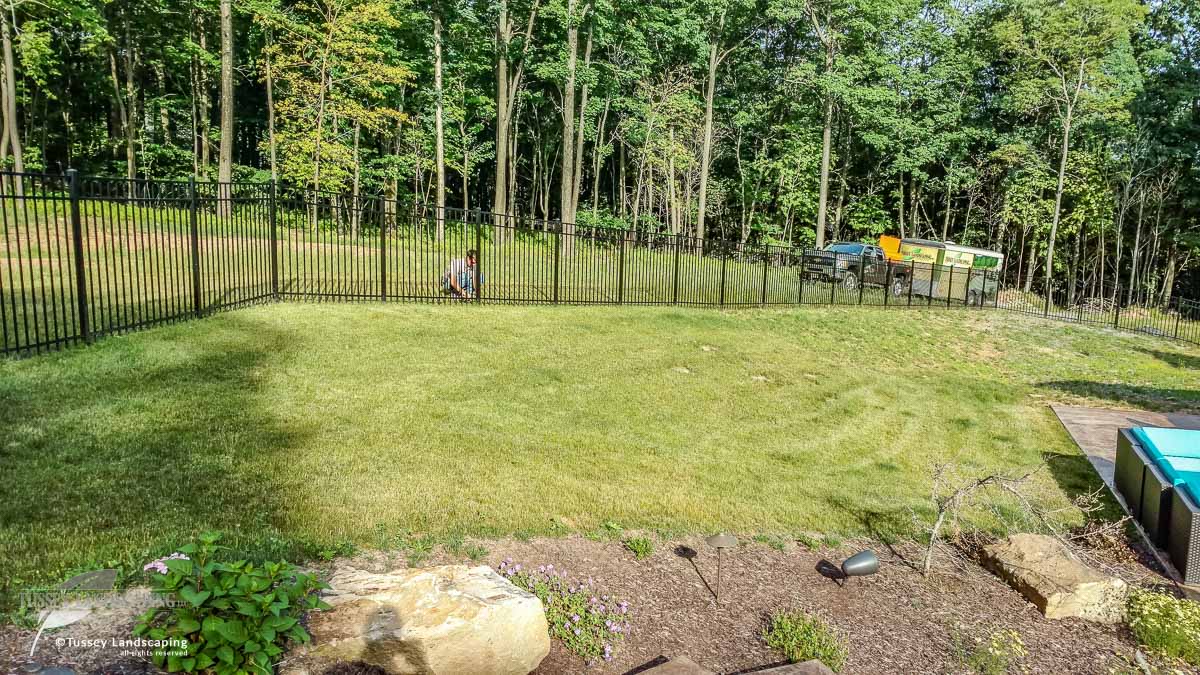
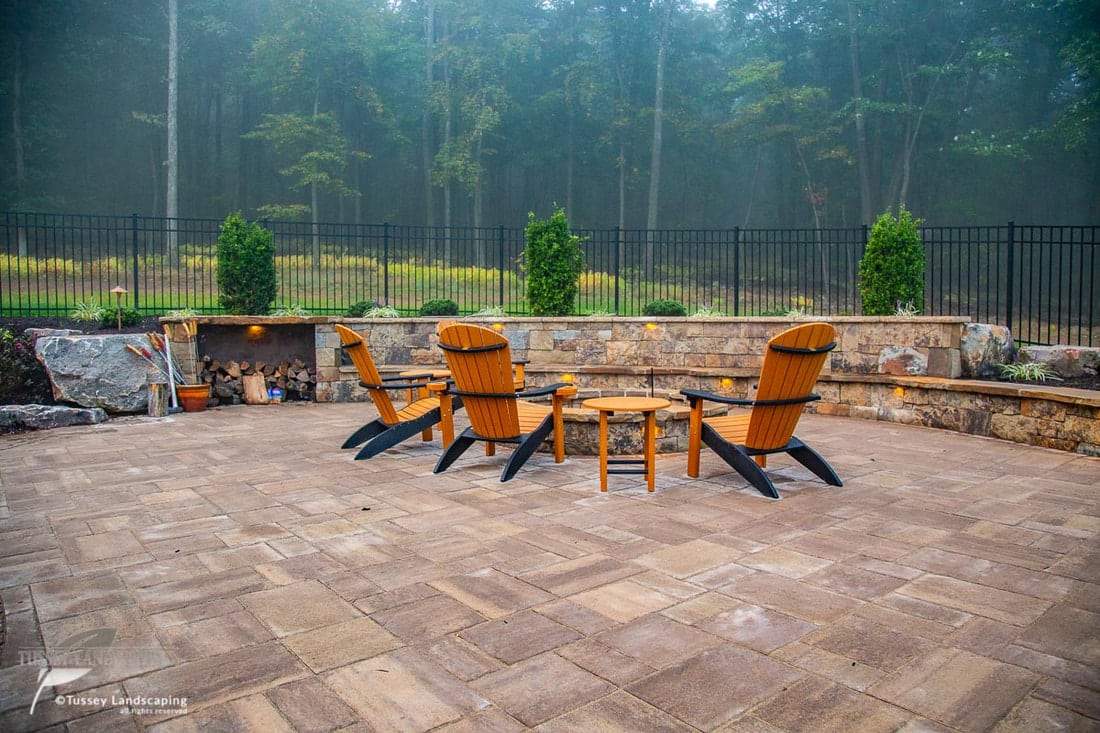
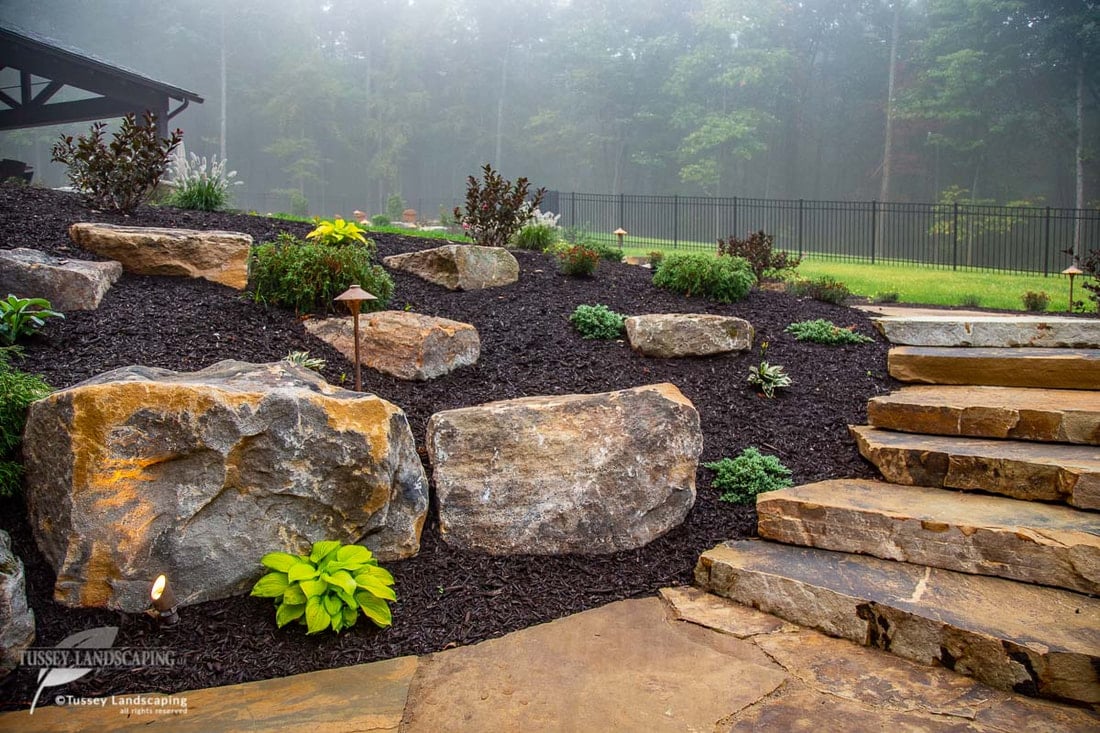
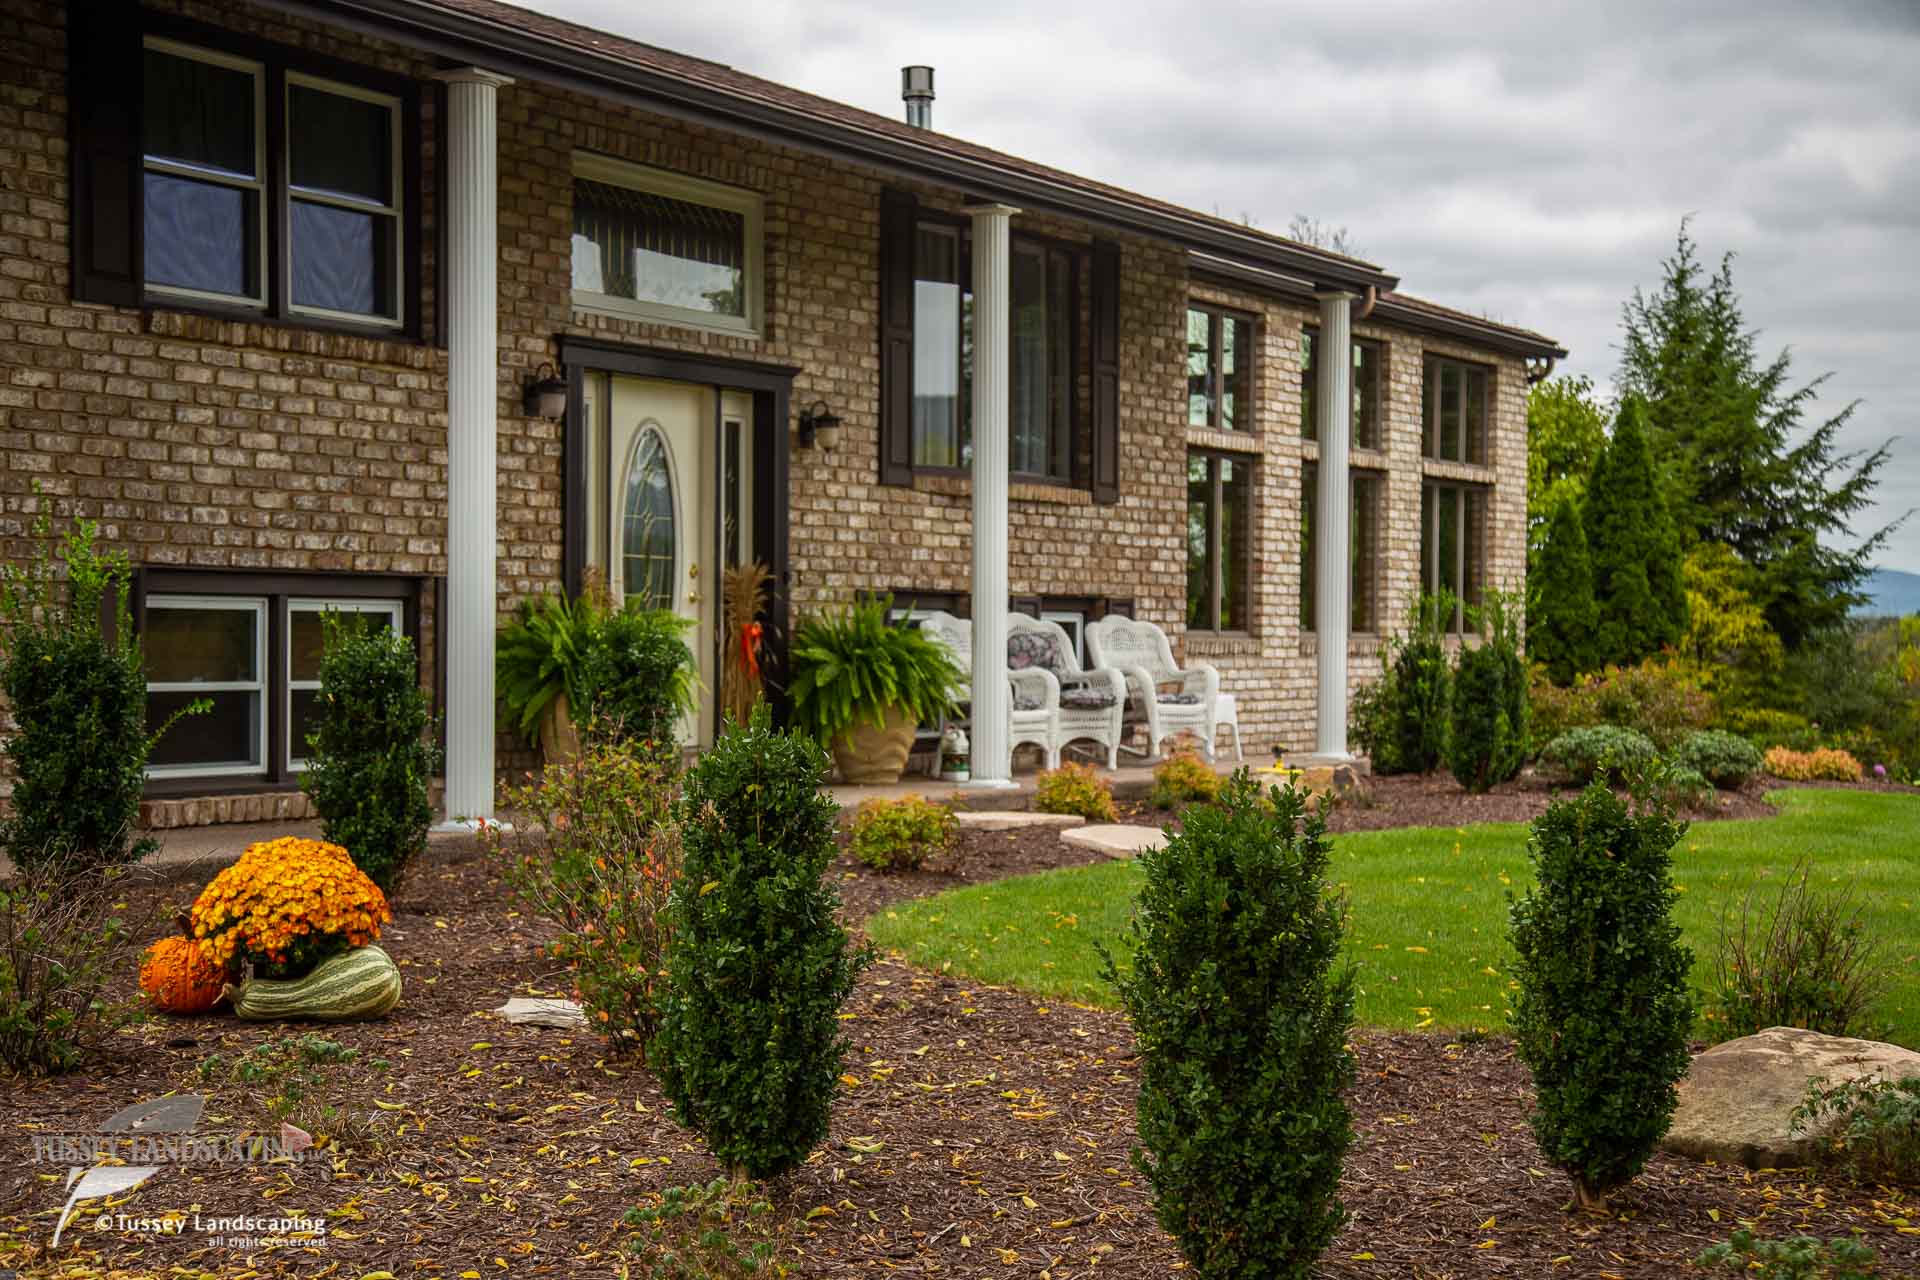
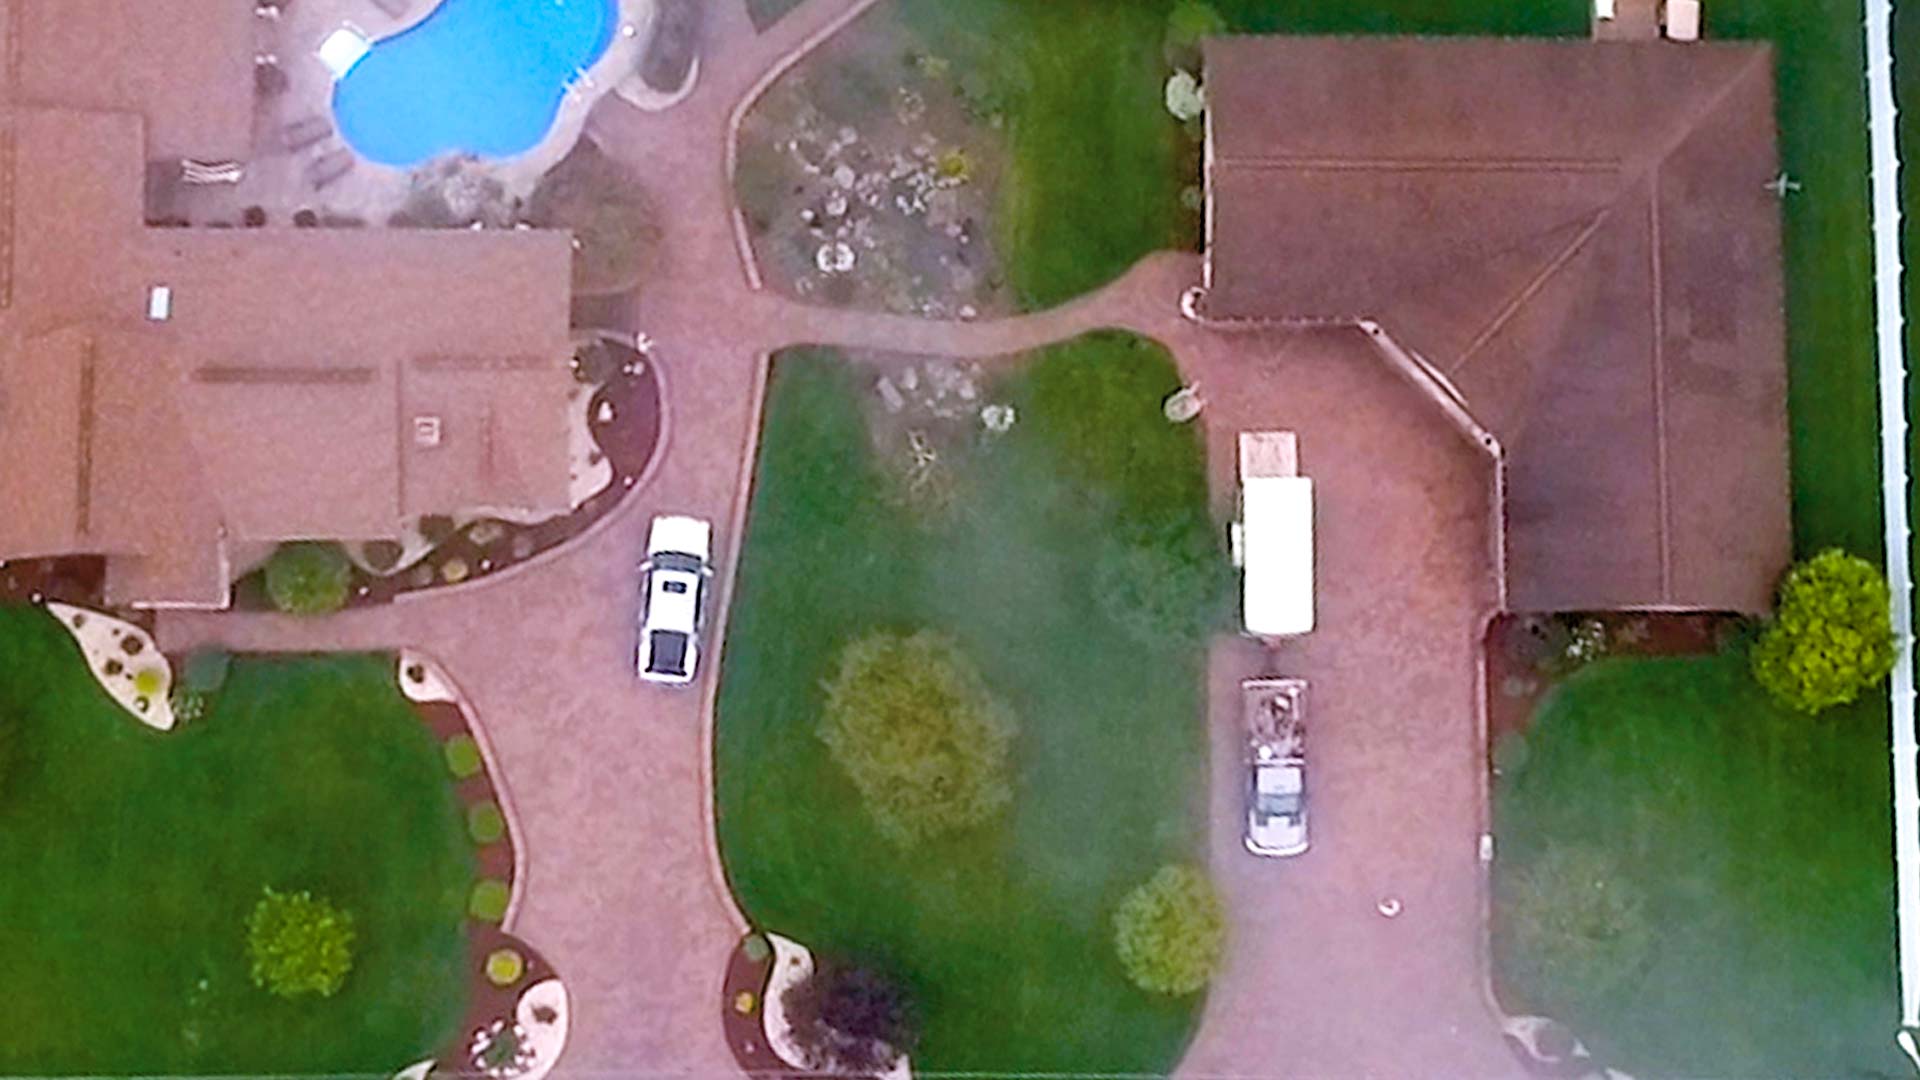
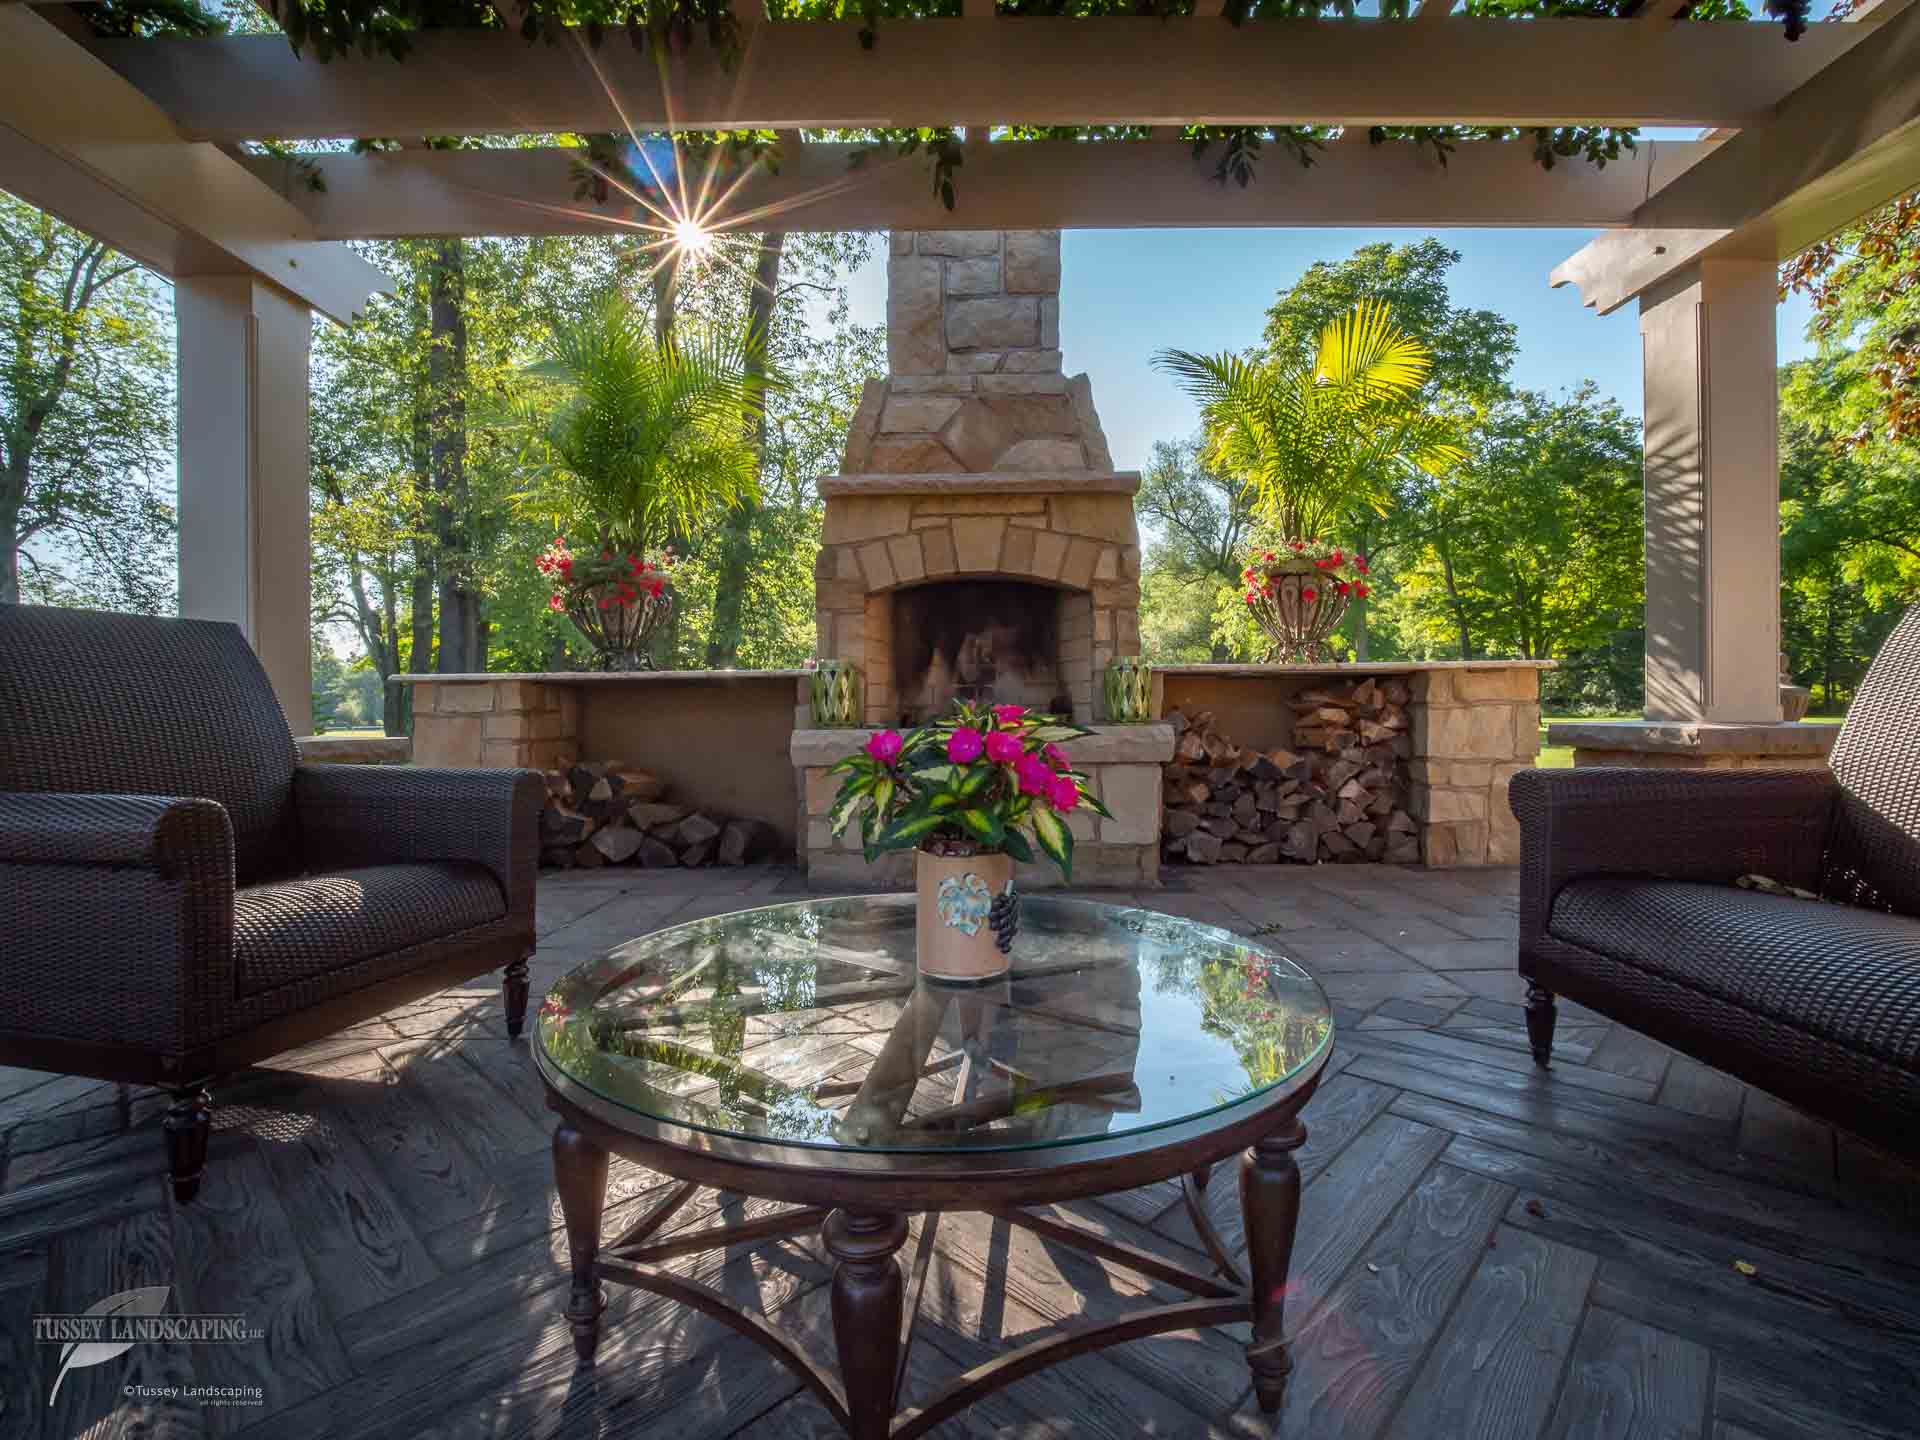
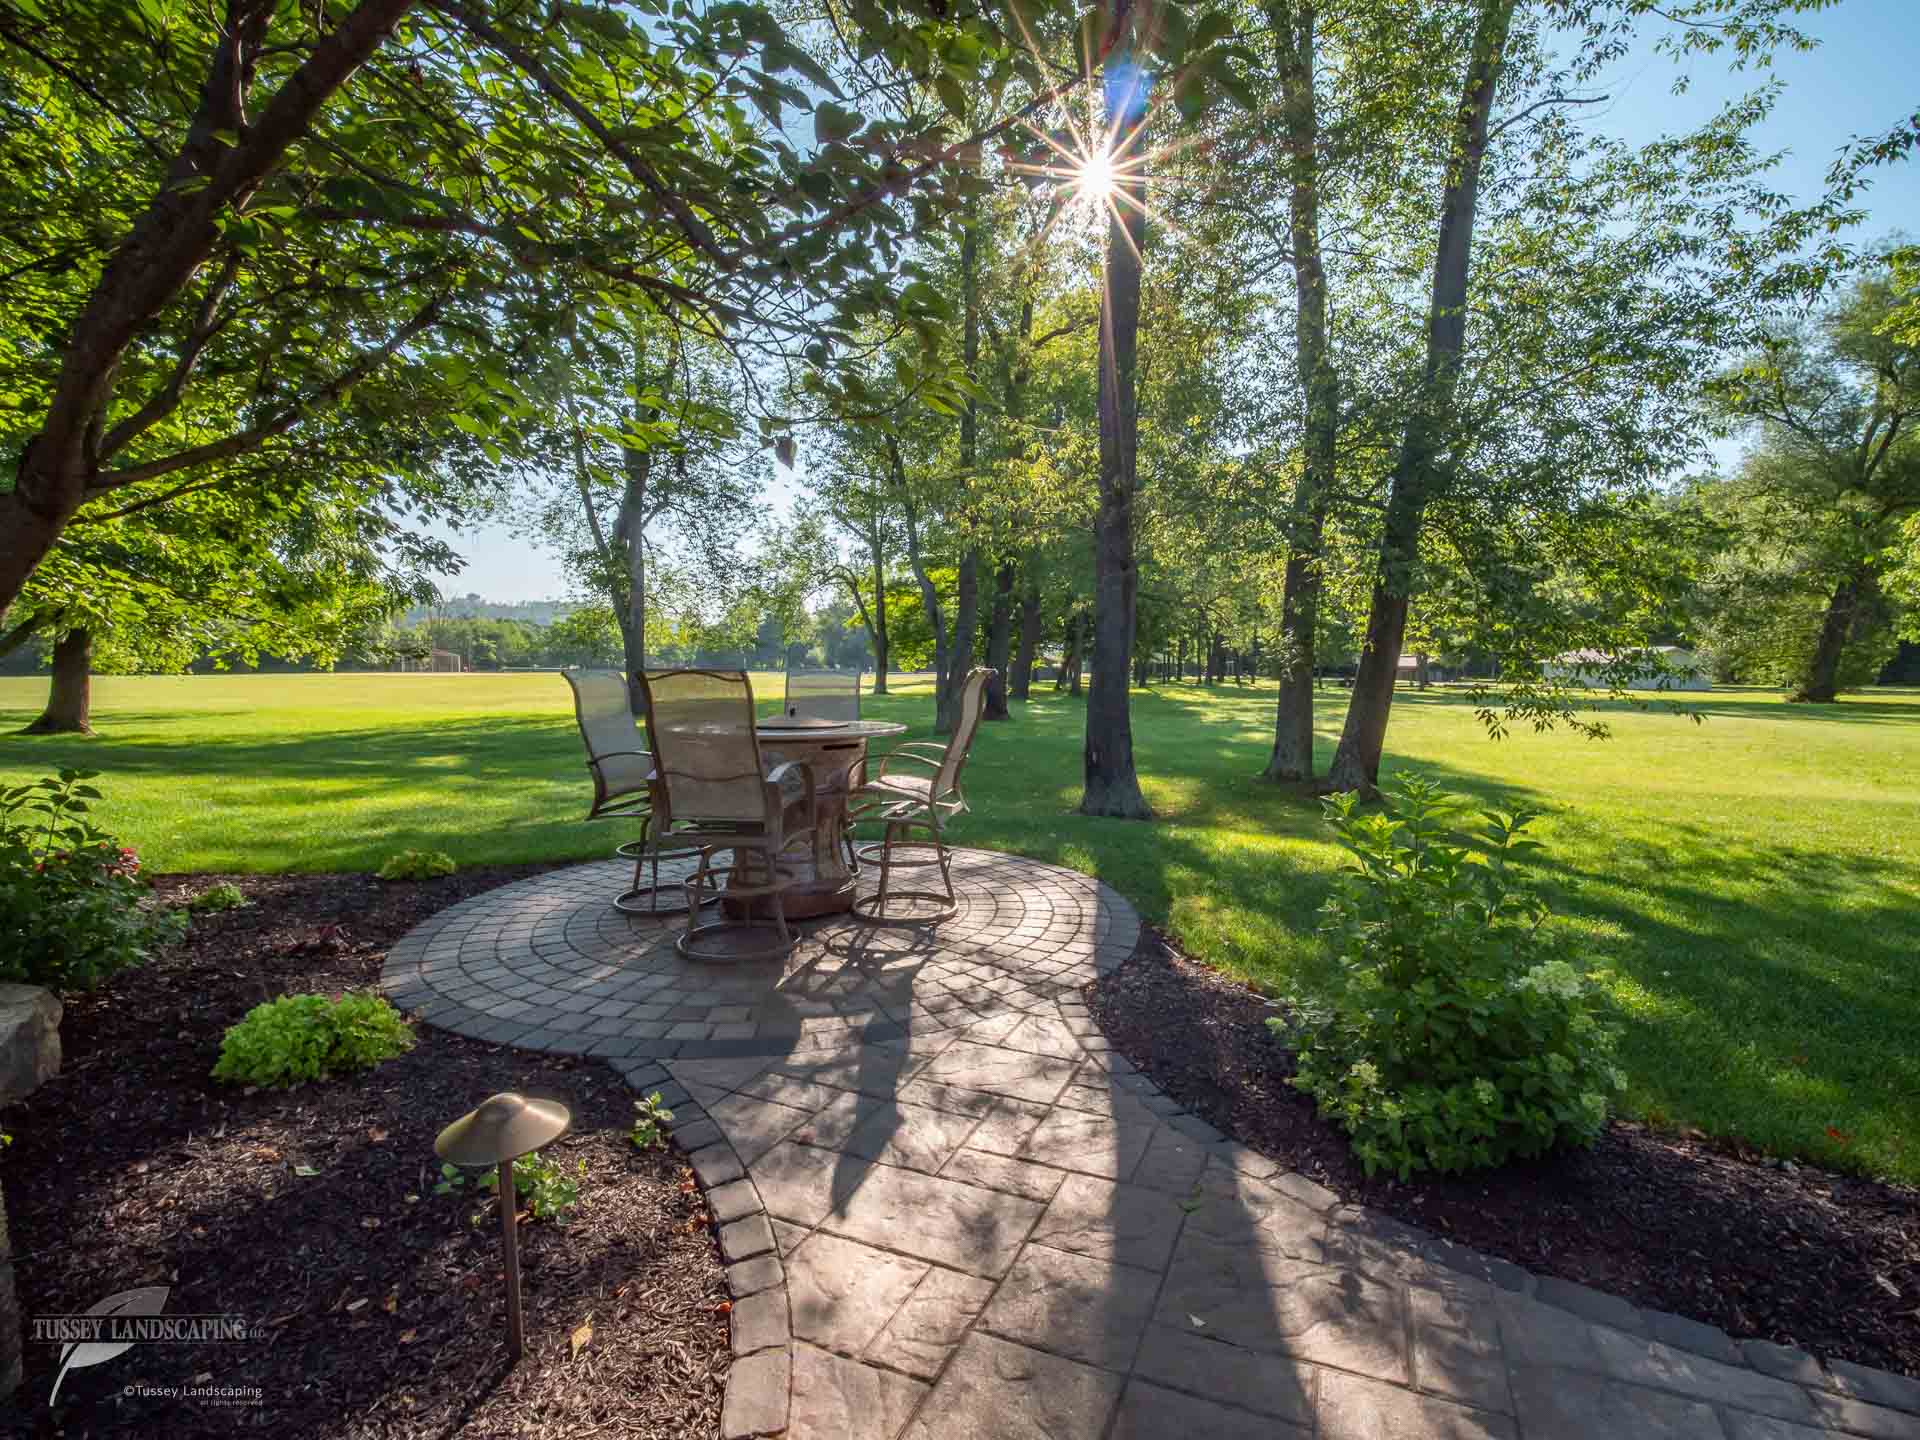
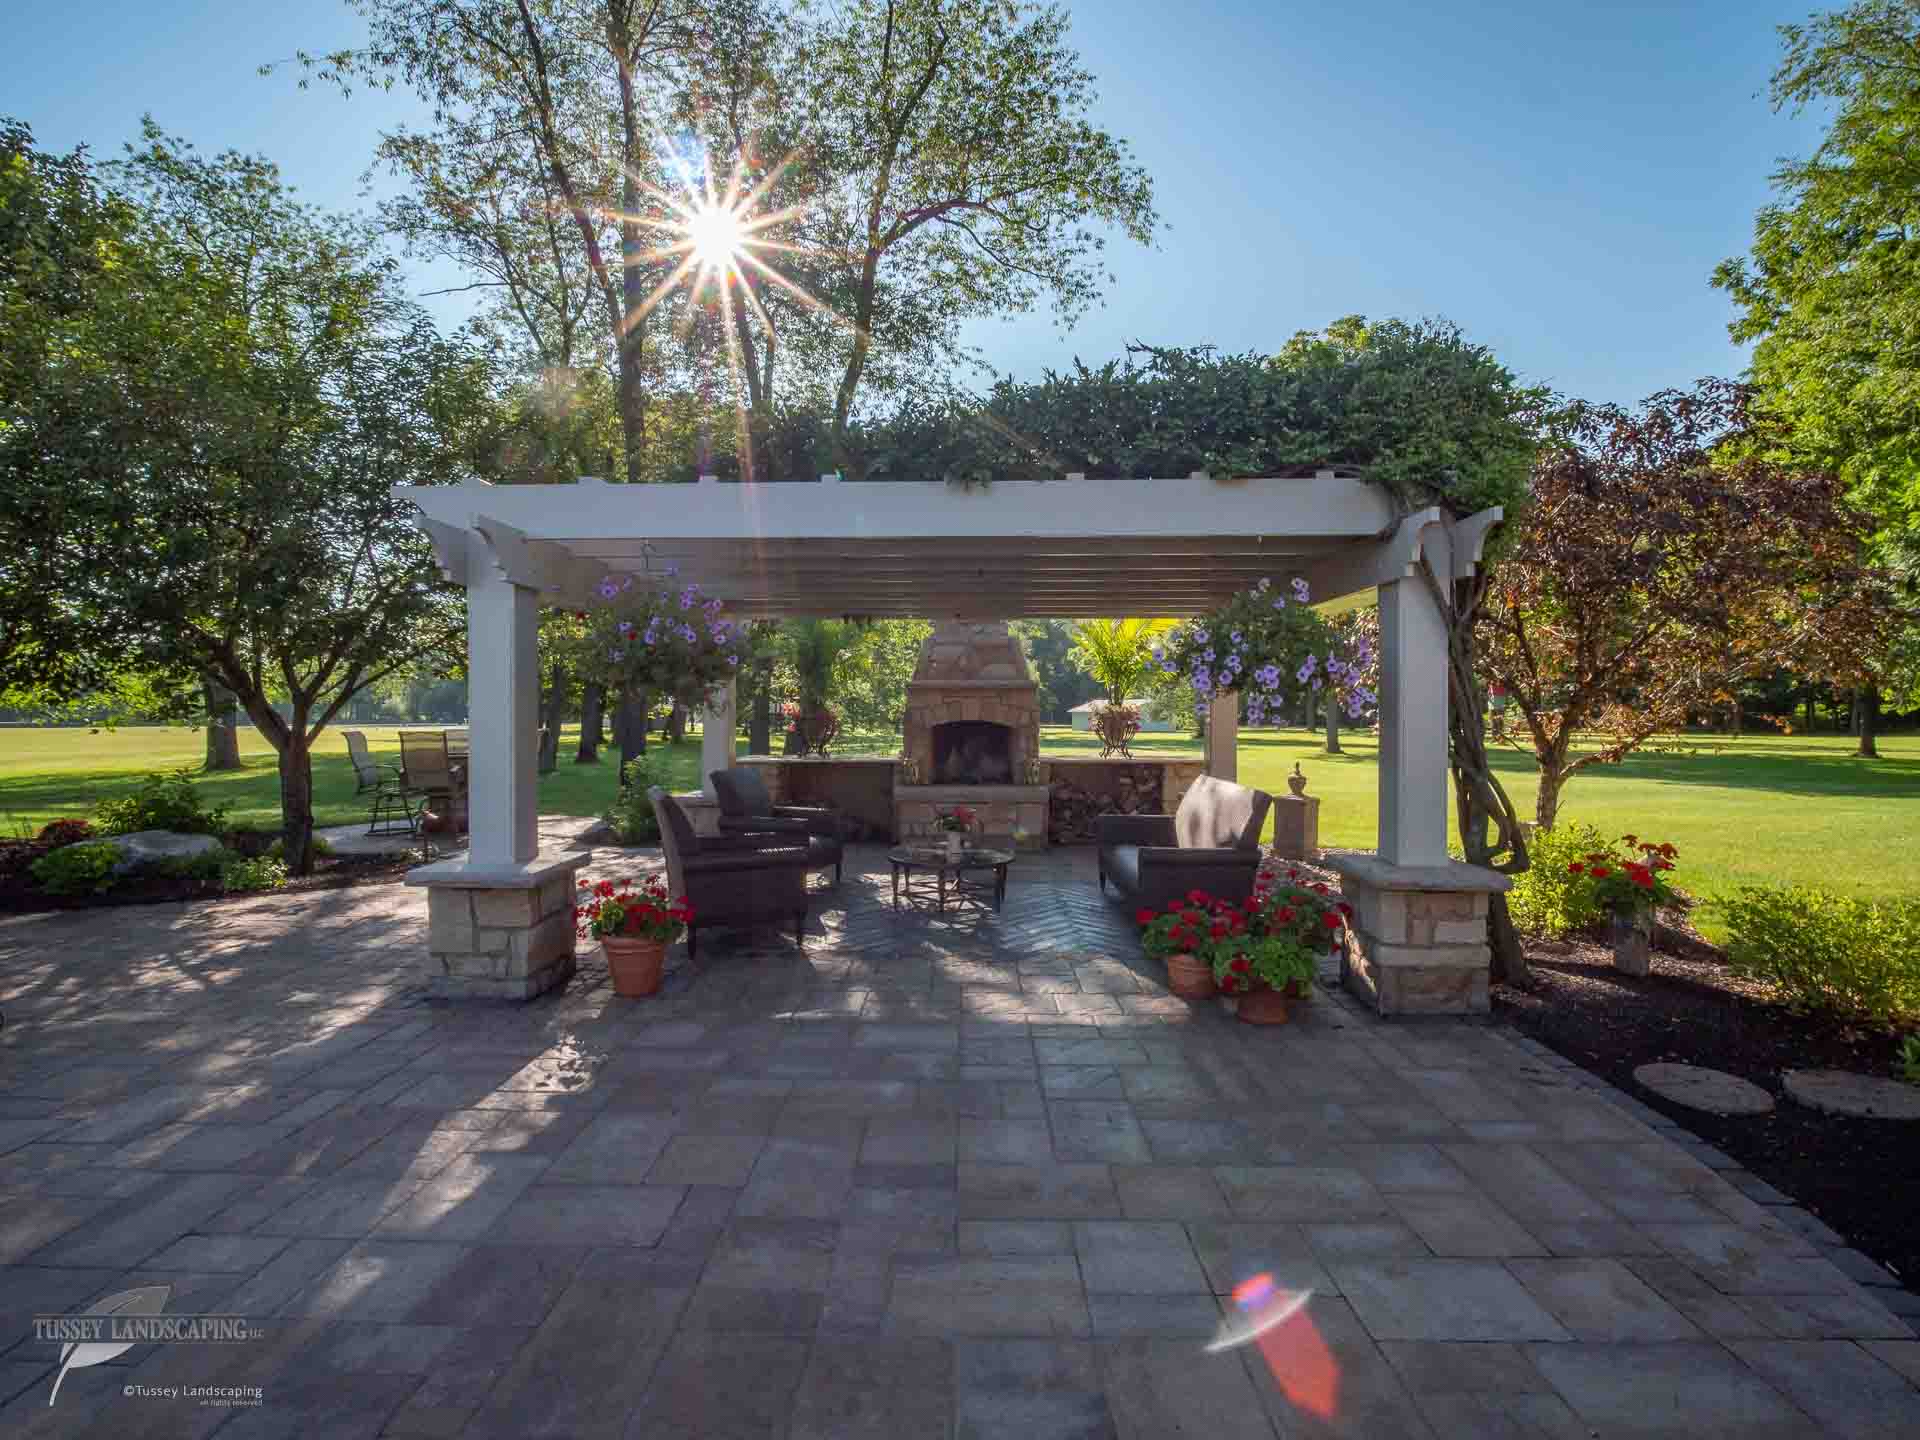
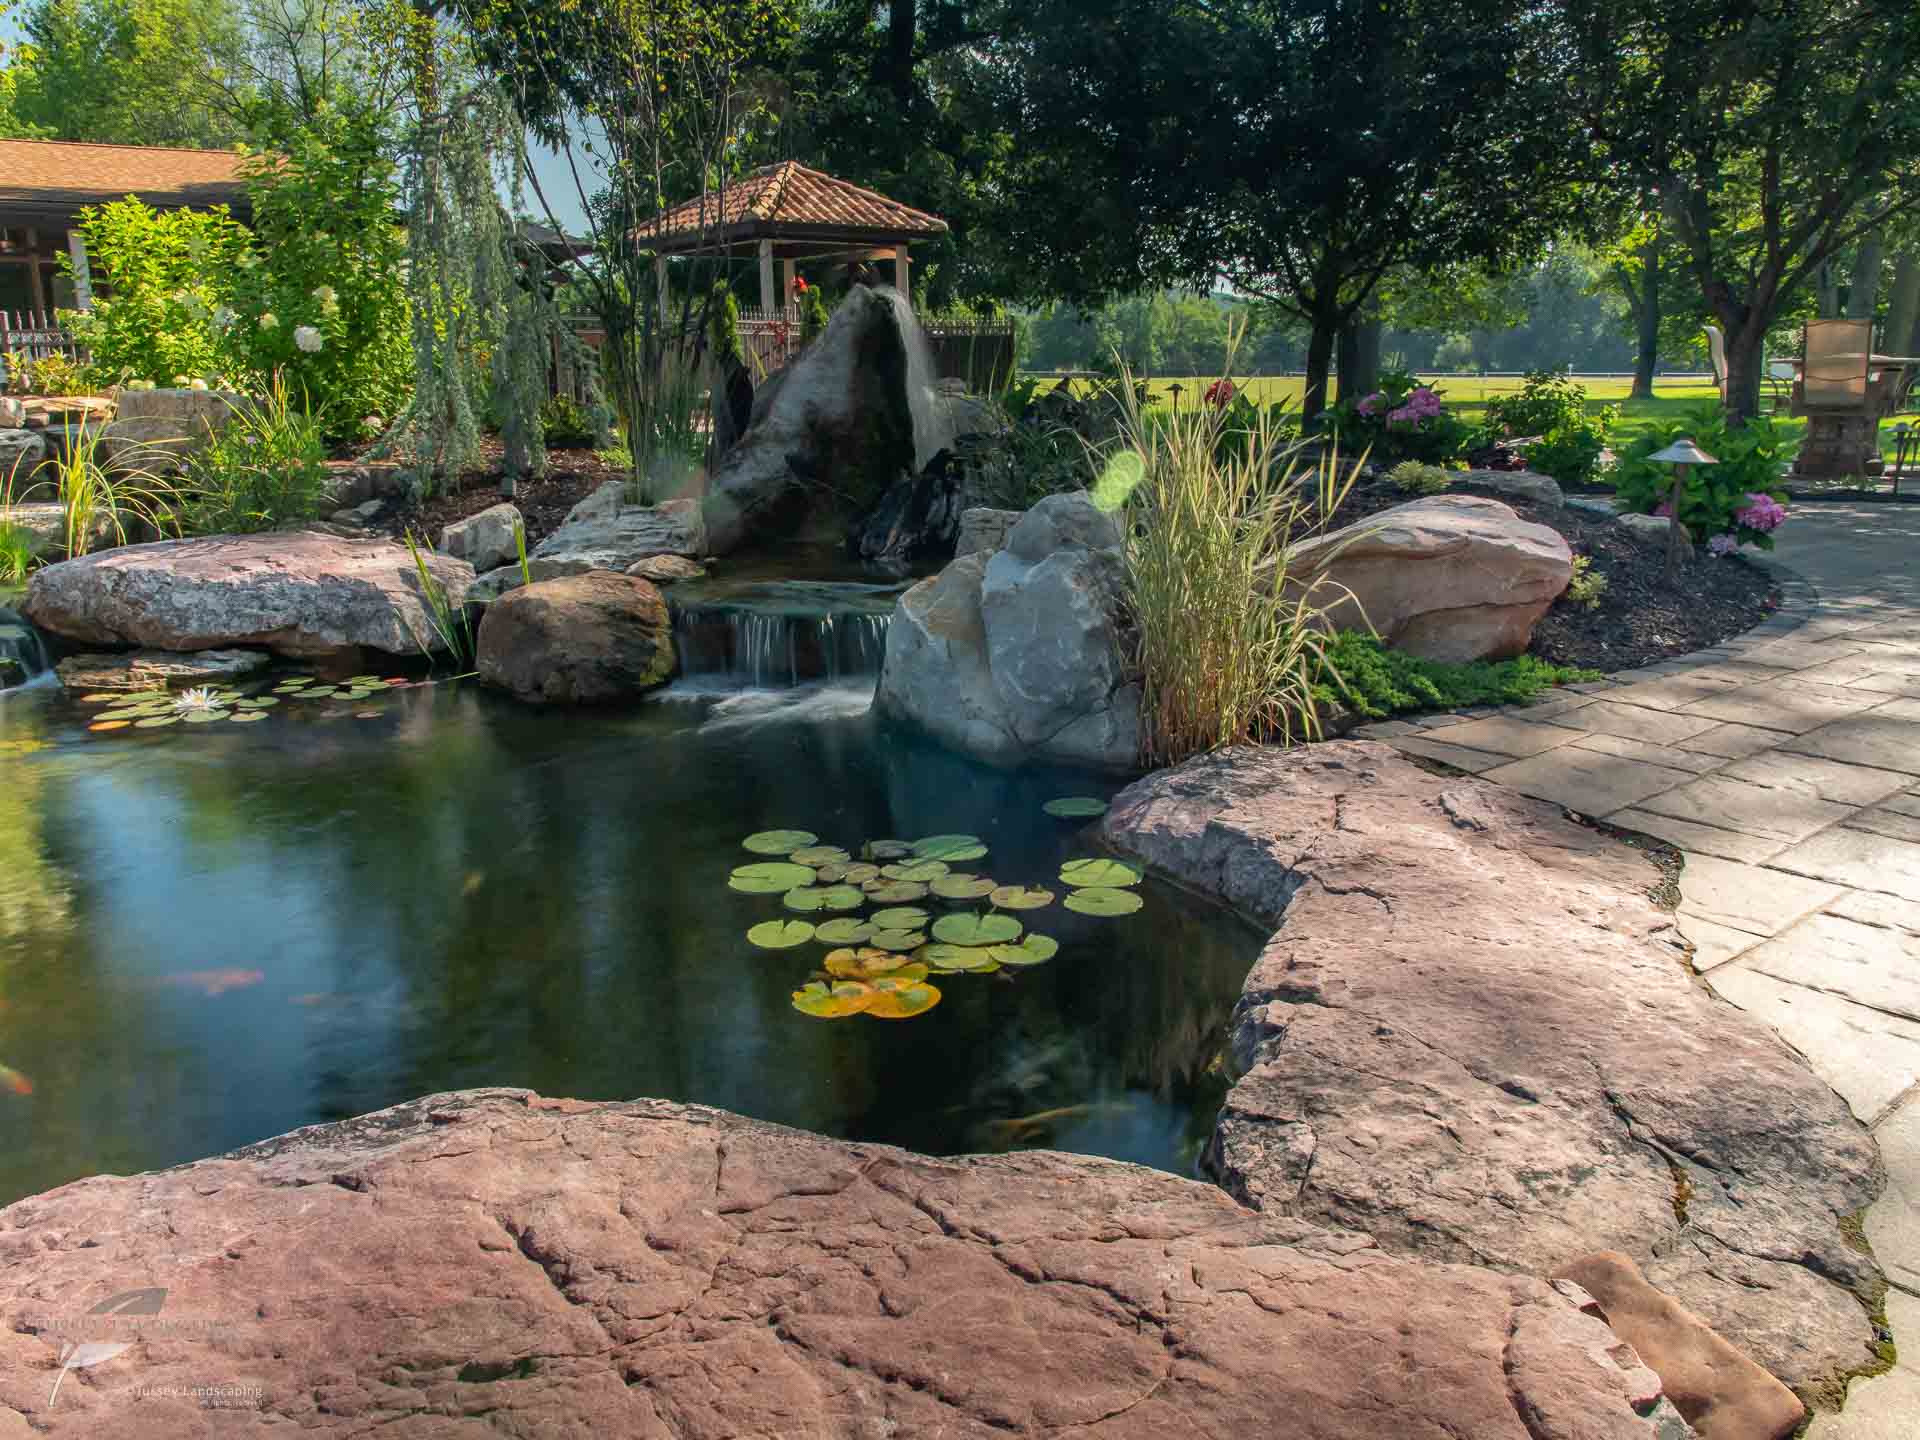
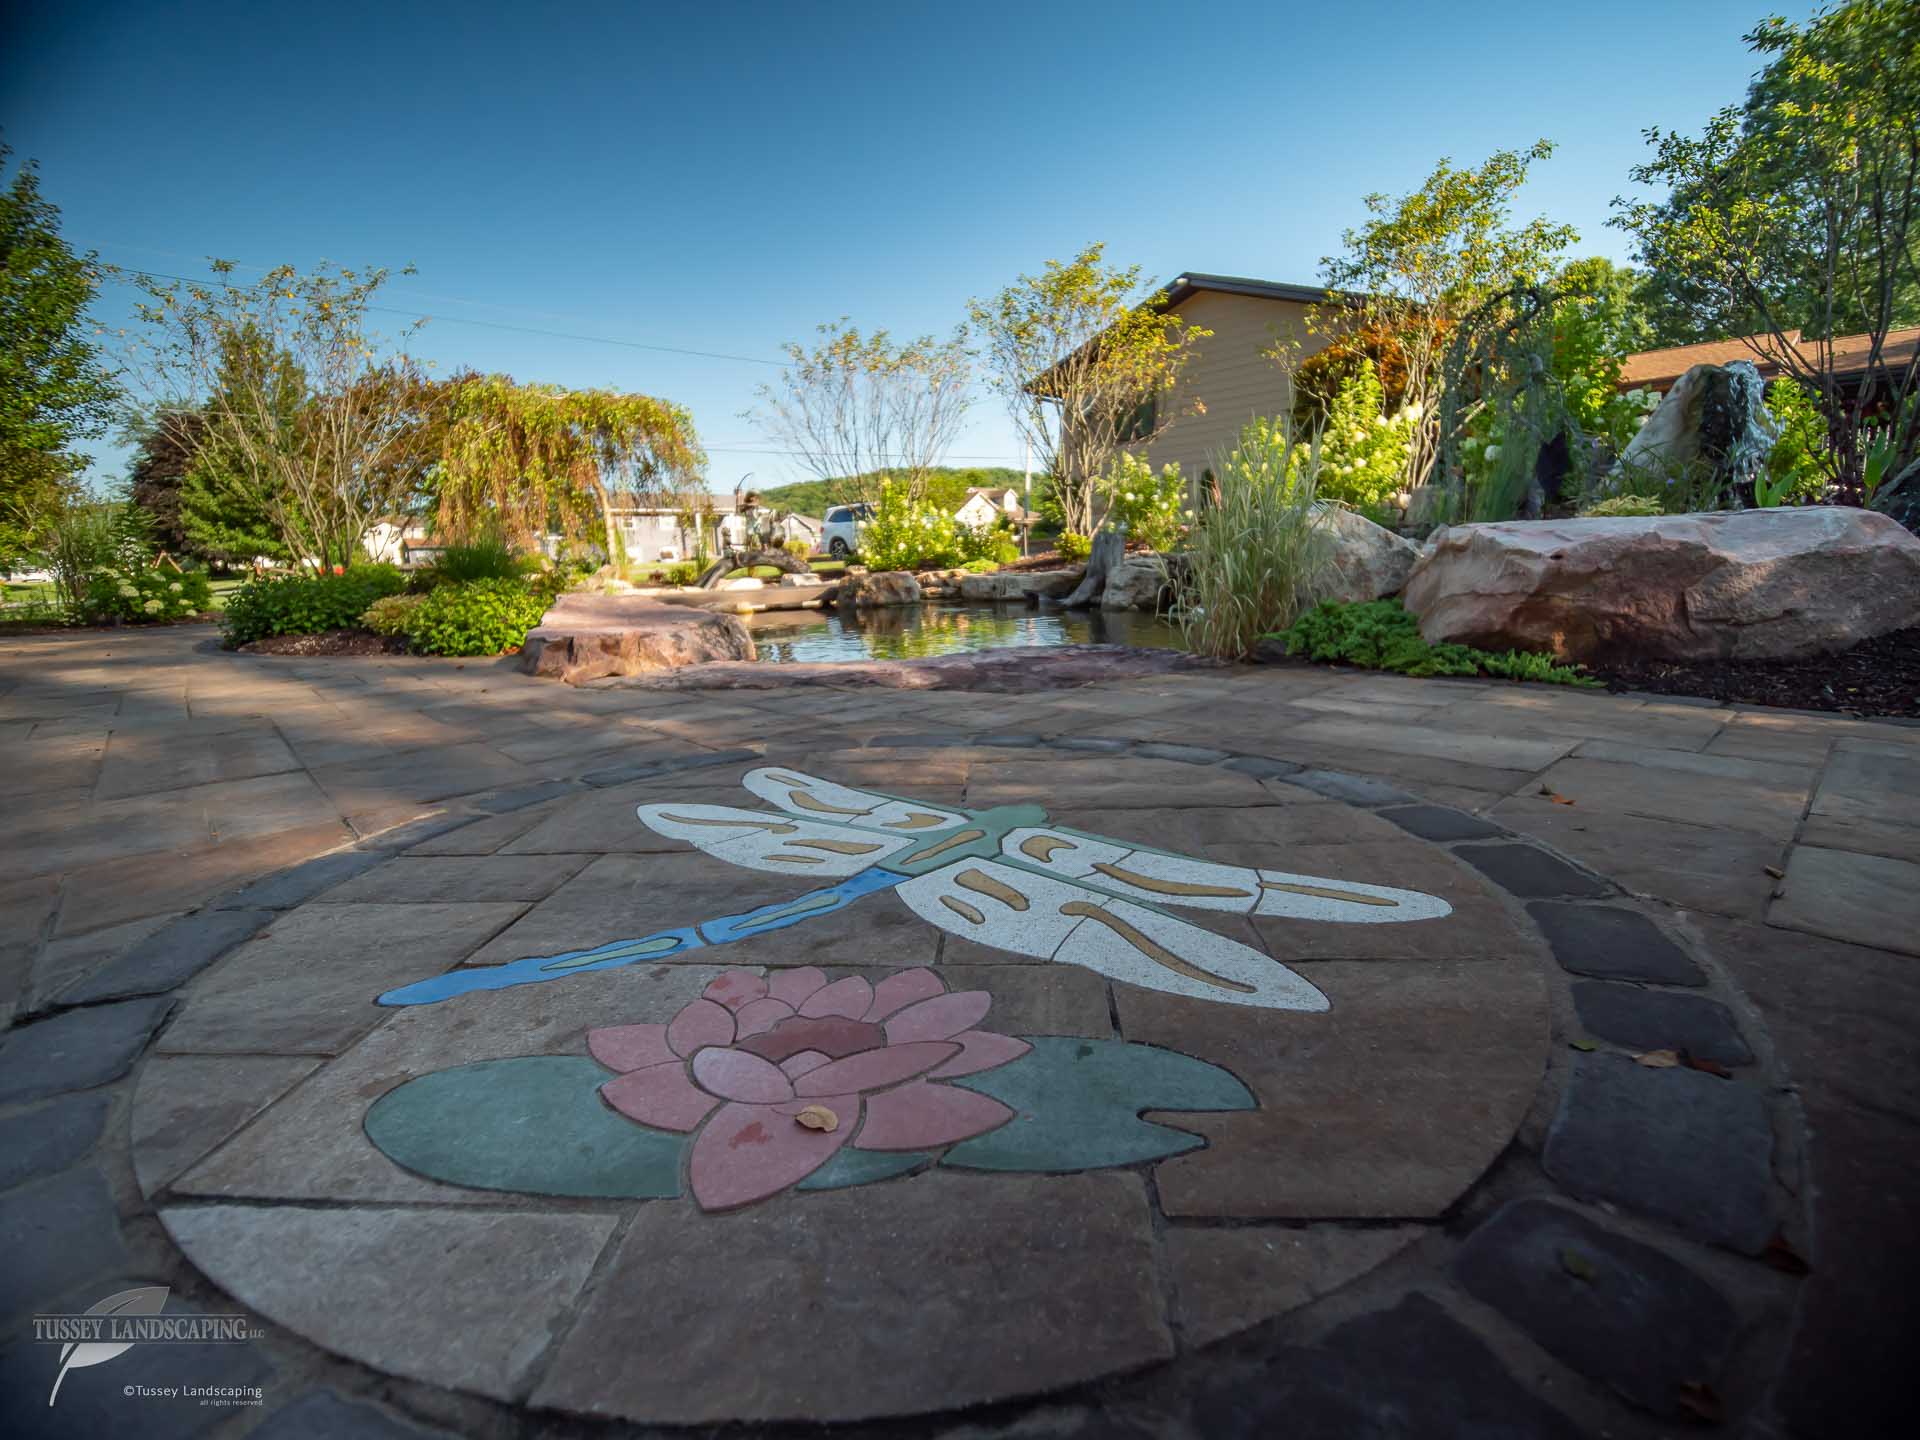
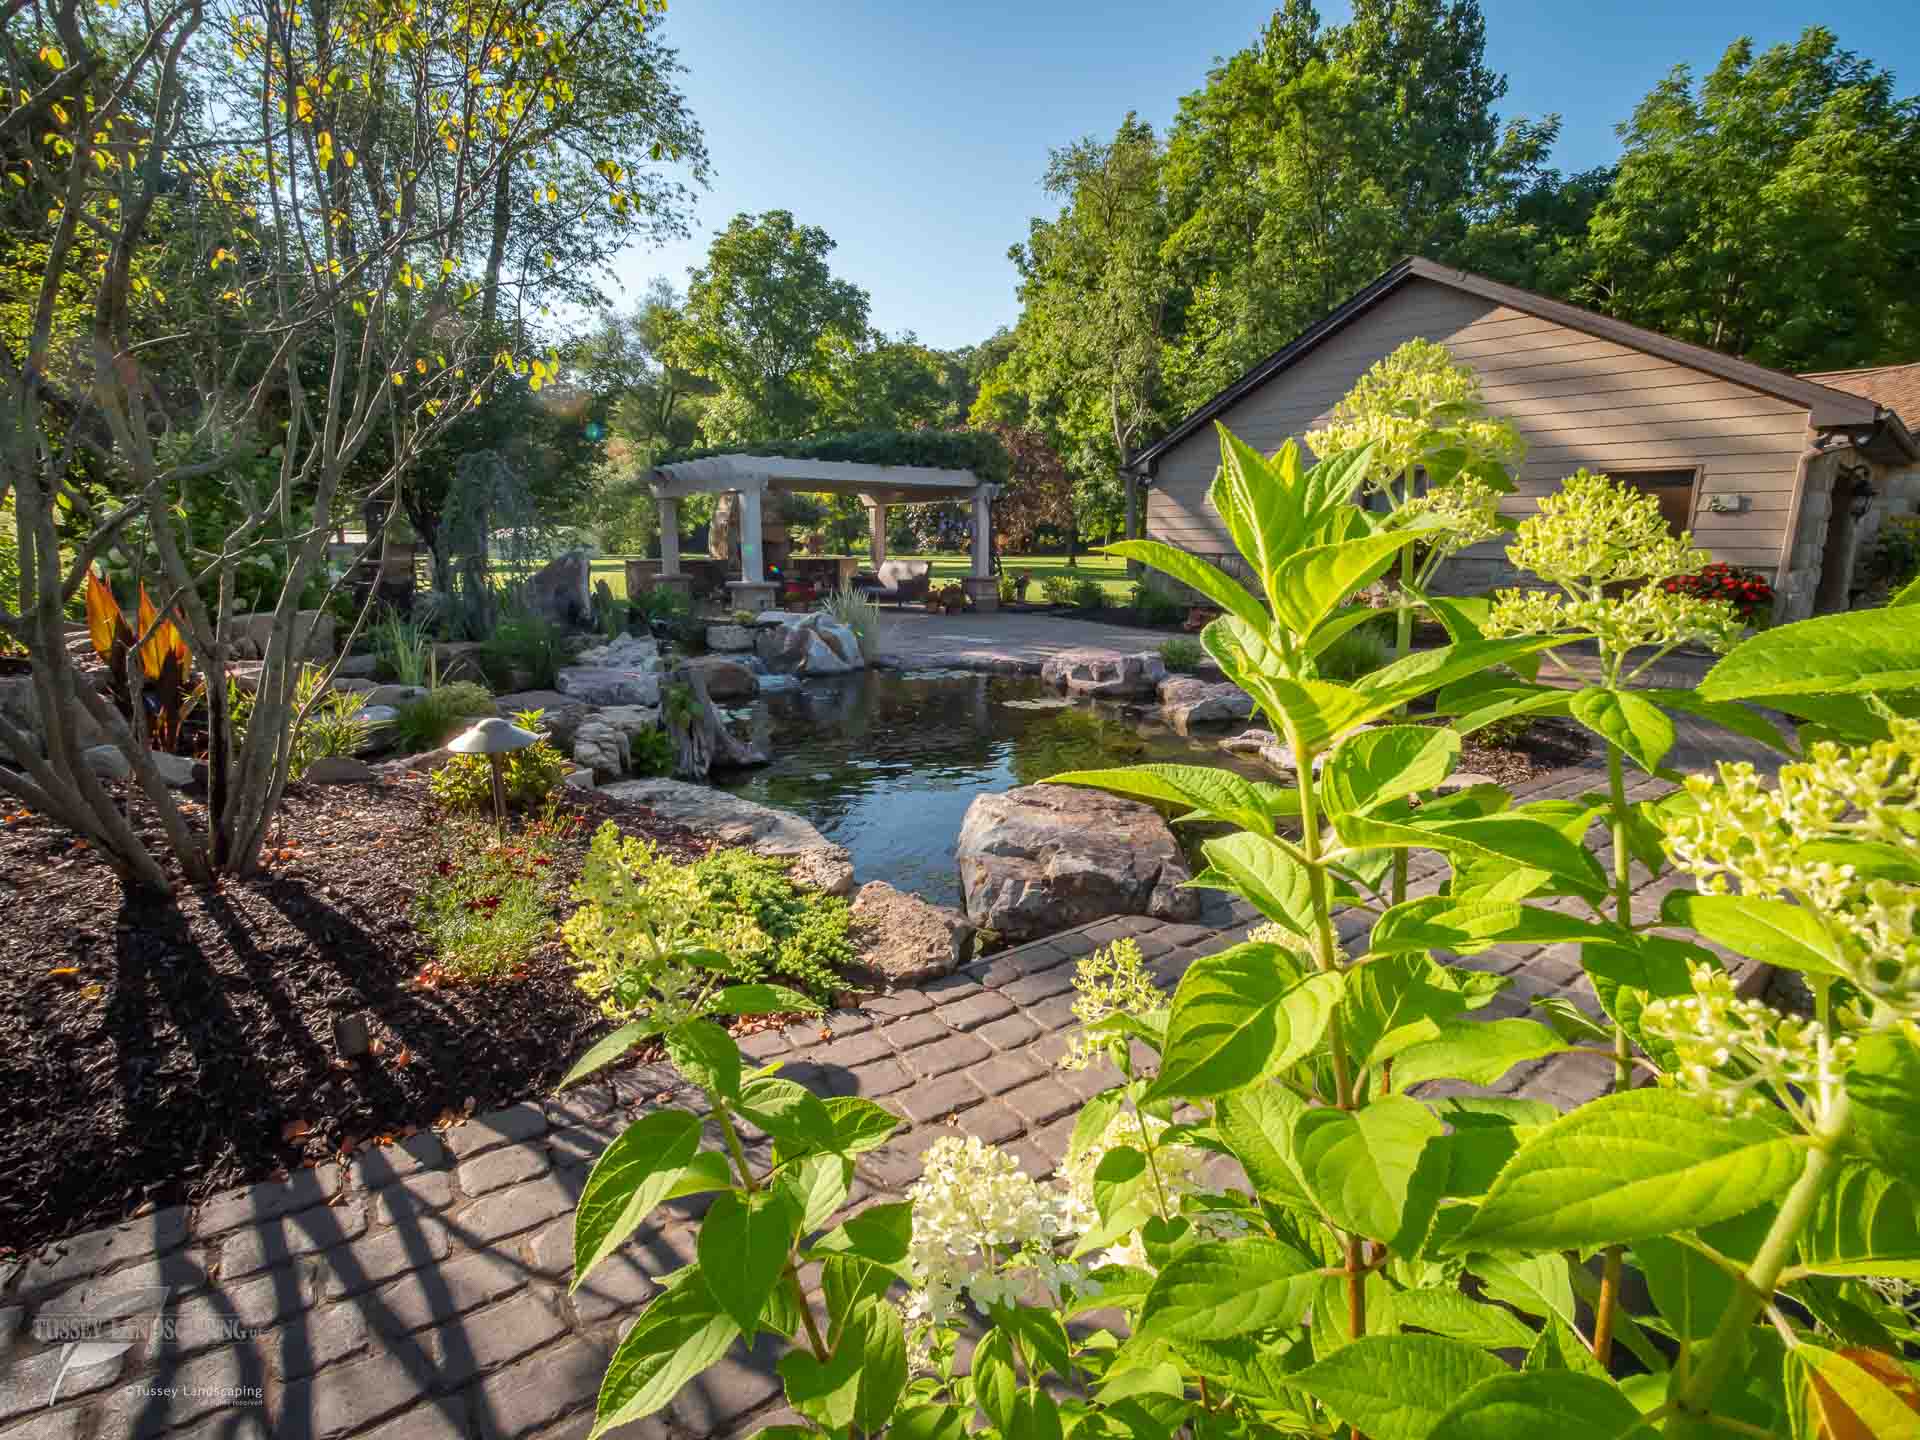
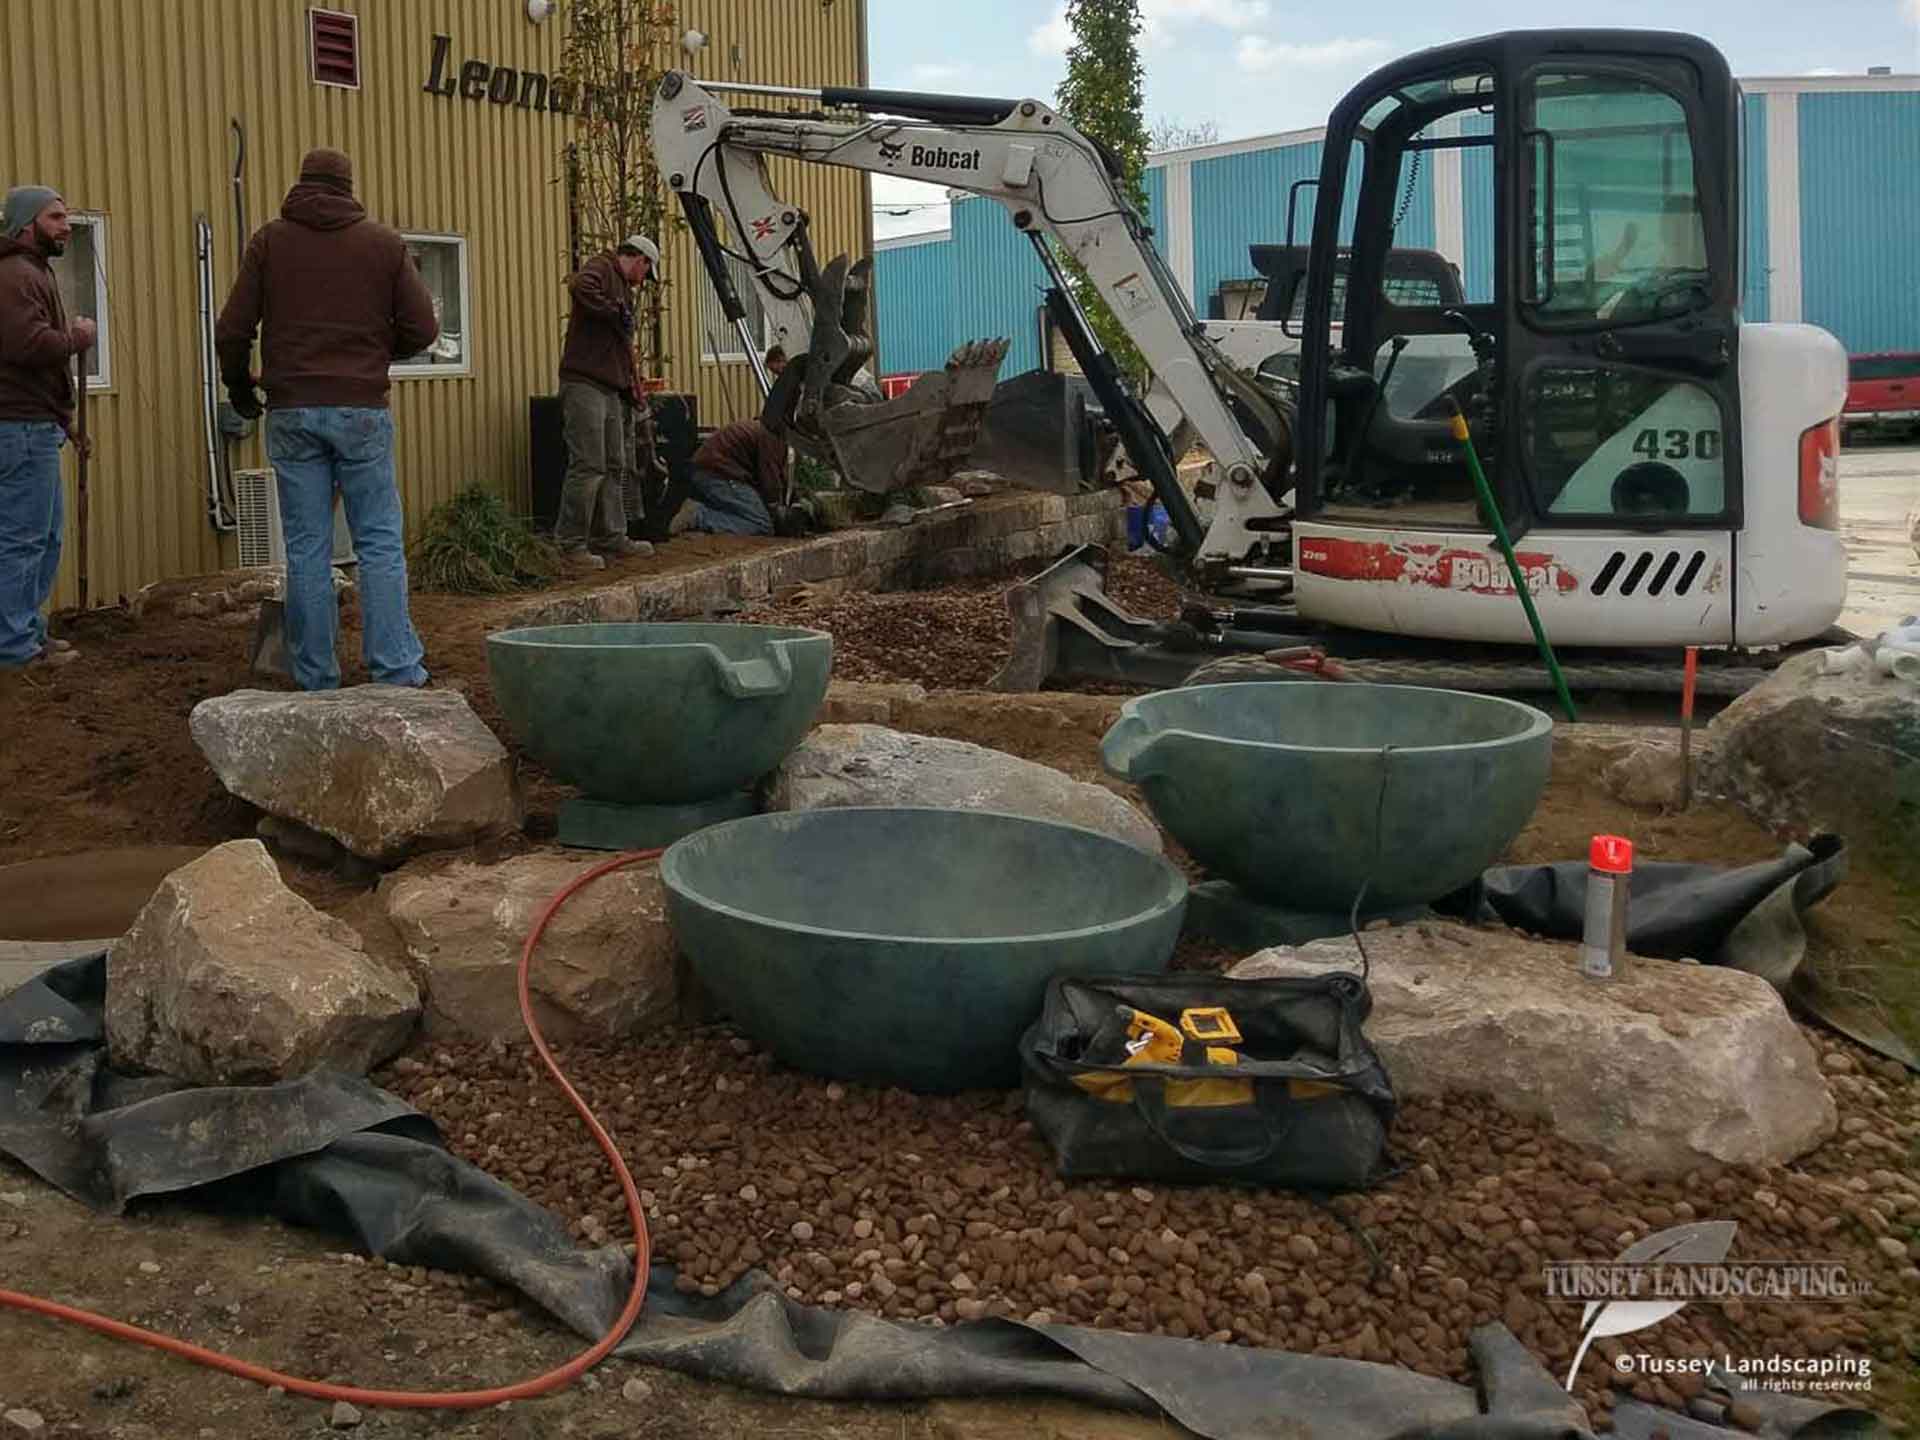
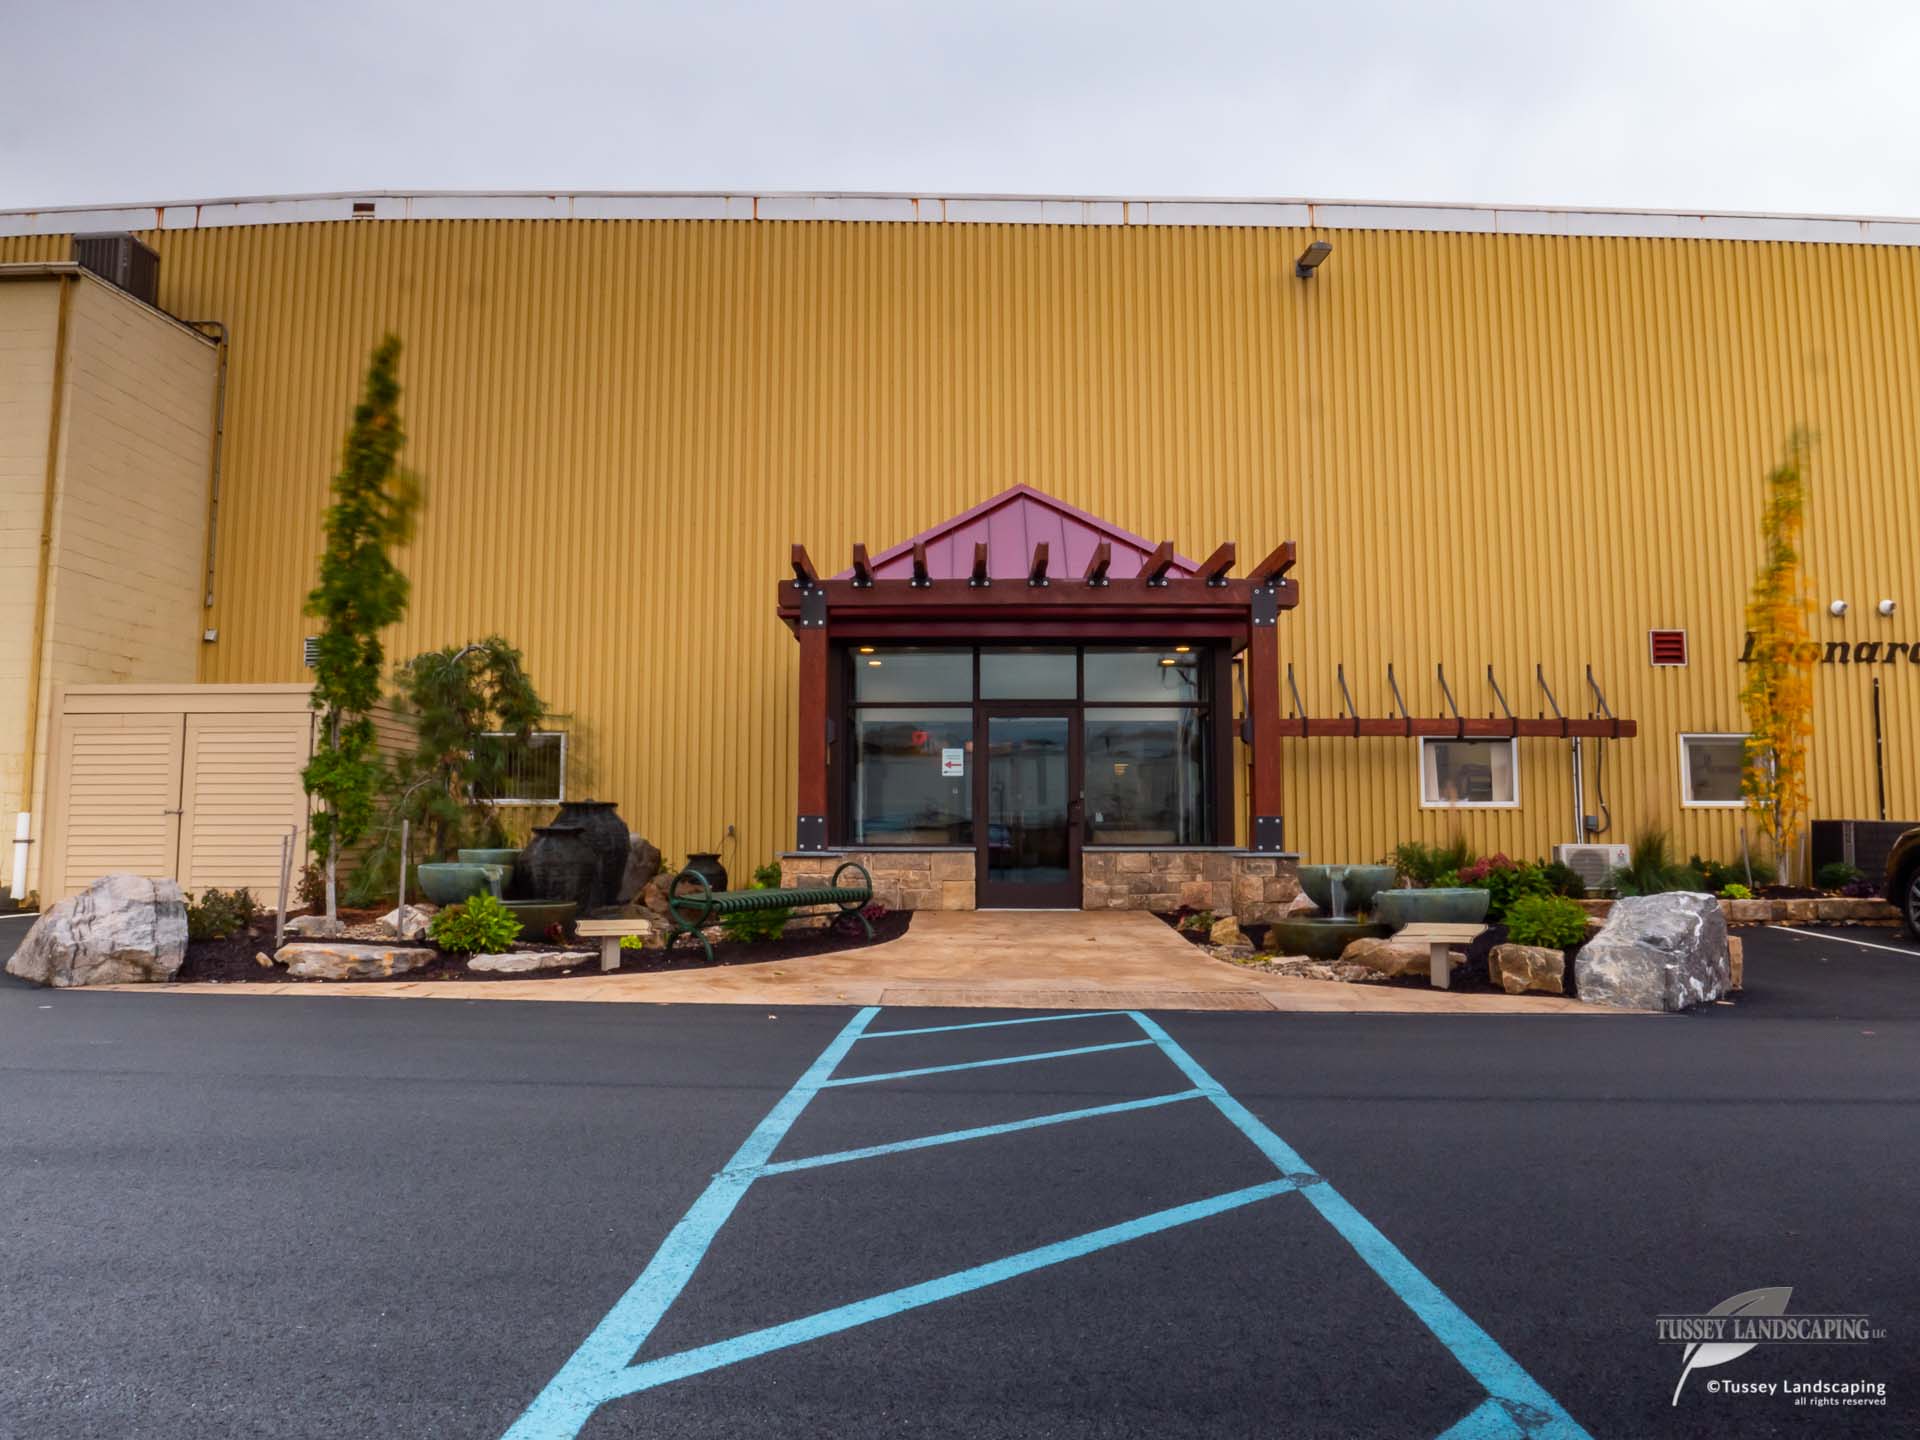
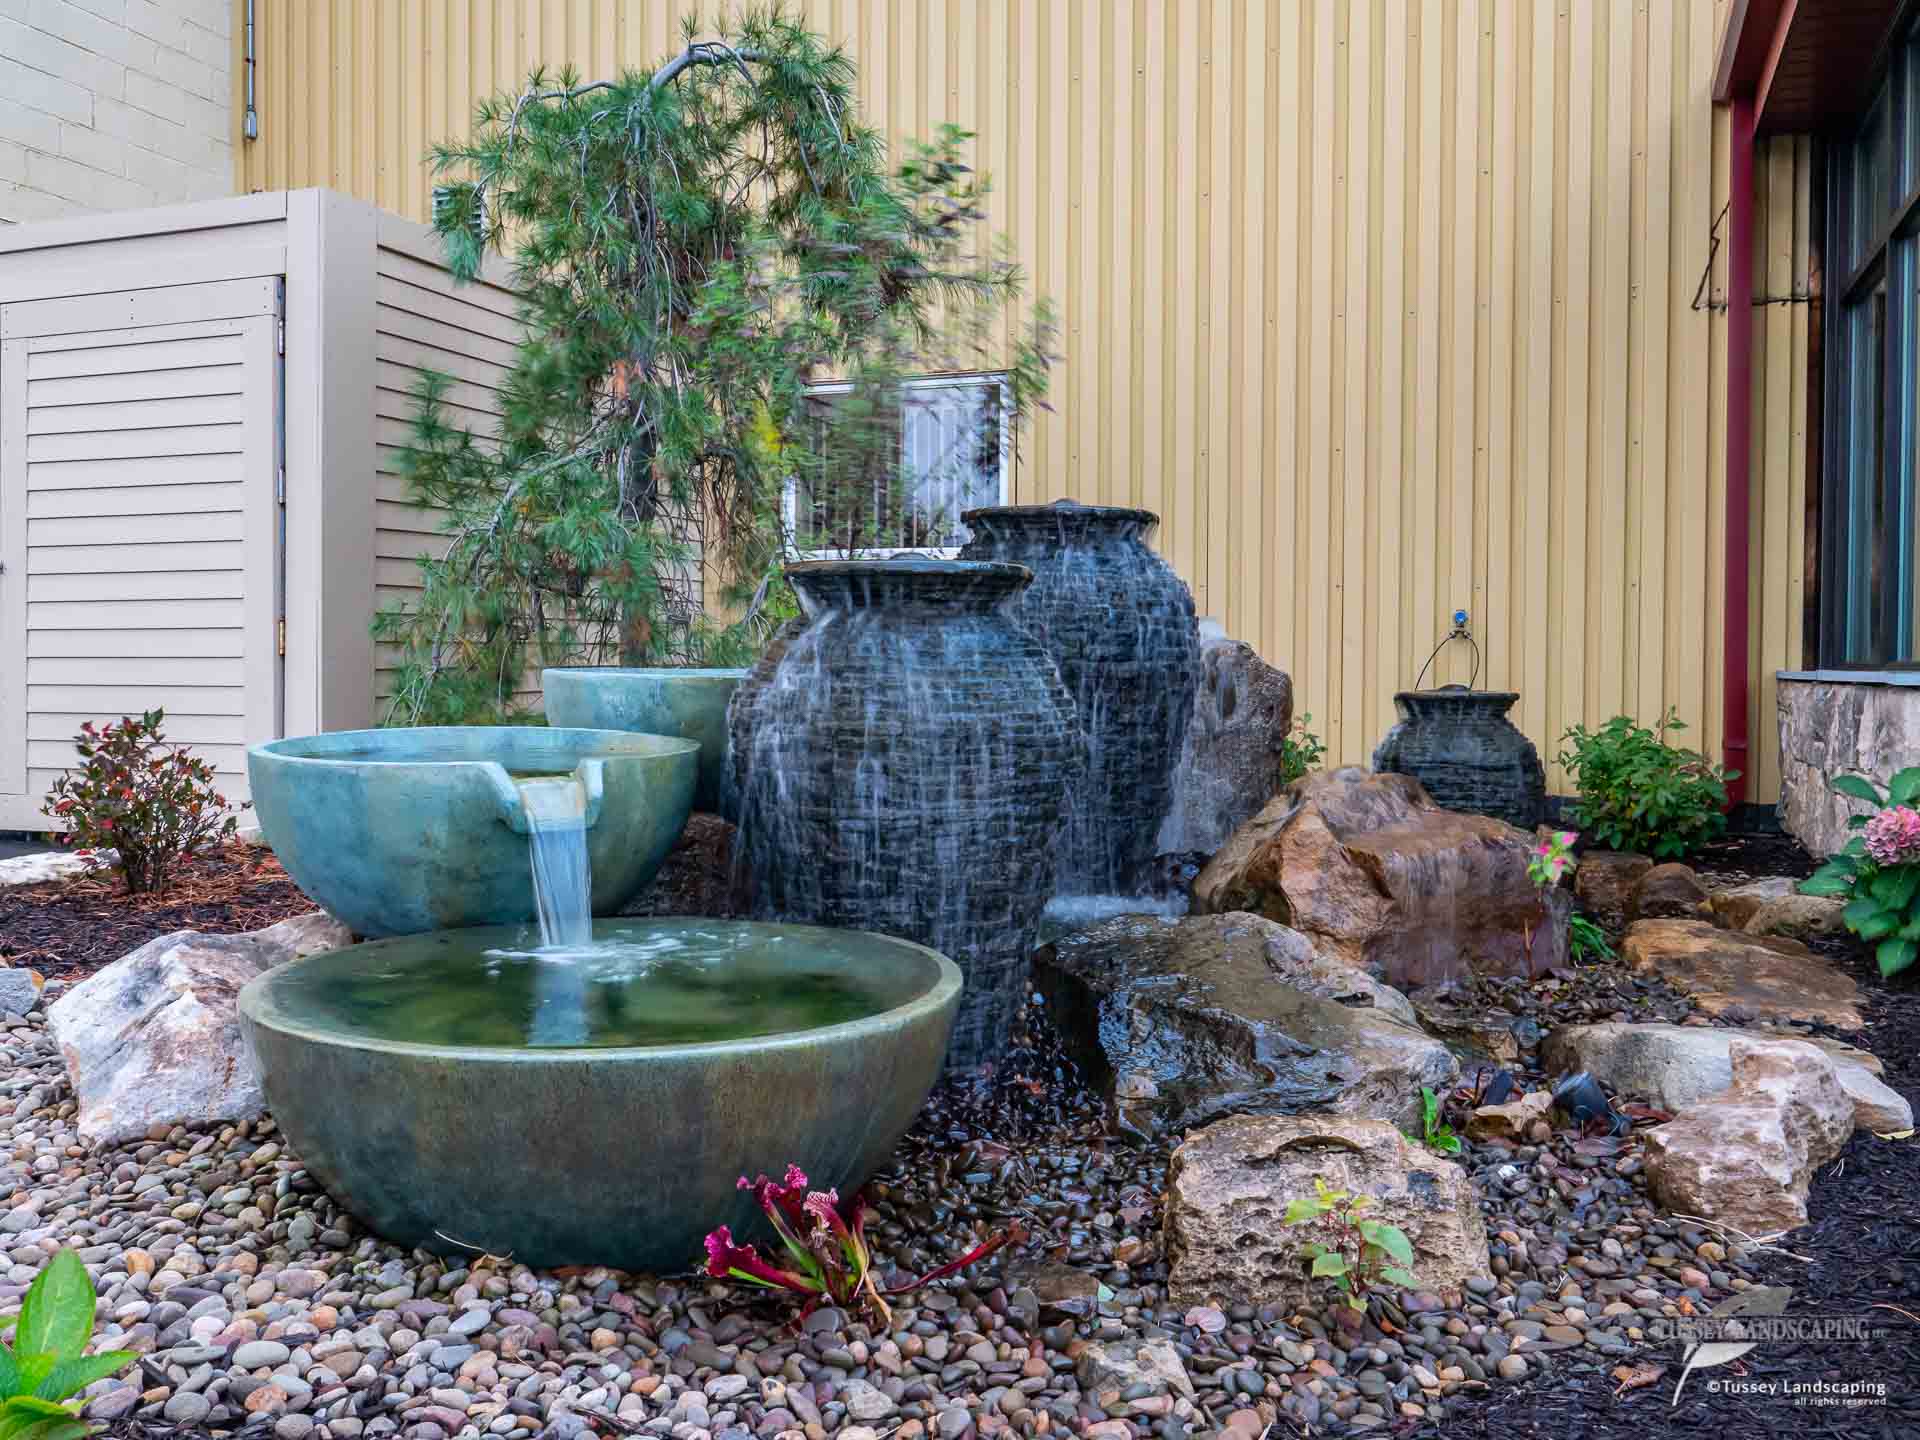
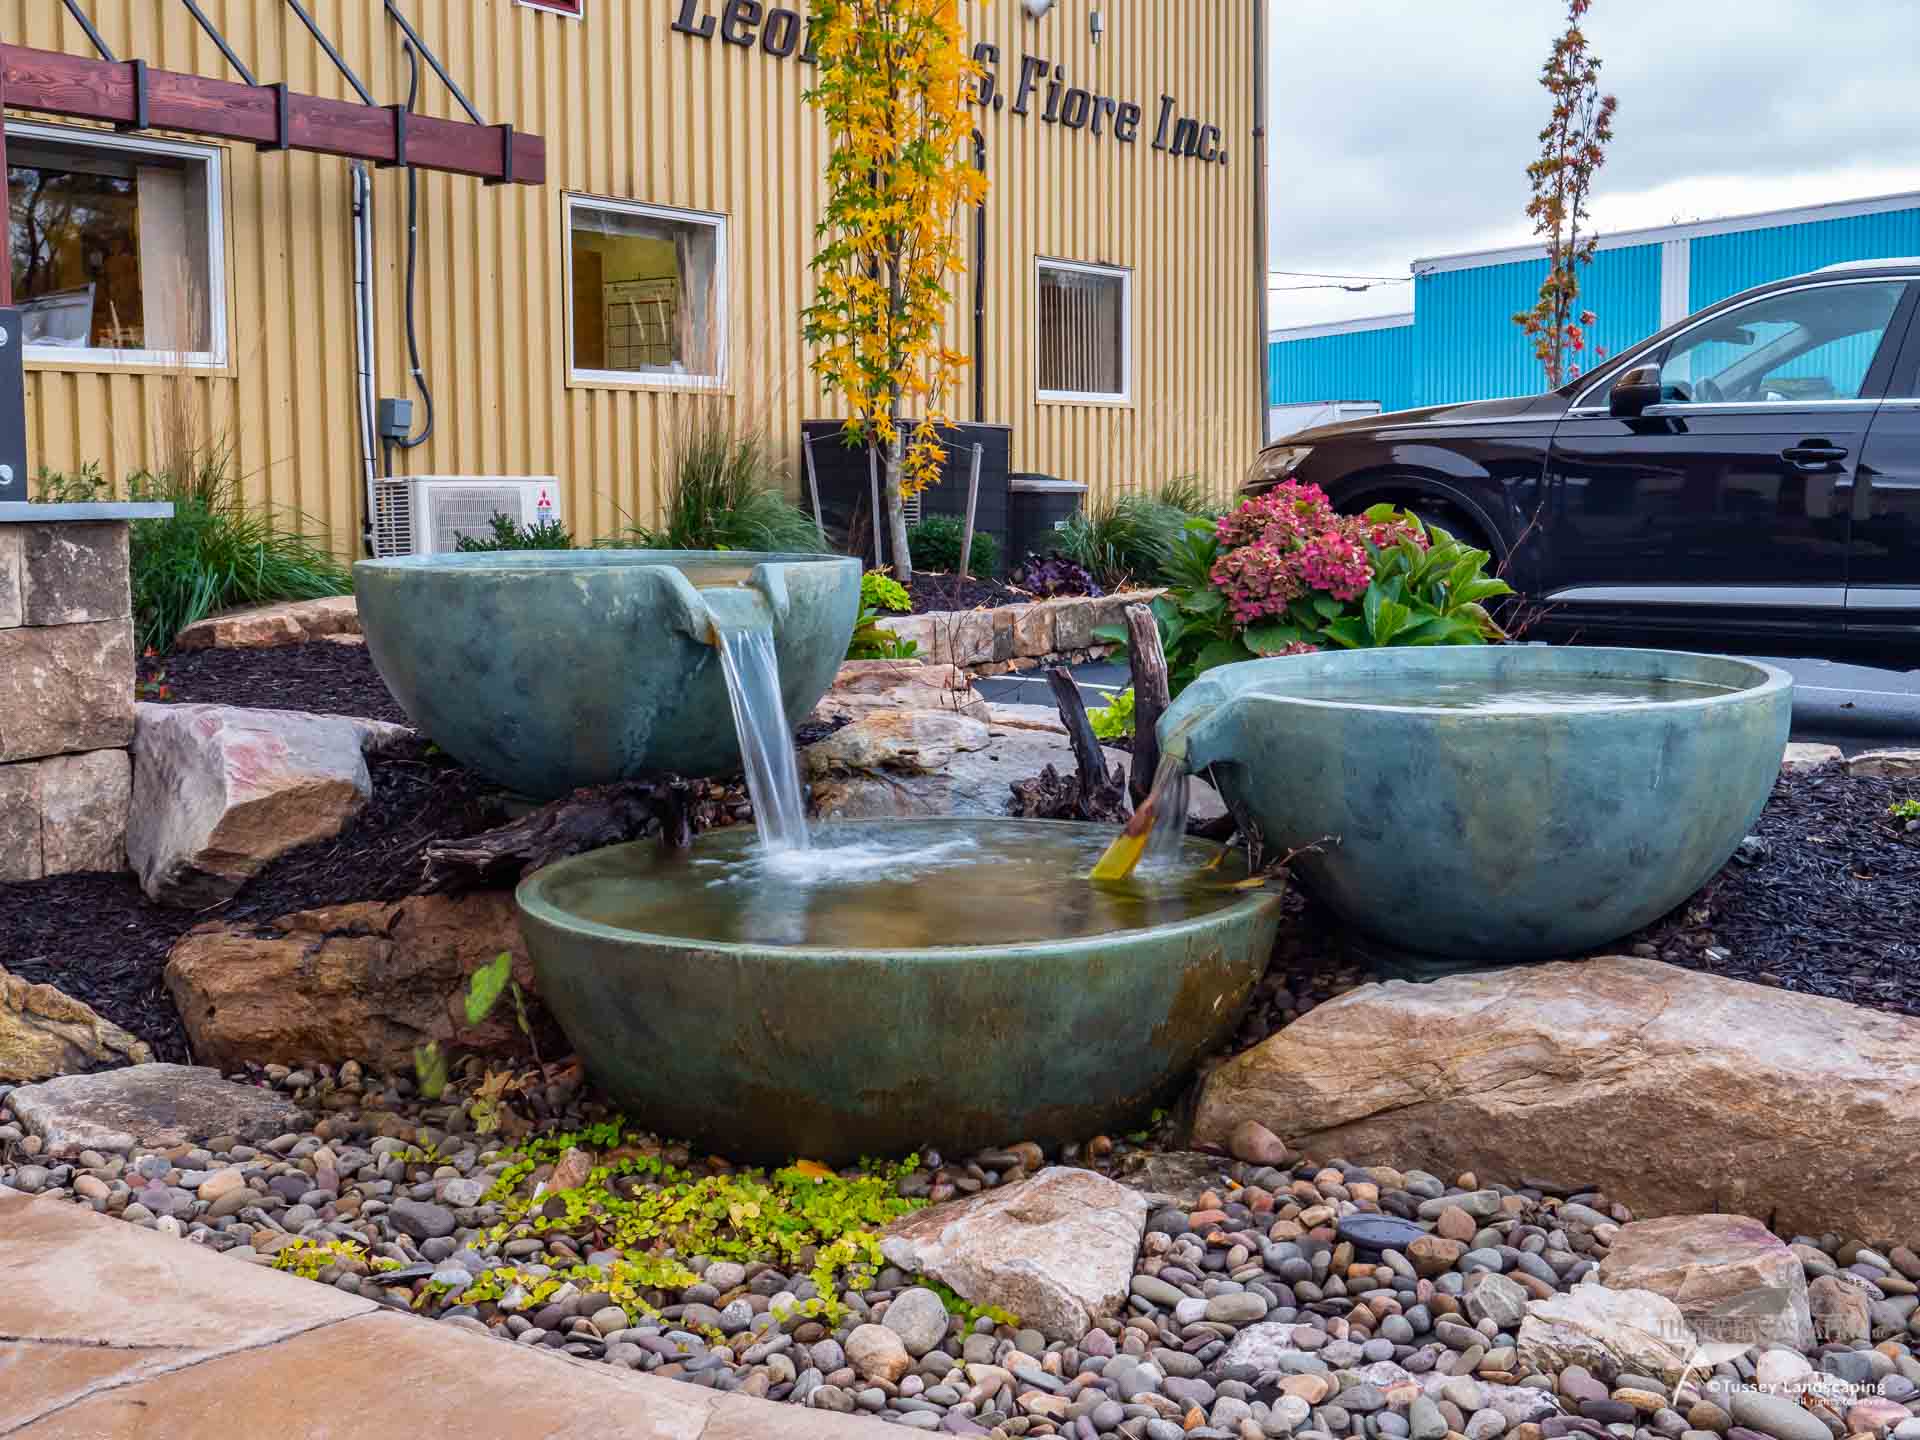
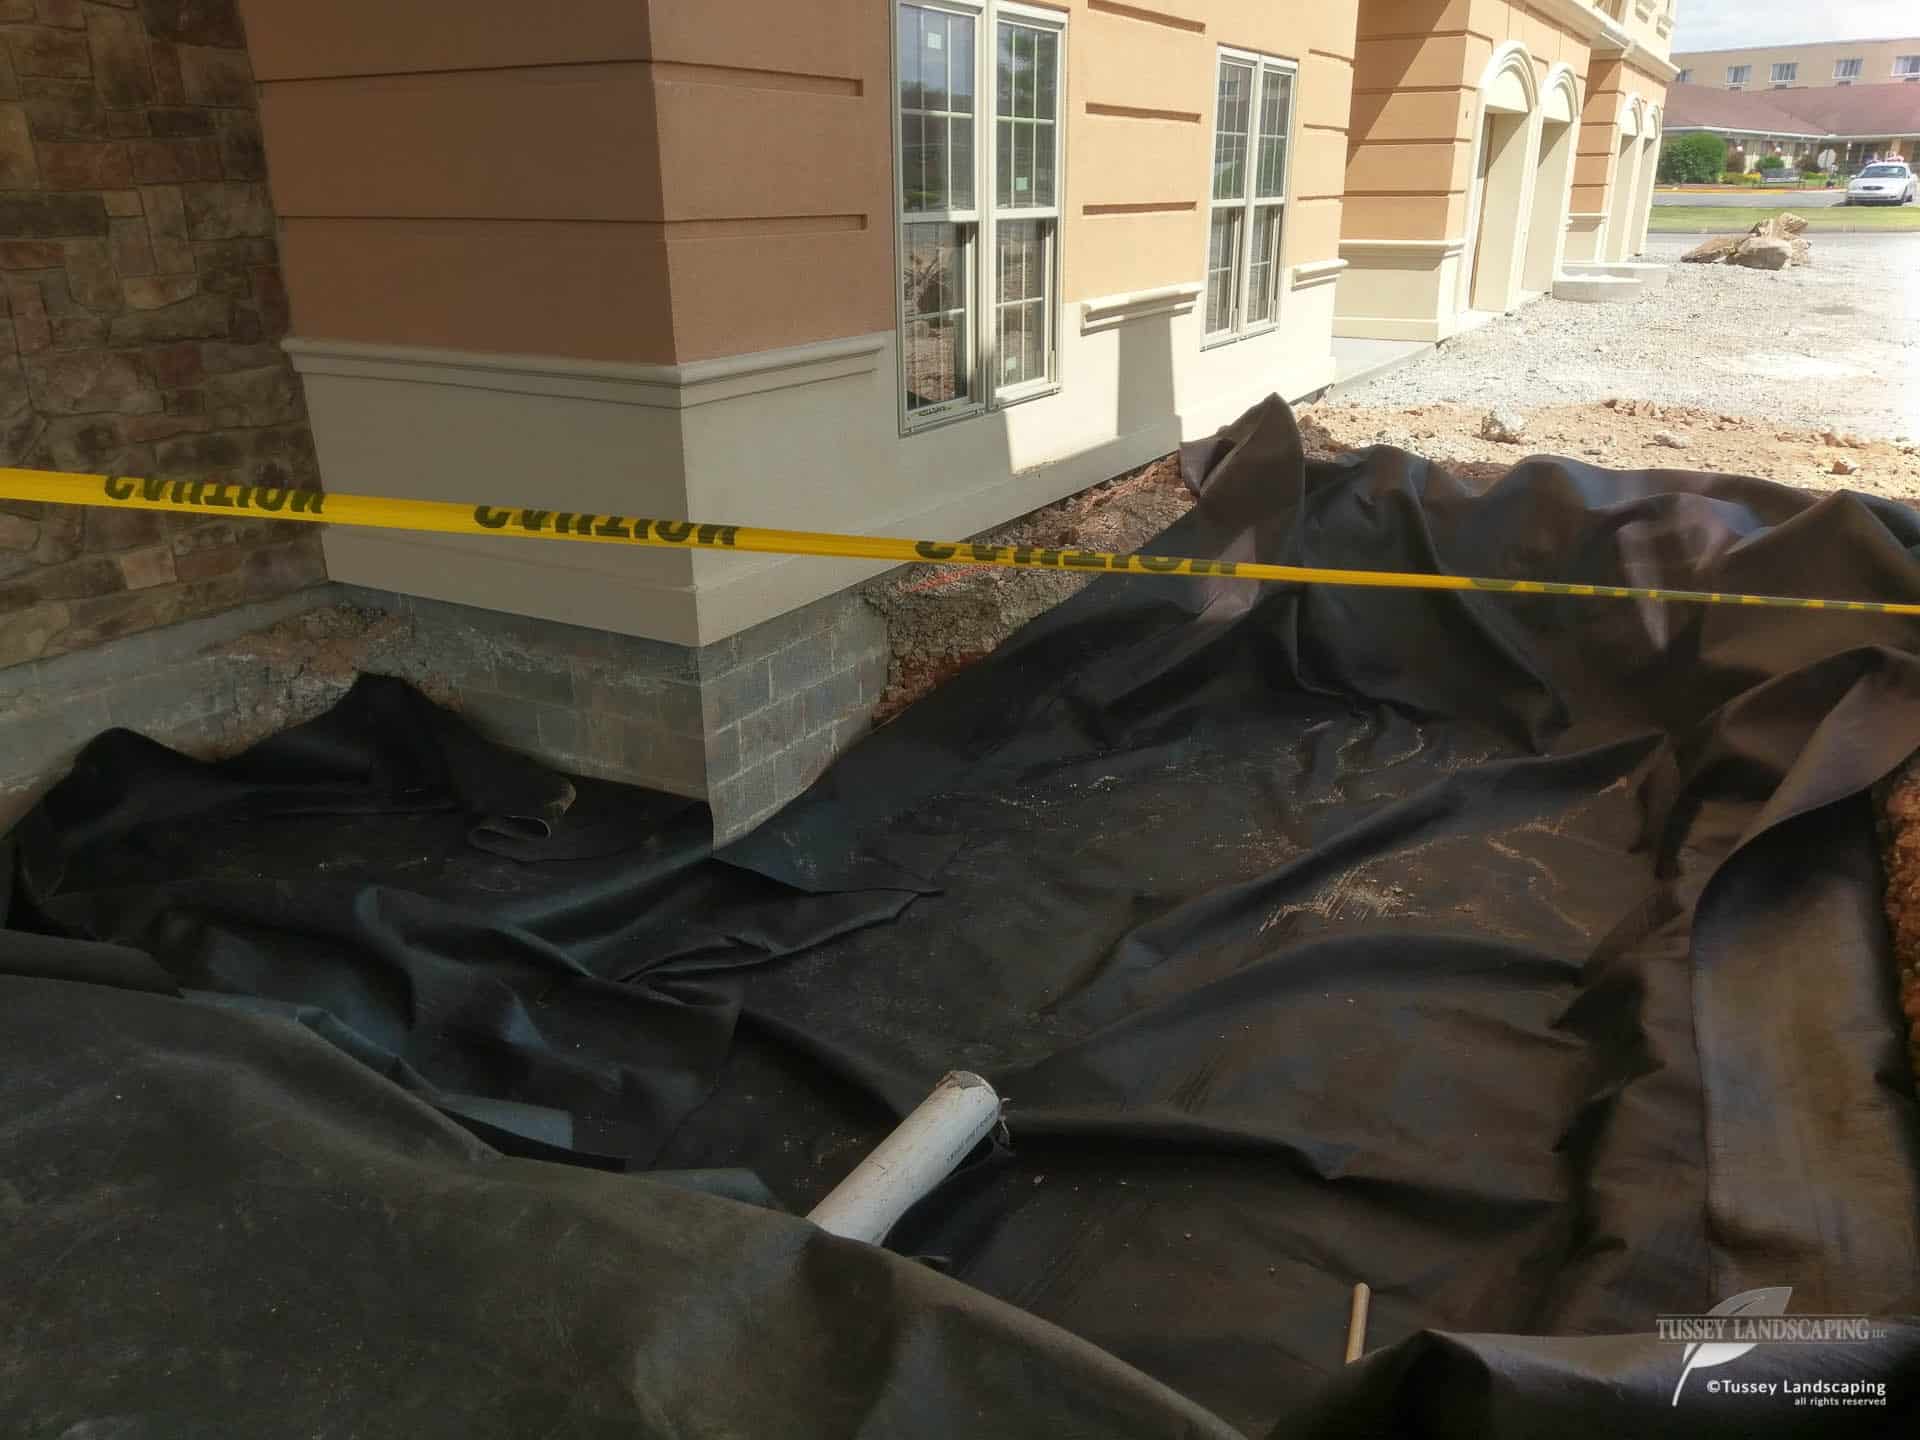
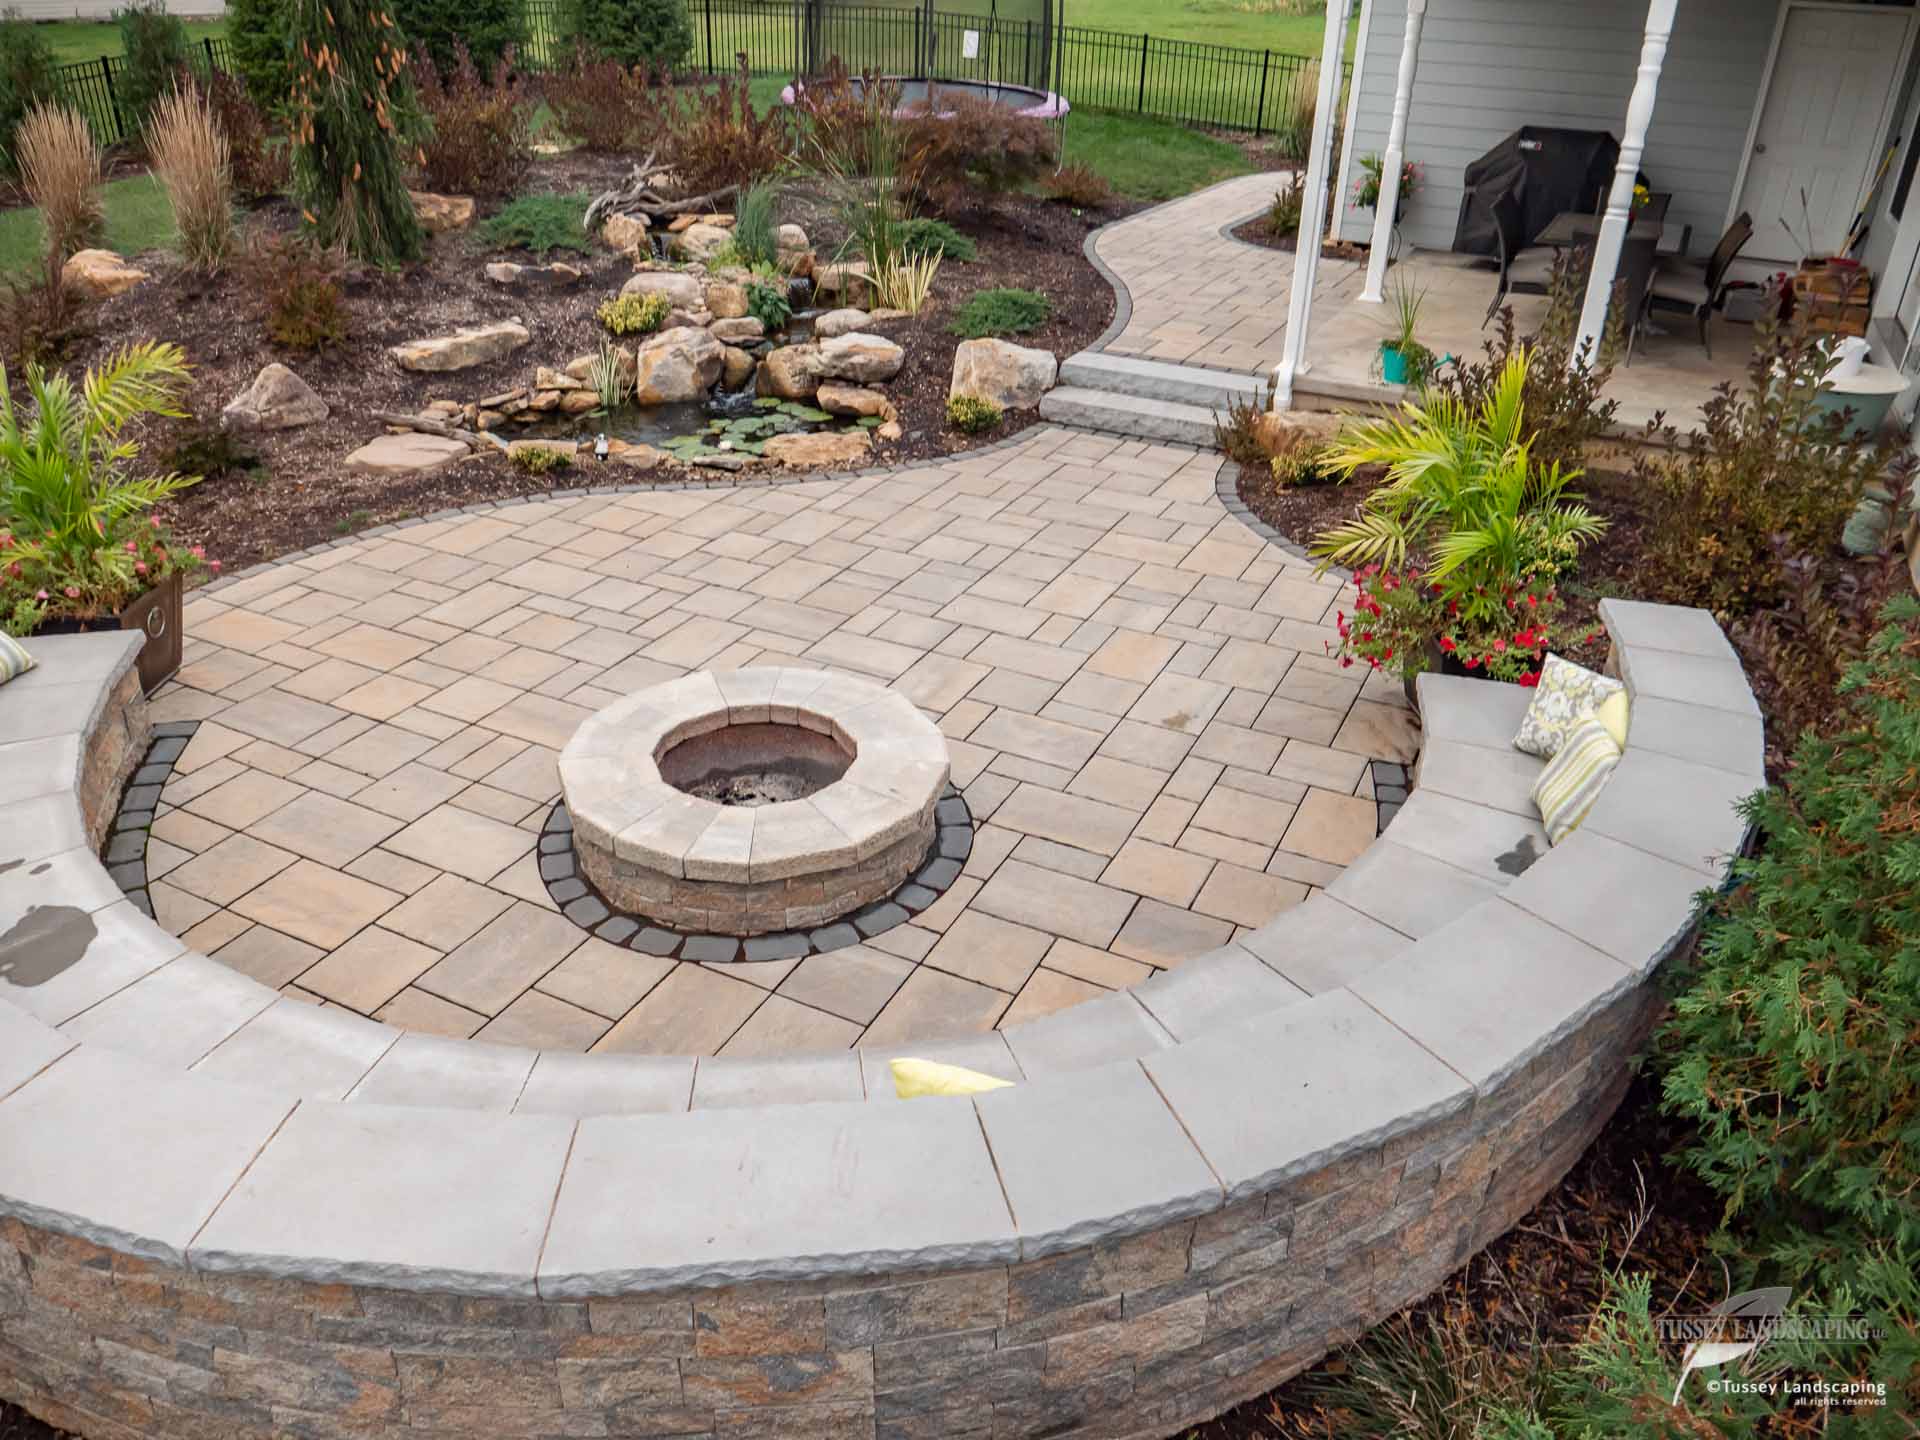
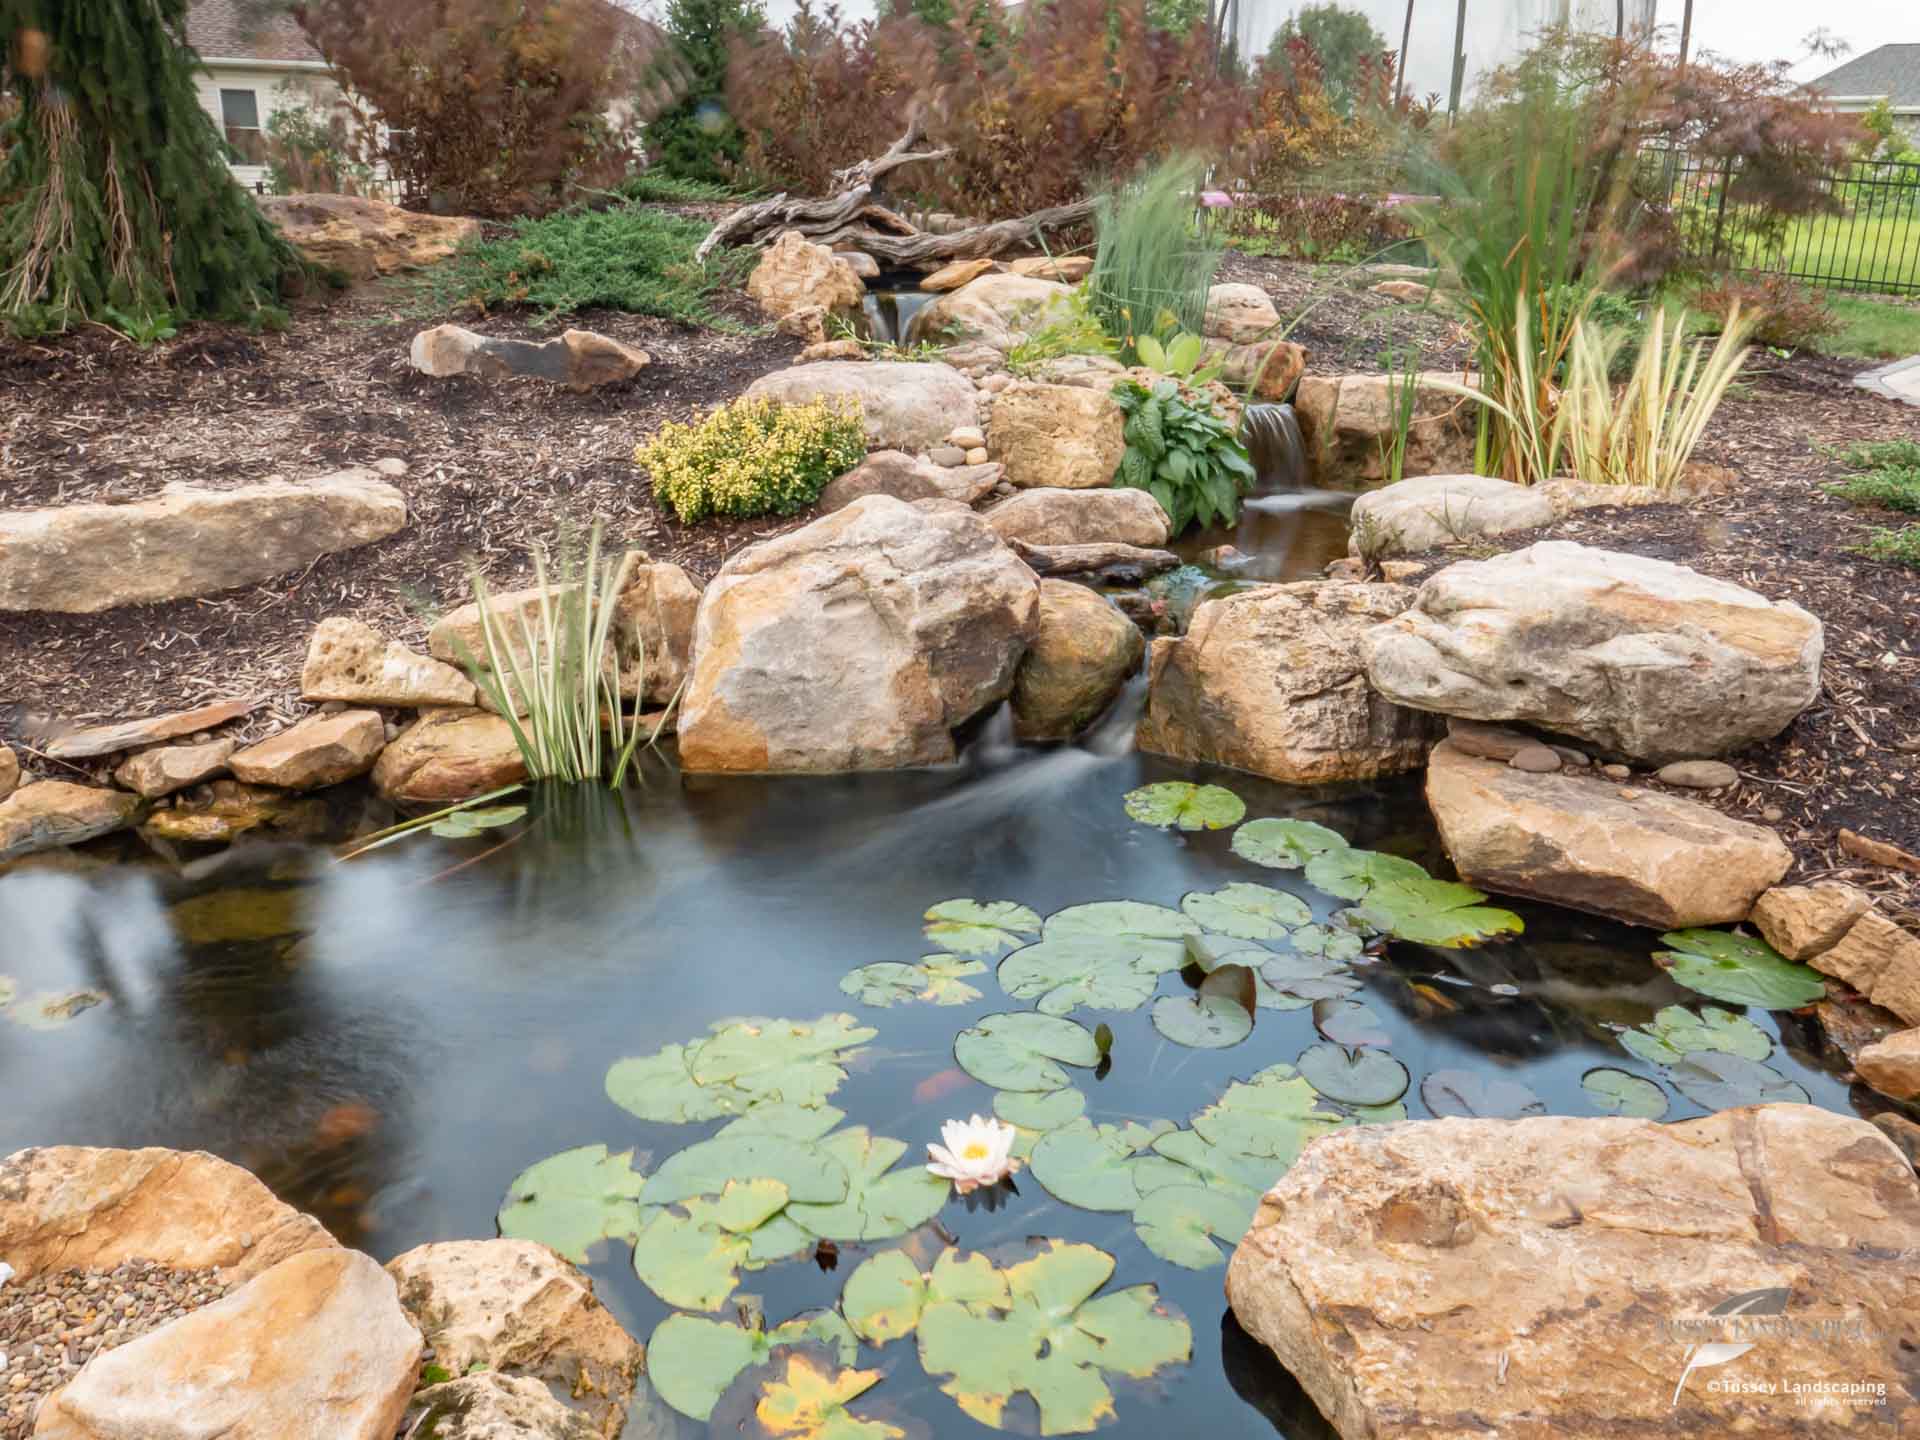
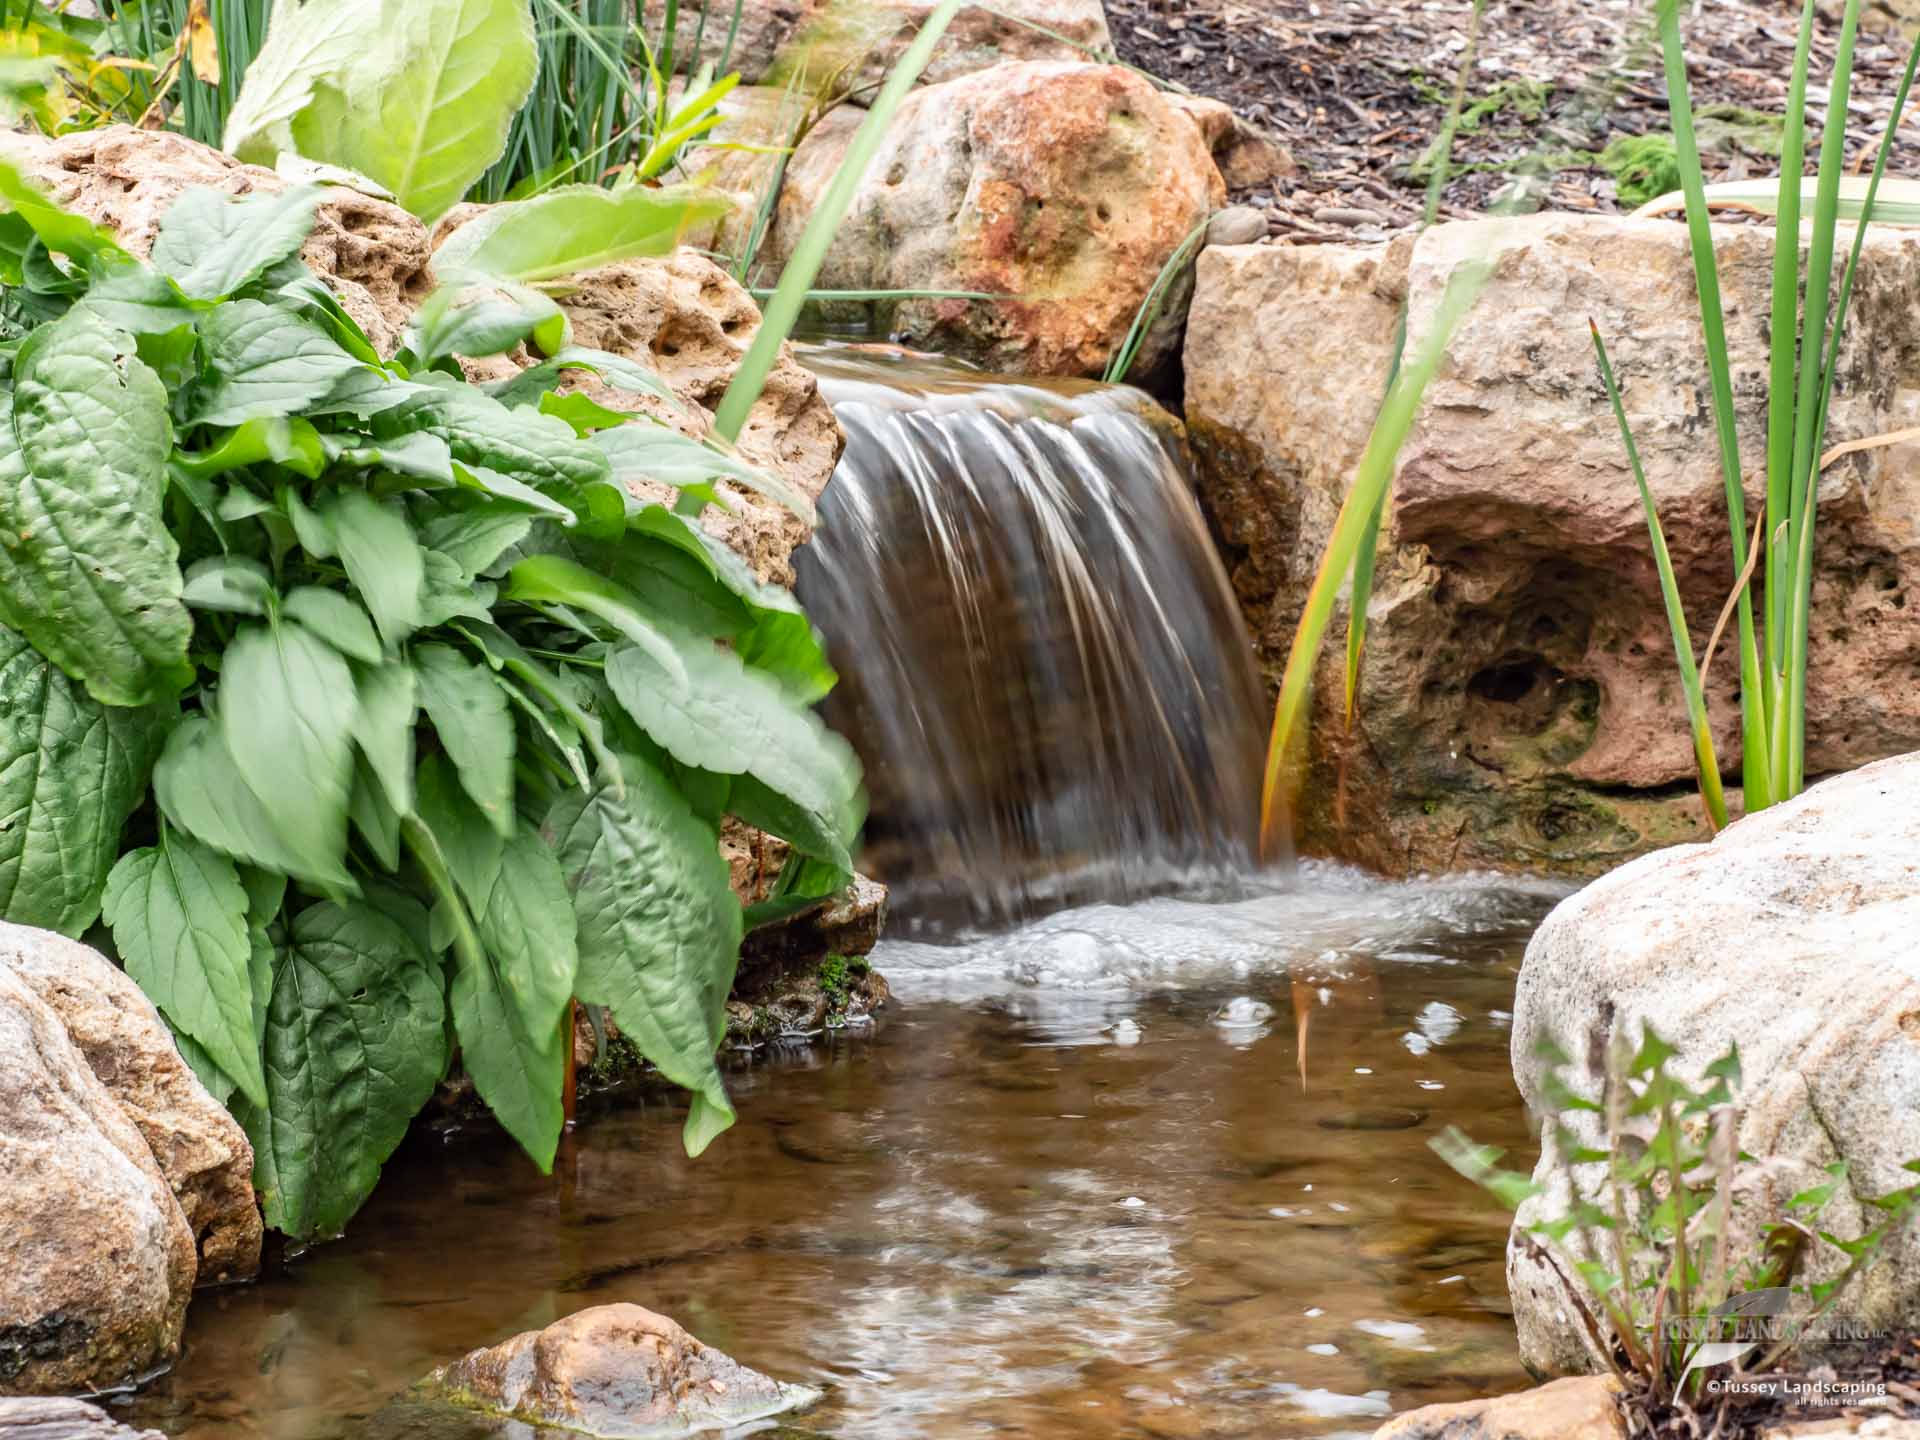
Tussey Landscaping Landscape Design Hollidaysburg Pa
814.696.3700
  • Services
    • Start A Conversation
    • Design >
      • Tussey Designs
      • Outdoor Living
      • Landscape Design
    • Outdoor Audio
    • Swimming Pools
    • Water Gardens >
      • Premiere Water Feature Collection >
        • Premiere Collection Ponds
        • Premiere Collection Waterfalls
        • Premiere Collection Bubbling Rocks
      • Simplicity Series Entry Level Ponds >
        • Simplicity Series Ponds
        • Simplicity Series Waterfalls
        • Simplicity Series Fountains
        • Simplicity Series Ponds
      • Ponds
      • Pondless Waterfalls and Streams
      • Bubbling Rocks
      • Fountains
    • Water Feature Maintenance >
      • Spring Services
      • Fall Services
      • Maintenance Programs >
        • Premiere Care
        • Water Quality Maint
        • Sign-Up
      • Pond Maintenance
      • Pond Repair
    • Landscapes
    • Hardscapes >
      • Hardscaping
      • Paving Stones
      • Permeable Pavers
      • Outdoor Kitchens
      • Outdoor Firepits
      • Outdoor Fireplaces
    • Pergolas & Pavilions
    • LED Outdoor Lighting
    • Go Green >
      • The Green Industry
      • Plant a Tree
      • Using Native Plants
      • Rain Water Harvesting
      • Low Voltage Lighting
      • Permeable Pavers
  • Portfolio
    • Project Showcase
    • Searchable Photo Gallery
    • Public Landscape Displays
    • Video Gallery >
      • Our Latest Videos
      • Greg Wittstock The Pond Guy Videos
      • Testimonials Video Gallery
      • Informative Videos
      • Project Timelapse Videos
      • Project Videos
      • Aquascape Videos
      • Annual Showcase Videos
    • Photo Gallery
  • Pricing
    • Project Planner | Pricing
    • Financing
  • Learning Hub
  • About
    • About Us
    • Our History
    • Our Team
    • Testimonials
    • Why Choose Tussey?
    • Our Awards
    • Our Warranty
    • Tussey Landscaping Certified Aquascape Contractor
  • Contact
  • Apply

outdoor living spaces
PROJECT SHOWCASES

CLICK ON THE TITLE OF ANY ARTICLE BELOW TO VIEW ANY ARTICLE

Categories

All
Landscape Lighting
Landscaping
Outdoor Living Spaces
Patios & Walkways
Water Features

Archives

August 2020
July 2020
June 2020
May 2020
April 2020
March 2020
November 2019
July 2019
June 2019
May 2019
April 2019
February 2019
January 2019

THIS IS A NEW SECTION OF OUR WEBSITE THAT WE ARE STILL ADDING CONTENT TO. EXPECT TO SEE MORE PROJECT SHOWCASE ARTICLES COMING!

Creating a dream Koi pond

7/24/2020

3 Comments

 
These home owners had a koi pond behind their house which they had enjoyed for many years. However, it was leaking water, and the rock pond walls were falling in. In lieu of an extensive "fix up" project, these clients chose to have the old pond removed and a new and improved pond put in its place. This new pond would be slightly smaller than the old pond, and it would be moved back into the bank a bit more. This would allow more space for the patio area between the two wings of the house. The new 11'x16' pond would be deeper than standard, three feet deep instead of two feet. This extra depth would contribute to the health of the Koi living in the pond. When our crew arrived, the fish were removed to a holding tank safely out of the way, the water was pumped out of the pond, and demolition began. 
   As soon as excavation began, our crew knew that there would be challenges to this build. The slope behind the house that our crew hoped to carve out for construction was a limestone ledge! In order to create the space and flexibility needed for the stream and pond construction, the crew spent hours digging out limestone rocks. After all obstacles had been removed, the now oversized hole was refilled with clean topsoil. This would aid the crew in shaping out the pond shelves, and also would ensure that no troublesome limestone ledges would damage our liner, once installed. 
Like so many projects that year, we battled rain and mud the entirety of this project. In spite of this inhibitor to morale and efficiency, within a week, our crew was finishing the rock work in the pond, and setting boulders for the waterfalls and stream. Like all water features constructed by Tussey Landscaping, this pond was created using Aquascape components. Weathered limestone boulders from Semco, Missouri were used for the rock work. These mossy, aged beauties make a newly constructed waterfalls and stream look timeless! 
Picture
When stream excavation was completed and the liner was installed, our crew began the creative work of selecting individual rocks for the stream. Each rock is evaluated for how it could be used to create a waterfall. How will water run across this rock? Can we use this tall rock to frame that heavier one beside it? This artistic process is unpredictable; the rocks delivered to a jobsite will dictate how the waterfalls are shaped and come together. 

The project moved along, and soon the pond and waterfalls were completed, and it was time for a test run. The pond was filled (it was muddy!) and the pump was switched on. Even though there was still much work to do, everyone was excited. These new waterfalls played down the bank beautifully. Once all the details and landscaping were completed, this newly constructed water feature would look like it had always been there. 
Picture
Soon shrubs, perennials, and mulch were brought in, and the final details of this project were completed. If you want to watch the development of this project in more detail, check out our project video for this Koi pond. 
If you have further questions about this Koi pond remake, or if you are interested in creating a project of your own, contact us today
CONTACT US
3 Comments

Failing Retaining wall Replacement

7/10/2020

16 Comments

 
Like many Altoona residences, this property front entrance had a series of steps and retaining walls leading up to the front door. Unfortunately, poor construction technique and improper installation of this wall caused it to fail.  The force of freeze an thaw on this retaining wall each winter slowly was pushing this wall over. 
There are many steps to proper installation of a retaining wall. Improper procedure or execution of any of these steps may to lead to failure down the road. There are many wrong ways to build a retaining wall, but only one right way. Although there are many ways a retaining wall can fail, most walls fail for a few common reasons. 
 1. Improper compaction of the soil and base of the wall. Proper compaction of the subgrade and base of a wall is very difficult to see, especially once a wall is installed. It is difficult for even an experienced hardscaper to look at newly constructed wall and determine if proper compaction was used in building. However, the longer a wall stands, (or doesn't stand) the more obvious it is if proper compaction equipment and techniques were used. 
2. Poor drainage. With every type of precipitation, water collects behind a retaining wall. If this hydraulic pressure cannot be relieved, the retaining wall turns into a water dam. Even large commercial walls with very heavy blocks are no match to the incredible water pressure that can build up behind them. This effect can be heightened by heavy clay-type soils that hold water in them. A wall with proper sized block and effective base compaction is still not effective if there is not proper drainage behind the wall. 
3. Backfilling and soil stabilization. Part of the solution to water crises is solved with correct backfilling. If a wall is backfilled with soil, this will trap moisture behind the wall and enhance water problems. Depending on the height of  a wall, the soil type and the block used, soil stabilization methods may be needed as well. 

While our crew rebuilt this wall, we captured some of the integral parts of proper wall construction. Different types and sizes of blocks, how tall or how long a wall is, and special requirements of load or capacity may cause additional building requirements, which won't be discussed here. The steps of retaining wall construction demonstrated here are universal to all retaining walls.

Picture
Compaction. 
Compaction of the subgrade below the base of a wall, and compaction of the wall base itself is fundamental to retaining wall construction. Without wordy complex answers, it is difficult to demonstrate  proper compaction.
One easy way to understand proper compaction it to look at the machines or tools used. A vibratory plate like the one pictured here is adequate for most residential wall construction. Using a smaller plate compactor can be done, although gaining proper compaction will be more difficult. Using hand tamps or any manual compactors is rarely effective. Improper compaction will lead to many different problems, but ultimately it will always lead to wall failure. 
If you hire a crew to build a wall, ask them about the compaction equipment they ae using. Once a wall is built, nothing can be done to remedy improper compaction other than rebuilding. Make sure proper compaction is achieved first. 

Picture
Base course. 
The base course is the very bottom row of block installed on a retaining wall. How, and where this base course is installed is vital to the longevity of a retaining wall. The entire first course of block must be buried underground. As you can see in the picture above, when dirt work and grading is completed around this wall, the entire first course of block will be hidden. This is also fundamental to wall construction. The buried first course becomes the anchor which prevents the entire wall from sliding forward over time. No matter how tall or short a wall is, or what size blocks are used, the entire bottom course must be buried. On large walls holding a large amount of weight, more than one entire course is buried. 
 When installing the base course, it is vital that these blocks are installed straight and level. String lines (as pictured) can be used to ensure the blocks are installed in a straight line. A laser and levels should be used to ensure that the base course is installed level. 
Drainage. 
Water pressure has destroyed many retaining walls. Proper compaction and base course installation are no match for the terrific pressure water behind a retaining wall can create. To ensure proper drainage, water must be dealt with in two ways. 
  Surface water, or runoff consequent from every rain, must be diverted away from a wall. Whether this is accomplished through swales or catch basins, the goal is that no surface water flows over the top of the retaining wall. 
  Ground water constantly is moving through the soil stratus behind a wall. To address this, a retaining wall should always be backfilled with clean stone. This allows any water to quickly drain down away from the face of the wall. At the bottom of a retaining wall, a perforated pipe must be installed that allows water to escape at the bottom of the wall. This can be accomplished by extending the pipe out past the end of the wall, or by daylighting it through the retaining wall. Either way, it is important that an escape is created to relieve water pressure behind a retaining wall. 

Geogrid. 
 Geogrid is one integral part of this wall that may not be required for all retaining walls. For many walls Geogrid is a necessary step to giving structural strength. This woven, biaxle geogrid stabilizes the clean stone behind the retaining wall. proper installation of geogrid is necessary. When to use geogrid, and how much is required for the project, will vary based on the size of the wall and the blocks used. 

When completed, this wall provides an aesthetic solution that will last for decades. Like all Tussey Landscaping's hardscapes, this retaining wall is completed with a lifetime warranty. With all proper construction steps in place, this wall should stand after the workers who built it are gone. 
If you want to learn more about Tussey's lifetime warranty walls and patios, contact us today. 
CONTACT US
16 Comments

CONTACT US

Tussey Landscaping Logo
8583 Woodbury Pike
Hollidaysburg, PA 16648
Call us: 814.696.3700
info@tusseylandscaping.com

CONNECT

SERVICES

Design
Outdoor Living Spaces
Swimming Pools
Water Gardens
Pond & Waterfall Maintenance
Landscaping
Hardscaping
Outdoor Lighting
Outdoor Audio
Pergolas & Pavilions

PORTFOLIO

Searchable Photo Gallery
Video Gallery
Photo Gallery

PRICING

Project Planner
Financing

LEARNING HUB

What Does A Project Cost?
Learning Hub
Buyer Beware

UPCOMING EVENTS

Water Garden Showcase
​Autumn Days at Wasson

ABOUT

About Us
Our History
Our Team
Testimonials
Why Choose Tussey
Our Awards
Our Warranty
Certifications

Altoona Pa | State College Pa | Hollidaysburg Pa | Johnstown Pa | Bedford Pa | Huntingdon Pa | Saxton Pa
Copyright 2020 Tussey Landscaping | Privacy
  • Services
    • Start A Conversation
    • Design >
      • Tussey Designs
      • Outdoor Living
      • Landscape Design
    • Outdoor Audio
    • Swimming Pools
    • Water Gardens >
      • Premiere Water Feature Collection >
        • Premiere Collection Ponds
        • Premiere Collection Waterfalls
        • Premiere Collection Bubbling Rocks
      • Simplicity Series Entry Level Ponds >
        • Simplicity Series Ponds
        • Simplicity Series Waterfalls
        • Simplicity Series Fountains
        • Simplicity Series Ponds
      • Ponds
      • Pondless Waterfalls and Streams
      • Bubbling Rocks
      • Fountains
    • Water Feature Maintenance >
      • Spring Services
      • Fall Services
      • Maintenance Programs >
        • Premiere Care
        • Water Quality Maint
        • Sign-Up
      • Pond Maintenance
      • Pond Repair
    • Landscapes
    • Hardscapes >
      • Hardscaping
      • Paving Stones
      • Permeable Pavers
      • Outdoor Kitchens
      • Outdoor Firepits
      • Outdoor Fireplaces
    • Pergolas & Pavilions
    • LED Outdoor Lighting
    • Go Green >
      • The Green Industry
      • Plant a Tree
      • Using Native Plants
      • Rain Water Harvesting
      • Low Voltage Lighting
      • Permeable Pavers
  • Portfolio
    • Project Showcase
    • Searchable Photo Gallery
    • Public Landscape Displays
    • Video Gallery >
      • Our Latest Videos
      • Greg Wittstock The Pond Guy Videos
      • Testimonials Video Gallery
      • Informative Videos
      • Project Timelapse Videos
      • Project Videos
      • Aquascape Videos
      • Annual Showcase Videos
    • Photo Gallery
  • Pricing
    • Project Planner | Pricing
    • Financing
  • Learning Hub
  • About
    • About Us
    • Our History
    • Our Team
    • Testimonials
    • Why Choose Tussey?
    • Our Awards
    • Our Warranty
    • Tussey Landscaping Certified Aquascape Contractor
  • Contact
  • Apply
×
Have a question regarding your project or some research you are doing?
Drop us a line, we’ll help you.
Please fill in all the fields. Invalid Email