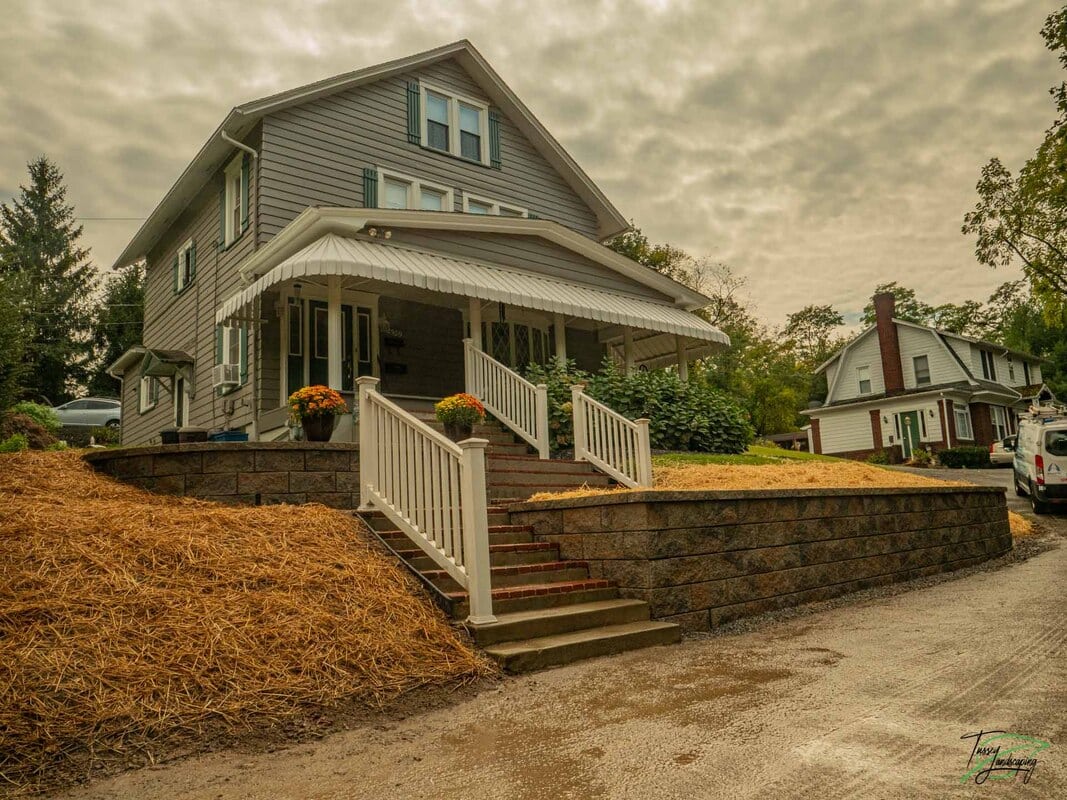
Failing Retaining Wall Replacement in Altoona, PA
Hardscapes
Like many Altoona residences, this property front entrance had a series of steps and retaining walls leading up to the front door. Unfortunately, poor construction technique and improper installation of this wall caused it to fail. The force of freeze an thaw on this retaining wall each winter slowly was pushing this wall over.
There are many steps to proper installation of a retaining wall. Improper procedure or execution of any of these steps may to lead to failure down the road. There are many wrong ways to build a retaining wall, but only one right way. Although there are many ways a retaining wall can fail, most walls fail for a few common reasons.
1. Improper compaction of the soil and base of the wall. Proper compaction of the subgrade and base of a wall is very difficult to see, especially once a wall is installed. It is difficult for even an experienced hardscaper to look at newly constructed wall and determine if proper compaction was used in building. However, the longer a wall stands, (or doesn’t stand) the more obvious it is if proper compaction equipment and techniques were used.
2. Poor drainage. With every type of precipitation, water collects behind a retaining wall. If this hydraulic pressure cannot be relieved, the retaining wall turns into a water dam. Even large commercial walls with very heavy blocks are no match to the incredible water pressure that can build up behind them. This effect can be heightened by heavy clay-type soils that hold water in them. A wall with proper sized block and effective base compaction is still not effective if there is not proper drainage behind the wall.
3. Backfilling and soil stabilization. Part of the solution to water crises is solved with correct backfilling. If a wall is backfilled with soil, this will trap moisture behind the wall and enhance water problems. Depending on the height of a wall, the soil type and the block used, soil stabilization methods may be needed as well.
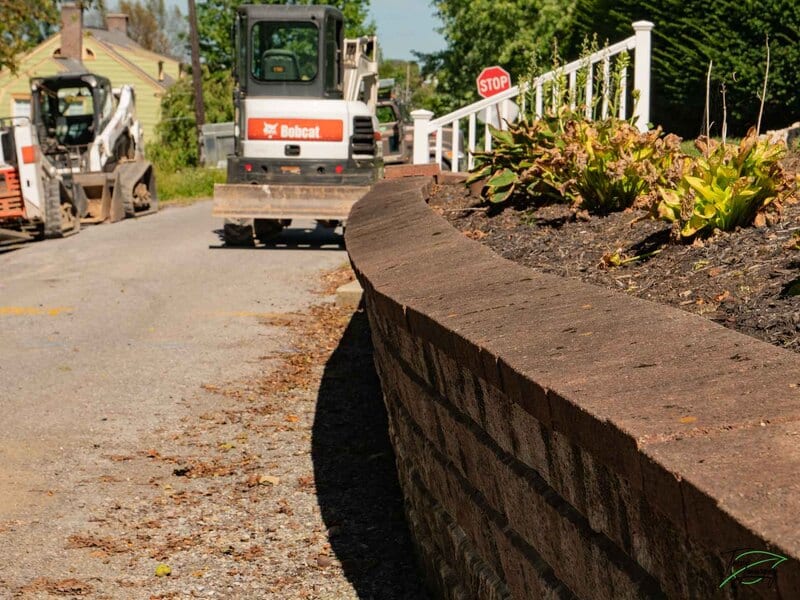
While our crew rebuilt this wall, we captured some of the integral parts of proper wall construction. Different types and sizes of blocks, how tall or how long a wall is, and special requirements of load or capacity may cause additional building requirements, which won’t be discussed here. The steps of retaining wall construction demonstrated here are universal to all retaining walls.
Compaction.
Compaction of the subgrade below the base of a wall, and compaction of the wall base itself is fundamental to retaining wall construction. Without wordy complex answers, it is difficult to demonstrate proper compaction.
One easy way to understand proper compaction it to look at the machines or tools used. A vibratory plate like the one pictured here is adequate for most residential wall construction. Using a smaller plate compactor can be done, although gaining proper compaction will be more difficult. Using hand tamps or any manual compactors is rarely effective. Improper compaction will lead to many different problems, but ultimately it will always lead to wall failure.
If you hire a crew to build a wall, ask them about the compaction equipment they ae using. Once a wall is built, nothing can be done to remedy improper compaction other than rebuilding. Make sure proper compaction is achieved first.
Base course.
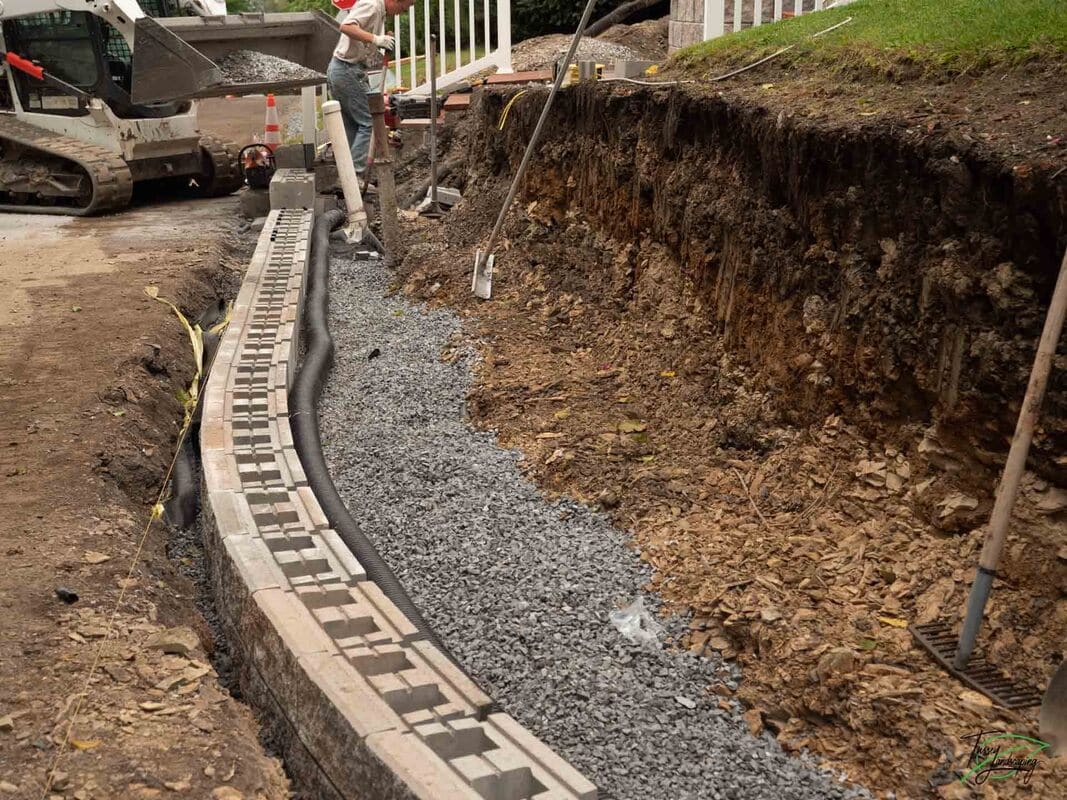
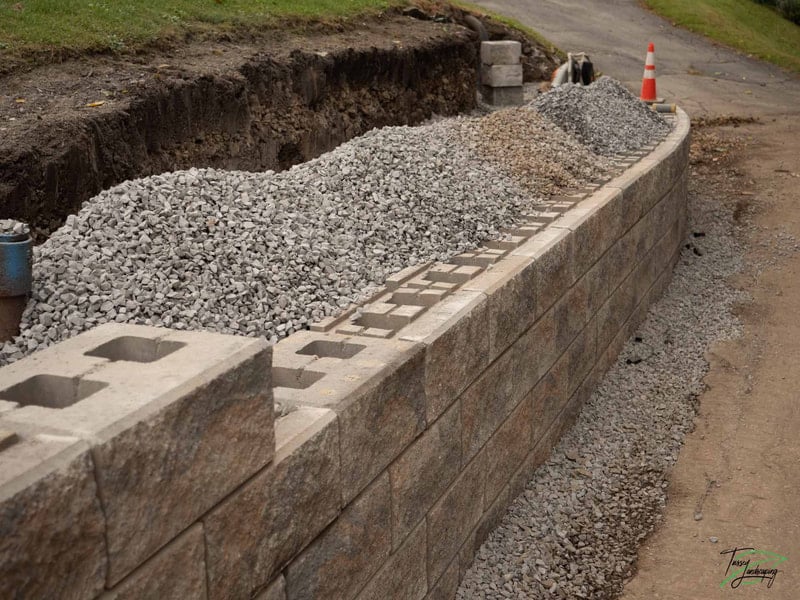
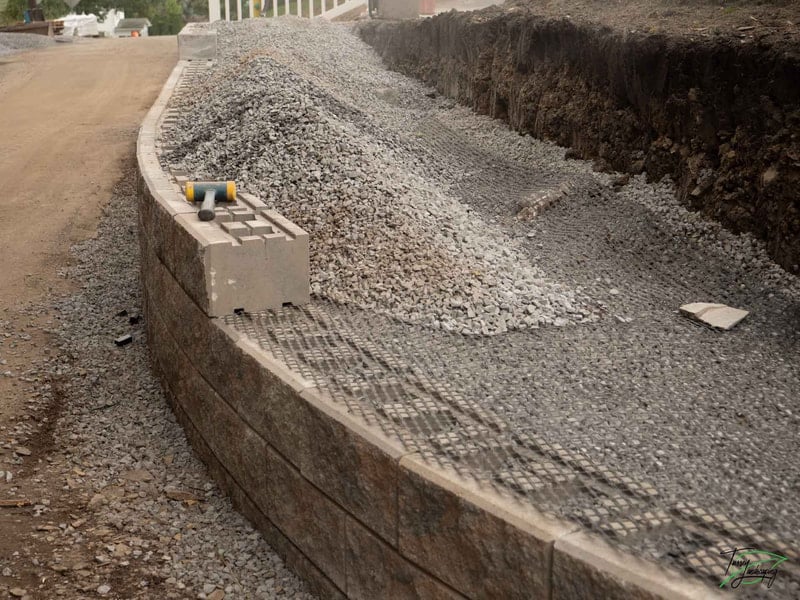
The base course is the very bottom row of block installed on a retaining wall. How, and where this base course is installed is vital to the longevity of a retaining wall. The entire first course of block must be buried underground. As you can see in the picture above, when dirt work and grading is completed around this wall, the entire first course of block will be hidden. This is also fundamental to wall construction. The buried first course becomes the anchor which prevents the entire wall from sliding forward over time. No matter how tall or short a wall is, or what size blocks are used, the entire bottom course must be buried. On large walls holding a large amount of weight, more than one entire course is buried.
When installing the base course, it is vital that these blocks are installed straight and level. String lines (as pictured) can be used to ensure the blocks are installed in a straight line. A laser and levels should be used to ensure that the base course is installed level.
Drainage.
Water pressure has destroyed many retaining walls. Proper compaction and base course installation are no match for the terrific pressure water behind a retaining wall can create. To ensure proper drainage, water must be dealt with in two ways.
Surface water, or runoff consequent from every rain, must be diverted away from a wall. Whether this is accomplished through swales or catch basins, the goal is that no surface water flows over the top of the retaining wall.
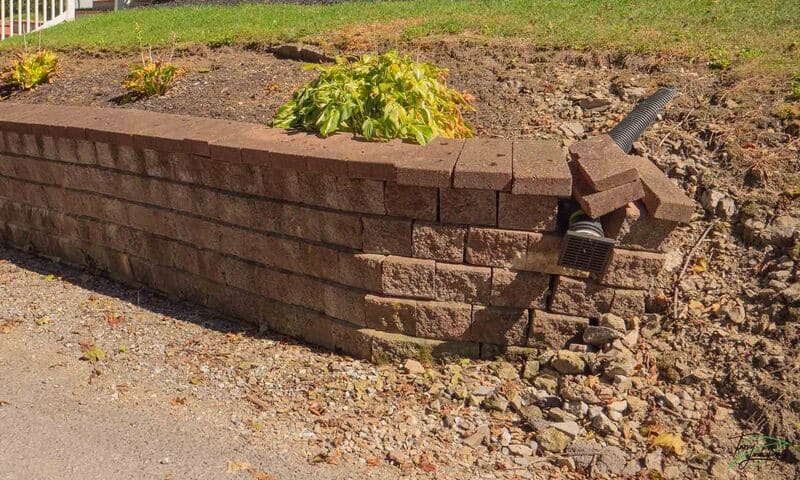
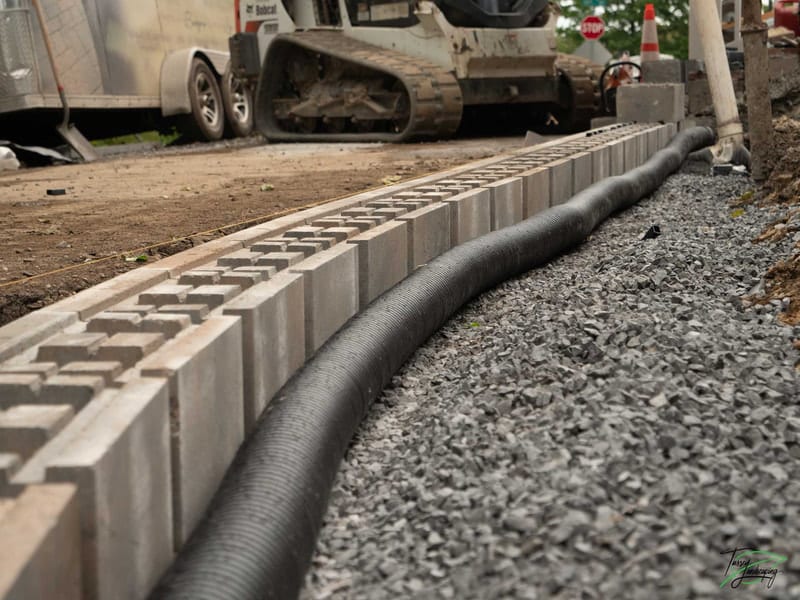
Ground water constantly is moving through the soil stratus behind a wall. To address this, a retaining wall should always be backfilled with clean stone. This allows any water to quickly drain down away from the face of the wall. At the bottom of a retaining wall, a perforated pipe must be installed that allows water to escape at the bottom of the wall. This can be accomplished by extending the pipe out past the end of the wall, or by daylighting it through the retaining wall. Either way, it is important that an escape is created to relieve water pressure behind a retaining wall.
Geogrid.
Geogrid is one integral part of this wall that may not be required for all retaining walls. For many walls Geogrid is a necessary step to giving structural strength. This woven, biaxle geogrid stabilizes the clean stone behind the retaining wall. proper installation of geogrid is necessary. When to use geogrid, and how much is required for the project, will vary based on the size of the wall and the blocks used.
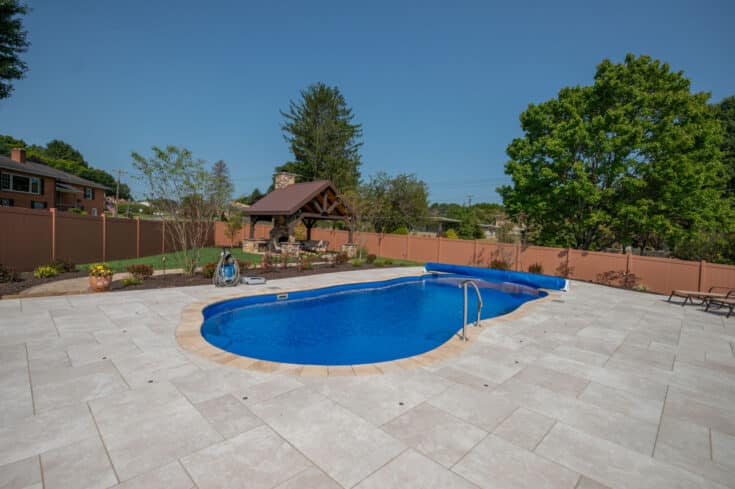
When completed, this wall provides an aesthetic solution that will last for decades. Like all Tussey Landscaping’s hardscapes, this retaining wall is completed with a lifetime warranty. With all proper construction steps in place, this wall should stand after the workers who built it are gone.
- Project ID: 12